

Clean vs Tidy Home: Ever walked into a space and felt instantly calmer, more productive, and just… happier? I know I have! It’s amazing how the state of our homes directly impacts our well-being. But what’s the secret? Is it simply about having a clean home, or does it go deeper than that? For centuries, cultures around the world have recognized the importance of a well-ordered living space. From Feng Shui principles emphasizing energy flow to the minimalist Scandinavian concept of “hygge,” a harmonious home has always been valued.
But let’s be honest, in today’s busy world, maintaining a perfect home can feel like an impossible task. We’re constantly bombarded with information about the “right” way to organize, the “best” cleaning products, and the “must-have” storage solutions. It’s overwhelming! That’s why I’m here to break it down for you. This isn’t about achieving some unattainable ideal of perfection. It’s about understanding the difference between a clean vs tidy home and finding simple, effective strategies that work for you.
Many people need this DIY trick because they are struggling to maintain a balance between cleaning and tidying. They may have a clean home but still feel overwhelmed by clutter, or they may have a tidy home but not realize the importance of deep cleaning. This article will provide practical tips and hacks to help you achieve both a clean and tidy home, creating a space that is not only visually appealing but also promotes a sense of peace and well-being. Get ready to transform your living space and your life!
DIY Home Hack: From Cluttered to Calm – Achieving a Clean and Tidy Home
Okay, let’s be honest, we all dream of a home that looks like it belongs in a magazine. But between work, family, and, well, life, keeping things both clean AND tidy can feel like a Herculean task. The good news is, it doesn’t have to be! I’m going to share my favorite DIY home hack for transforming your space from cluttered chaos to a haven of calm. This isn’t just about surface cleaning; it’s about creating systems that make tidiness a natural part of your routine.
Understanding the Difference: Clean vs. Tidy
Before we dive in, let’s clarify something crucial: cleaning and tidying are NOT the same thing.
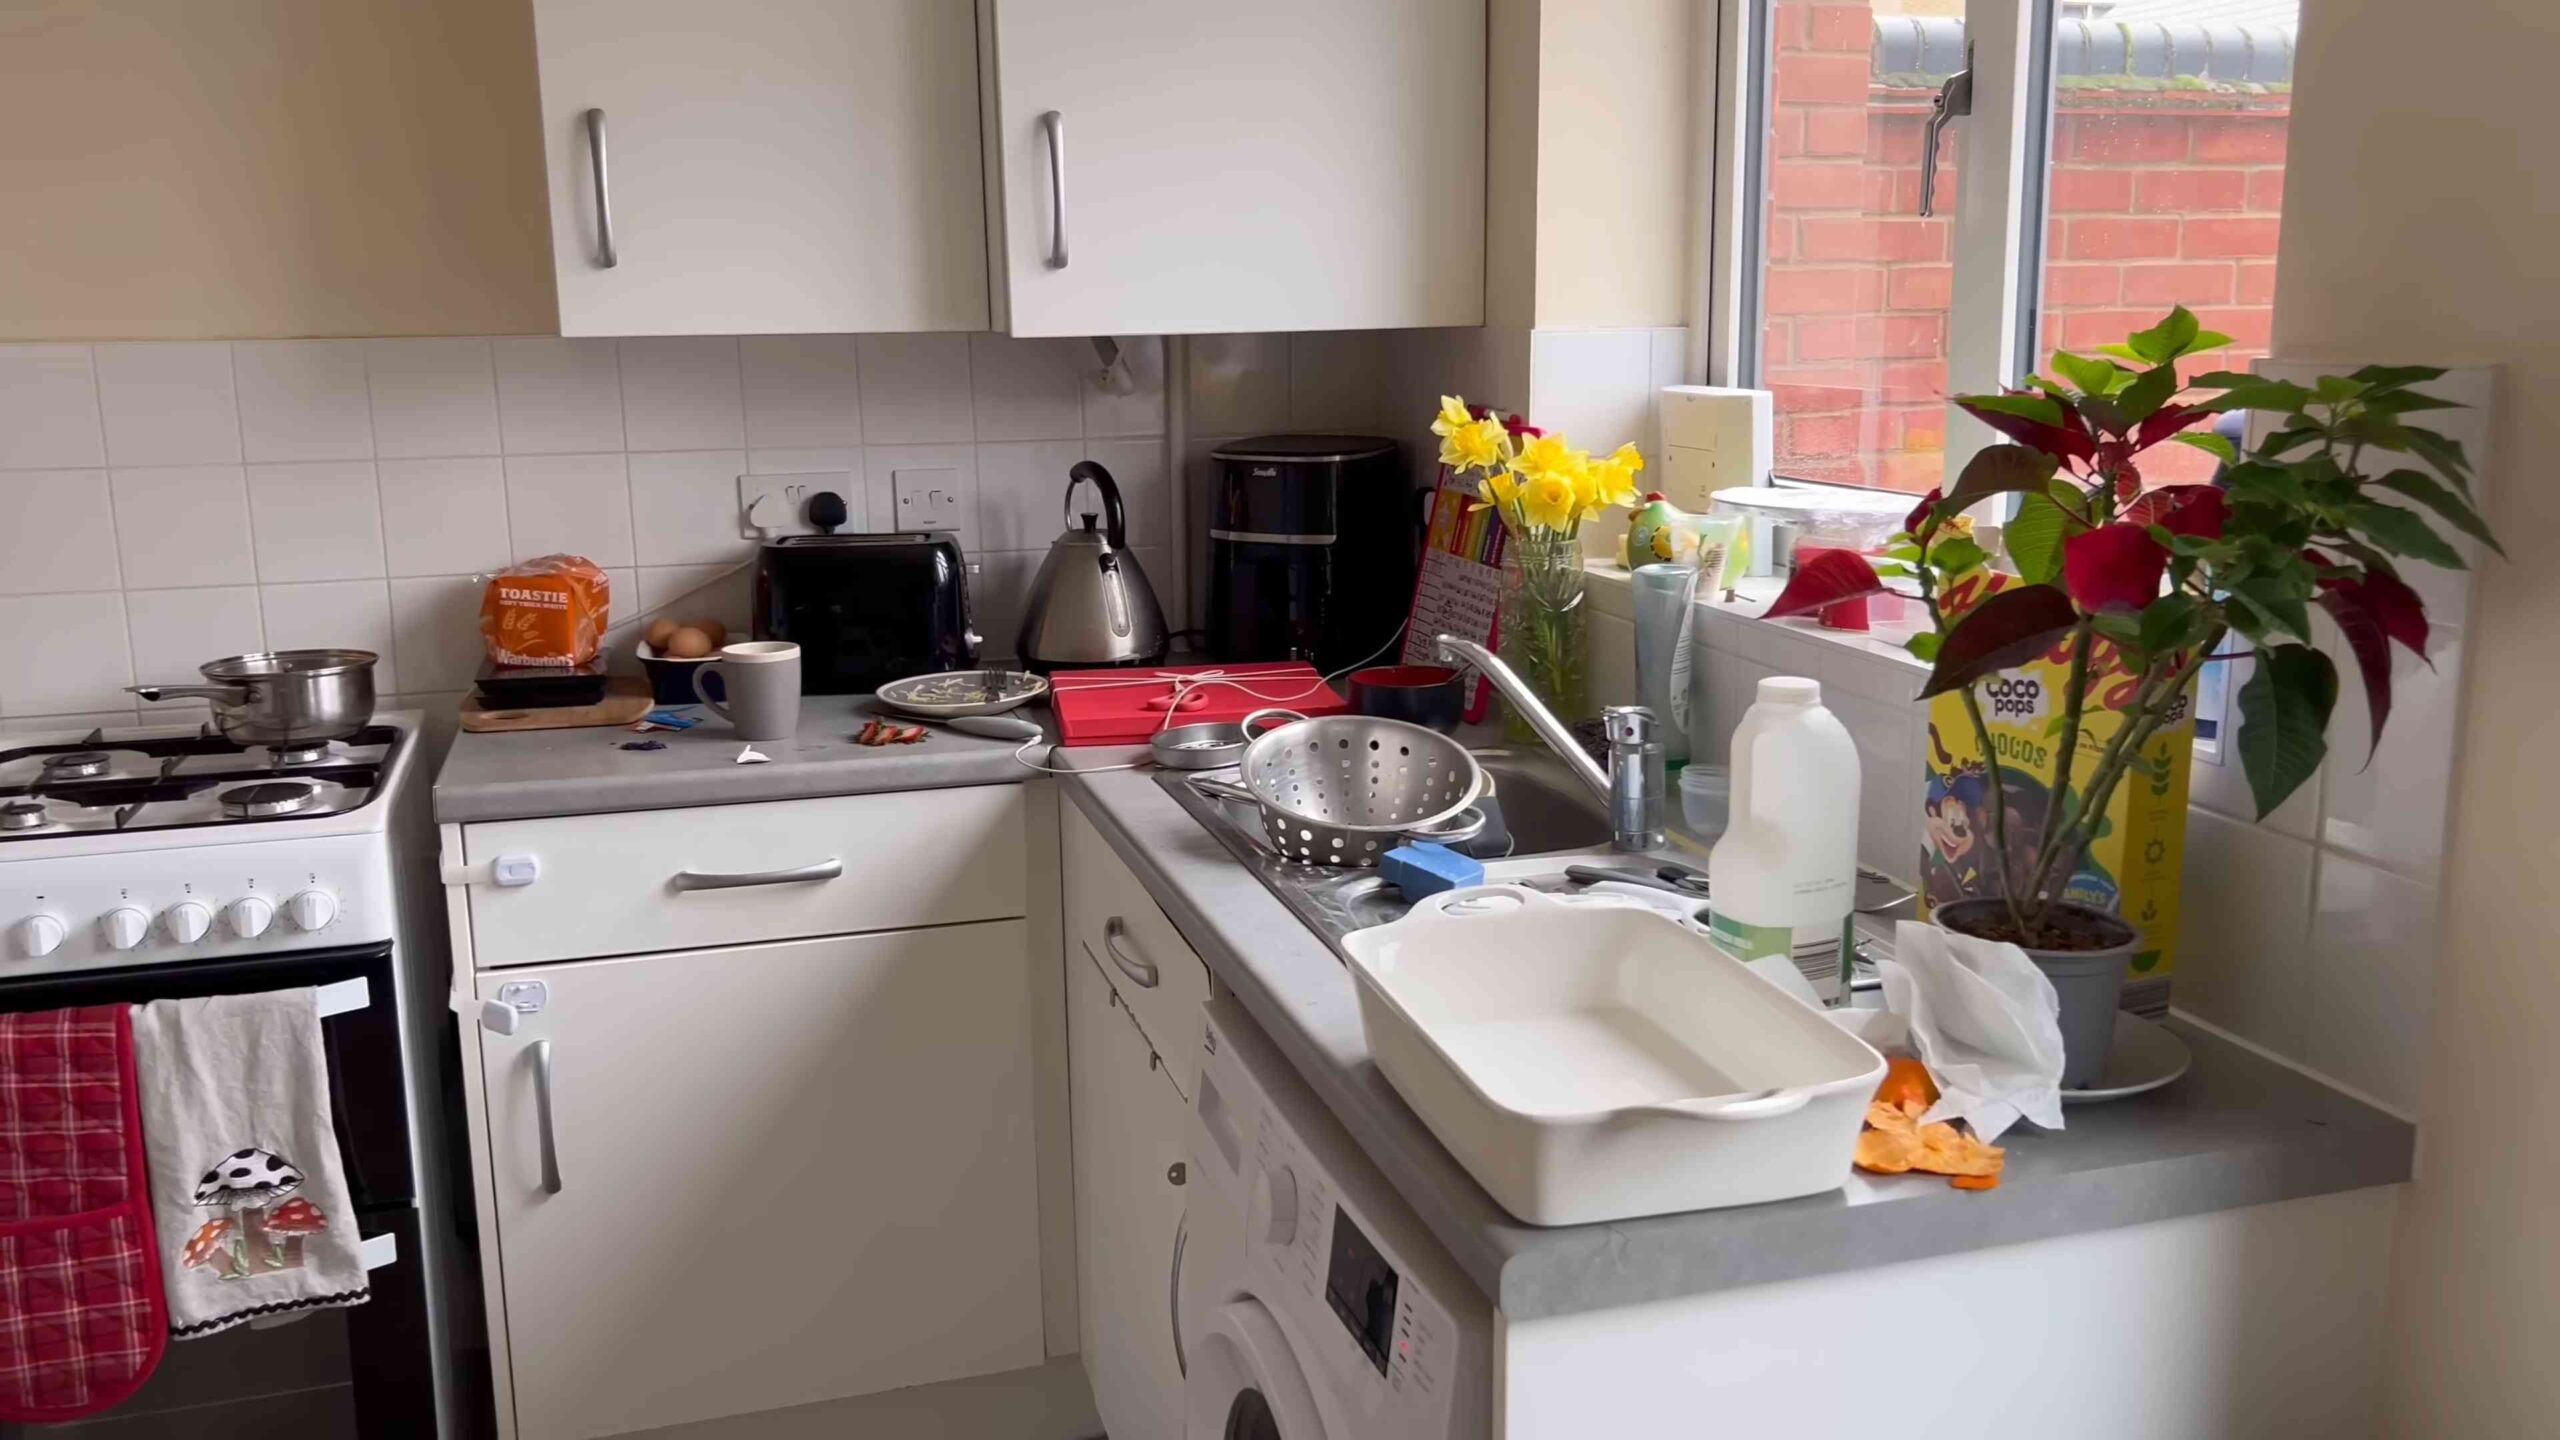
* Cleaning: This is about removing dirt, grime, and germs. Think scrubbing surfaces, vacuuming floors, and disinfecting bathrooms.
* Tidying: This is about organizing and putting things in their designated places. Think making beds, putting away clothes, and clearing countertops.
You can have a clean house that’s still cluttered, and a tidy house that’s still dusty. The goal is to achieve BOTH!
Phase 1: The Decluttering Blitz
This is the most challenging part, but trust me, it’s the foundation for everything else. We’re going to tackle one area at a time. Don’t try to do the whole house at once – you’ll get overwhelmed.
1. Choose Your Battlefield: Pick a small, manageable area. A single drawer, a shelf, or a corner of a room is a great starting point.
2. Empty It Out: Take everything out of the chosen area. This forces you to confront everything you own.
3. The Four-Box Method: Prepare four boxes (or bags). Label them:
* Keep: Items you use regularly and love.
* Donate/Sell: Items in good condition that you no longer need or want.
* Trash: Items that are broken, damaged, or beyond repair.
* Relocate: Items that belong in a different area of the house.
4. Be Ruthless: This is where the magic happens. Pick up each item and ask yourself these questions:
* Have I used this in the past year?
* Do I love it?
* Is it useful?
* If I were shopping right now, would I buy it again?
If the answer to most of these questions is “no,” it goes into the Donate/Sell or Trash box.
5. Relocate Items: As you sort, you’ll inevitably find things that belong elsewhere. Put them in the “Relocate” box.
6. Clean the Space: Now that the area is empty, give it a good cleaning. Wipe down shelves, vacuum drawers, etc.
7. Organize the “Keep” Items: Before putting anything back, think about how you can organize the “Keep” items to maximize space and accessibility. Use drawer dividers, shelf organizers, or baskets to keep things tidy.
8. Put It All Back (Strategically): Place the “Keep” items back in the area, being mindful of your new organization system.
9. Deal with the Boxes: Immediately take the “Donate/Sell” box to a donation center or list items online. Throw away the “Trash” box. Put the “Relocate” items away in their proper places.
10. Repeat: Continue this process, one area at a time, until you’ve decluttered your entire home.
Phase 2: Creating Tidy Habits
Decluttering is a one-time event, but tidiness is an ongoing process. These habits will help you maintain a clutter-free home.
1. The One-Minute Rule: If a task takes less than one minute, do it immediately. This includes things like putting away your shoes, hanging up your coat, or wiping down the counter.
2. Make Your Bed Every Morning: It’s a small task, but it makes a huge difference in the overall appearance of your bedroom. Plus, it starts your day off with a sense of accomplishment.
3. Put Things Away Immediately: Don’t let things pile up. As soon as you’re finished using something, put it back where it belongs.
4. Clear Surfaces Daily: Clear countertops, tables, and desks every day. This prevents clutter from accumulating.
5. The “One In, One Out” Rule: For every new item you bring into your home, get rid of one similar item. This helps prevent clutter from creeping back in.
6. Designated Drop Zones: Create designated areas for specific items, such as keys, mail, and bags. This prevents these items from being scattered throughout the house.
7. Tidy Up Before Bed: Spend 10-15 minutes tidying up before bed. This will help you wake up to a cleaner, more organized home.
8. Involve the Whole Family: Make tidiness a family affair. Assign age-appropriate tasks to each family member.
Phase 3: Cleaning Like a Pro
Now that we’ve tackled the tidiness aspect, let’s move on to cleaning. A clean home is a healthy home, and it also contributes to a sense of calm and well-being.
1. Create a Cleaning Schedule: Develop a cleaning schedule that works for you. This could be daily, weekly, or monthly tasks.
2. Gather Your Supplies: Keep your cleaning supplies organized and easily accessible. This will make cleaning less of a chore.
3. Start from the Top Down: When cleaning a room, start from the top and work your way down. This prevents dirt and dust from falling onto already cleaned surfaces.
4. Dust First: Always dust before vacuuming or mopping. This will prevent dust from settling on wet surfaces.
5. Vacuum Regularly: Vacuum your floors at least once a week, or more often if you have pets or allergies.
6. Mop Hard Floors: Mop your hard floors regularly to remove dirt and grime.
7. Clean Bathrooms Weekly: Clean your bathrooms at least once a week to prevent the buildup of mold and mildew.
8. Wipe Down Kitchen Surfaces Daily: Wipe down kitchen counters, sinks, and stovetops daily to prevent food buildup.
9. Don’t Forget the Details: Pay attention to the details, such as light switches, doorknobs, and baseboards. These areas often get overlooked but can make a big difference in the overall cleanliness of your home.
10. Ventilate Your Home: Open windows and doors regularly to ventilate your home and improve air quality.
Phase 4: Maintaining the Momentum
The key to long-term success is consistency. These tips will help you maintain your clean and tidy home.
1. Review and Adjust: Regularly review your systems and habits to see what’s working and what’s not. Adjust as needed.
2. Don’t Be Afraid to Ask for Help: If you’re struggling to keep up, don’t be afraid to ask for help from family members or hire a cleaning service.
3. Be Patient: It takes time to develop new habits. Don’t get discouraged if you slip up occasionally. Just get back on track as soon as possible.
4. Celebrate Your Successes: Acknowledge and celebrate your progress. This will help you stay motivated.
5. Remember Why You Started: Remind yourself of the benefits of a clean and tidy home, such as reduced stress, improved productivity, and a greater sense of well-being.
Bonus Tip: The Power of Baskets
Baskets are your best friend when it comes to tidying! Use them to corral clutter in any room.
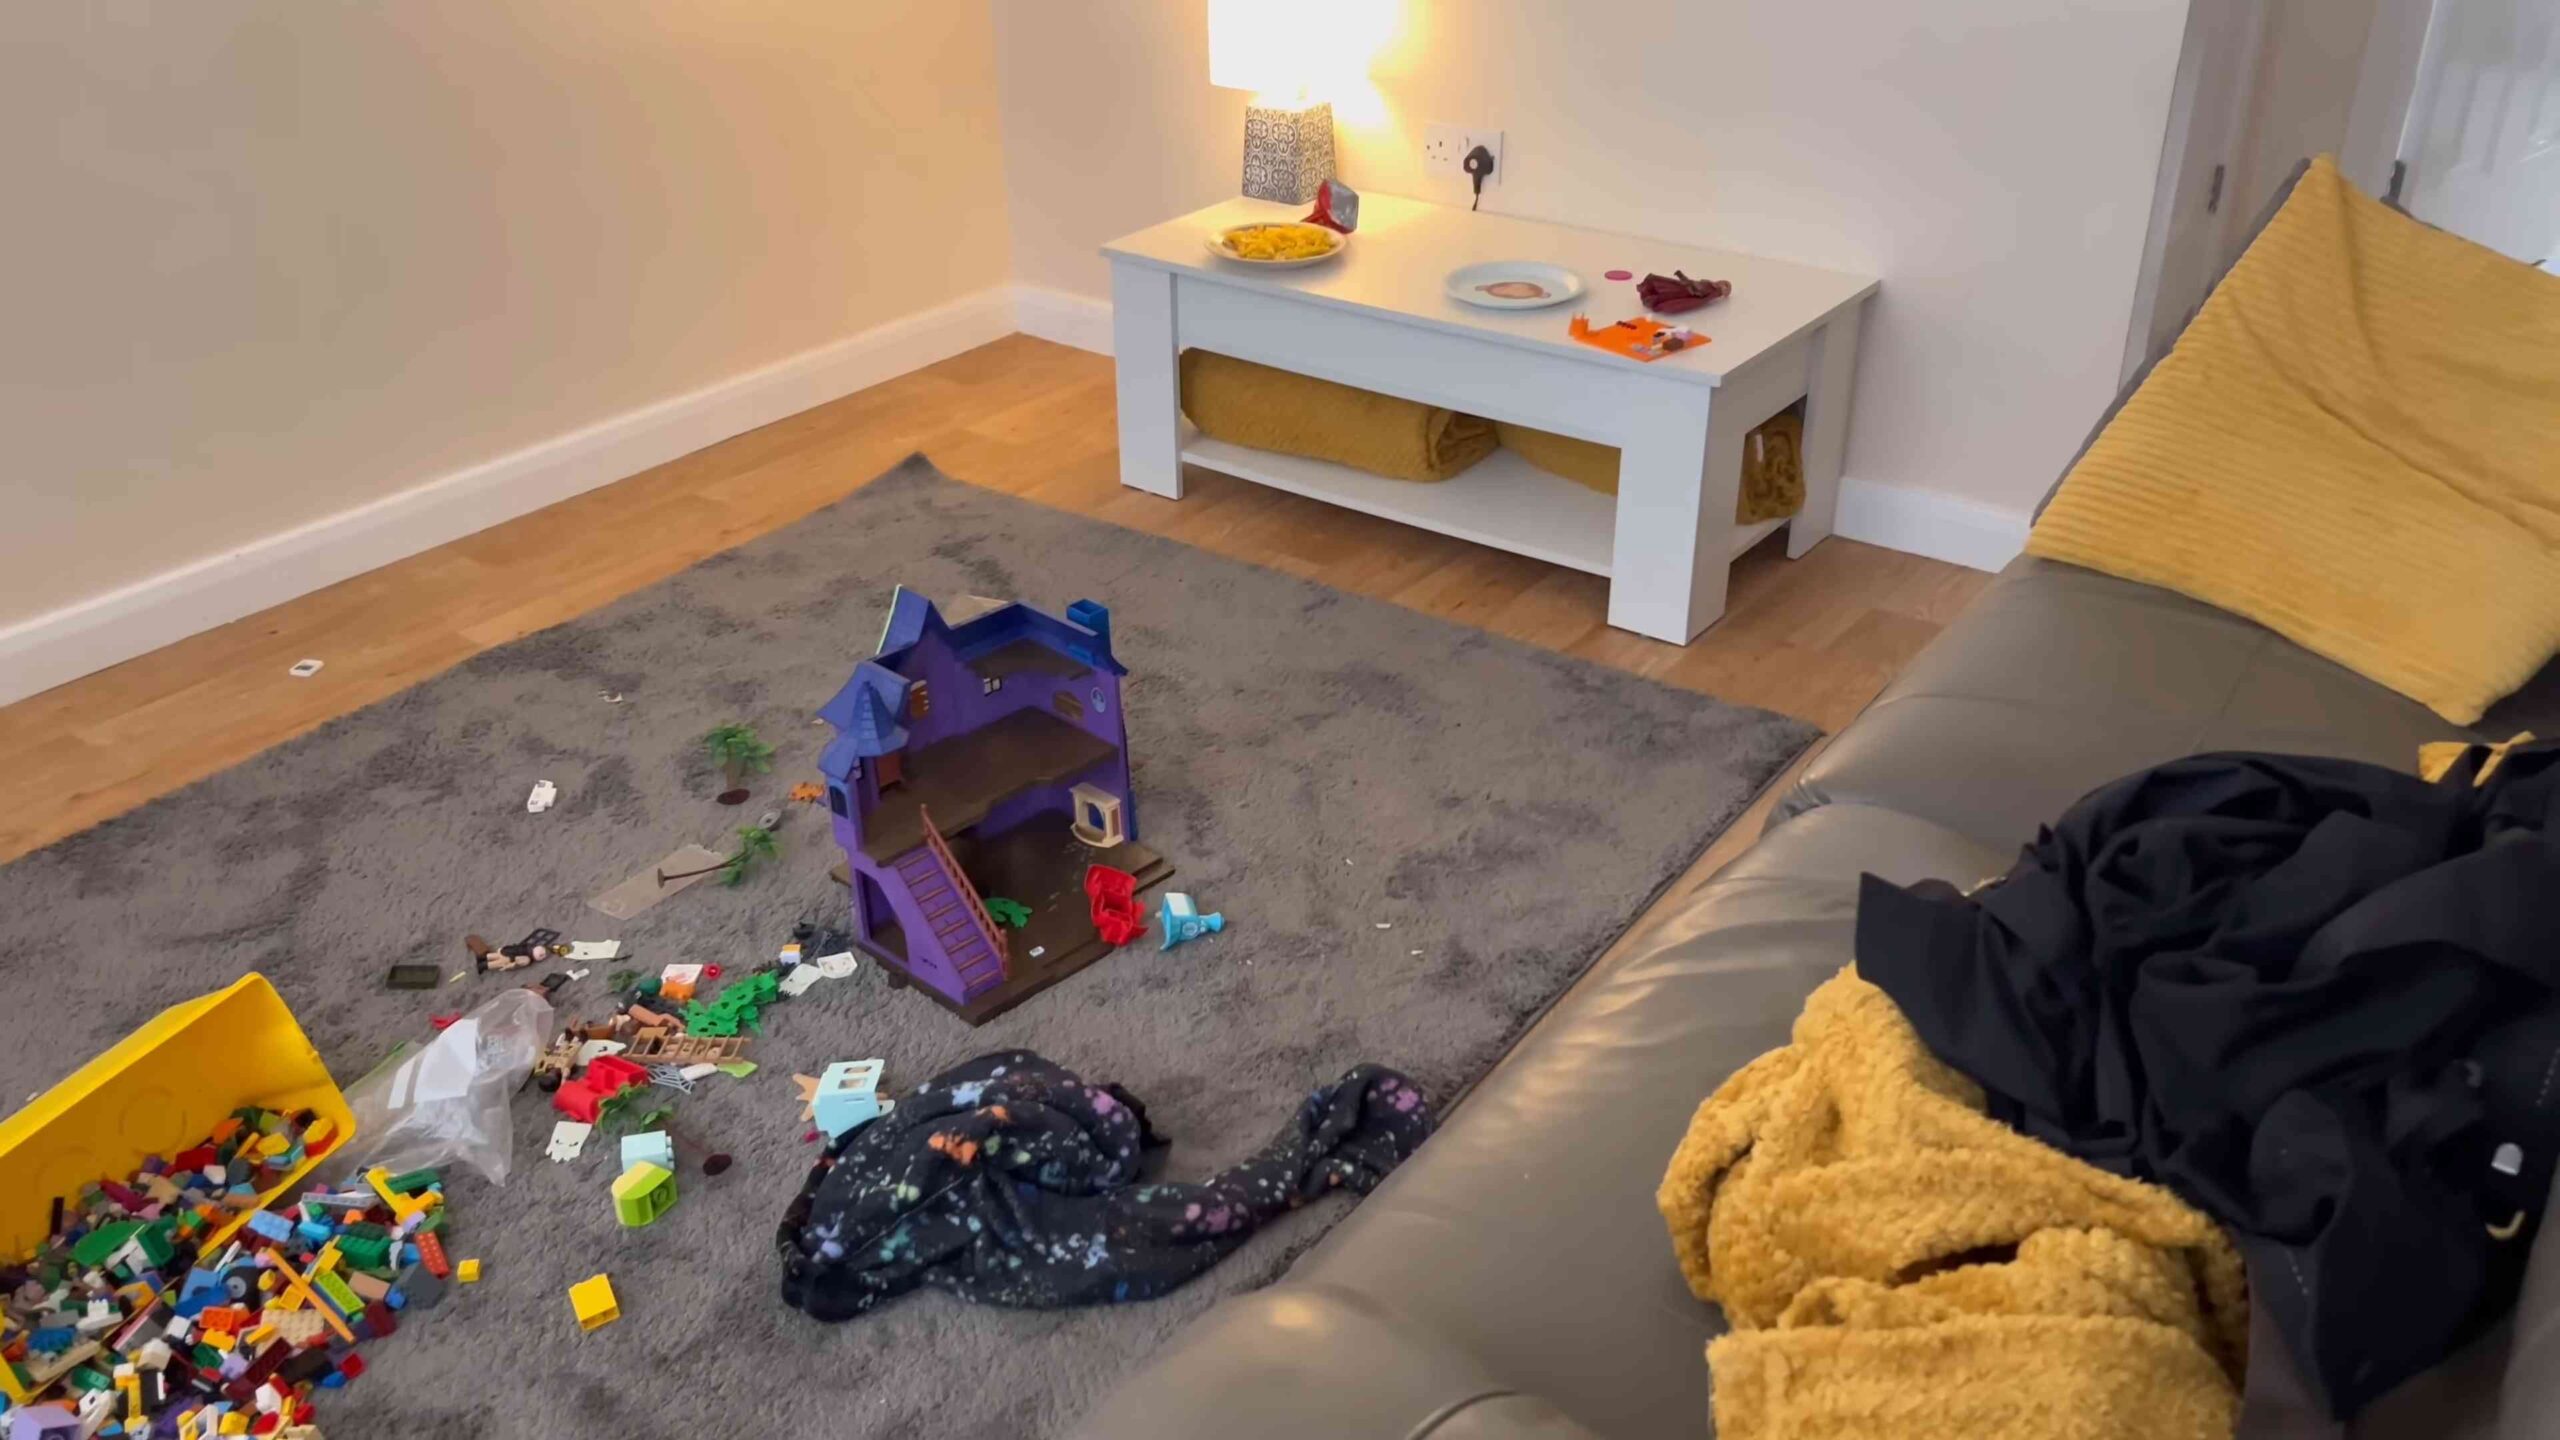
* Living Room: Store blankets, pillows, magazines, and toys in baskets.
* Bedroom: Use baskets to organize clothes, accessories, and toiletries.
* Bathroom: Store towels, toiletries, and cleaning supplies in baskets.
* Entryway: Use baskets to hold shoes, hats, and gloves.
Final Thoughts
Creating a clean and tidy home is a journey, not a destination. It takes time, effort, and consistency. But the rewards are well worth it. A clean and tidy home is a sanctuary, a place where you can relax, recharge, and feel your best. So, roll up your sleeves, get started, and enjoy the process! You’ve got this!
Conclusion
So, there you have it! Transforming your home from simply tidy to truly clean doesn’t have to involve harsh chemicals or expensive professional services. This DIY trick, focusing on the often-overlooked difference between surface tidiness and deep-down cleanliness, is a game-changer for creating a healthier and more inviting living space. It’s about more than just appearances; it’s about fostering a sense of well-being and peace of mind that comes from knowing your home is genuinely clean.
Why is this a must-try? Because it’s effective, affordable, and adaptable. You’re not just masking odors or rearranging clutter; you’re actively removing dirt, allergens, and bacteria that can impact your health and happiness. Plus, it empowers you to take control of your cleaning routine and customize it to your specific needs and preferences.
Consider these variations to personalize the DIY trick even further. For example, if you’re sensitive to certain scents, experiment with different essential oil combinations. Lavender and chamomile offer a calming aroma, while lemon and eucalyptus provide a refreshing and invigorating boost. You can also adjust the ratios of ingredients to suit the level of cleaning power you require. For heavily soiled areas, a slightly stronger concentration might be necessary.
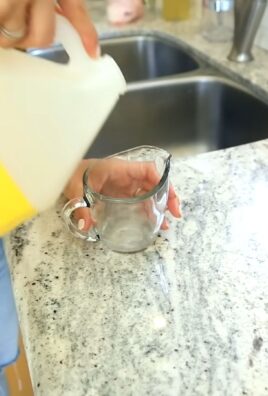
Another variation involves incorporating natural cleaning agents like baking soda and vinegar. Baking soda is a fantastic deodorizer and mild abrasive, perfect for scrubbing sinks and countertops. Vinegar, on the other hand, is a powerful disinfectant and descaler, ideal for cleaning bathrooms and kitchens. Just be sure to research safe combinations, as mixing certain cleaning agents can be hazardous.
Don’t underestimate the power of a good cleaning schedule. Integrating this DIY trick into your regular routine will prevent dirt and grime from building up, making your cleaning tasks easier and more manageable in the long run. Start with one room or area at a time, and gradually expand your efforts as you become more comfortable with the process.
Ultimately, the goal is to create a home that not only looks clean but also feels clean. A space where you can relax, recharge, and enjoy the company of loved ones without worrying about hidden dirt and germs. This DIY trick is a simple yet effective way to achieve that goal.
We wholeheartedly encourage you to try this DIY trick and experience the difference for yourself. Once you’ve given it a go, we’d love to hear about your results! Share your experiences, tips, and variations in the comments below. Let’s create a community of clean home enthusiasts and inspire each other to maintain healthy and happy living spaces. Your feedback is invaluable and will help us refine and improve this DIY trick for everyone. Let us know if this DIY trick helped you achieve a truly clean vs tidy home.
Frequently Asked Questions (FAQ)
What exactly is the difference between a “tidy” home and a “clean” home?
A tidy home is generally organized and free of clutter. Items are put away, surfaces are clear, and things are in their designated places. However, a tidy home can still be dirty. Dust, grime, allergens, and bacteria can accumulate on surfaces, in crevices, and in the air, even if everything appears to be in order. A clean home, on the other hand, is free of these contaminants. It’s not just about appearances; it’s about removing dirt, germs, and allergens to create a healthier and more hygienic environment. Think of it this way: tidying is about visual order, while cleaning is about physical purity.
How often should I be doing this DIY cleaning trick?
The frequency depends on your lifestyle, the size of your home, and the number of people and pets living there. As a general guideline, aim to incorporate this DIY cleaning trick into your routine at least once a week for high-traffic areas like kitchens and bathrooms. For less frequently used areas, such as guest rooms or home offices, you can clean them every two to four weeks. However, if you notice visible dirt, grime, or odors, it’s always best to clean sooner rather than later. Regular maintenance cleaning will prevent buildup and make your cleaning tasks easier in the long run.
Is this DIY cleaning trick safe for all surfaces?
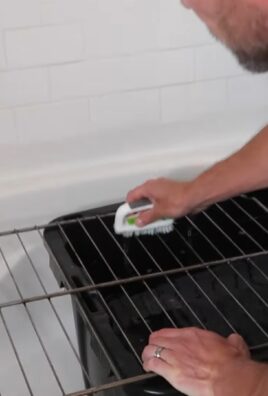
While the DIY cleaning trick is generally safe for most surfaces, it’s always a good idea to test it in an inconspicuous area first, especially on delicate or sensitive materials like wood, leather, or natural stone. Avoid using abrasive scrub brushes or harsh chemicals that could damage the surface. If you’re unsure about the suitability of the cleaning solution, consult the manufacturer’s instructions or contact a professional cleaner.
Can I use different essential oils in this DIY cleaning trick?
Absolutely! Essential oils not only add a pleasant fragrance but also possess natural antibacterial, antiviral, and antifungal properties. Experiment with different combinations to find your favorite scents and cleaning benefits. Some popular choices include lavender, lemon, tea tree, eucalyptus, and peppermint. However, be sure to use high-quality, pure essential oils and dilute them properly to avoid skin irritation or damage to surfaces. Also, be mindful of pets, as some essential oils can be toxic to animals. Always research the safety of essential oils before using them around pets.
What if I don’t have all the ingredients for this DIY cleaning trick?
Don’t worry! You can easily substitute or omit certain ingredients based on what you have available. For example, if you don’t have essential oils, you can simply use a few drops of lemon juice or vinegar for a natural scent. If you’re missing a specific cleaning agent, you can try using a combination of baking soda and water as a mild abrasive cleaner. The key is to be resourceful and adapt the recipe to your specific needs and resources.
How can I make this DIY cleaning trick more eco-friendly?
There are several ways to make this DIY cleaning trick more environmentally friendly. First, use reusable cleaning cloths and sponges instead of disposable paper towels. Second, choose biodegradable and plant-based cleaning agents whenever possible. Third, avoid using harsh chemicals that can pollute waterways and harm the environment. Fourth, consider using refillable spray bottles to reduce plastic waste. By making small changes to your cleaning routine, you can significantly reduce your environmental impact.
I have allergies. Is this DIY cleaning trick safe for me?
This DIY cleaning trick can be a great alternative to commercial cleaners that often contain harsh chemicals and fragrances that can trigger allergies. However, it’s essential to be mindful of the ingredients you use and choose options that are less likely to cause allergic reactions. For example, if you’re allergic to certain essential oils, avoid using them in your cleaning solution. You can also opt for fragrance-free or hypoallergenic cleaning agents. Always test the cleaning solution in a small, inconspicuous area before using it on a larger surface. If you experience any allergic symptoms, discontinue use immediately and consult a doctor.
How do I store the DIY cleaning solution?
Store the DIY cleaning solution in a clean, airtight container in a cool, dark place. Label the container clearly with the ingredients and date of preparation. Avoid storing the solution in direct sunlight or near heat sources, as this can degrade the ingredients and reduce its effectiveness. It’s also important to keep the cleaning solution out of reach of children and pets. Depending on the ingredients used, the solution may have a limited shelf life, so it’s best to use it within a few weeks or months.
Can this DIY cleaning trick be used on upholstery and carpets?
While this DIY cleaning trick can be used on some upholstery and carpets, it’s essential to proceed with caution and test it in an inconspicuous area first. Avoid using excessive amounts of liquid, as this can damage the fabric or cause mildew growth. Use a clean cloth or sponge to gently blot the cleaning solution onto the affected area, and then blot with a dry cloth to remove any excess moisture. For delicate fabrics or carpets, it’s always best to consult a professional cleaner.
What are some other areas in my home where I can use this DIY cleaning trick?
This DIY cleaning trick is versatile and can be used in various areas of your home, including:
* Kitchen countertops and sinks
* Bathroom surfaces, including toilets, showers, and bathtubs
* Floors (tile, laminate, and some hardwood)
* Windows and mirrors
* Appliances (exterior surfaces)
* Furniture (test in an inconspicuous area first)
* Doorknobs and light switches
By incorporating this DIY cleaning trick into your regular cleaning routine, you can create a healthier and more inviting home environment for yourself and your family.
Leave a Comment