

Clean Pillows DIY: Are your pillows looking a little worse for wear? Yellowed, lumpy, and just generally uninviting? Don’t rush out to buy new ones just yet! I’m here to share some amazing DIY tricks that will breathe new life into your tired pillows, saving you money and extending their lifespan.
Throughout history, pillows have been symbols of comfort and luxury. From the elaborate, embroidered cushions of ancient Egypt to the simple, feather-filled pillows of medieval Europe, we’ve always sought ways to enhance our rest. But no matter how luxurious, all pillows eventually succumb to dust mites, sweat, and general grime.
That’s where these clean pillows DIY hacks come in! Let’s face it, we all want a clean and healthy sleep environment. Dirty pillows can harbor allergens and bacteria, impacting your sleep quality and even your health. These simple, effective DIY methods will help you remove stains, eliminate odors, and fluff up your pillows, leaving them feeling fresh and new. I’ll guide you through easy-to-follow steps, using common household ingredients, to get your pillows looking and feeling their best. Get ready to transform your sleep sanctuary!
DIY: Revive Your Pillows with This Easy Cleaning Guide
Hey everyone! Are your pillows looking a little sad and flat? Maybe they’re even starting to smell a bit…off? Don’t rush out to buy new ones just yet! I’m going to show you how to clean your pillows and bring them back to life. This is a super easy DIY project that will save you money and leave you sleeping on fresh, fluffy pillows again.
Why Clean Your Pillows?
Before we dive in, let’s talk about why cleaning your pillows is so important. Over time, pillows accumulate dust mites, dead skin cells, body oils, and even mold. Yuck! This can trigger allergies, asthma, and other respiratory problems. Plus, clean pillows just feel better!
What You’ll Need
Here’s a list of everything you’ll need for this pillow-cleaning adventure:
* Your pillows (obviously!)
* Laundry detergent (I recommend a mild, hypoallergenic detergent)
* Baking soda (this helps deodorize and brighten)
* White vinegar (a natural disinfectant and fabric softener)
* Tennis balls (optional, but they help fluff the pillows)
* Clean socks or pillowcases (to put the tennis balls in)
* Washing machine (a front-loading machine is best, but a top-loading machine can work too)
* Dryer
Checking the Care Label
Important! Before you do anything, check the care label on your pillows. This will tell you what type of filling your pillow has and whether it’s machine washable. Most down and feather pillows, as well as pillows filled with cotton or polyester, can be machine washed. However, some pillows, like those filled with memory foam or latex, may require special cleaning methods. If your pillow’s label says “dry clean only,” it’s best to take it to a professional cleaner.
Step-by-Step Cleaning Guide
Okay, let’s get started! I’m going to walk you through the process step-by-step.
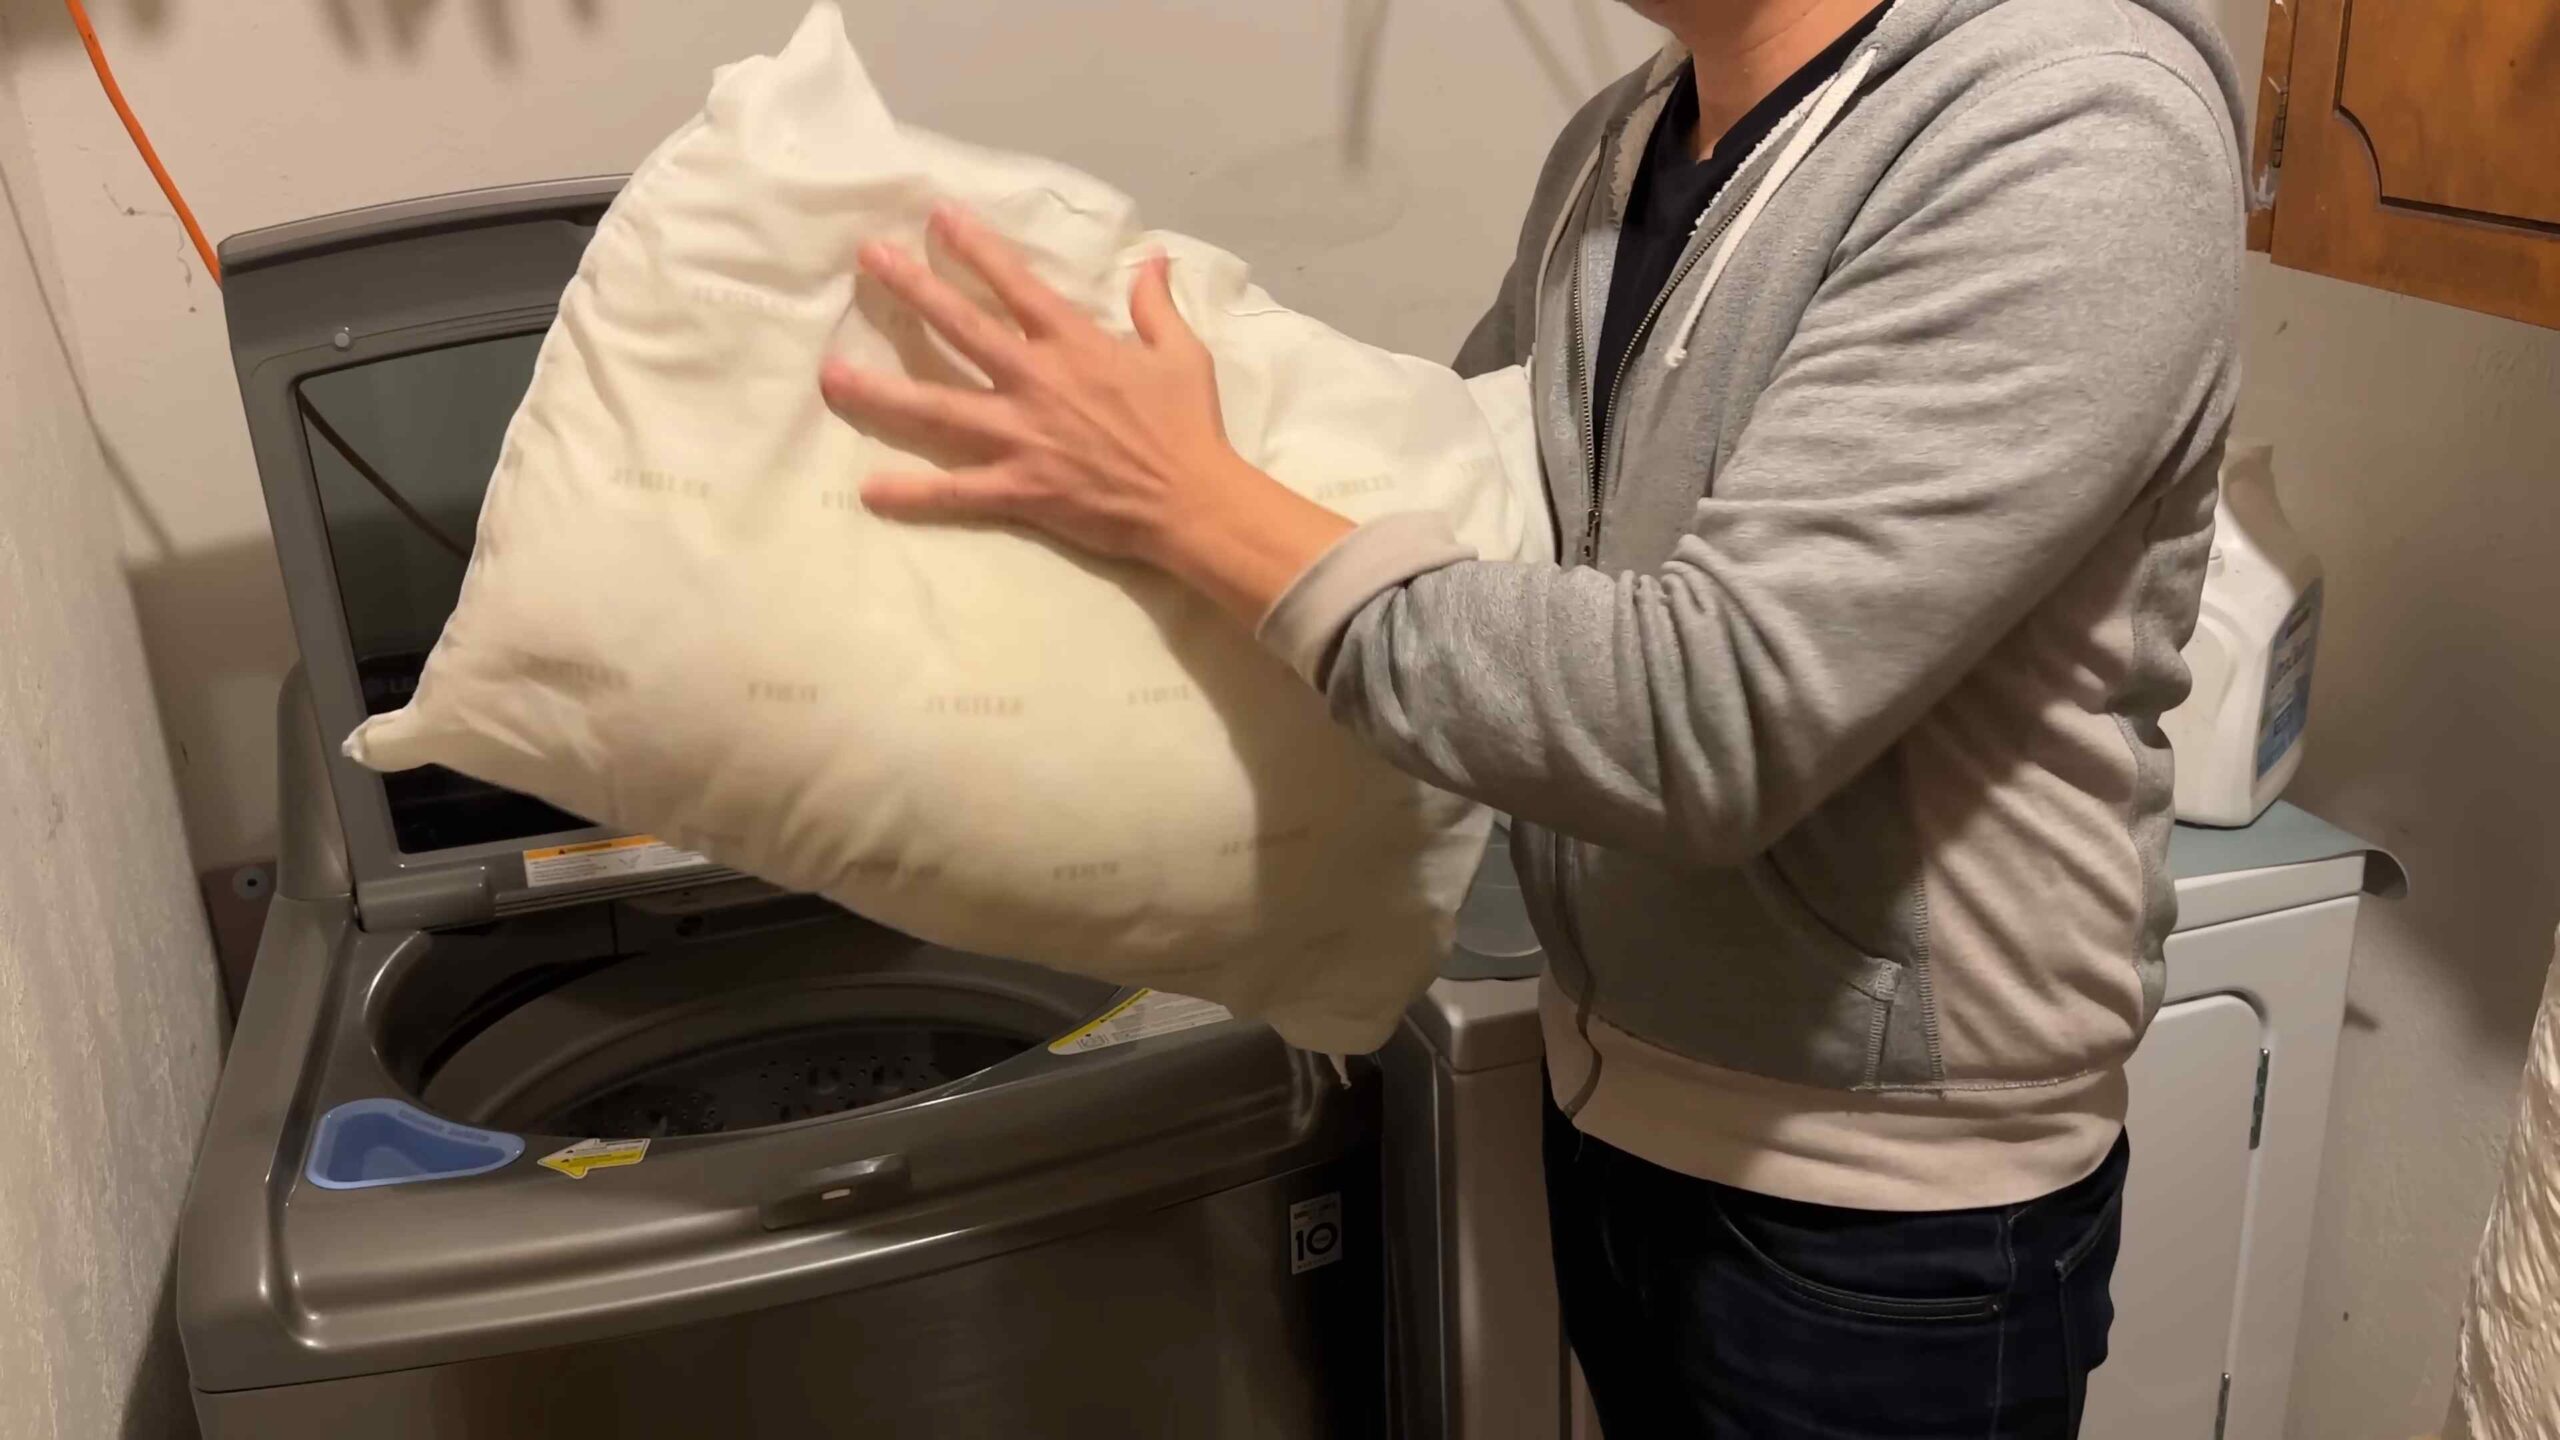
1. **Prepare Your Pillows:** Remove the pillowcases and any pillow protectors. Give your pillows a good once-over. Check for any stains or tears. If you find any stains, you can pre-treat them with a stain remover before washing.
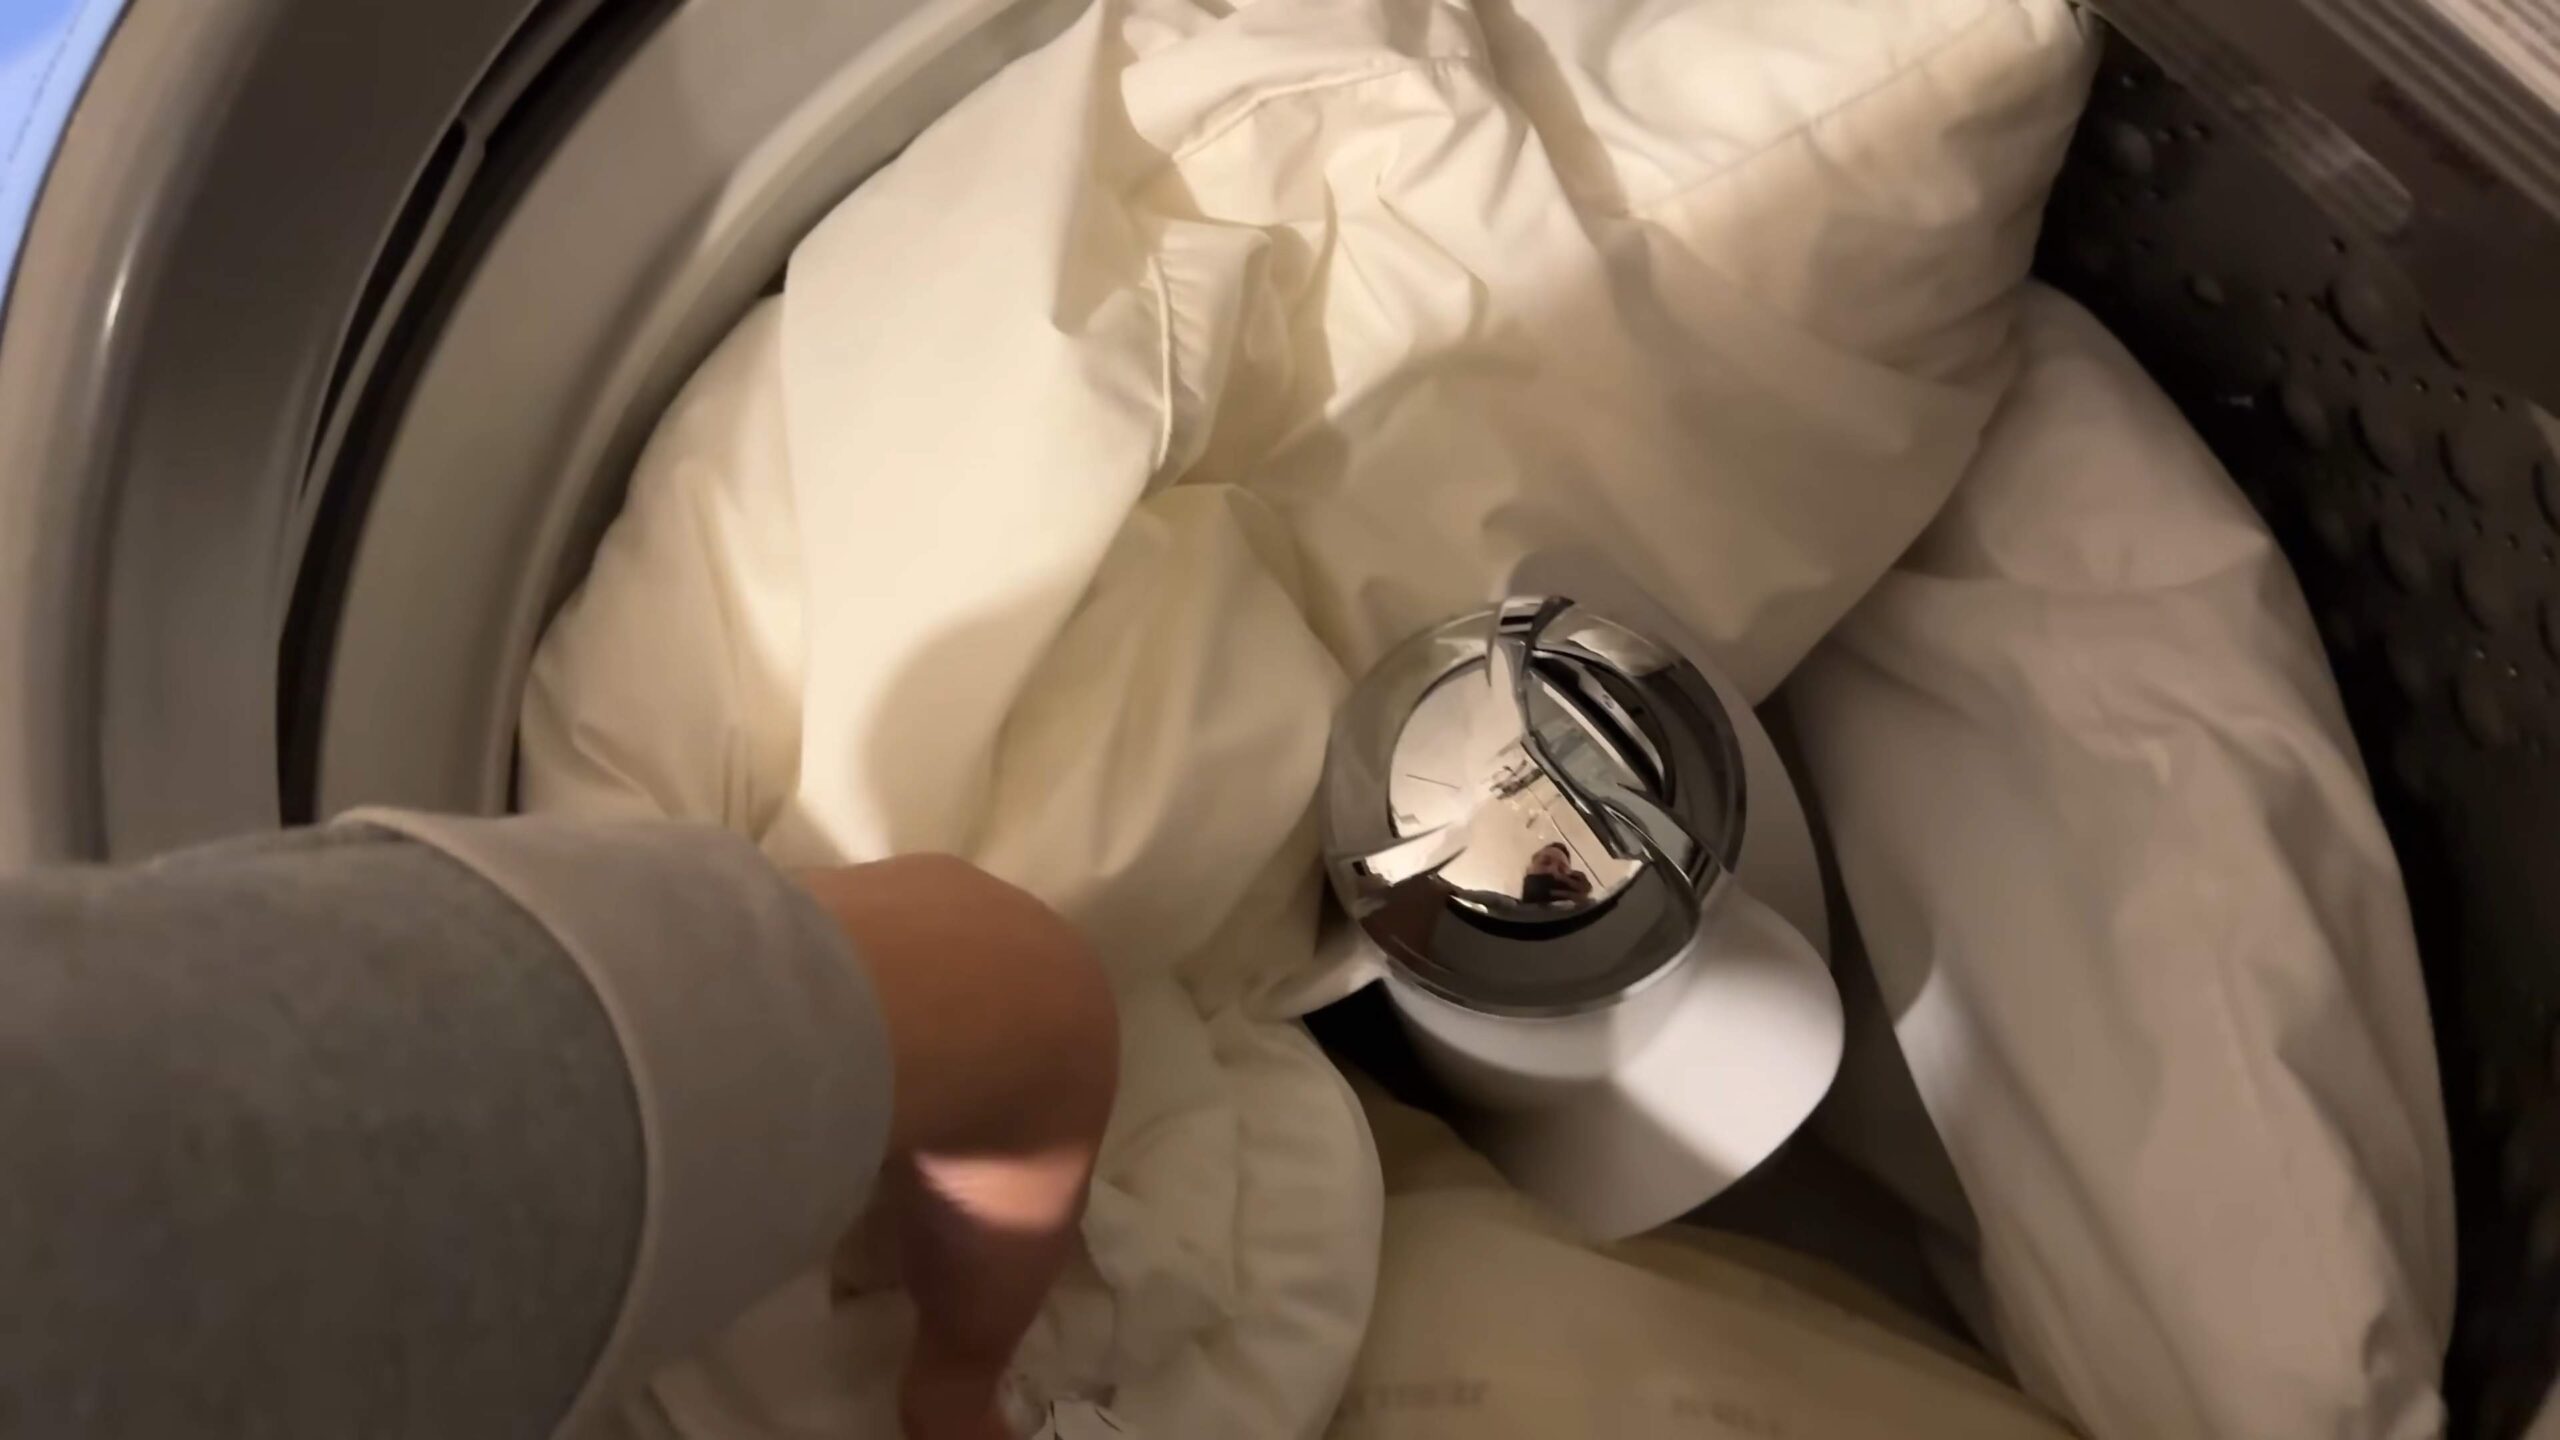
2. **Load the Washing Machine:** Place two pillows in the washing machine at a time. This will help balance the load and prevent the machine from shaking too much. If you only have one pillow to wash, add a couple of towels to the load to balance it out.
3. **Add Detergent, Baking Soda, and Vinegar:** Add about 1-2 tablespoons of laundry detergent to the washing machine. Then, add 1/2 cup of baking soda and 1/2 cup of white vinegar. The baking soda will help deodorize and brighten the pillows, while the vinegar will act as a natural disinfectant and fabric softener. Don’t worry, your pillows won’t smell like vinegar after they’re washed!
4. **Select the Wash Cycle:** Choose the gentle cycle and use warm water. Hot water can damage some pillow fillings. Make sure to select an extra rinse cycle to remove all traces of detergent.
5. **Start the Washing Machine:** Let the washing machine do its thing!
Drying Your Pillows
Once the washing machine is finished, it’s time to dry your pillows. This is a crucial step, as damp pillows can develop mold and mildew.
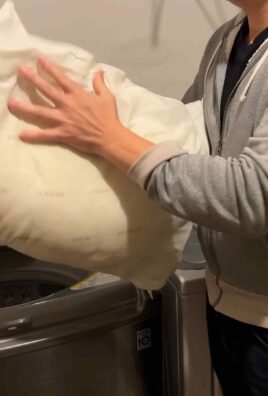
1. **Check for Lumps:** Before you put your pillows in the dryer, give them a good squeeze. If you feel any lumps, try to break them up with your hands.
2. **Load the Dryer:** Place the pillows in the dryer.
3. **Add Tennis Balls (Optional):** This is where the tennis balls come in! Place two or three tennis balls in clean socks or pillowcases and add them to the dryer with the pillows. The tennis balls will help fluff the pillows and prevent them from clumping together.
4. **Select the Drying Cycle:** Choose the low heat setting. High heat can damage the pillow filling.
5. **Dry Thoroughly:** Dry the pillows for at least one hour, or until they are completely dry. You may need to run the dryer for longer, depending on the type of filling and the dryer’s settings. I usually stop the dryer every 30 minutes to fluff the pillows by hand.
6. **Check for Dampness:** Once the drying cycle is complete, check the pillows for dampness. If they still feel damp, run them through another drying cycle.
Dealing with Top-Loading Washing Machines
If you have a top-loading washing machine with an agitator, you can still clean your pillows, but you’ll need to take a few extra precautions.
1. **Load Carefully:** Arrange the pillows around the agitator to balance the load.
2. **Use a Gentle Cycle:** Select the gentlest cycle possible to minimize wear and tear on the pillows.
3. **Consider Hand Washing:** For delicate pillows, you might consider hand washing them instead of using the washing machine.
Hand Washing Your Pillows
If your pillows are too delicate for the washing machine, or if you just prefer to hand wash them, here’s how:
1. **Fill a Tub or Sink:** Fill a large tub or sink with warm water.
2. **Add Detergent, Baking Soda, and Vinegar:** Add 1-2 tablespoons of laundry detergent, 1/2 cup of baking soda, and 1/2 cup of white vinegar to the water.
3. **Submerge the Pillow:** Submerge the pillow in the water and gently squeeze it to release any air bubbles.
4. **Knead the Pillow:** Gently knead the pillow to work the detergent into the filling.
5. **Rinse Thoroughly:** Drain the soapy water and refill the tub or sink with clean water. Rinse the pillow thoroughly until all traces of detergent are gone. This may take several rinses.
6. **Remove Excess Water:** Gently squeeze the pillow to remove excess water. Be careful not to twist or wring the pillow, as this can damage the filling.
7. **Dry the Pillow:** Place the pillow on a clean towel and roll it up to absorb more water. Then, lay the pillow flat on a drying rack or hang it outside to dry. Make sure the pillow is completely dry before using it. This may take several days.
Cleaning Memory Foam Pillows
Memory foam pillows require a slightly different approach. You can’t put them in the washing machine or dryer, as this can damage the foam.
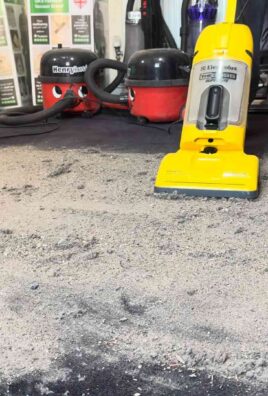
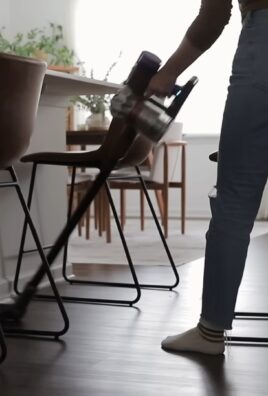
1. **Vacuum the Pillow:** Use a vacuum cleaner with an upholstery attachment to vacuum the pillow on both sides. This will remove dust and debris.
2. **Spot Clean Stains:** If you find any stains, spot clean them with a mild detergent and a damp cloth. Be careful not to saturate the foam.
3. **Air Dry:** Allow the pillow to air dry completely. You can place it in a well-ventilated area or outside in the sun.
Tips for Keeping Your Pillows Clean
Here are a few tips to help keep your pillows clean and fresh:
* **Use Pillow Protectors:** Use pillow protectors under your pillowcases to protect your pillows from dust, dirt, and body oils.
* **Wash Pillowcases Regularly:** Wash your pillowcases at least once a week.
* **Fluff Your Pillows Daily:** Fluff your pillows daily to help them maintain their shape and prevent them from clumping together.
* **Air Out Your Pillows Regularly:** Air out your pillows outside in the sun every few months. This will help kill bacteria and freshen them up.
* **Replace Your Pillows Regularly:** Even with regular cleaning, pillows eventually wear out and need to be replaced. I recommend replacing your pillows every one to two years.
When to Replace Your Pillows
How do you know when it’s time to replace your pillows? Here are a few signs:
* The pillow is flat and doesn’t hold its shape.
* The pillow is stained or discolored.
* The pillow smells bad, even after cleaning.
* You wake up with neck pain or stiffness.
* You’ve had the pillow for more than two years.
Enjoy Your Fresh, Clean Pillows!
That’s it! You’ve successfully cleaned your pillows and given them a new lease on life. Now you can enjoy sleeping on fresh, fluffy pillows again. Sweet dreams!
Conclusion
So, there you have it! A simple, effective, and budget-friendly way to breathe new life into your pillows. This DIY method to clean pillows isn’t just about removing surface dirt; it’s about eliminating dust mites, allergens, and that lingering musty smell that can accumulate over time. Think of it as a spa day for your pillows, leaving them feeling refreshed, plump, and ready to provide you with a restful night’s sleep.
Why is this DIY trick a must-try? Because it’s a game-changer for your sleep hygiene and overall well-being. Store-bought pillow cleaners can be expensive and often contain harsh chemicals. This method utilizes ingredients you likely already have in your pantry, making it a cost-effective and eco-friendly alternative. Plus, knowing exactly what’s going into cleaning your pillows gives you peace of mind, especially if you have allergies or sensitivities.
But the best part? The results speak for themselves. Imagine sinking into a pillow that’s not only clean but also feels noticeably fluffier and more supportive. It’s a small change that can make a big difference in the quality of your sleep.
Looking for variations? Absolutely! For an extra boost of freshness, add a few drops of your favorite essential oil to the washing machine. Lavender is a classic choice for relaxation, while eucalyptus can help clear sinuses. You can also adjust the amount of baking soda and vinegar depending on the size and condition of your pillows. For heavily soiled pillows, consider pre-soaking them in a solution of warm water and baking soda before washing. If you have down pillows, be sure to use a gentle cycle and dry them on low heat with dryer balls to prevent clumping.
Don’t just take our word for it, though. We wholeheartedly encourage you to try this DIY pillow cleaning method and experience the difference for yourself. It’s a simple process that yields remarkable results. And once you’ve given it a go, we’d love to hear about your experience! Share your tips, tricks, and before-and-after photos in the comments below. Let’s create a community of clean pillow enthusiasts!
We believe that everyone deserves a good night’s sleep, and clean pillows are a crucial part of that equation. So, ditch the expensive cleaners, embrace this DIY solution, and get ready to enjoy the comfort and freshness of truly clean pillows. Sweet dreams!
Frequently Asked Questions (FAQs)
How often should I clean my pillows using this DIY method?
The frequency of cleaning your pillows depends on several factors, including how often you use them, whether you have allergies, and if you sweat a lot during sleep. As a general guideline, we recommend cleaning your pillows every 3 to 6 months. However, if you notice any stains, odors, or signs of dust mites, it’s best to clean them sooner. Regularly washing your pillowcases (at least once a week) can also help extend the time between deep cleanings. Remember, maintaining clean pillows is an ongoing process, not a one-time event.
What type of pillows can I clean using this method?
This DIY cleaning method is generally safe for most types of pillows, including cotton, down, feather, and synthetic fill pillows. However, it’s always a good idea to check the care label on your pillow before proceeding. Some pillows may have specific cleaning instructions that you should follow. For example, memory foam pillows typically cannot be machine washed and should be spot cleaned instead. If you’re unsure, it’s best to err on the side of caution and consult the manufacturer’s recommendations.
Can I use a different type of detergent?
Yes, you can use a different type of detergent, but we recommend using a mild, hypoallergenic detergent to avoid irritating your skin or triggering allergies. Avoid using detergents that contain harsh chemicals, bleach, or fabric softeners, as these can damage the pillow fibers and leave behind residue. If you have sensitive skin, consider using a detergent specifically designed for sensitive skin. You can also use a natural laundry soap made from plant-based ingredients.
How do I dry my pillows properly?
Proper drying is crucial to prevent mold and mildew growth inside your pillows. The best way to dry pillows is in a clothes dryer on low heat. Add a few dryer balls or clean tennis balls to help fluff the pillows and prevent clumping. Check the pillows periodically to ensure they are drying evenly. It may take several hours for the pillows to dry completely. If you don’t have a dryer, you can air dry your pillows outside on a sunny day. Be sure to place them in a well-ventilated area and turn them frequently to ensure they dry evenly. Avoid drying pillows in direct sunlight, as this can damage the fibers.
What if my pillows have stubborn stains?
For stubborn stains, pre-treat the affected area before washing. You can use a stain remover spray or a paste made from baking soda and water. Apply the stain remover or paste to the stain and let it sit for 30 minutes before washing. For blood stains, use cold water to rinse the stain before applying the stain remover. Avoid using hot water, as this can set the stain. For oil-based stains, try using a degreasing dish soap.
How do I get rid of the musty smell in my pillows?
The musty smell in pillows is often caused by moisture and mildew. To get rid of the smell, try adding a cup of white vinegar to the washing machine along with your detergent. Vinegar is a natural deodorizer and can help kill mold and mildew. You can also try sprinkling baking soda on your pillows and letting it sit for several hours before vacuuming it off. Baking soda is another natural deodorizer that can help absorb odors. Make sure your pillows are completely dry after washing to prevent the musty smell from returning.
Is it safe to use bleach to clean my pillows?
We generally do not recommend using bleach to clean pillows, as it can damage the fibers and cause discoloration. Bleach can also be irritating to the skin and respiratory system. If you must use bleach, use it sparingly and dilute it with plenty of water. Be sure to rinse the pillows thoroughly to remove all traces of bleach. However, there are safer and more effective alternatives, such as baking soda and vinegar.
How do I know when it’s time to replace my pillows?
Even with regular cleaning, pillows eventually wear out and need to be replaced. A good rule of thumb is to replace your pillows every 1 to 2 years. However, you may need to replace them sooner if they are no longer supportive, have permanent stains or odors, or are causing you discomfort. To test if your pillow needs replacing, fold it in half. If it stays folded and doesn’t spring back into shape, it’s time for a new pillow.
Can this method be used for cleaning decorative pillows?
Yes, this method can be used for cleaning decorative pillows, but it’s important to check the care label first. Some decorative pillows may have delicate fabrics or embellishments that require special care. If the care label recommends dry cleaning only, it’s best to follow those instructions. If the pillow is machine washable, you can use this DIY method, but be sure to use a gentle cycle and a mild detergent. You may also want to place the pillow in a mesh laundry bag to protect it from damage.
What are the benefits of using dryer balls when drying pillows?
Dryer balls offer several benefits when drying pillows. They help to fluff the pillows and prevent clumping, ensuring that the filling dries evenly. They also help to reduce drying time by improving air circulation. Dryer balls are a natural and reusable alternative to dryer sheets, which can contain chemicals that irritate the skin. Wool dryer balls are a popular choice, as they are gentle on fabrics and can last for hundreds of loads.
Leave a Comment