

Clean Gas Stove: Is your gas stove looking less like a culinary command center and more like a Jackson Pollock painting gone wrong? Don’t despair! We’ve all been there. That burnt-on food, greasy splatters, and general grime can make even the most enthusiastic cook cringe. But before you resign yourself to a lifetime of stovetop shame, I’m here to tell you that a sparkling clean gas stove is within your reach – and it doesn’t require harsh chemicals or hours of scrubbing.
For generations, the kitchen hearth, and now the gas stove, has been the heart of the home. From simmering family recipes passed down through generations to whipping up quick weeknight meals, our stoves are constant companions. Keeping them clean isn’t just about aesthetics; it’s about maintaining a safe and efficient cooking environment. A buildup of grease and food debris can actually affect the stove’s performance and even pose a fire hazard.
That’s why I’m so excited to share these simple, effective, and budget-friendly DIY tricks to help you clean gas stove components like a pro. These hacks will not only restore your stove’s shine but also save you time and effort in the long run. Say goodbye to stubborn stains and hello to a gleaming gas stove that you’ll be proud to show off! Let’s get started!
DIY Deep Clean: Revive Your Grimy Gas Stove Like a Pro!
Okay, let’s be honest, cleaning the gas stove is probably nobody’s favorite chore. But a sparkling clean stove not only looks fantastic, it also improves cooking efficiency and can even extend the life of your appliance. I’m going to walk you through my tried-and-true method for a deep clean that will leave your stove looking almost brand new. Get ready to roll up your sleeves!
What You’ll Need: Your Cleaning Arsenal
Before we dive in, gather your supplies. Having everything on hand will make the process much smoother. Here’s my go-to list:
* Dish soap: A good degreasing dish soap is essential.
* Baking soda: This is a natural abrasive and deodorizer – a cleaning powerhouse!
* White vinegar: Cuts through grease and grime like a champ.
* Ammonia (optional, use with caution): For really stubborn baked-on messes. I’ll explain the safe way to use this.
* Spray bottle: For your vinegar solution.
* Microfiber cloths: These are gentle yet effective for wiping surfaces.
* Non-scratch scrub sponge: For tackling tougher spots.
* Old toothbrush: Perfect for getting into those hard-to-reach crevices.
* Paper towels: For soaking up spills and drying surfaces.
* Rubber gloves: Protect your hands from harsh chemicals and grime.
* Large resealable bags (gallon-sized): For soaking the burner grates.
* Safety glasses (optional, but recommended if using ammonia): Better safe than sorry!
* Small wire brush or pin: For unclogging burner ports.
* Butter knife or scraper: For gently lifting stubborn debris.
Safety First!
Before we even think about cleaning, let’s talk safety.
* Turn off the gas supply: This is absolutely crucial! Locate the gas shut-off valve behind your stove or in the basement and turn it off.
* Unplug the stove: If your stove has electronic ignition, unplug it from the wall outlet.
* Ventilation is key: Open windows and doors to ensure good ventilation, especially if you’re using ammonia.
* Wear gloves: Protect your hands from harsh chemicals and grime.
* Never mix ammonia and bleach: This creates toxic fumes that can be deadly.
Disassembling the Stove: Getting Ready to Clean
Now that we’re prepped and safe, let’s take the stove apart.
1. Remove the burner grates: Carefully lift off the burner grates. These are usually the dirtiest part of the stove.
2. Remove the burner caps and burner heads: These usually lift straight up. Pay attention to how they’re positioned so you can put them back correctly later.
3. Remove the control knobs: Most knobs can be pulled straight off. If they’re stuck, try gently wiggling them back and forth while pulling. Don’t force them!
4. Remove the drip pans (if applicable): Some stoves have drip pans under the burners. Lift these out.
Cleaning the Burner Grates: The Ammonia Soak (or Baking Soda Alternative)
This is where the magic happens! We’re going to tackle those greasy, grimy burner grates.
1. The Ammonia Method (Use with Caution!):
* Place each burner grate into a large resealable bag.
* Carefully pour about ¼ cup of ammonia into each bag.
* Seal the bags tightly, making sure the ammonia doesn’t leak.
* Place the bags outside or in a well-ventilated area, away from children and pets.
* Let the grates soak for at least 12 hours, or even overnight. The ammonia fumes will loosen the baked-on grease.
* After soaking, carefully open the bags (outside!) and remove the grates.
* Rinse the grates thoroughly with warm, soapy water. The grease should wipe away easily.
* If there are any stubborn spots, use a non-scratch scrub sponge to gently scrub them away.
* Dry the grates completely before putting them back on the stove.
2. The Baking Soda Paste Method (A Gentler Approach):
* In a bowl, mix baking soda with a little water to form a thick paste.
* Apply the paste generously to the burner grates, covering all the greasy areas.
* Let the paste sit for at least 30 minutes, or even longer for heavily soiled grates.
* Scrub the grates with a non-scratch scrub sponge. The baking soda will act as a gentle abrasive.
* Rinse the grates thoroughly with warm, soapy water.
* Dry the grates completely before putting them back on the stove.
Cleaning the Burner Caps and Burner Heads: Unclogging and Shining
These smaller parts are just as important to clean for optimal stove performance.
1. Soak in Soapy Water: Place the burner caps and burner heads in a bowl of warm, soapy water. Let them soak for about 15-20 minutes to loosen any grime.
2. Scrub and Rinse: Use a non-scratch scrub sponge or an old toothbrush to scrub away any dirt and debris. Pay close attention to the small holes (ports) on the burner heads.
3. Unclog the Ports: Use a small wire brush, a pin, or even a straightened paperclip to carefully unclog any blocked ports. This is crucial for ensuring even flame distribution.
4. Rinse Thoroughly: Rinse the burner caps and burner heads thoroughly with clean water.
5. Dry Completely: Make sure these parts are completely dry before reassembling them. This prevents rust and ensures proper ignition.
Cleaning the Control Knobs: Giving Them a Sparkle
Don’t forget the control knobs! They often get greasy and grimy from handling.
1. Soak in Soapy Water: Place the control knobs in a bowl of warm, soapy water. Let them soak for about 10-15 minutes.
2. Scrub and Rinse: Use a non-scratch scrub sponge or an old toothbrush to scrub away any dirt and grime.
3. Rinse Thoroughly: Rinse the knobs thoroughly with clean water.
4. Dry Completely: Dry the knobs completely before putting them back on the stove.
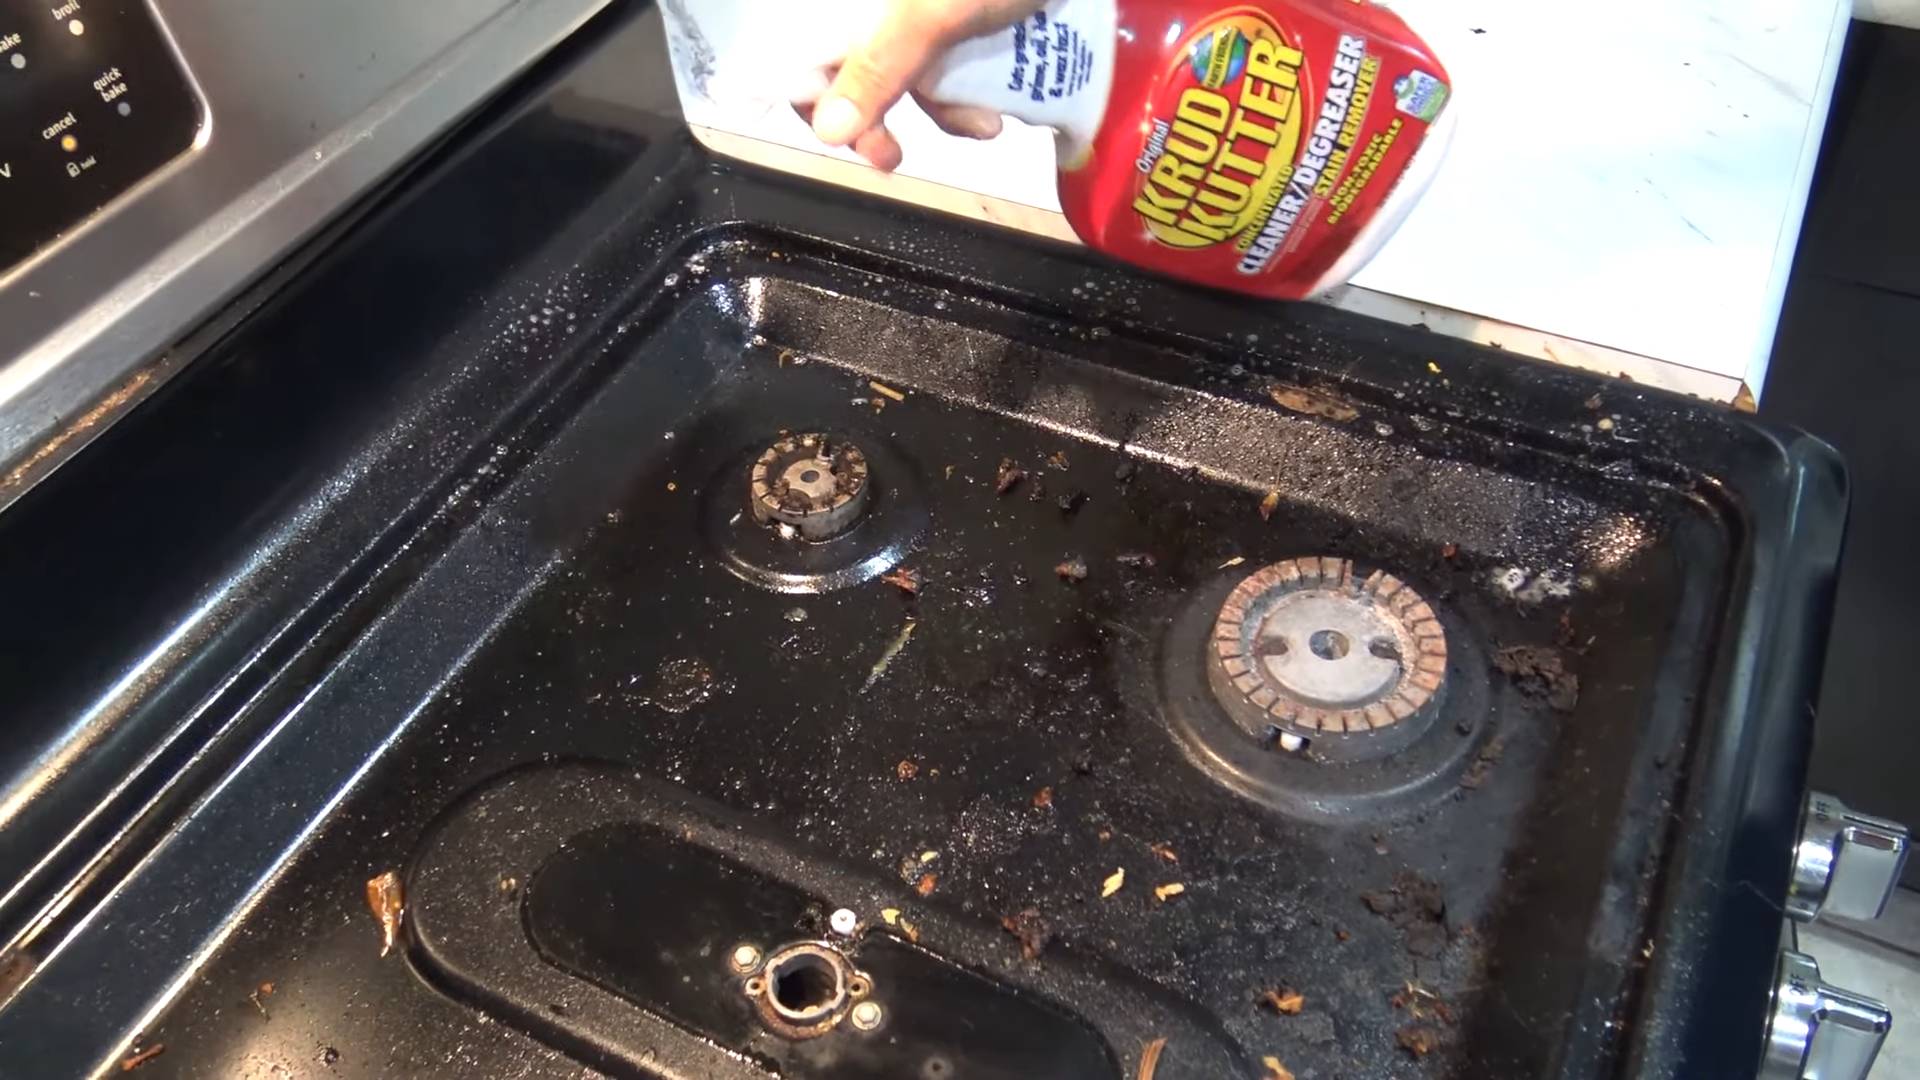
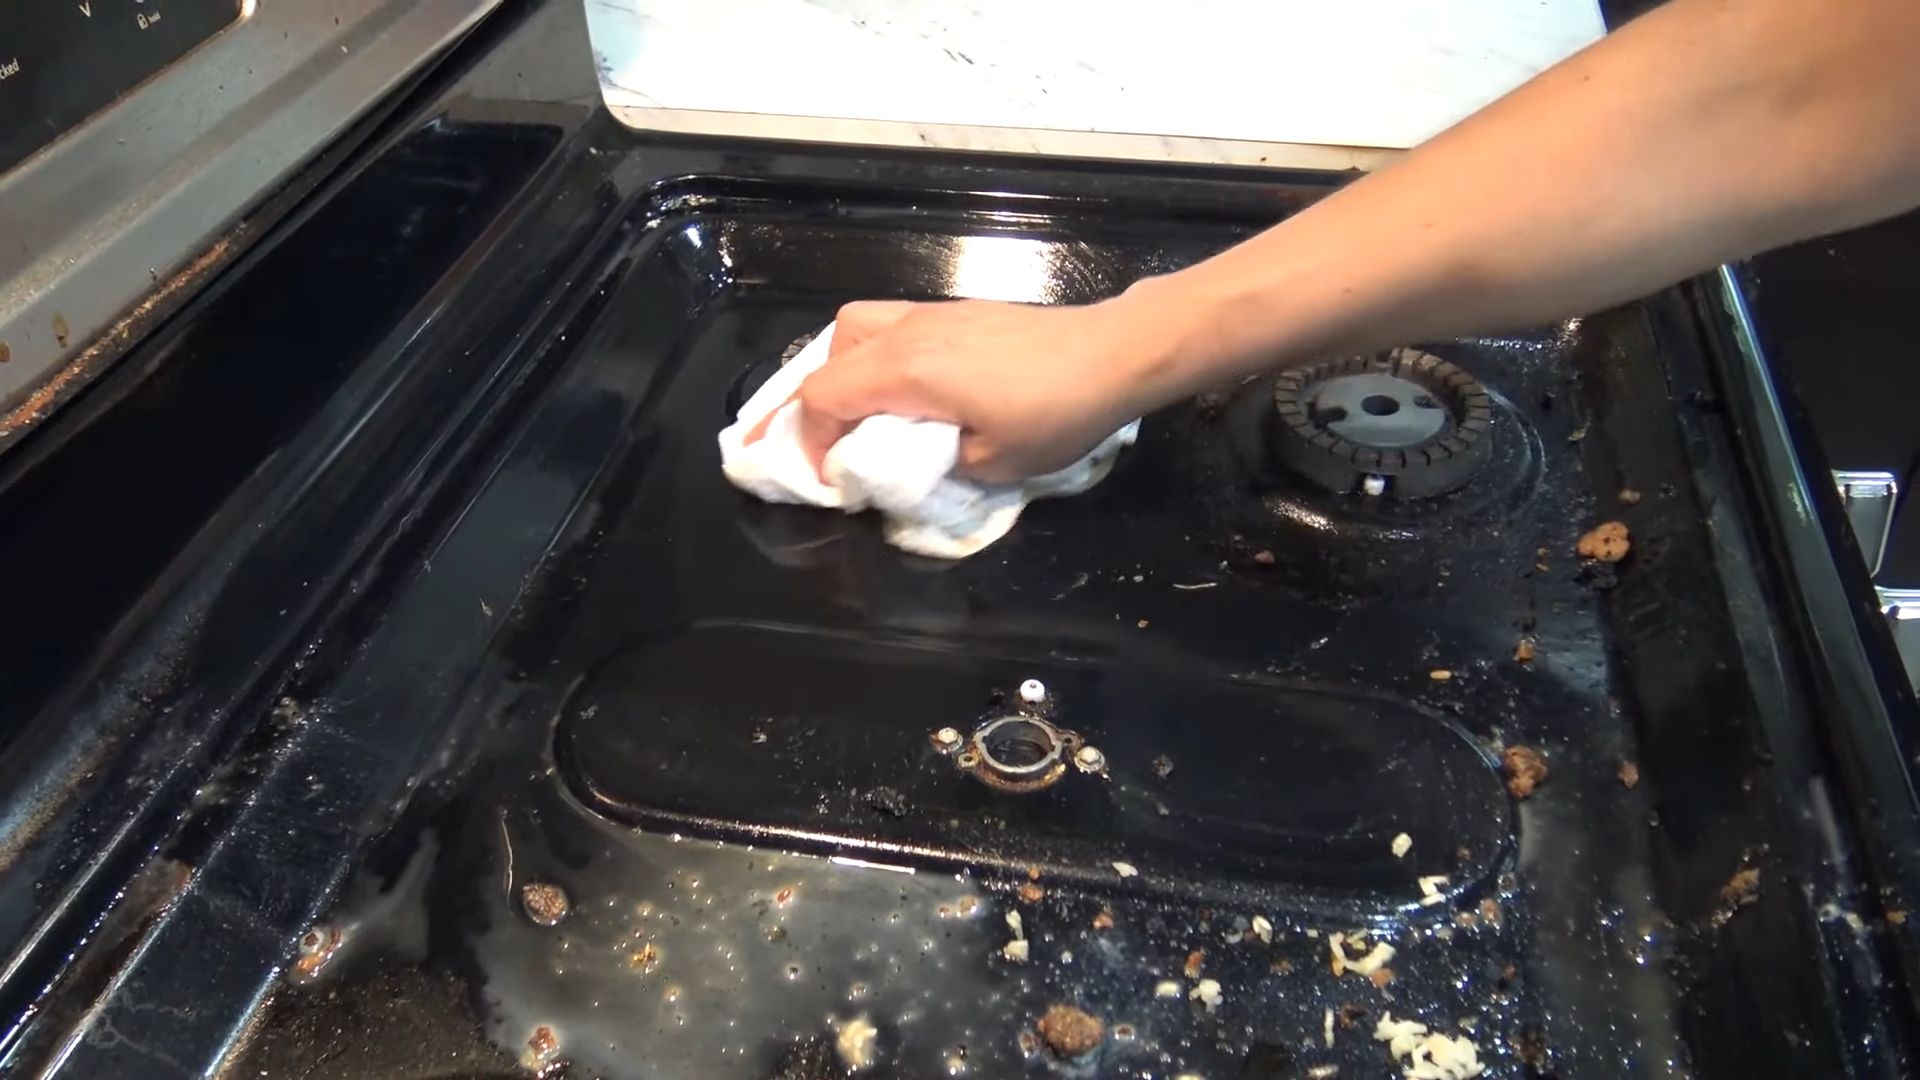
Cleaning the Stove Top: The Main Event
Now for the big one – cleaning the stove top itself!
1. Remove Loose Debris: Use a dry cloth or paper towel to wipe away any loose crumbs, spills, or debris.
2. Apply Baking Soda Paste: Make a paste of baking soda and water, similar to what we used for the burner grates.
3. Coat the Stove Top: Apply the paste generously to the entire stove top, focusing on areas with baked-on grease or stains.
4. Let it Sit: Let the paste sit for at least 15-20 minutes, or even longer for stubborn stains.
5. Spray with Vinegar: Fill a spray bottle with white vinegar. Spray the vinegar over the baking soda paste. The vinegar will react with the baking soda, creating a fizzing action that helps to loosen the grime.
6. Scrub Gently: Use a non-scratch scrub sponge to gently scrub the stove top. The fizzing action should make it easier to remove the grease and stains.
7. Wipe Clean: Use a damp microfiber cloth to wipe away the baking soda and vinegar mixture. Rinse the cloth frequently with clean water.
8. Dry Thoroughly: Use a clean, dry microfiber cloth to dry the stove top completely.
9. For Stubborn Spots: If you have any stubborn spots that won’t come off with the baking soda and vinegar, you can try using a specialized stove top cleaner. Follow the instructions on the cleaner carefully. A butter knife or scraper can be used very carefully to lift off stubborn debris. Be careful not to scratch the surface.
Cleaning Drip Pans (If Applicable):
If your stove has drip pans, give them some attention too!
1. Soak in Soapy Water: Soak the drip pans in warm, soapy water for about 15-20 minutes.
2. Scrub and Rinse: Scrub the drip pans with a non-scratch scrub sponge to remove any grease and grime.
3. Rinse Thoroughly: Rinse the drip pans thoroughly with clean water.
4. Dry Completely: Dry the drip pans completely before putting them back on the stove.
Reassembling the Stove: Putting it All Back Together
Now for the satisfying part – putting everything back together!
1. Replace the Drip
Conclusion
So, there you have it! Mastering the art of cleaning your gas stove doesn’t require expensive cleaners or hours of scrubbing. This simple, effective DIY trick, using readily available household ingredients, is a game-changer for anyone who wants a sparkling clean kitchen without the harsh chemicals. We’ve shown you how to banish those stubborn grease stains and burnt-on food particles, leaving your gas stove looking brand new.
Why is this DIY method a must-try? Because it’s not just about aesthetics; it’s about efficiency and safety. A clean gas stove burns more efficiently, saving you money on your gas bill. It also reduces the risk of flare-ups and uneven cooking, ensuring your meals are cooked perfectly every time. Plus, eliminating harsh chemicals from your cleaning routine is better for your health and the environment.
But don’t stop there! Feel free to experiment with variations to suit your specific needs. For instance, if you have particularly stubborn stains, you can let the baking soda paste sit for a longer period, even overnight. Or, if you prefer a more citrusy scent, add a few drops of lemon essential oil to your cleaning solution. You can also use a soft toothbrush to get into those hard-to-reach crevices around the burners.
Consider using a microfiber cloth for the final wipe-down. These cloths are excellent at picking up any remaining residue and leaving a streak-free shine. For stainless steel gas stoves, always wipe in the direction of the grain to avoid scratching the surface.
This DIY approach to **clean gas stove** surfaces is not just a cleaning hack; it’s a sustainable and cost-effective solution for maintaining a vital part of your kitchen. It empowers you to take control of your cleaning routine and create a healthier home environment.
We’re confident that once you try this DIY trick, you’ll be amazed by the results. It’s simple, effective, and uses ingredients you likely already have in your pantry. So, ditch the expensive cleaners and embrace this natural, budget-friendly alternative.
Now, we want to hear from you! Give this DIY method a try and share your experience in the comments below. Did it work as well for you as it did for us? Did you discover any helpful variations? We’re eager to learn from your experiences and build a community of clean gas stove enthusiasts! Share your before-and-after photos, your tips, and your questions. Let’s work together to keep our kitchens sparkling clean and our cooking experiences enjoyable. Happy cleaning!
FAQ
Frequently Asked Questions About Cleaning Your Gas Stove
1. What ingredients do I need for this DIY gas stove cleaning trick?
The beauty of this method is its simplicity! You’ll typically need baking soda, white vinegar, dish soap, and water. A soft sponge or cloth, a toothbrush (for those hard-to-reach areas), and a spray bottle are also helpful. Some variations might include lemon juice or essential oils for added cleaning power and fragrance. The exact proportions will vary depending on the severity of the grime, but a good starting point is a paste of baking soda and water, followed by a spray of vinegar.
2. How often should I clean my gas stove?
Ideally, you should wipe down your gas stove after each use to prevent spills and splatters from hardening. A more thorough cleaning, using the DIY method described, should be done at least once a week, or more frequently if you cook often or tend to make messy meals. Regular cleaning prevents the buildup of stubborn grime and makes the cleaning process much easier in the long run.
3. Can I use this method on all types of gas stoves?
This DIY cleaning method is generally safe for most gas stoves, including stainless steel, enamel, and porcelain surfaces. However, it’s always a good idea to test a small, inconspicuous area first to ensure there are no adverse reactions. Avoid using abrasive cleaners or scouring pads, as these can scratch the surface of your stove. For stainless steel stoves, always wipe in the direction of the grain.
4. What if I have extremely stubborn, burnt-on food on my gas stove?
For particularly stubborn stains, you can let the baking soda paste sit for a longer period, even overnight. You can also try gently scraping the area with a plastic scraper or a credit card. Avoid using metal scrapers, as these can damage the surface of your stove. Another helpful tip is to soak the burner grates in hot, soapy water for several hours before scrubbing them.
5. Is it safe to use vinegar on my gas stove?
Yes, white vinegar is generally safe to use on gas stoves. However, it’s important to dilute it with water, especially if you have a stainless steel stove. Vinegar is acidic and can potentially damage certain surfaces if used undiluted. Always test a small area first and avoid using vinegar on cast iron grates, as it can cause them to rust.
6. How do I clean the burner caps and grates?
The burner caps and grates can be removed and cleaned separately. Soak them in hot, soapy water for at least 30 minutes, or even overnight for heavily soiled grates. Use a scrub brush or sponge to remove any remaining grime. For stubborn stains, you can try using a baking soda paste or a commercial degreaser. Make sure the burner caps and grates are completely dry before reassembling them.
7. Can I use this method to clean the gas stove knobs?
Yes, you can use this method to clean the gas stove knobs. Remove the knobs from the stove and soak them in warm, soapy water. Use a soft cloth or sponge to wipe away any dirt or grime. For stubborn stains, you can try using a toothbrush to scrub the knobs. Make sure the knobs are completely dry before reattaching them to the stove.
8. What precautions should I take when cleaning my gas stove?
Before cleaning your gas stove, make sure it is turned off and completely cool. Disconnect the gas supply if you are concerned about accidental ignition. Wear gloves to protect your hands from harsh chemicals and hot water. Avoid spraying cleaning solutions directly into the gas jets, as this can damage them. Always rinse the stove thoroughly after cleaning to remove any remaining residue.
9. How can I prevent my gas stove from getting so dirty in the first place?
Prevention is key! Wipe down your gas stove after each use to remove spills and splatters before they harden. Use splatter screens when cooking to prevent grease from splattering onto the stove. Clean up spills immediately to prevent them from staining the surface. Regularly clean the burner caps and grates to prevent the buildup of grime.
10. What are some alternative cleaning solutions I can use if I don’t have baking soda or vinegar?
If you don’t have baking soda or vinegar, you can try using a commercial degreaser or a mixture of dish soap and water. Lemon juice is also a natural cleaning agent that can be used to remove grease and grime. However, always test a small area first to ensure the cleaning solution is safe for your stove’s surface.


Leave a Comment