

Clean bathroom, healthy home – it’s more than just a catchy phrase; it’s a cornerstone of well-being! Let’s face it, nobody enjoys spending time in a grimy bathroom. But beyond the unpleasant aesthetics, a sparkling clean bathroom is crucial for preventing the spread of germs and maintaining a healthy living environment for you and your family.
For centuries, cultures around the globe have recognized the importance of cleanliness, often incorporating ritualistic cleansing practices into daily life. From ancient Roman bathhouses to Japanese onsen, the act of cleaning and purifying has always been linked to physical and spiritual health. But in our busy modern lives, who has time for elaborate cleaning rituals? That’s where these DIY bathroom cleaning tricks come in!
I’m going to share some simple, effective, and budget-friendly DIY hacks that will transform your bathroom from a breeding ground for bacteria to a pristine sanctuary. We’ll tackle everything from stubborn soap scum to grimy grout, using ingredients you probably already have in your pantry. Because let’s be honest, nobody wants to spend a fortune on harsh chemicals when you can achieve the same, or even better, results with natural solutions. So, are you ready to unlock the secrets to a clean bathroom, healthy home? Let’s get started!
DIY Bathroom Cleaning Bombs: Sparkle and Sanitize!
Hey there, fellow DIY enthusiasts! I’m so excited to share one of my favorite bathroom cleaning hacks with you: homemade cleaning bombs! Not only are these fizzing wonders super effective at tackling grime and leaving your bathroom smelling amazing, but they’re also a fantastic way to ditch harsh chemicals and embrace a more natural cleaning routine. Plus, they’re surprisingly easy and fun to make! Let’s get started!
What You’ll Need: The Essential Ingredients
Before we dive into the process, let’s gather all the necessary ingredients and equipment. This will make the whole experience smoother and more enjoyable. Trust me, having everything ready beforehand is a game-changer!
* Baking Soda (Sodium Bicarbonate): This is the base of our cleaning bombs. It’s a mild alkali that helps to dissolve dirt and grease. You’ll need about 1 cup.
* Citric Acid: This is what creates the fizzing action when the bomb comes into contact with water. It also helps to remove hard water stains and soap scum. You’ll need about 1/2 cup.
* Cornstarch: This acts as a binder, helping the ingredients stick together and preventing the bombs from crumbling. You’ll need about 1/2 cup.
* Epsom Salts: These add a bit of weight to the bombs and can help to soften water. Plus, they have a lovely, calming effect! You’ll need about 1/4 cup.
* Essential Oils: This is where you can get creative and customize the scent of your cleaning bombs! I personally love using a combination of tea tree oil (for its antibacterial properties) and lemon oil (for its fresh, clean scent). You’ll need about 20-30 drops in total. Other great options include lavender, eucalyptus, peppermint, and orange.
* Water in a Spray Bottle: Just plain water will do! We’ll use this to lightly dampen the mixture and help it bind together.
* Food Coloring (Optional): If you want to add a pop of color to your cleaning bombs, feel free to use a few drops of food coloring. Gel food coloring works best, as it’s more concentrated and less likely to make the mixture too wet.
* Molds: You can use silicone molds, ice cube trays, or even muffin tins to shape your cleaning bombs. I personally love using silicone molds because they’re flexible and make it easy to remove the bombs once they’re dry.
* Mixing Bowl: A large bowl will give you plenty of room to mix all the ingredients together.
* Gloves (Optional): If you have sensitive skin, you might want to wear gloves to protect your hands from the essential oils and citric acid.
* Spoon or Whisk: For mixing the ingredients.
* Measuring Cups and Spoons: For accurate measurements.
Step-by-Step Guide: Creating Your Fizzing Cleaning Bombs
Okay, now for the fun part! Follow these steps carefully, and you’ll have a batch of sparkling cleaning bombs in no time.
1. Combine the Dry Ingredients: In your large mixing bowl, combine the baking soda, citric acid, cornstarch, and Epsom salts. Use a whisk or spoon to thoroughly mix all the dry ingredients together. Make sure there are no clumps. This is crucial for even distribution and proper fizzing later on.
2. Add the Essential Oils and Food Coloring (Optional): Now, it’s time to add the essential oils. Drizzle them evenly over the dry mixture. If you’re using food coloring, add a few drops at this stage as well. Remember, a little goes a long way!
3. Mix Well: Use your hands (wearing gloves if desired) or a spoon to thoroughly mix the essential oils and food coloring into the dry ingredients. Make sure everything is evenly distributed. The mixture should be slightly fragrant and evenly colored (if you’re using food coloring).
4. Slowly Add Water: This is the trickiest part, so pay close attention! Fill your spray bottle with water. Now, very slowly and gradually, spritz the dry mixture with water, a little bit at a time. After each spritz, mix the ingredients thoroughly. The goal is to dampen the mixture just enough so that it holds its shape when you squeeze it in your hand, but not so much that it starts to fizz prematurely.
* Important Tip: Add the water very slowly! If you add too much water at once, the mixture will start to fizz and activate before you can mold it. This will result in flat, ineffective cleaning bombs. I usually do one or two spritzes, mix, then repeat until I get the right consistency.
5. Test the Consistency: To test the consistency, grab a handful of the mixture and squeeze it tightly in your hand. If it holds its shape and doesn’t crumble, it’s ready to be molded. If it’s still too dry, add a little more water, a spritz at a time, and mix again. If it’s too wet and starts to fizz, you’ve added too much water. You can try adding a little more baking soda and cornstarch to absorb the excess moisture.
6. Mold the Cleaning Bombs: Once the mixture is the right consistency, it’s time to mold your cleaning bombs. Pack the mixture tightly into your chosen molds. Press down firmly to ensure that the bombs are compact and will hold their shape.
* Tip for Silicone Molds: If you’re using silicone molds, overfill them slightly and then press down firmly to compact the mixture. This will help to create a nice, rounded shape.
7. Let Them Dry: Once you’ve filled all the molds, let the cleaning bombs dry completely. This can take anywhere from 24 to 48 hours, depending on the humidity in your environment. I usually leave them in a cool, dry place to air dry.
* Tip for Faster Drying: If you want to speed up the drying process, you can place the molds in a low-temperature oven (around 170°F or 77°C) for a few hours. Just be sure to check them frequently to make sure they’re not overheating or melting.
8. Remove from Molds: Once the cleaning bombs are completely dry and hardened, carefully remove them from the molds. If they’re sticking, you can gently tap the molds on a hard surface or use a knife to loosen the edges.
9. Store Properly: Store your finished cleaning bombs in an airtight container in a cool, dry place. This will help to prevent them from absorbing moisture and losing their fizzing power.
Using Your Homemade Cleaning Bombs: A Sparkling Clean Bathroom Awaits!
Now that you’ve created your own batch of cleaning bombs, it’s time to put them to work! Here’s how to use them to achieve a sparkling clean bathroom:
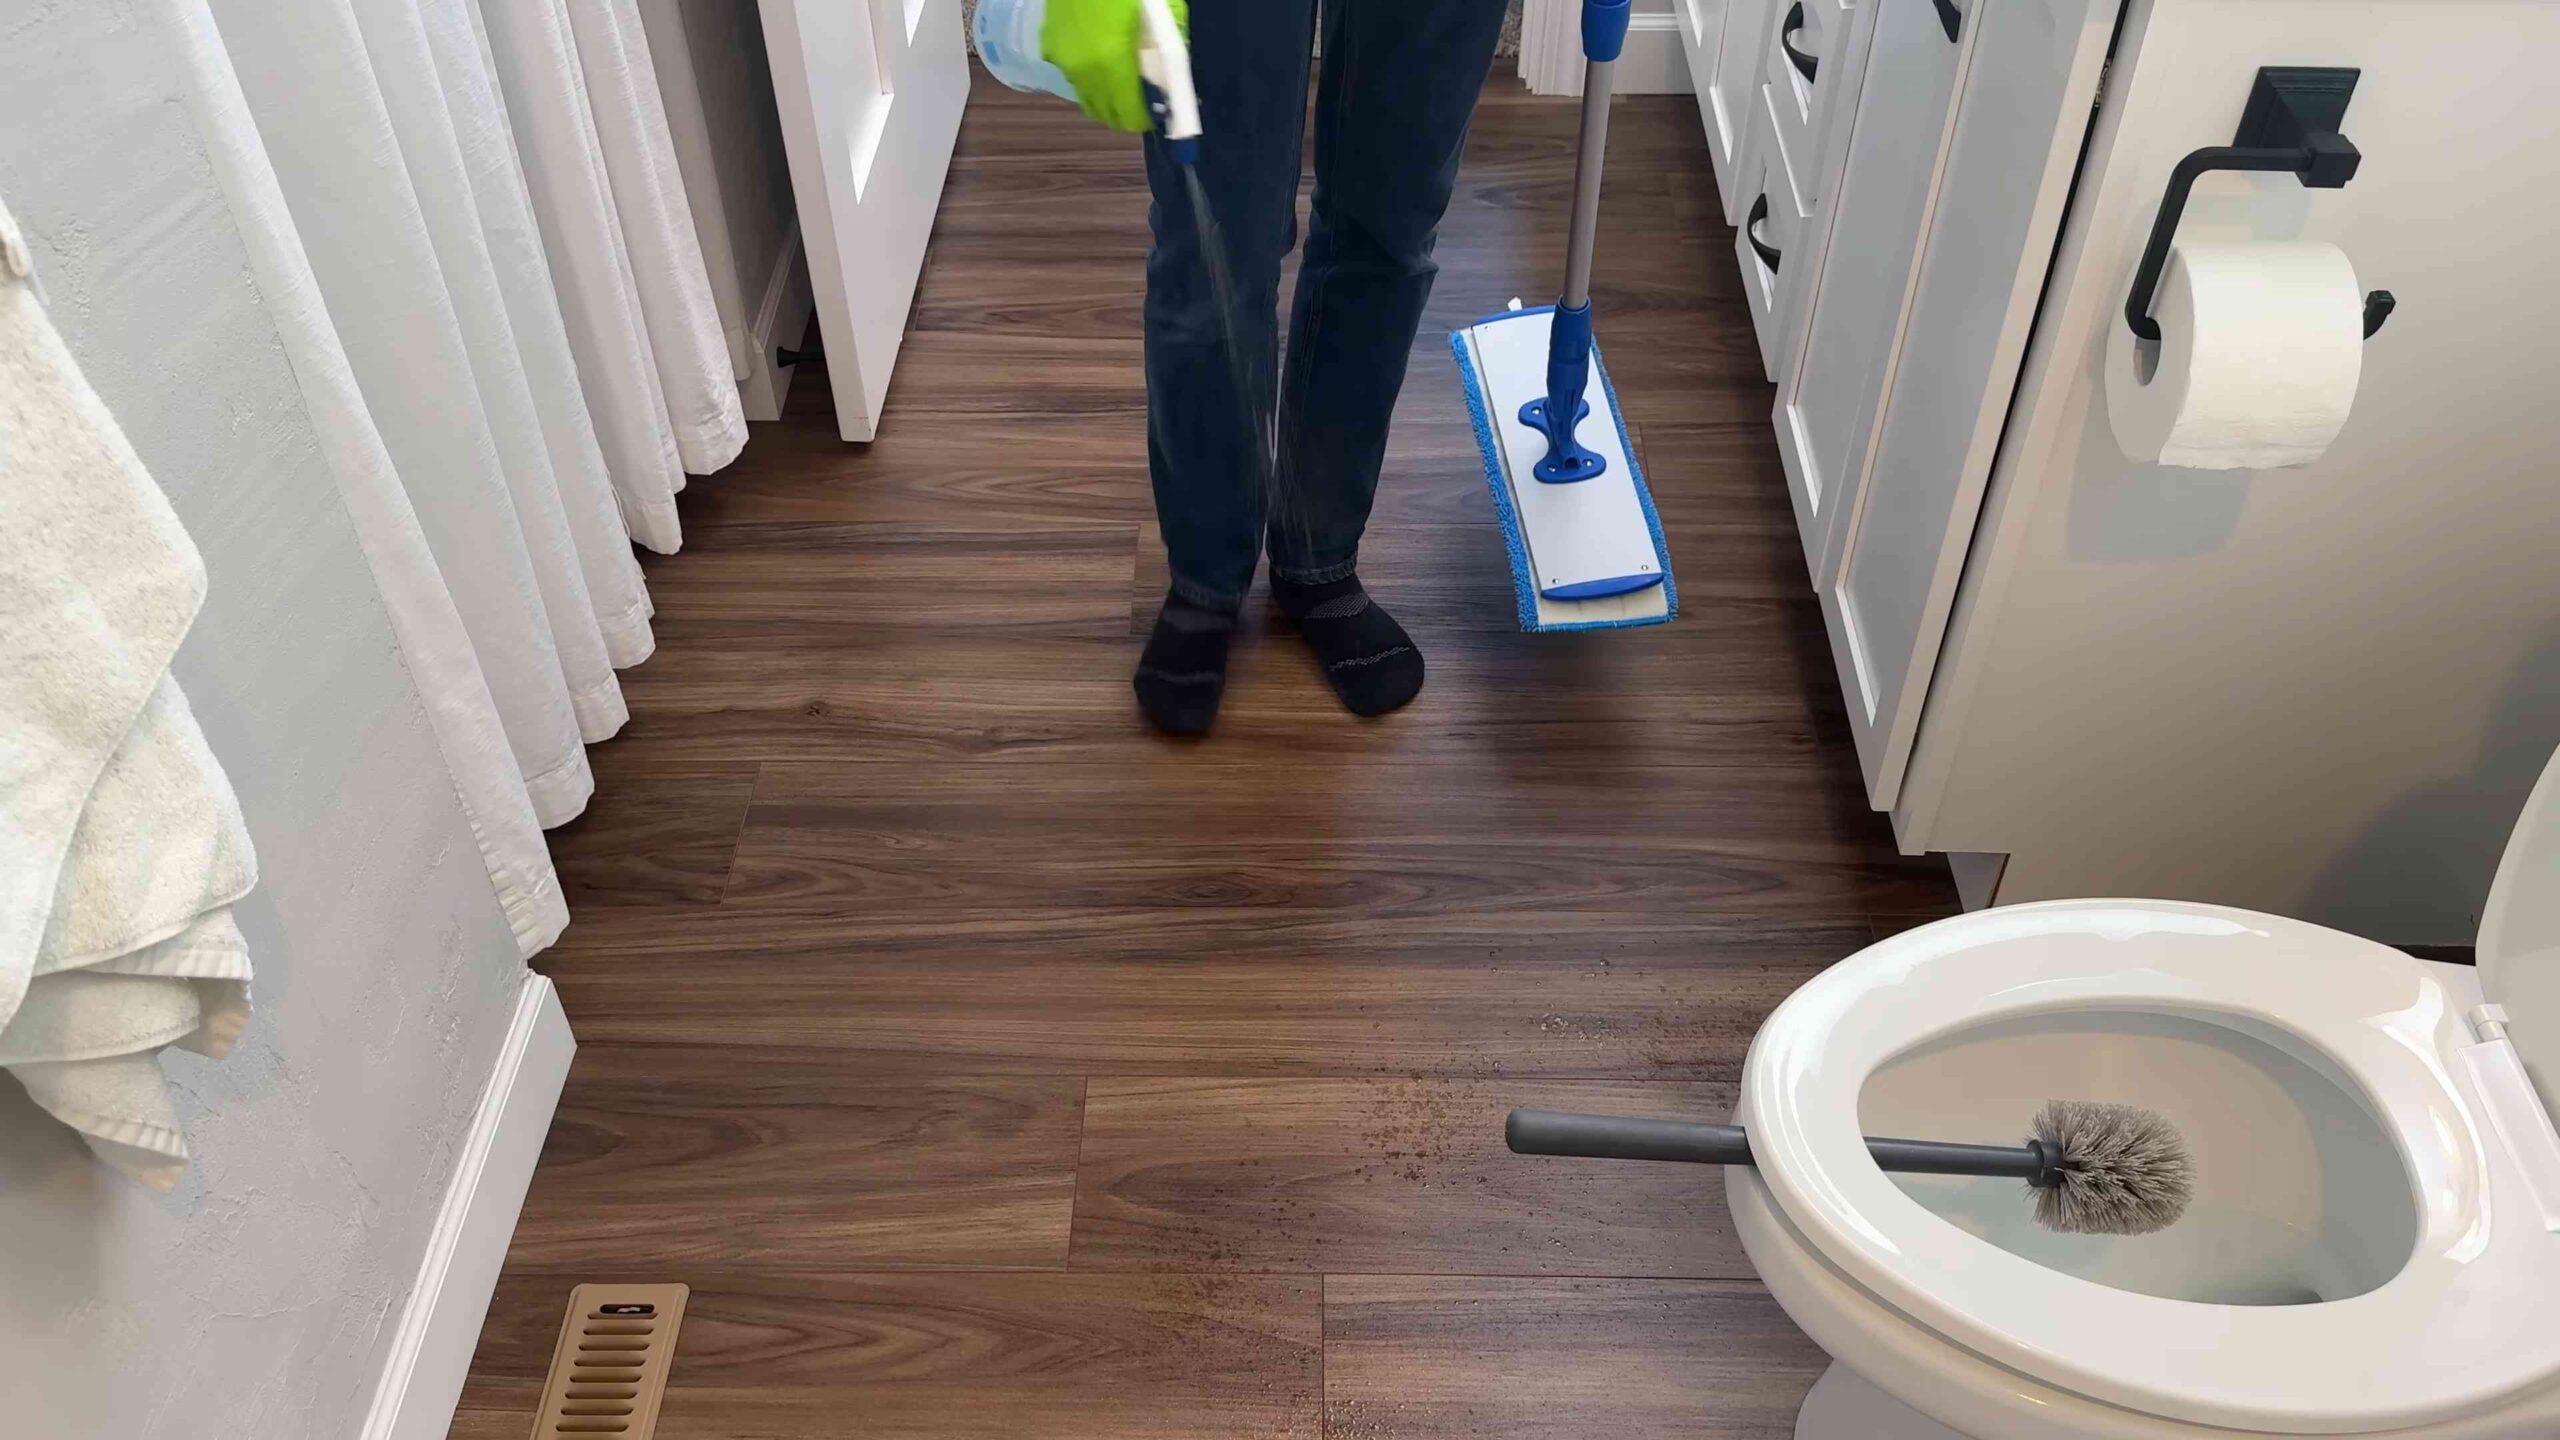
1. Drop One in the Toilet Bowl: Simply drop one cleaning bomb into the toilet bowl. Watch it fizz and dissolve, releasing its cleaning power.
2. Let it Fizz: Allow the cleaning bomb to fizz and dissolve for about 10-15 minutes. This will give the ingredients time to work their magic and loosen any stains or grime.
3. Scrub and Flush: After the fizzing has subsided, use a toilet brush to scrub the bowl thoroughly. Then, flush the toilet to rinse away the cleaning solution and any remaining debris.
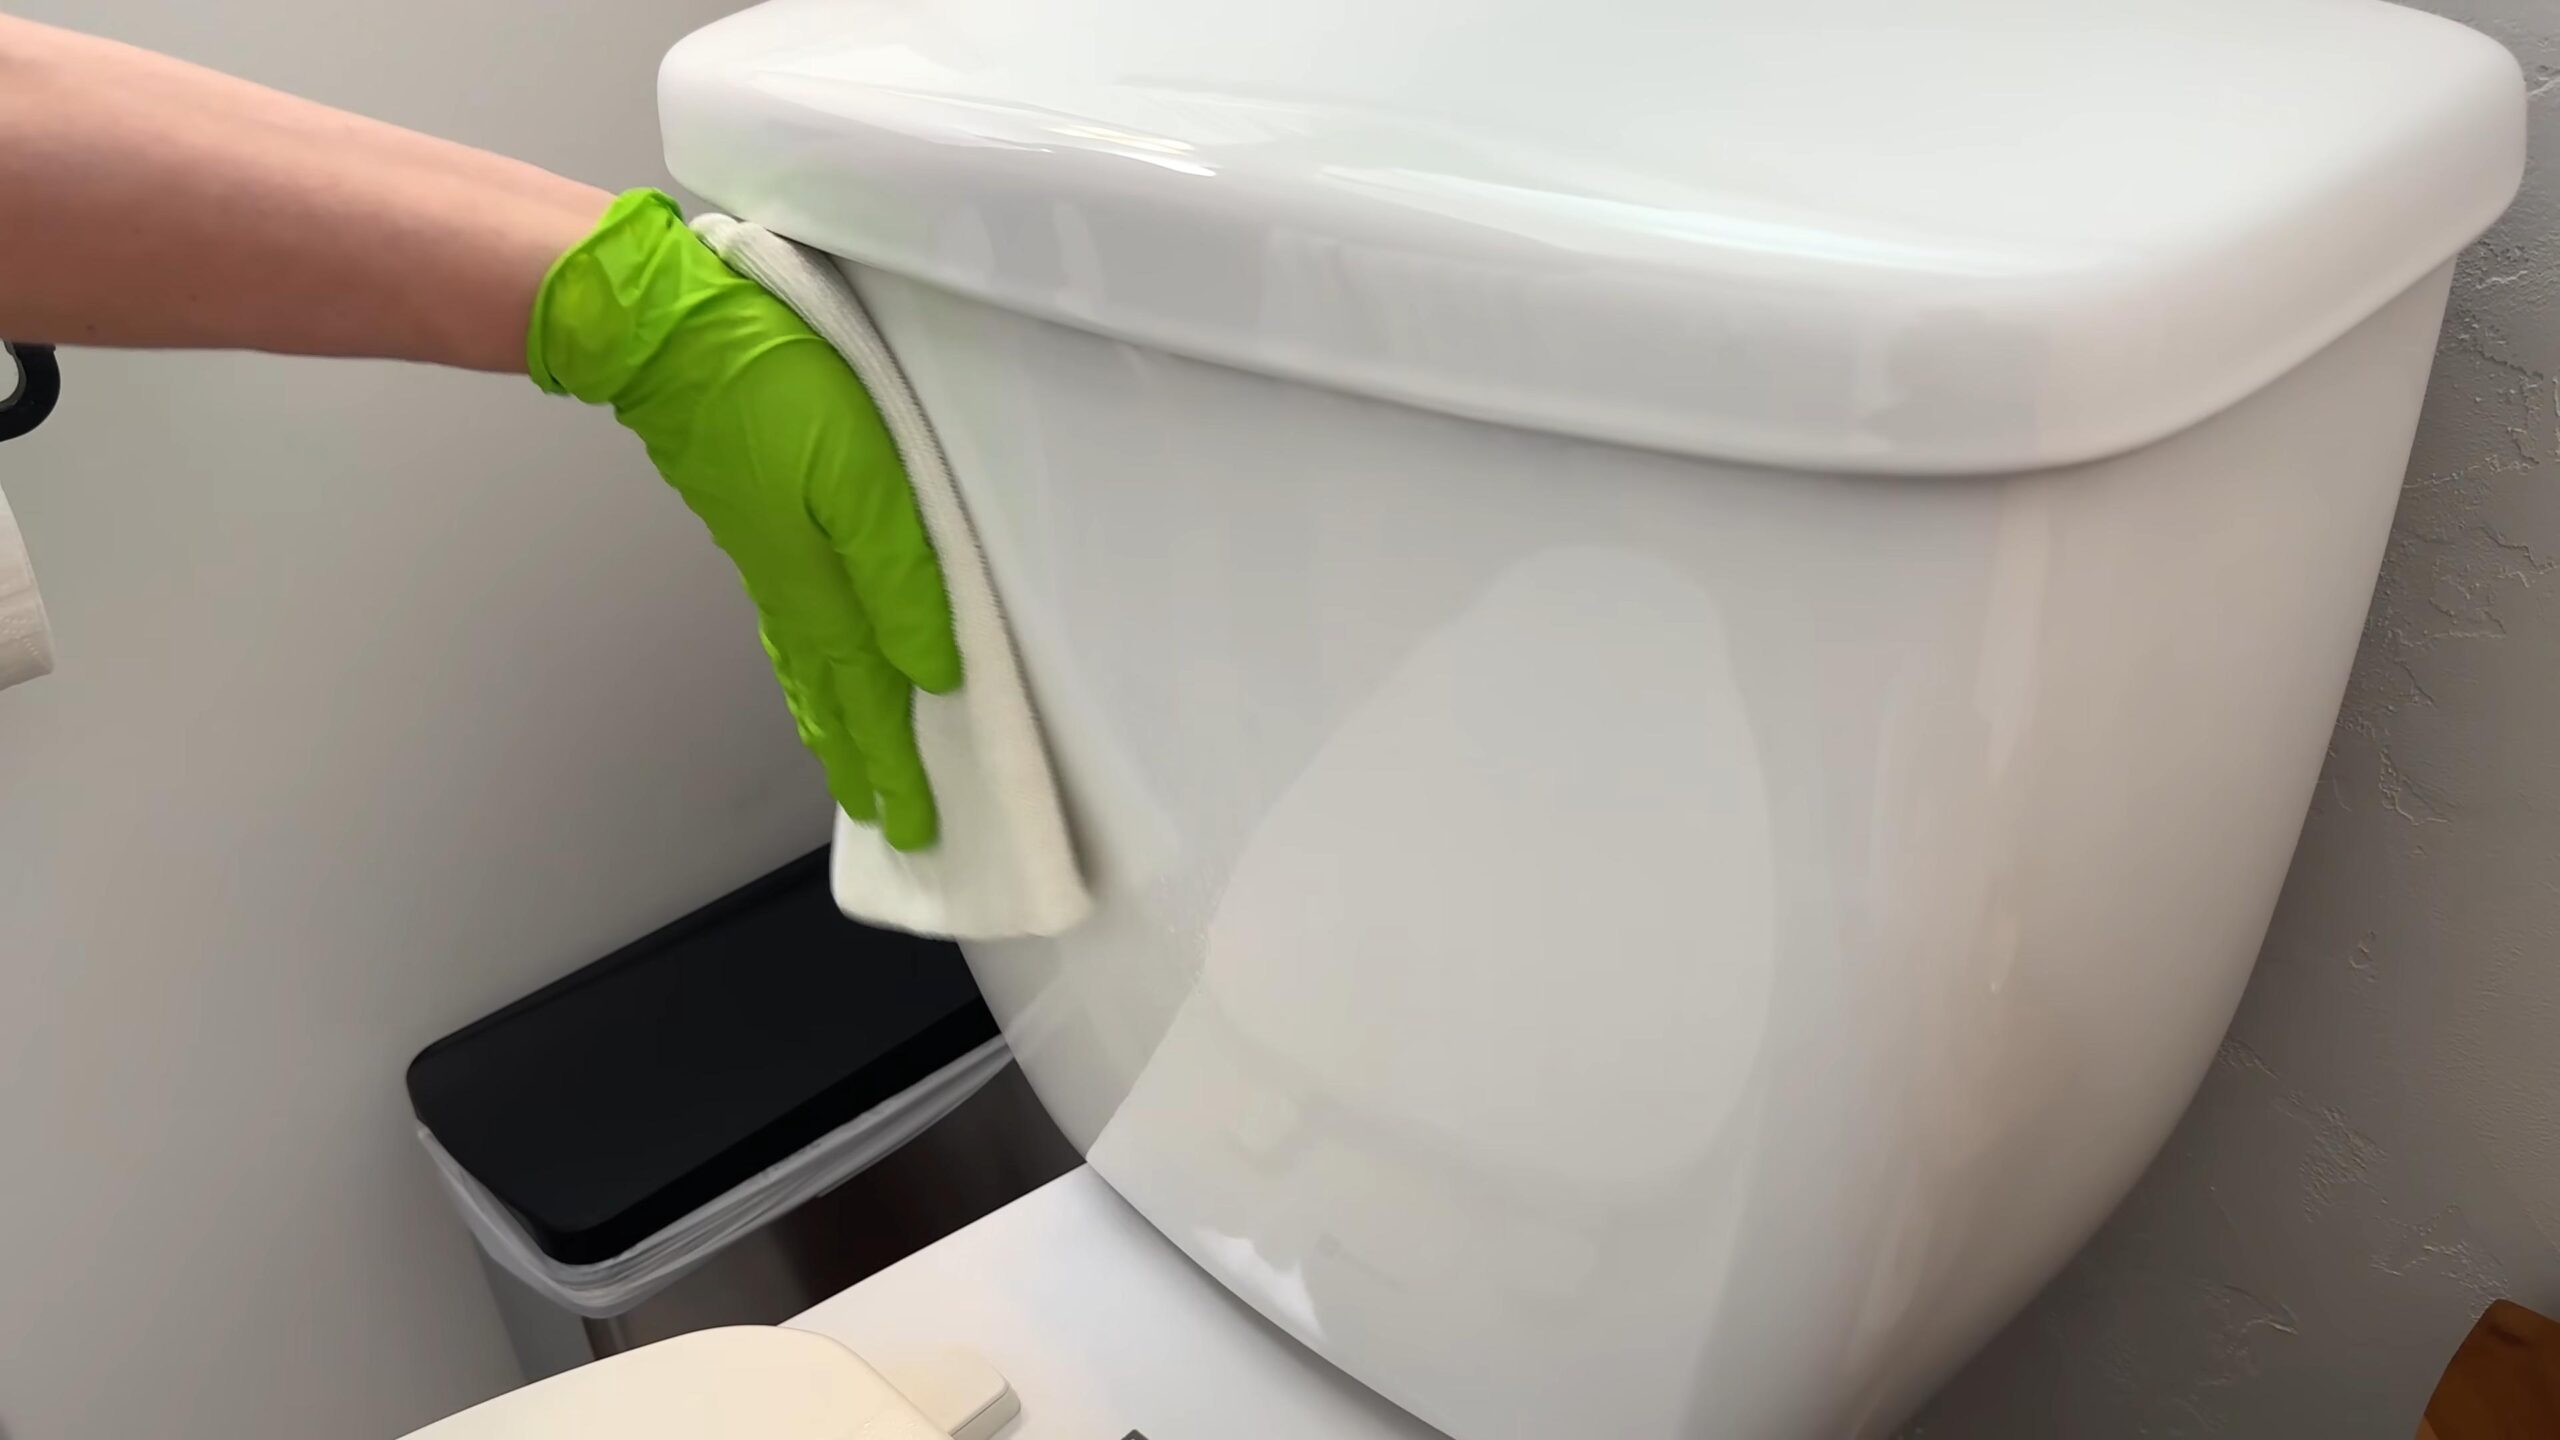
4. For Shower and Sink Cleaning: You can also use these bombs to clean your shower and sink! Wet the surface you want to clean, then drop a cleaning bomb onto it. Let it fizz for a few minutes, then scrub with a sponge or brush. Rinse thoroughly with water.
* Important Note: Always test the cleaning bomb on a small, inconspicuous area first to make sure it doesn’t damage the surface.
Troubleshooting Tips: Addressing Common Issues
Sometimes, things don’t go exactly as planned. Here are some common issues you might encounter and how to fix them:
* Cleaning Bombs are Crumbly: This usually means that the mixture is too dry. Add a little more water, a spritz at a time, and mix again until the mixture holds its shape when squeezed.
* Cleaning Bombs are Fizzing Prematurely: This means that you’ve added too much water. You can try adding a little more baking soda and cornstarch to absorb the excess moisture. If the fizzing is excessive, it’s best to start over with a fresh batch of dry ingredients.
* Cleaning Bombs are Not Fizzing Enough: This could be due to a few reasons. Either the citric acid is old and has lost its potency, or the cleaning bombs have absorbed moisture from the air. Make sure to store your cleaning bombs in an airtight container to prevent them from absorbing moisture.
* Cleaning Bombs are Sticking to the Molds: Make sure the cleaning bombs are completely dry before attempting to remove them from the
Conclusion
So, there you have it! Transforming your bathroom into a sparkling sanctuary doesn’t require harsh chemicals or expensive cleaning services. This simple, effective DIY trick for a clean bathroom healthy home is a game-changer, offering a natural and budget-friendly alternative to conventional cleaning methods. We’ve shown you how easy it is to create a powerful cleaning solution using ingredients you likely already have in your pantry.
But why is this DIY approach a must-try? Beyond the cost savings and eco-friendliness, it’s about creating a healthier living environment. Commercial cleaners often contain volatile organic compounds (VOCs) that can irritate your lungs, skin, and eyes. By opting for a homemade solution, you’re minimizing your exposure to these harmful chemicals and contributing to better indoor air quality. A clean bathroom healthy home starts with conscious choices about the products we use.
Furthermore, this DIY method is incredibly versatile. Feel free to experiment with different essential oils to customize the scent and add extra cleaning power. Lavender, tea tree, and eucalyptus oils are all excellent choices for their antibacterial and antifungal properties. You could also add a tablespoon of borax to the mixture for extra stain-fighting power, especially for stubborn soap scum. For a more abrasive scrub, consider adding a small amount of baking soda to the paste. Remember to always test any new additions in an inconspicuous area first to ensure they don’t damage your surfaces.
Don’t be afraid to adjust the ratios of ingredients to suit your specific needs and preferences. If you have particularly hard water, you might need to increase the amount of vinegar in your solution. If you prefer a thicker paste, simply add more baking soda. The beauty of DIY is that you have complete control over the process and can tailor it to your unique circumstances.
We are confident that once you try this DIY trick, you’ll be amazed by the results. Not only will your bathroom be sparkling clean, but you’ll also have the satisfaction of knowing that you’re contributing to a healthier home and a more sustainable lifestyle.
We wholeheartedly encourage you to give this DIY method a try. It’s a small change that can make a big difference in your overall well-being. And most importantly, we want to hear about your experience! Share your tips, variations, and before-and-after photos in the comments below. Let’s build a community of DIY enthusiasts who are committed to creating clean bathroom healthy home environments, one sparkling surface at a time. Your insights could inspire others to make the switch and embrace a more natural and effective way of cleaning. Let us know what worked for you, what challenges you faced, and any creative solutions you came up with. Together, we can unlock the full potential of this simple yet powerful DIY trick.
FAQ
What exactly makes this DIY cleaning method better than store-bought cleaners?
The primary advantage lies in the ingredients. Store-bought cleaners often contain harsh chemicals like bleach, ammonia, and phthalates, which can be harmful to your health and the environment. These chemicals can cause respiratory irritation, skin allergies, and even contribute to indoor air pollution. Our DIY method uses natural ingredients like vinegar, baking soda, and essential oils, which are biodegradable, non-toxic, and generally safer for your family and pets. Plus, you have complete control over what goes into your cleaner, allowing you to avoid any ingredients you’re sensitive to. This contributes significantly to a clean bathroom healthy home.
Is vinegar safe to use on all bathroom surfaces?
While vinegar is a fantastic cleaning agent, it’s not suitable for all surfaces. Avoid using vinegar on natural stone surfaces like marble, granite, and travertine, as the acidity can etch and damage them. It’s also best to avoid using vinegar on waxed wood floors, as it can strip the wax finish. For these surfaces, opt for a pH-neutral cleaner or a specialized stone cleaner. Always test any cleaning solution in an inconspicuous area first to ensure it doesn’t cause any damage or discoloration.
Can I use different essential oils besides lavender, tea tree, and eucalyptus?
Absolutely! The beauty of DIY is the ability to customize. While lavender, tea tree, and eucalyptus are excellent choices for their antibacterial and antifungal properties, you can experiment with other essential oils based on your preferences and needs. Lemon and orange essential oils are great for their degreasing and uplifting properties. Peppermint oil can help to freshen the air and deter pests. Rosemary oil has antiseptic properties and a refreshing scent. Just be sure to use pure essential oils and follow dilution guidelines to avoid skin irritation.
How often should I use this DIY cleaning method in my bathroom?
The frequency of cleaning depends on how often your bathroom is used and how quickly it gets dirty. For a bathroom used daily by multiple people, you might want to clean it once or twice a week. For a guest bathroom, you might only need to clean it once a month. Regular cleaning will prevent the buildup of soap scum, mildew, and other grime, making it easier to maintain a clean bathroom healthy home.
What if I have really stubborn stains or mildew in my bathroom?
For stubborn stains or mildew, you might need to take a more targeted approach. For mildew, create a paste of baking soda and water and apply it to the affected area. Let it sit for several minutes before scrubbing with a brush and rinsing with water. For hard water stains, try soaking a paper towel in vinegar and applying it to the stain. Let it sit for an hour or two before scrubbing and rinsing. In extreme cases, you might need to use a commercial mildew remover, but be sure to follow the instructions carefully and ventilate the area well.
How do I store the DIY cleaning solution?
Store your DIY cleaning solution in a clean, airtight spray bottle or container. Label the bottle clearly with the ingredients and date. Keep it out of reach of children and pets. The solution should last for several weeks, but it’s best to use it within a month for optimal effectiveness. If you notice any changes in color or odor, discard the solution and make a fresh batch.
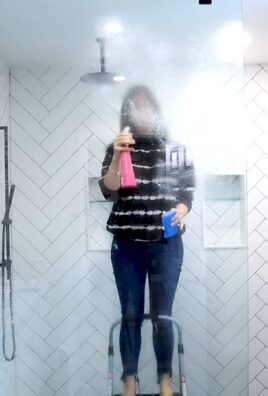
Can I use this DIY cleaner on my shower doors?
Yes, this DIY cleaner is excellent for shower doors! The vinegar helps to dissolve soap scum and hard water stains, leaving your shower doors sparkling clean. For best results, spray the cleaner on the shower doors after each use to prevent buildup. You can also use a squeegee to remove excess water and prevent water spots.
What are some other ways to maintain a clean and healthy bathroom?
Besides regular cleaning, there are several other things you can do to maintain a clean bathroom healthy home. Ensure proper ventilation by opening a window or using the exhaust fan after showering. This will help to prevent the growth of mildew. Regularly clean your shower curtain or liner to prevent soap scum and mildew buildup. Replace your toothbrush every three months or after you’ve been sick. And don’t forget to declutter your bathroom regularly to keep it organized and prevent the accumulation of dust and grime.

Leave a Comment