

Bathroom Fixture Cleaning Hack: Are you tired of battling stubborn stains and grime on your bathroom fixtures? Do you dream of sparkling faucets and gleaming showerheads without spending hours scrubbing? I know I do! You’re not alone. For generations, keeping bathrooms clean has been a constant chore, evolving from simple lye solutions used in ancient bathhouses to the array of modern cleaning products we see today. But what if I told you there’s a simpler, more effective way to achieve a pristine bathroom using items you probably already have in your home?
This DIY guide is your secret weapon against bathroom buildup. We all know how quickly soap scum, hard water stains, and mildew can accumulate, making our bathrooms look dull and uninviting. Not only is it unsightly, but neglecting these issues can also lead to more serious problems like corrosion and reduced water flow. That’s why mastering a good bathroom fixture cleaning hack is essential for maintaining a healthy and beautiful home.
I’m going to share my favorite, tried-and-true methods for tackling even the toughest bathroom cleaning challenges. Get ready to say goodbye to harsh chemicals and hello to a sparkling clean bathroom with minimal effort! Let’s dive in and discover the secrets to effortless bathroom fixture cleaning!
DIY Bathroom Fixture Cleaning Hack: Sparkling Clean with Everyday Items
Okay, let’s face it, cleaning bathroom fixtures is nobody’s favorite chore. But those stubborn water stains, soap scum, and mineral deposits can really dull the shine of your faucets, showerheads, and even your toilet. But don’t worry! I’m going to share a super effective DIY cleaning hack that uses common household items to get your bathroom fixtures looking brand new again. This method is not only budget-friendly but also avoids harsh chemicals, making it a win-win for your bathroom and your health!
What You’ll Need: The Arsenal of Clean
Before we dive in, let’s gather our supplies. This is a pretty simple list, and you probably already have most of these items on hand:
* White Vinegar: The star of the show! Vinegar’s acidity is a natural grime fighter.
* Baking Soda: A gentle abrasive that helps lift stubborn stains.
* Dish Soap: Cuts through grease and grime, adding extra cleaning power.
* Old Toothbrush: Perfect for scrubbing those hard-to-reach areas.
* Microfiber Cloths: For wiping and polishing. They’re super absorbent and won’t leave lint behind.
* Spray Bottle: To easily apply the cleaning solution.
* Plastic Bag or Sandwich Bag (optional): For soaking showerheads and faucets.
* Rubber Bands (optional): To secure the plastic bag.
* Gloves (optional): To protect your hands, especially if you have sensitive skin.
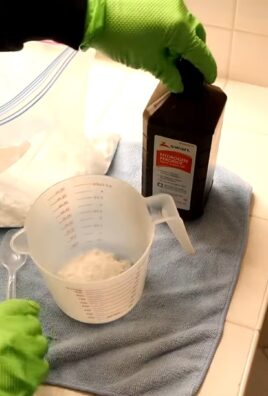
* Small Bowl or Container: For mixing the cleaning paste.
* Paper Towels (optional): For initial wiping or drying.
The Cleaning Process: Step-by-Step to Sparkling Fixtures
Alright, let’s get down to business! I’ve broken down the cleaning process into easy-to-follow steps. Remember to always test any cleaning solution in an inconspicuous area first, just to be safe.
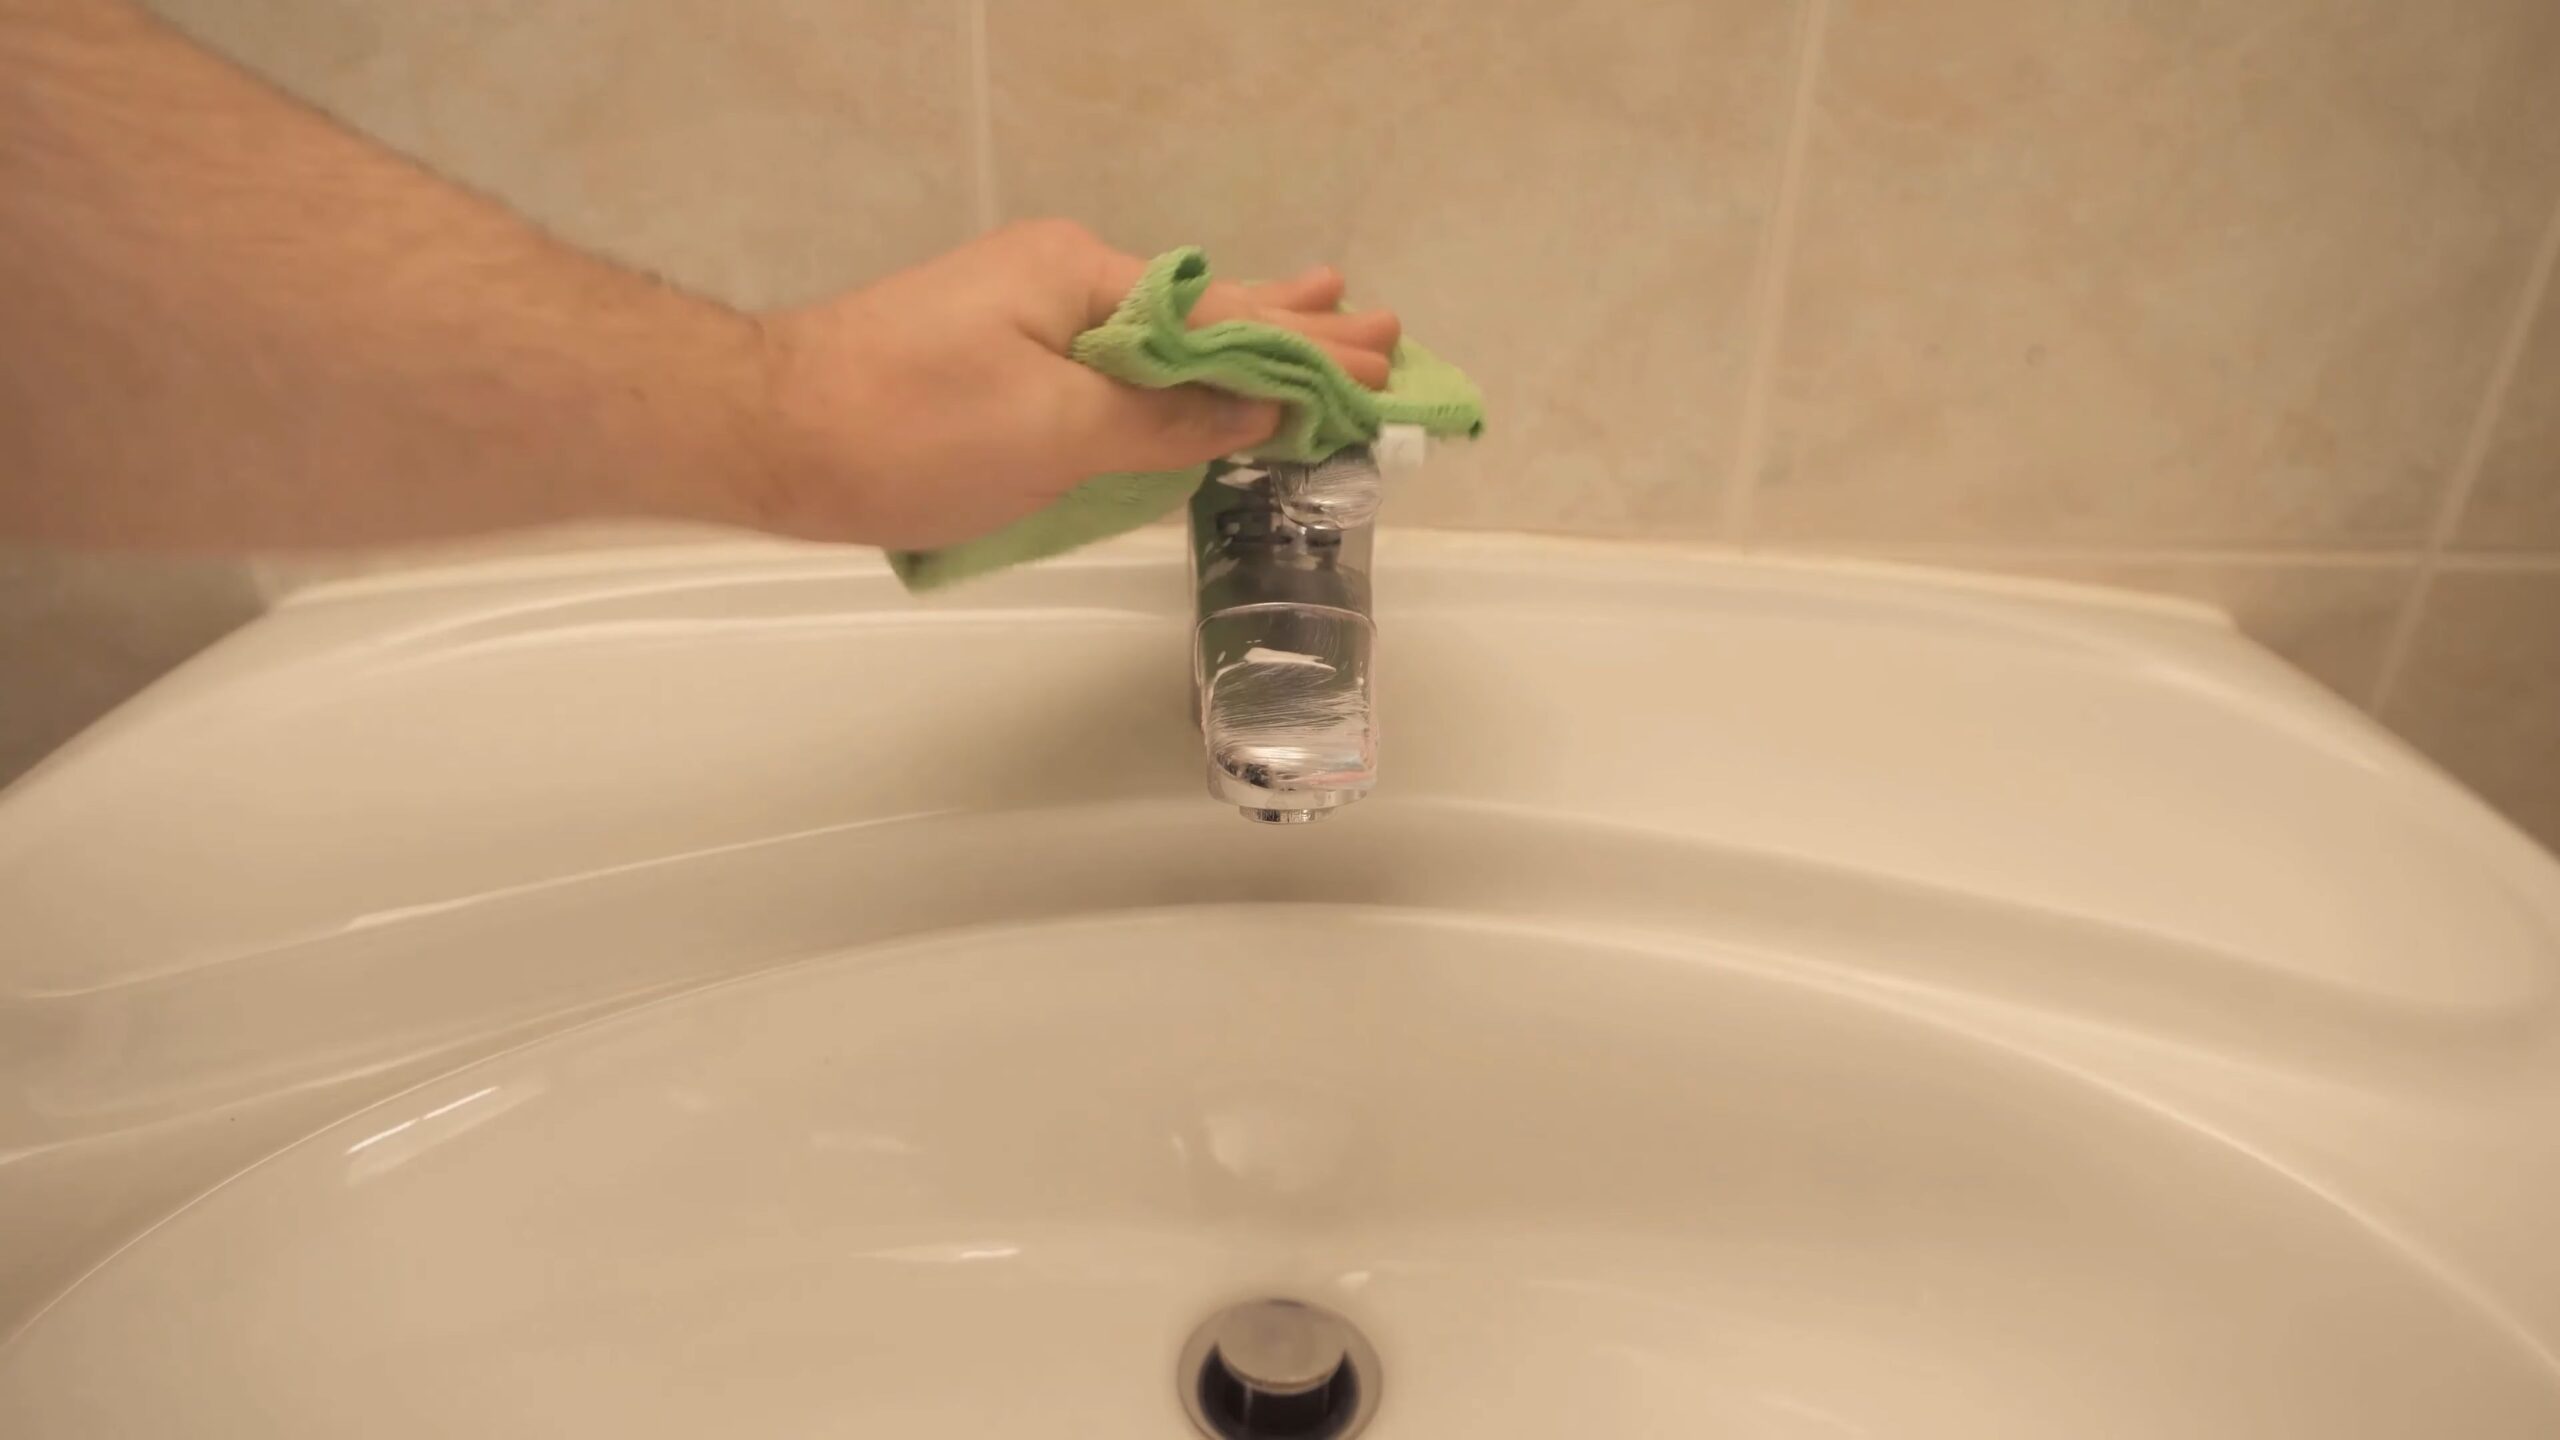
Cleaning Faucets and Handles
1. Prepare the Cleaning Paste: In your small bowl, mix together baking soda and dish soap to form a thick paste. The ratio should be roughly 2 parts baking soda to 1 part dish soap. You want a consistency that’s easy to spread but not too runny.
2. Apply the Paste: Using your fingers or the old toothbrush, apply the paste generously to the faucet and handles, focusing on areas with visible stains or buildup.
3. Let it Sit: Allow the paste to sit for at least 15-20 minutes. This gives the baking soda and dish soap time to work their magic and loosen the grime. For really stubborn stains, you can let it sit for up to an hour.
4. Scrub-a-Dub-Dub: After the soaking time, use the old toothbrush to scrub the faucet and handles thoroughly. Pay close attention to the base of the faucet, around the handles, and any crevices where grime tends to accumulate.
5. Rinse Thoroughly: Rinse the faucet and handles with warm water, making sure to remove all traces of the cleaning paste.
6. Dry and Polish: Use a clean microfiber cloth to dry the faucet and handles completely. Then, use a dry portion of the cloth to polish the surface, bringing back the shine.
Cleaning Showerheads
Showerheads are notorious for accumulating mineral deposits, which can affect water pressure and spray patterns. Here’s how to tackle them:
1. Prepare the Vinegar Solution: Pour white vinegar into a plastic bag (sandwich bag for smaller showerheads, larger bag for bigger ones). You need enough vinegar to completely submerge the showerhead.
2. Submerge the Showerhead: Carefully position the bag over the showerhead, ensuring that the entire showerhead is submerged in the vinegar. Use rubber bands to secure the bag in place, if needed.
3. Soak Overnight: Let the showerhead soak in the vinegar overnight (or for at least 8 hours). This allows the vinegar to dissolve the mineral deposits effectively.
4. Remove and Rinse: In the morning, remove the bag and discard the vinegar. Rinse the showerhead thoroughly with warm water to remove any remaining vinegar and loosened deposits.
5. Scrub Stubborn Areas: If you still see some stubborn deposits, use the old toothbrush to scrub them gently.
6. Wipe and Test: Wipe the showerhead dry with a microfiber cloth. Turn on the shower to test the water pressure and spray pattern. If the water flow is still restricted, you may need to repeat the soaking process or use a small needle to clear any clogged nozzles.
Cleaning Toilet Bowls (Exterior)
While this hack isn’t for cleaning the inside of the toilet bowl (that’s a whole other project!), it’s perfect for cleaning the exterior surfaces, which can also get grimy.
1. Prepare the Vinegar Solution: Fill a spray bottle with white vinegar.
2. Spray the Surfaces: Spray the vinegar liberally onto the exterior surfaces of the toilet, including the tank, the bowl, the seat, and the base.
3. Let it Sit: Allow the vinegar to sit for about 5-10 minutes to loosen any grime and kill bacteria.
4. Wipe Clean: Use a microfiber cloth to wipe down all the sprayed surfaces, paying attention to areas where dirt and grime tend to accumulate.
5. Dry and Polish: Use a clean, dry microfiber cloth to dry and polish the surfaces.
Tips and Tricks for Extra Sparkle
Here are a few extra tips to help you achieve the best results:
* For Hard Water Stains: If you have hard water, you might need to repeat the vinegar soaking process or use a stronger vinegar solution. You can also try using a commercial hard water stain remover.
* Preventative Measures: To prevent future buildup, wipe down your bathroom fixtures regularly with a dry microfiber cloth after each use. This will help remove water droplets and prevent mineral deposits from forming.
* Ventilation is Key: Make sure your bathroom is well-ventilated while you’re cleaning. Open a window or turn on the exhaust fan to help dissipate any fumes.
* Don’t Mix Chemicals: Never mix vinegar with bleach or other cleaning products, as this can create dangerous fumes.
* Safety First: Wear gloves to protect your hands, especially if you have sensitive skin.
Why This Hack Works: The Science Behind the Shine
So, what makes this DIY cleaning hack so effective? It all comes down to the chemical properties of the ingredients:
* Vinegar’s Acidity: Vinegar is a mild acid that helps dissolve mineral deposits, soap scum, and hard water stains.
* Baking Soda’s Abrasiveness: Baking soda is a gentle abrasive that helps lift stubborn stains without scratching surfaces.
* Dish Soap’s Cleaning Power: Dish soap contains surfactants that help break down grease and grime, making it easier to remove.
By combining these three ingredients, you create a powerful cleaning solution that’s both effective and safe for your bathroom fixtures.
Maintaining Your Sparkling Clean Bathroom
Once you’ve achieved that sparkling clean look, you’ll want to keep it that way! Here are a few tips for maintaining your bathroom’s cleanliness:
* Regular Cleaning: Aim to clean your bathroom fixtures at least once a week to prevent buildup.
* Wipe Down After Use: As mentioned earlier, wiping down fixtures after each use can significantly reduce the amount of cleaning required.
* Address Leaks Promptly: Fix any leaks promptly to prevent water stains and mineral deposits from forming.
* Consider a Water Softener: If you have hard water, consider installing a water softener to reduce mineral buildup throughout your home.
Troubleshooting Common Issues
Sometimes, even with the best efforts, you might encounter a few snags. Here’s how to troubleshoot some common issues:
* Stubborn Stains: If you have extremely stubborn stains, you might need to repeat the cleaning process or use a stronger cleaning solution. You can also try using a commercial cleaner specifically designed for removing hard water stains or soap scum.
* Clogged Showerhead Nozzles: If your showerhead nozzles are clogged, you can use a small needle or pin to carefully clear them. Be gentle to avoid damaging the nozzles.
* Discoloration: In rare cases, certain cleaning solutions can cause discoloration on some surfaces. Always test the solution in an inconspicuous area first, and avoid using harsh chemicals or abrasive cleaners.
Final Thoughts: Enjoy Your Sparkling Bathroom!
And there you have it! A simple, effective, and budget-friendly DIY cleaning hack that will leave your bathroom fixtures sparkling clean. By using common household items and following these easy steps, you can transform your bathroom into a clean and inviting space. So, grab your supplies, put on some music, and get ready to enjoy a bathroom that shines! I hope you found this helpful, and happy cleaning!
Conclusion
So, there you have it! This simple, yet incredibly effective, bathroom fixture cleaning hack is a game-changer for anyone tired of battling stubborn soap scum, water spots, and grime. We’ve walked you through the process, highlighting how easy it is to achieve sparkling clean faucets, showerheads, and other bathroom fixtures with ingredients you likely already have in your pantry.
Why is this a must-try? Because it’s not just about cleaning; it’s about reclaiming your time and energy. Forget spending hours scrubbing with harsh chemicals that leave behind unpleasant odors and potentially damage your fixtures. This DIY method is gentle, eco-friendly, and delivers professional-level results without the professional price tag.
Imagine stepping into your bathroom and being greeted by gleaming, spotless fixtures. It’s a small detail that can make a big difference in the overall feel of your space, transforming it from a chore-filled zone into a relaxing sanctuary.
But the benefits don’t stop there. This cleaning hack is also incredibly versatile. While we’ve focused on bathroom fixtures, you can easily adapt this method for cleaning other chrome or stainless steel surfaces around your home, such as kitchen faucets, appliance handles, and even car trim.
Looking for variations? For particularly stubborn stains, try letting the cleaning solution sit for a longer period, perhaps 30 minutes to an hour, before scrubbing. You can also add a few drops of your favorite essential oil, like lemon or tea tree, to the solution for an extra boost of freshness and antibacterial properties. Another variation is to use a soft-bristled toothbrush for those hard-to-reach areas around the base of faucets and showerheads.
We’re confident that once you try this bathroom fixture cleaning hack, you’ll be amazed by the results. It’s a simple, effective, and affordable way to keep your bathroom looking its best.
Now, it’s your turn! We encourage you to give this DIY trick a try and see the difference for yourself. Don’t forget to share your experience with us in the comments below. We’d love to hear your tips, variations, and before-and-after photos. Let’s create a community of sparkling clean bathrooms, one fixture at a time! Your feedback will help others discover the magic of this simple cleaning solution. Let us know if you have any questions, and happy cleaning!
Frequently Asked Questions (FAQ)
What exactly makes this bathroom fixture cleaning hack so effective?
The effectiveness of this hack lies in the combination of ingredients. Typically, these hacks involve a mild acid, like vinegar or lemon juice, which helps to dissolve mineral deposits and soap scum. The addition of a gentle abrasive, like baking soda, provides extra scrubbing power without scratching the surface. The combination of these ingredients creates a powerful cleaning solution that is both effective and safe for most bathroom fixtures.
Is this cleaning hack safe for all types of bathroom fixtures?
While this hack is generally safe for most chrome, stainless steel, and porcelain fixtures, it’s always a good idea to test it on a small, inconspicuous area first. Avoid using this method on fixtures with delicate finishes, such as gold plating or brushed nickel, as the abrasive properties of baking soda could potentially damage the surface. If you’re unsure about the material of your fixtures, consult the manufacturer’s instructions or contact a professional cleaner.
How often should I use this cleaning hack to maintain my bathroom fixtures?
The frequency of cleaning depends on how often your bathroom is used and how quickly soap scum and water spots accumulate. As a general guideline, cleaning your bathroom fixtures with this hack once a week should be sufficient to maintain their shine and prevent buildup. However, if you notice excessive buildup, you may need to clean them more frequently.
Can I use other types of vinegar besides white vinegar?
While white vinegar is the most commonly recommended type of vinegar for cleaning, you can also use apple cider vinegar. However, avoid using balsamic vinegar or other dark-colored vinegars, as they may stain your fixtures. White vinegar is preferred because it is clear, inexpensive, and readily available.
What if I don’t have baking soda? Can I use something else?
Baking soda is a gentle abrasive that helps to scrub away stubborn stains. If you don’t have baking soda, you can try using a paste of cream of tartar and water. However, be sure to test it on a small, inconspicuous area first to ensure it doesn’t scratch the surface. In some cases, a soft cloth and the vinegar solution alone may be sufficient for light cleaning.
The soap scum is really stubborn. What can I do?
For particularly stubborn soap scum, try letting the cleaning solution sit on the affected area for a longer period, up to an hour. You can also try using a stronger concentration of vinegar or adding a few drops of dish soap to the solution for extra cleaning power. Another option is to use a scrub brush with slightly stiffer bristles, but be careful not to scratch the surface.
How do I prevent soap scum and water spots from building up in the first place?
Prevention is key to keeping your bathroom fixtures clean. After each shower, wipe down the fixtures with a clean, dry cloth to remove excess water and soap residue. You can also install a water softener to reduce the mineral content of your water, which can help to prevent water spots. Additionally, consider using liquid soap instead of bar soap, as bar soap tends to leave behind more residue.
Is this cleaning hack safe for the environment?
Yes, this cleaning hack is generally considered to be environmentally friendly, as it uses natural ingredients like vinegar and baking soda. These ingredients are biodegradable and do not contain harsh chemicals that can harm the environment. However, it’s always a good idea to dispose of the cleaning solution properly by flushing it down the drain with plenty of water.
Can I use this hack to clean shower doors and walls?
Yes, you can use this hack to clean shower doors and walls. Simply spray the cleaning solution onto the surface and let it sit for a few minutes before scrubbing with a sponge or cloth. Rinse thoroughly with water. For glass shower doors, you can also use a squeegee to remove excess water and prevent water spots.
What are some other natural cleaning solutions I can use in my bathroom?
Besides this bathroom fixture cleaning hack, there are many other natural cleaning solutions you can use in your bathroom. For example, you can use a mixture of baking soda and water to clean your toilet bowl, or you can use lemon juice to remove hard water stains from your showerhead. Essential oils, like tea tree and eucalyptus, can also be added to cleaning solutions for their antibacterial and antifungal properties.
Leave a Comment