

Bathroom cleaning tips – let’s be honest, nobody *loves* cleaning the bathroom. It’s a chore we all put off, right? But what if I told you there were some super simple, DIY tricks that could make the whole process faster, easier, and even a little bit… dare I say… enjoyable?
For centuries, keeping our living spaces clean has been a sign of health and well-being. Think about ancient Roman bathhouses or the elaborate cleansing rituals in various cultures. While we might not be scrubbing with pumice stones anymore, the desire for a sparkling clean bathroom remains! But in today’s busy world, who has hours to dedicate to scrubbing grout? That’s where these DIY hacks come in.
This article is packed with clever and cost-effective bathroom cleaning tips that will transform your cleaning routine. We’ll explore everything from tackling stubborn soap scum with ingredients you probably already have in your pantry to creating your own powerful, eco-friendly cleaning solutions. Imagine a bathroom that shines without harsh chemicals or hours of back-breaking work. Ready to reclaim your weekends and enjoy a sparkling clean bathroom? Let’s dive in!
DIY Bathroom Cleaning Hacks: Sparkling Clean Without Breaking the Bank
Okay, let’s face it, cleaning the bathroom is nobody’s favorite chore. But a sparkling clean bathroom is a happy bathroom, and it doesn’t have to involve harsh chemicals or cost a fortune. I’m going to share some of my favorite DIY bathroom cleaning hacks that will leave your bathroom smelling fresh and looking fantastic, all while saving you some serious cash.
Tackling the Grimy Grout
Grout, that porous stuff between your tiles, is a magnet for mildew and grime. It can quickly turn from bright white to a dingy gray (or worse!). Here’s how I get mine looking like new again:
* **The Baking Soda Paste Powerhouse:** This is my go-to for general grout cleaning.
* **Vinegar’s Fizzing Fury:** For tougher stains and mildew, vinegar is your best friend.
* **The Old Toothbrush Trick:** A trusty old toothbrush is the perfect tool for scrubbing grout lines.
**Step-by-Step Instructions:**
1. **Prepare the Baking Soda Paste:** In a small bowl, mix baking soda with just enough water to form a thick paste. You want it to be spreadable but not runny. I usually start with about 1/2 cup of baking soda and add water a tablespoon at a time until I get the right consistency.
2. **Apply the Paste:** Using your fingers (or a small spatula), generously apply the baking soda paste to the grout lines you want to clean. Make sure you really pack it in there.
3. **Let it Sit:** This is the crucial part! Let the baking soda paste sit on the grout for at least 15-20 minutes. For really stubborn stains, you can even leave it on overnight. The longer it sits, the more time it has to loosen the grime.
4. **Scrub-a-dub-dub:** Grab your old toothbrush and get to scrubbing! Use firm, circular motions to work the paste into the grout lines. You’ll start to see the grime lifting away.
5. **Rinse Thoroughly:** Rinse the area with clean water. You can use a spray bottle or a damp sponge to remove all traces of the baking soda paste.
6. **Vinegar Power-Up (If Needed):** If you still see some stubborn stains or mildew, spray the grout lines with white vinegar. Let it fizz for a few minutes (you’ll hear it working!), then scrub again with the toothbrush and rinse.
7. **Dry and Admire:** Dry the area with a clean towel. Step back and admire your sparkling clean grout!
Conquering Soap Scum on Shower Doors and Walls
Soap scum is the bane of every bathroom cleaner’s existence. It’s that hard, white film that clings to shower doors and walls, making them look dull and grimy. But fear not! I have a few tricks up my sleeve to banish soap scum for good.
* **Vinegar’s Versatility:** Vinegar is a fantastic soap scum remover.
* **Baking Soda’s Abrasive Action:** Baking soda provides gentle scrubbing power.
* **The Magic Eraser Marvel:** For particularly stubborn spots, a magic eraser can work wonders.
**Step-by-Step Instructions:**
1. **Prepare the Vinegar Solution:** In a spray bottle, mix equal parts white vinegar and warm water. You can also add a few drops of your favorite essential oil (like lemon or tea tree) to help mask the vinegar smell.
2. **Spray and Soak:** Generously spray the vinegar solution onto the shower doors and walls, focusing on areas with heavy soap scum buildup. Let it soak for at least 15-20 minutes. This allows the vinegar to break down the soap scum.
3. **Baking Soda Boost (Optional):** For extra cleaning power, sprinkle baking soda onto a damp sponge or cloth.
4. **Scrub-a-dub-dub (Again!):** Using the sponge or cloth (with or without baking soda), scrub the shower doors and walls. Apply firm pressure, especially on areas with stubborn soap scum.
5. **Magic Eraser Intervention (If Needed):** If you still have some stubborn spots, dampen a magic eraser and gently rub it over the soap scum. Be careful not to scrub too hard, as magic erasers can be abrasive.
6. **Rinse Thoroughly:** Rinse the shower doors and walls with clean water. Make sure to remove all traces of vinegar and baking soda.
7. **Dry and Shine:** Dry the shower doors and walls with a clean towel or squeegee. This will prevent water spots and leave them sparkling clean.
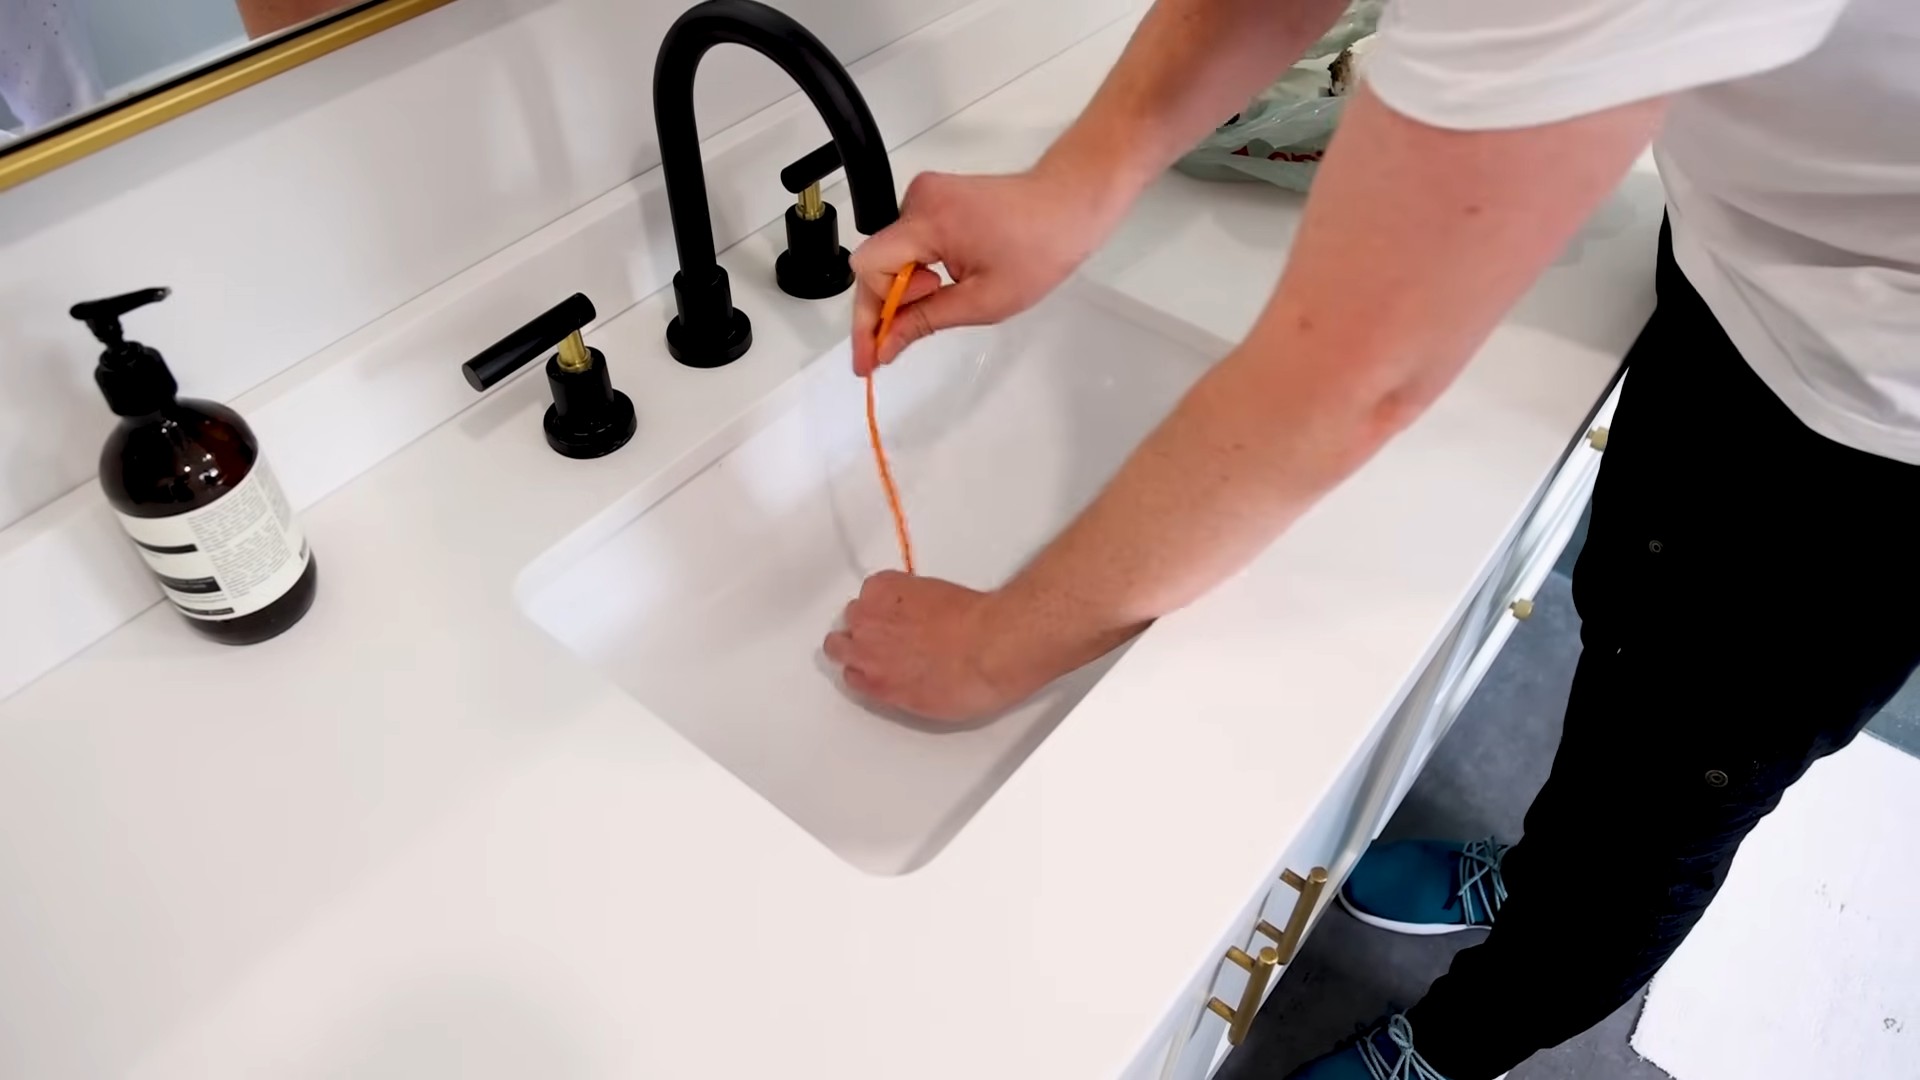
Cleaning the Toilet Like a Pro
Okay, nobody *likes* cleaning the toilet, but it’s a necessary evil. Here’s how I make the process as quick and painless as possible:
* **Baking Soda and Vinegar Fizz:** This combination is a natural and effective toilet bowl cleaner.
* **Toilet Bowl Brush Power:** A good toilet bowl brush is essential for scrubbing away stains.
* **Vinegar for the Exterior:** Vinegar is great for cleaning the outside of the toilet.
**Step-by-Step Instructions:**
1. **Sprinkle Baking Soda:** Sprinkle about 1 cup of baking soda into the toilet bowl.
2. **Pour in Vinegar:** Slowly pour about 1 cup of white vinegar into the toilet bowl. You’ll see it fizz and bubble – that’s the magic happening!
3. **Let it Fizz:** Let the baking soda and vinegar mixture fizz for at least 15-20 minutes. This will help loosen stains and grime.
4. **Scrub-a-dub-dub (You Know the Drill!):** Use your toilet bowl brush to scrub the inside of the toilet bowl, paying attention to any stains or buildup.
5. **Flush and Repeat (If Needed):** Flush the toilet. If you still see some stains, repeat the process.
6. **Vinegar for the Exterior:** In a spray bottle, mix equal parts white vinegar and water. Spray the outside of the toilet (including the seat, lid, and base) with the vinegar solution.
7. **Wipe Clean:** Wipe the exterior of the toilet with a clean cloth or paper towel.
8. **Shine and Sanitize:** For extra shine and sanitization, you can use a disinfecting wipe on the exterior of the toilet.
Freshening Up the Bathroom Air
Now that your bathroom is sparkling clean, let’s make it smell amazing! Here are a few of my favorite DIY air freshening tricks:
* **Essential Oil Diffuser:** An essential oil diffuser is a great way to fill your bathroom with a pleasant scent.
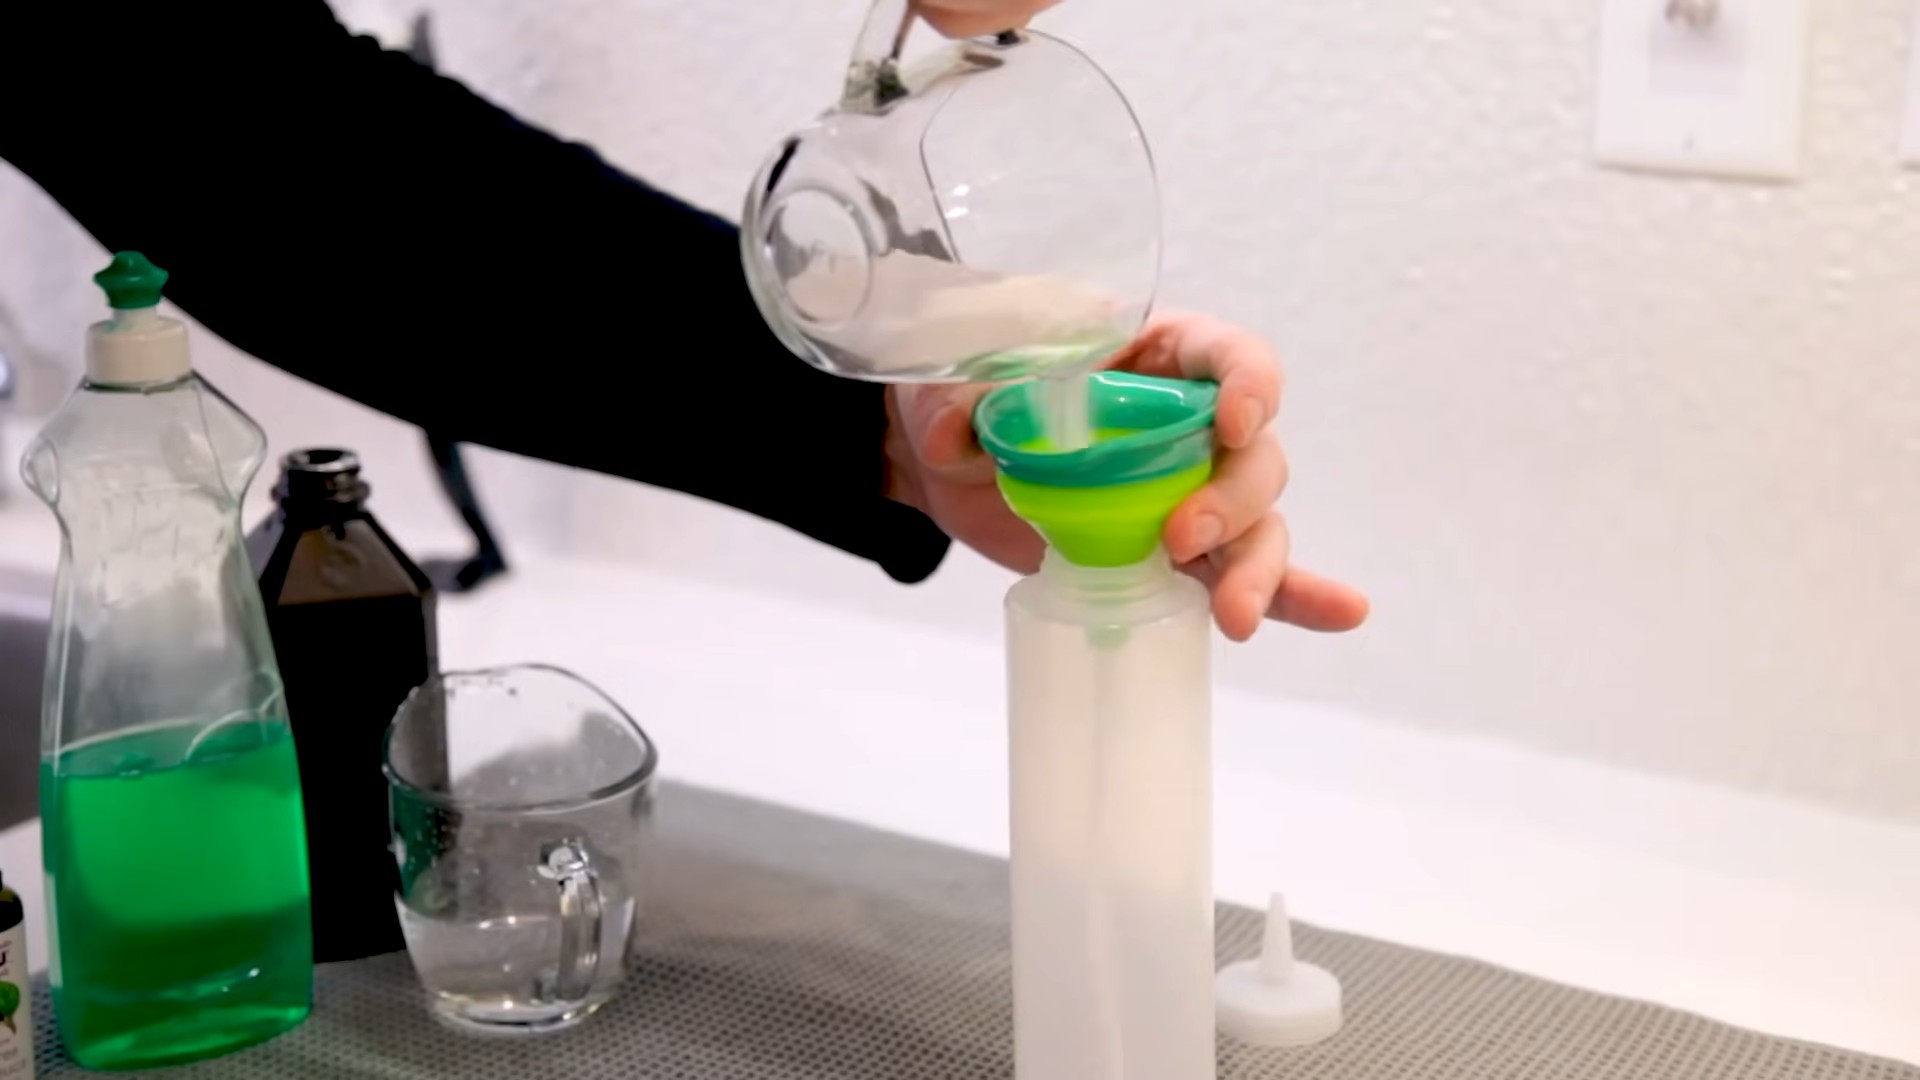
* **DIY Reed Diffuser:** Create your own reed diffuser using essential oils and a glass jar.
* **Baking Soda Odor Absorber:** Baking soda is a natural odor absorber.
**Step-by-Step Instructions:**
1. **Essential Oil Diffuser:** Simply add water and a few drops of your favorite essential oil to your diffuser and turn it on. I love using lavender, eucalyptus, or lemon essential oils in the bathroom.
2. **DIY Reed Diffuser:**
* Find a small glass jar or bottle with a narrow opening.
* Pour about 1/4 cup of carrier oil (like fractionated coconut oil or sweet almond oil) into the jar.
* Add 15-20 drops of your favorite essential oil or blend of essential oils.
* Insert 5-7 reeds into the jar.
* Flip the reeds every few days to refresh the scent.
3. **Baking Soda Odor Absorber:**
* Fill a small jar or container with baking soda.
* Add a few drops of your favorite essential oil to the baking soda.
* Place the jar in your bathroom to absorb odors.
* Replace the baking soda every month or two.
Bonus Tip: Preventing Future Grime
The best way to keep your bathroom clean is to prevent grime from building up in the first place. Here are a few simple habits that can make a big difference:
* **Wipe Down Shower Doors After Each Use:** Use a squeegee or towel to wipe down the shower doors after each shower. This will prevent water spots and soap scum from building up.
* **Ventilate the Bathroom:** Run the exhaust fan during and after showers to remove moisture and prevent mildew growth.
* **Regular Cleaning:** Give your bathroom a quick clean once a week to prevent grime from building up.
These DIY bathroom cleaning hacks are easy, affordable, and effective. With a little elbow grease and some natural ingredients, you can have a sparkling clean bathroom without breaking the bank or using harsh chemicals. Happy cleaning!
Conclusion
So, there you have it! This simple yet incredibly effective DIY bathroom cleaning trick is a game-changer for anyone looking to achieve a sparkling clean bathroom without harsh chemicals or back-breaking scrubbing. We’ve shown you how to harness the power of readily available ingredients to create a potent cleaning solution that tackles soap scum, hard water stains, and general grime with ease.
Why is this a must-try? Because it’s cost-effective, eco-friendly, and, most importantly, it works! Think about the money you’ll save on expensive commercial cleaners, not to mention the peace of mind knowing you’re not exposing yourself or your family to potentially harmful chemicals. This method is gentle enough for regular use, helping you maintain a consistently clean and fresh bathroom with minimal effort.
But the beauty of this DIY approach lies in its adaptability. Feel free to experiment with variations to suit your specific needs and preferences. For instance, if you have particularly stubborn stains, you can increase the concentration of vinegar or add a few drops of essential oils like tea tree or eucalyptus for their antibacterial properties and refreshing scent. You could also try using lemon juice instead of vinegar for a slightly different scent profile and cleaning action. For grout cleaning, consider using an old toothbrush to really get into those tight spaces. Remember to always test any new cleaning solution in an inconspicuous area first to ensure it doesn’t damage the surface.
This DIY bathroom cleaning solution is more than just a cleaning method; it’s a step towards a healthier home and a more sustainable lifestyle. It’s about taking control of the products you use and making informed choices that benefit both your well-being and the environment.
We are confident that once you try this DIY trick, you’ll be amazed by the results. The satisfaction of seeing your bathroom transformed with minimal effort and natural ingredients is truly rewarding. So, ditch the harsh chemicals and embrace the power of DIY cleaning!
We encourage you to give this method a try and share your experiences with us. Let us know what variations you’ve experimented with and what worked best for you. Your feedback is invaluable and helps us refine and improve our cleaning tips for the benefit of everyone. Share your before-and-after photos, your favorite scent combinations, and any other tips you’ve discovered along the way. Let’s create a community of DIY cleaning enthusiasts who are passionate about creating clean, healthy, and sustainable homes. We can’t wait to hear your success stories!
Frequently Asked Questions (FAQ)
What exactly makes this DIY bathroom cleaning method so effective?
The effectiveness of this DIY method stems from the natural cleaning properties of its ingredients. Vinegar, for example, is a mild acid that helps to dissolve soap scum, hard water stains, and mineral deposits. Baking soda is a gentle abrasive that helps to scrub away grime without scratching surfaces. The combination of these ingredients creates a powerful cleaning solution that is both effective and safe for most bathroom surfaces. Furthermore, the absence of harsh chemicals means you’re not dealing with irritating fumes or potentially harmful residues.
Is this DIY cleaner safe to use on all bathroom surfaces?
While this DIY cleaner is generally safe for most bathroom surfaces, it’s always a good idea to test it in an inconspicuous area first, especially on delicate surfaces like natural stone (marble, granite) or certain types of tile. The acidity of vinegar can potentially etch or damage these surfaces over time. For natural stone, consider using a pH-neutral cleaner specifically designed for those materials. For other surfaces, like porcelain, ceramic tile, glass, and most plastics, this DIY cleaner should be perfectly safe. Always rinse thoroughly after cleaning to remove any residue.
Can I use this DIY cleaner on mold and mildew?
While this DIY cleaner can help to prevent mold and mildew growth, it may not be the most effective solution for removing existing mold and mildew, especially in severe cases. Vinegar does have some antifungal properties, but stronger solutions like bleach or specialized mold and mildew removers may be necessary for thorough eradication. If you’re dealing with a significant mold problem, it’s always best to consult with a professional. For preventative maintenance, regular cleaning with this DIY solution can help to keep mold and mildew at bay.
How often should I use this DIY bathroom cleaning solution?
The frequency of cleaning depends on how often your bathroom is used and how quickly it gets dirty. For most households, cleaning once a week is sufficient to maintain a clean and fresh bathroom. However, if you have a large family or your bathroom sees heavy use, you may need to clean it more frequently. Regular cleaning with this DIY solution will prevent the buildup of soap scum and hard water stains, making future cleaning easier and less time-consuming.
Can I add essential oils to this DIY cleaner? If so, which ones are best?
Yes, you can definitely add essential oils to this DIY cleaner! Essential oils not only add a pleasant scent but also offer additional cleaning and antibacterial properties. Some of the best essential oils for bathroom cleaning include tea tree oil (known for its antibacterial and antifungal properties), eucalyptus oil (for its refreshing scent and antiseptic properties), lavender oil (for its calming scent and antibacterial properties), and lemon oil (for its degreasing and disinfecting properties). Add a few drops of your chosen essential oil to the cleaning solution and shake well before using.
How should I store the leftover DIY bathroom cleaning solution?
Store any leftover DIY bathroom cleaning solution in a labeled spray bottle in a cool, dark place. It’s important to label the bottle clearly to avoid any confusion, especially if you have children or pets. The solution should be stable for several weeks, but it’s best to use it within a month for optimal effectiveness. If you notice any changes in color or odor, discard the solution and make a fresh batch.
What if I don’t have vinegar or baking soda? Are there any alternatives?
While vinegar and baking soda are the key ingredients in this DIY cleaner, there are some alternatives you can use if you don’t have them on hand. Lemon juice can be used as a substitute for vinegar, as it also contains citric acid, which helps to dissolve soap scum and hard water stains. For baking soda, you can try using borax, which is a natural mineral with cleaning and disinfecting properties. However, borax is slightly more abrasive than baking soda, so use it with caution on delicate surfaces.
My bathroom has a very strong odor. Will this DIY cleaner help to eliminate it?
This DIY cleaner can help to eliminate mild odors in your bathroom, but for strong or persistent odors, you may need to take additional steps. Make sure to ventilate your bathroom well by opening windows or using the exhaust fan. You can also try placing a bowl of baking soda in the bathroom to absorb odors. For particularly stubborn odors, you may need to identify and address the source of the odor, such as a clogged drain or mold growth.
How can I make this DIY bathroom cleaning solution even more eco-friendly?
To make this DIY bathroom cleaning solution even more eco-friendly, consider using organic vinegar and baking soda. You can also use a reusable spray bottle instead of disposable ones. When cleaning, use reusable cloths or sponges instead of paper towels. And finally, be mindful of the amount of water you use when rinsing. By making these small changes, you can significantly reduce your environmental impact.

Leave a Comment