

Bathroom cleaning easy? Absolutely! Let’s face it, nobody *loves* cleaning the bathroom. It’s often the most dreaded chore on the list, conjuring images of harsh chemicals, stubborn stains, and endless scrubbing. But what if I told you that keeping your bathroom sparkling clean could be easier, faster, and even…dare I say…enjoyable?
For centuries, people have sought out ways to maintain cleanliness and hygiene in their homes. From ancient Roman bathhouses to traditional cleaning rituals passed down through generations, the desire for a clean and healthy living space is deeply ingrained in our culture. But the methods have evolved! We’ve moved beyond back-breaking labor and embraced clever DIY tricks and hacks that make the process significantly less daunting.
That’s where this article comes in. I’m going to share some of my favorite and most effective DIY bathroom cleaning secrets that will transform your cleaning routine. Whether you’re battling soap scum, mildew, or just trying to maintain a fresh and inviting space, these tips will save you time, money, and a whole lot of elbow grease. Because let’s be honest, who wants to spend their precious weekend scrubbing toilets when they could be relaxing and enjoying life? So, get ready to discover how bathroom cleaning easy can truly be!
DIY Bathroom Cleaning Power-Up: Conquer Grime Like a Pro!
Okay, let’s face it: cleaning the bathroom is nobody’s favorite chore. But with a few clever DIY tricks and some elbow grease (okay, maybe not *too* much elbow grease!), you can transform your bathroom from a grimy disaster zone into a sparkling sanctuary. I’m going to share my go-to methods for tackling every corner of your bathroom, using mostly ingredients you probably already have in your pantry!
The Ultimate DIY Bathroom Cleaning Arsenal
Before we dive in, let’s gather our supplies. Having everything ready will make the whole process much smoother and less daunting. Here’s what I recommend:
* White Vinegar: This is my secret weapon! It’s a natural disinfectant, deodorizer, and descaler.
* Baking Soda: Another powerhouse cleaner! It’s mildly abrasive, perfect for scrubbing away stubborn grime.
* Dish Soap: Cuts through grease and grime like a champ.
* Hydrogen Peroxide: Great for disinfecting and whitening.
* Essential Oils (Optional): Tea tree, lavender, or eucalyptus oil can add a pleasant scent and boost the cleaning power.
* Spray Bottles: You’ll need at least two – one for vinegar and one for your all-purpose cleaner.
* Microfiber Cloths: These are amazing for streak-free cleaning.
* Scrub Brush: A good scrub brush is essential for tackling grout and tough stains.
* Old Toothbrush: Perfect for cleaning those hard-to-reach areas around faucets and drains.
* Squeegee: Keep your shower doors sparkling!
* Rubber Gloves: Protect your hands from harsh chemicals (even though we’re using mostly natural ingredients, it’s still a good idea!).
* Toilet Bowl Brush: A must-have, obviously!
* Glass Cleaner (Optional): If you prefer a dedicated glass cleaner, feel free to use it.
Tackling the Toilet: From Grimy to Gleaming
Let’s start with the toilet – the throne of the bathroom!
1. Flush the Toilet: Get rid of any… you know.
2. Vinegar Power: Pour about a cup of white vinegar into the toilet bowl. Let it sit for at least 30 minutes (or even better, overnight) to loosen any mineral deposits and stains.
3. Baking Soda Boost: Sprinkle about a cup of baking soda into the bowl. The mixture of vinegar and baking soda will create a fizzing action that helps to scrub away grime.
4. Scrub-a-dub-dub: Use your toilet bowl brush to thoroughly scrub the entire bowl, paying special attention to any stains or rings.
5. Flush Again: Flush the toilet to rinse away the cleaning mixture.
6. Exterior Cleaning: Now, let’s tackle the outside of the toilet. Mix a solution of equal parts white vinegar and water in a spray bottle. Spray the entire exterior of the toilet, including the tank, seat, and base.
7. Wipe Down: Use a microfiber cloth to wipe down the exterior of the toilet, removing any dirt and grime.
8. Disinfectant Touch: For extra disinfecting power, you can spray the exterior of the toilet with a diluted hydrogen peroxide solution (mix equal parts hydrogen peroxide and water). Let it sit for a few minutes, then wipe clean.
Shower and Tub Transformation: Say Goodbye to Soap Scum!
Soap scum and mildew can make your shower and tub look perpetually dirty. But don’t worry, I have a solution!
1. Vinegar Shower Spray: Fill a spray bottle with white vinegar. Warm it up slightly in the microwave (be careful not to overheat it!). The warm vinegar will be even more effective at dissolving soap scum.
2. Spray and Soak: Spray the entire shower and tub area with the warm vinegar, focusing on areas with heavy soap scum buildup. Let it sit for at least 30 minutes.
3. Baking Soda Scrub: Make a paste of baking soda and water. Apply the paste to stubborn soap scum stains.
4. Scrub-a-dub-dub (Again!): Use a scrub brush or sponge to scrub the shower and tub, paying special attention to the areas where you applied the baking soda paste.
5. Rinse Thoroughly: Rinse the entire shower and tub with hot water to remove all traces of vinegar and baking soda.
6. Squeegee Time: After each shower, use a squeegee to remove excess water from the shower walls and door. This will help prevent soap scum buildup.
7. Grout Cleaning Power: For grout, make a paste of baking soda and hydrogen peroxide. Apply the paste to the grout lines and let it sit for a few minutes. Then, use an old toothbrush to scrub the grout clean. Rinse thoroughly.
8. Showerhead Deep Clean: Mineral buildup can clog your showerhead. To clean it, fill a plastic bag with white vinegar and secure it around the showerhead with a rubber band. Make sure the showerhead is completely submerged in the vinegar. Let it soak overnight. In the morning, remove the bag and run the shower to flush out any remaining vinegar and mineral deposits.
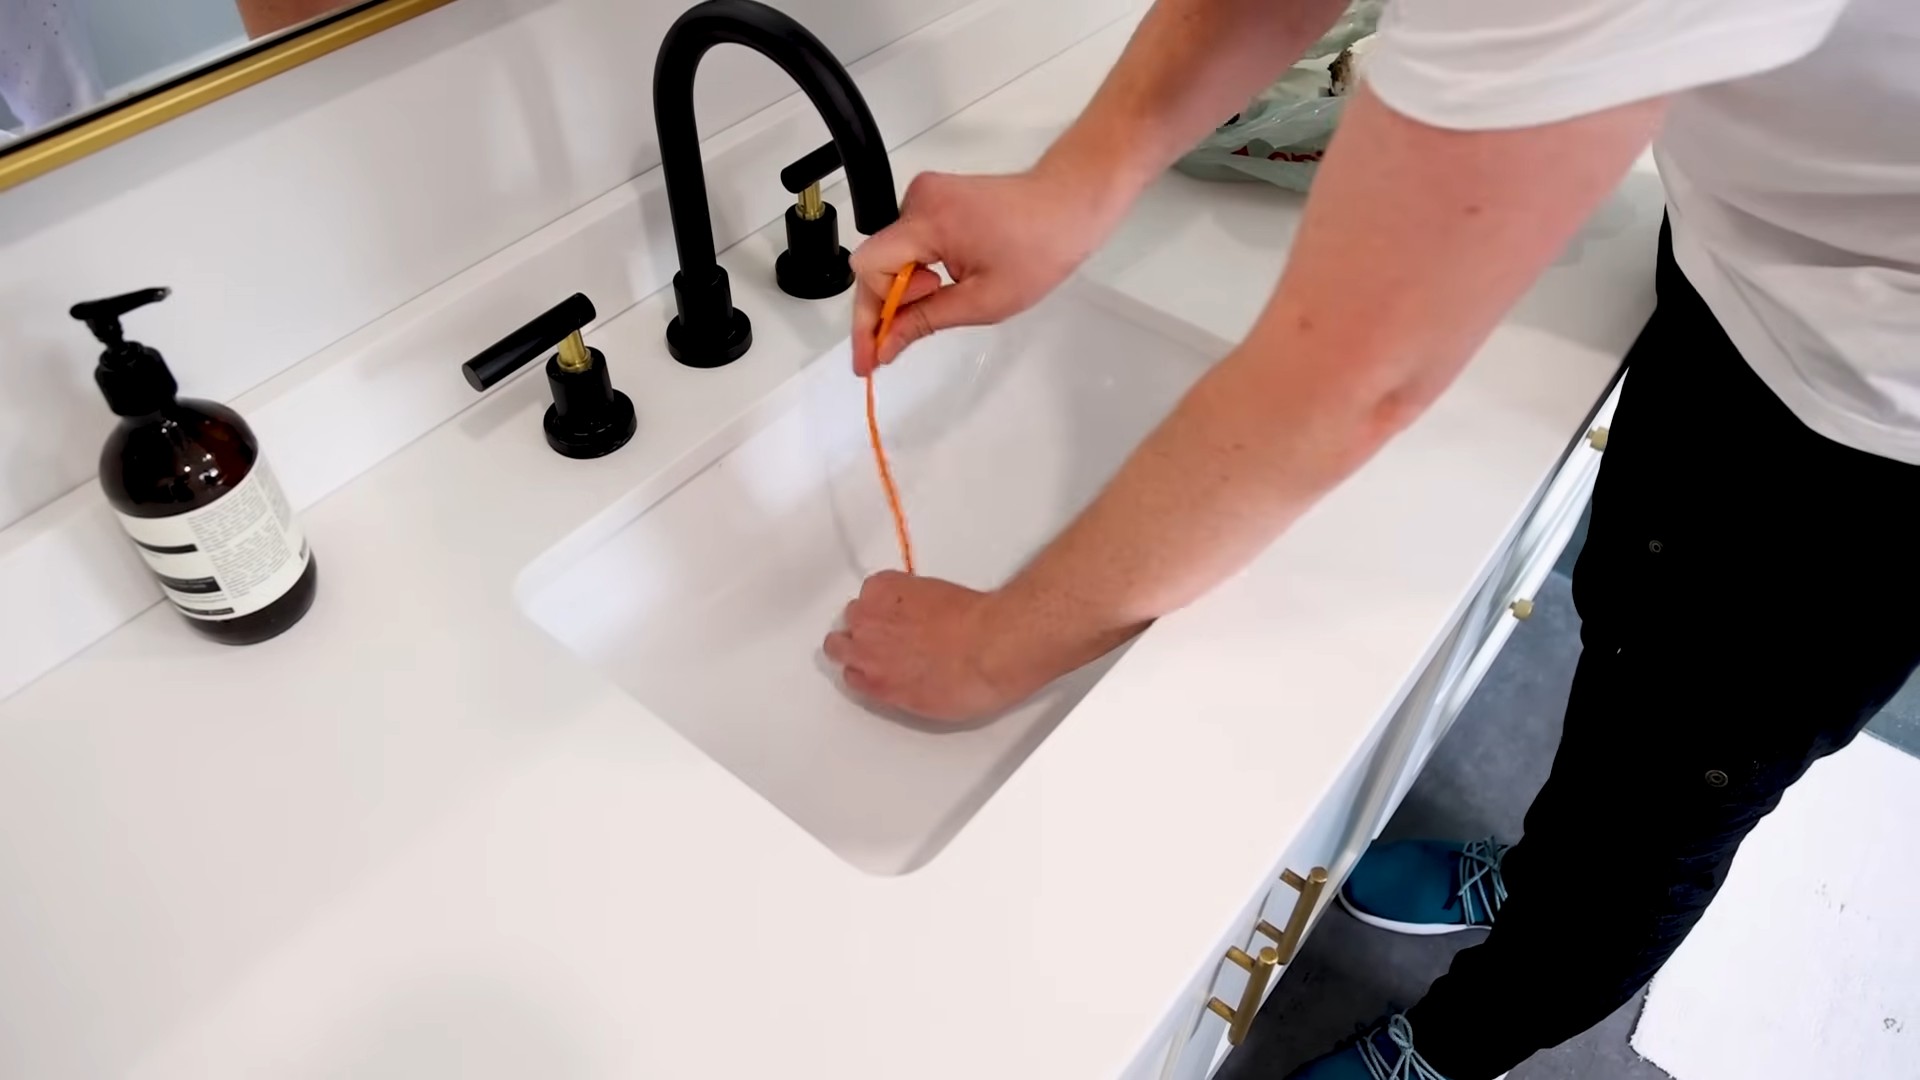
Sink and Countertop Sparkle: A Quick and Easy Clean
The sink and countertops are often the first things people see in your bathroom, so let’s make them shine!
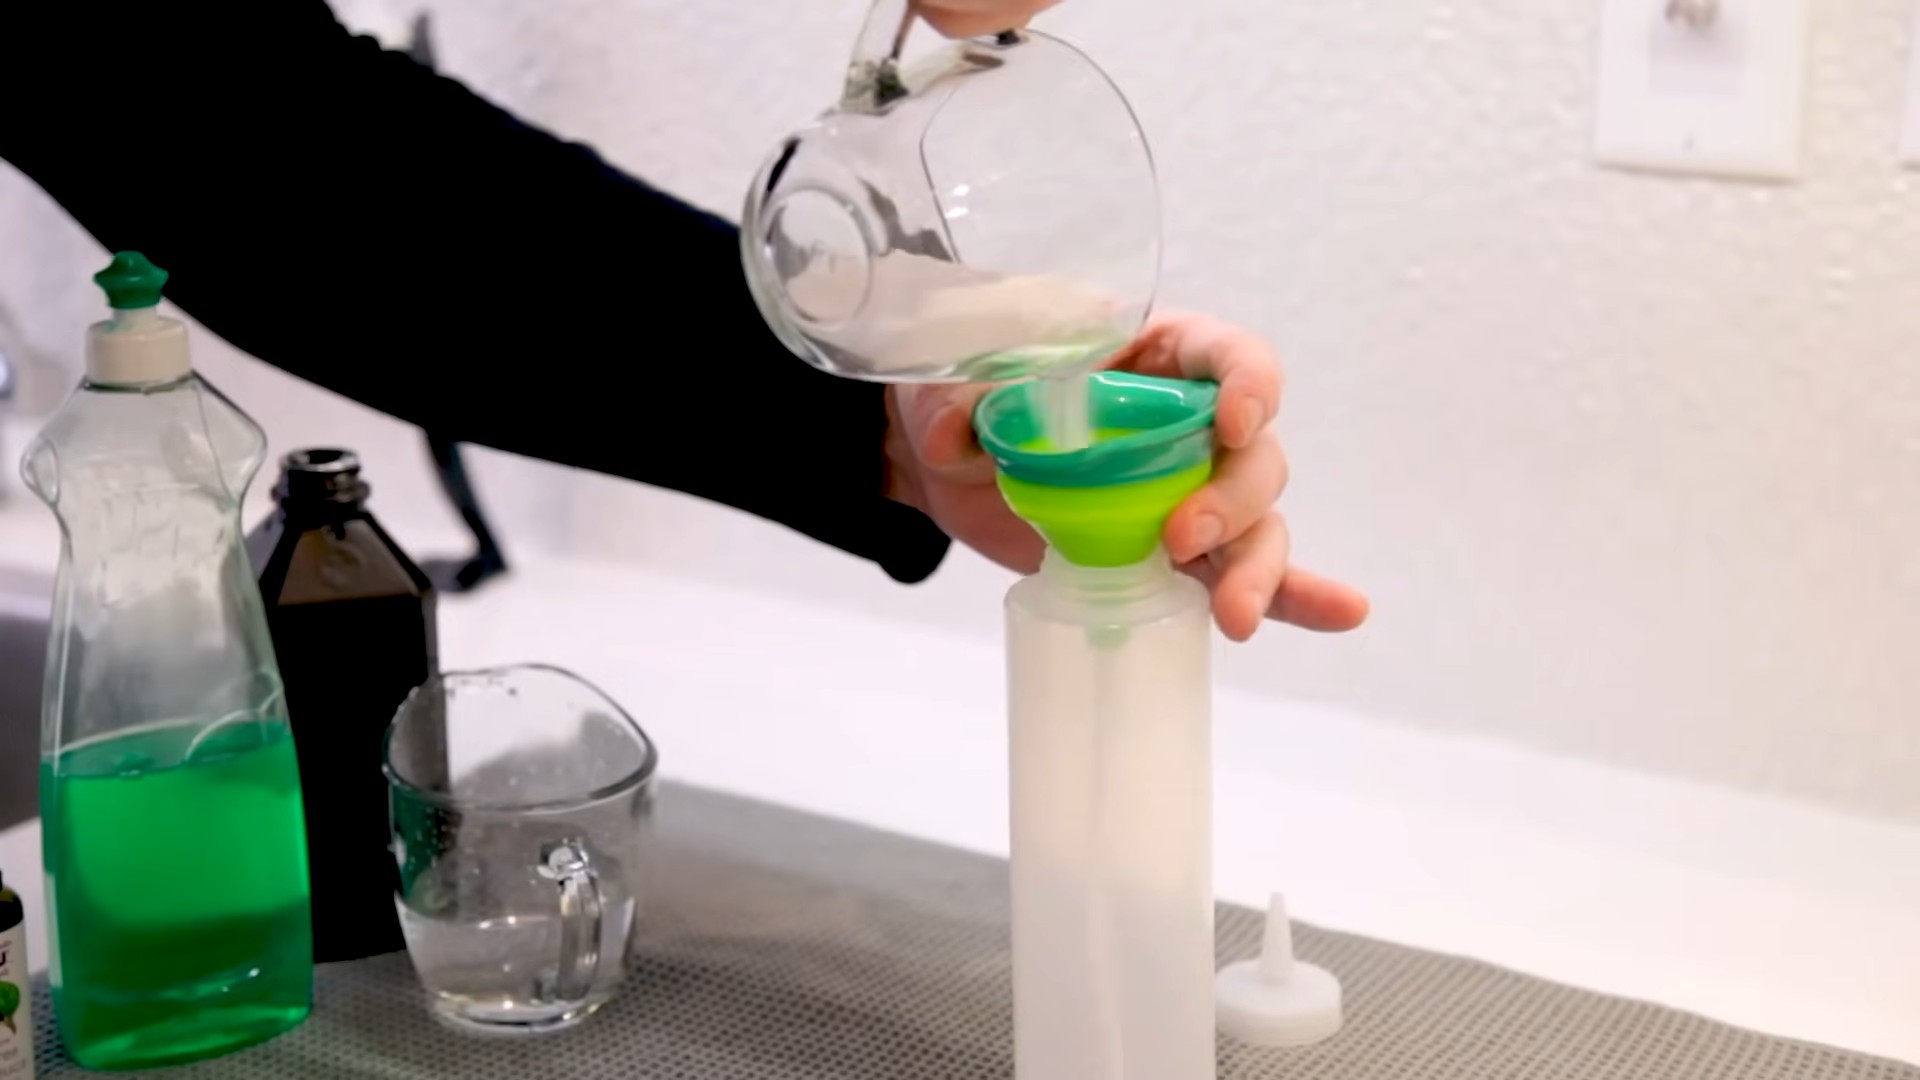
1. All-Purpose Cleaner: In a spray bottle, mix equal parts white vinegar and water. Add a few drops of your favorite essential oil for a pleasant scent (optional).
2. Spray and Wipe: Spray the sink and countertops with the all-purpose cleaner.
3. Wipe Clean: Use a microfiber cloth to wipe down the surfaces, removing any dirt, grime, and water spots.
4. Faucet Focus: Use an old toothbrush to clean around the faucets and drains, removing any buildup.
5. Shine Time: For extra shine, you can buff the surfaces with a clean, dry microfiber cloth.
6. Mirror Magic: Spray your mirror with glass cleaner (or your vinegar/water solution) and wipe clean with a microfiber cloth for a streak-free shine.
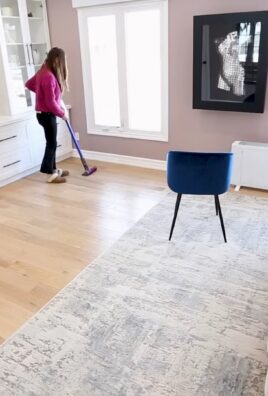
Floor Fabulousness: From Grimy to Gleaming
Don’t forget the floor! A clean floor can make a huge difference in the overall appearance of your bathroom.
1. Sweep or Vacuum: Start by sweeping or vacuuming the floor to remove any loose dirt and debris.
2. Mop It Up: Mix a solution of warm water and a small amount of dish soap in a bucket.
3. Mop the Floor: Mop the floor thoroughly, paying special attention to any areas with stains or spills.
4. Rinse (If Necessary): If your floor is particularly dirty, you may need to rinse it with clean water after mopping.
5. Dry the Floor: Allow the floor to air dry, or use a clean towel to dry it.
Extra Tips and Tricks for a Sparkling Bathroom
* Ventilation is Key: Always run the exhaust fan while showering or bathing to prevent moisture buildup and mildew growth.
* Regular Cleaning is Easier: The more often you clean your bathroom, the less time it will take each time. Try to do a quick wipe-down of the shower and sink after each use.
* DIY Air Freshener: Place a small bowl of baking soda in your bathroom to absorb odors. You can also add a few drops of essential oil to the baking soda for a pleasant scent.
* Lemon Power: Rub a lemon half on chrome fixtures to remove water spots and leave them sparkling.
* Prevent Mildew: After showering, spray the shower walls with a solution of tea tree oil and water to prevent mildew growth.
* Clean Your Shower Curtain Liner: Toss your shower curtain liner in the washing machine with a few towels and some laundry detergent. Add a cup of baking soda to help remove soap scum and mildew. Hang it up to dry.
Maintaining Your Sparkling Bathroom
Daily Habits:
* Squeegee after showering: This prevents water spots and soap scum buildup.
* Wipe down the sink: A quick wipe after brushing your teeth keeps things tidy.
Weekly Tasks:
* Clean the toilet: A quick scrub keeps it fresh.
* Mop the floor: Prevents dirt from accumulating.
* Wipe down counters: Keeps surfaces clean and shiny.
Monthly Deep Clean:
* Clean grout: Use a grout brush and cleaner to remove stains.
* Clean showerhead: Soak in vinegar to remove mineral deposits.
* Wash shower curtain liner: Keeps it fresh and mildew-free.
By following these simple steps and incorporating these tips into your cleaning routine, you can keep your bathroom sparkling clean and
Conclusion
So, there you have it! This simple DIY bathroom cleaning trick is more than just a quick fix; it’s a game-changer for maintaining a sparkling and hygienic bathroom without harsh chemicals or back-breaking scrubbing. We’ve shown you how to harness the power of readily available ingredients to create a potent and effective cleaner that tackles grime, soap scum, and hard water stains with ease.
Why is this a must-try? Because it’s economical, eco-friendly, and incredibly effective. Think about it: no more expensive, store-bought cleaners filled with ingredients you can’t even pronounce. No more worrying about harmful fumes irritating your lungs or damaging your surfaces. This DIY solution is gentle on your bathroom fixtures, tough on dirt, and kind to your wallet.
But the benefits don’t stop there. This method is also incredibly versatile. Feel free to experiment with variations to suit your specific needs and preferences. For instance, if you’re dealing with particularly stubborn stains, try adding a tablespoon of borax to the mixture for extra cleaning power. Or, if you prefer a more fragrant cleaning experience, infuse your vinegar with citrus peels for a refreshing scent. Lavender or eucalyptus essential oils can also be added for their antibacterial properties and calming aromas. Remember to always test any new mixture on an inconspicuous area first to ensure it doesn’t damage the surface.
Consider using a microfiber cloth for wiping down surfaces after applying the cleaner. Microfiber cloths are excellent at lifting dirt and grime without leaving streaks or residue. For grout cleaning, an old toothbrush or grout brush can be invaluable in reaching those tight spaces.
This DIY bathroom cleaning method isn’t just about cleaning; it’s about creating a healthier and more sustainable home environment. It’s about taking control of the products you use and making informed choices that benefit both your family and the planet.
We are confident that once you try this DIY bathroom cleaning trick, you’ll be amazed by the results. It’s a simple, effective, and affordable way to keep your bathroom sparkling clean and fresh.
Now, it’s your turn! We encourage you to give this DIY bathroom cleaning method a try and see for yourself the difference it can make. Don’t be afraid to experiment with variations and find what works best for you. And most importantly, we want to hear about your experience! Share your tips, tricks, and results in the comments below. Let’s build a community of clean and green bathroom enthusiasts! We can’t wait to see how this DIY solution transforms your bathroom cleaning routine.
Frequently Asked Questions (FAQs)
1. What exactly is the basic recipe for this DIY bathroom cleaner?
The core recipe typically involves a combination of white vinegar and water, often in equal parts. Some variations include baking soda, dish soap (a small amount), or essential oils for added cleaning power and fragrance. The specific proportions may vary depending on the severity of the cleaning task and the surfaces being cleaned. For general cleaning, a 1:1 ratio of vinegar and water works well. For tougher stains, you can increase the concentration of vinegar.
2. Is vinegar safe to use on all bathroom surfaces?
While vinegar is a fantastic natural cleaner, it’s not suitable for all surfaces. Avoid using vinegar on natural stone surfaces like marble, granite, and travertine, as the acidity can etch and damage them. It’s also best to avoid using vinegar on waxed surfaces, as it can strip the wax. Always test the cleaner on an inconspicuous area first to ensure it doesn’t cause any discoloration or damage. Safe surfaces generally include ceramic tile, porcelain, glass, and stainless steel.
3. Can I use this DIY cleaner on mold and mildew?
Yes, vinegar is effective at killing mold and mildew. Spray the affected area with undiluted white vinegar and let it sit for at least an hour before scrubbing and rinsing. For stubborn mold, you may need to repeat the process or use a stronger solution. Baking soda can also be used as a mild abrasive to help scrub away mold and mildew. Remember to ventilate the bathroom well during and after cleaning to prevent moisture buildup.
4. How often should I use this DIY bathroom cleaner?
The frequency of cleaning depends on how often the bathroom is used and how quickly it gets dirty. For general maintenance, cleaning once a week is usually sufficient. However, high-traffic bathrooms may require more frequent cleaning. Spot cleaning can be done as needed to address spills or stains. Regular cleaning will prevent the buildup of grime and make future cleaning tasks easier.
5. What are some essential oils I can add to my DIY bathroom cleaner, and what are their benefits?
Several essential oils can be added to your DIY bathroom cleaner for their antibacterial, antifungal, and aromatic properties. Some popular choices include:
* **Tea Tree Oil:** Known for its powerful antibacterial and antifungal properties, making it effective against mold and mildew.
* **Lavender Oil:** Offers a calming and relaxing scent while also possessing antibacterial properties.
* **Eucalyptus Oil:** Has a refreshing scent and is known for its antiseptic and decongestant properties.
* **Lemon Oil:** Provides a bright and citrusy scent and has antibacterial and degreasing properties.
* **Peppermint Oil:** Offers a refreshing and invigorating scent and has antibacterial properties.
When using essential oils, add a few drops to your cleaning solution and shake well before each use. Always use pure essential oils and store them in a dark, cool place.
6. How do I clean shower doors with this DIY solution to remove soap scum?
For shower doors with soap scum, spray the DIY cleaner liberally onto the doors and let it sit for 15-30 minutes to allow the vinegar to break down the soap scum. Then, scrub the doors with a non-abrasive sponge or microfiber cloth. Rinse thoroughly with water and dry with a clean towel or squeegee to prevent water spots. For stubborn soap scum, you can create a paste of baking soda and water and apply it to the affected areas before scrubbing.
7. Can I use this DIY cleaner to clean my toilet?
Yes, this DIY cleaner can be used to clean your toilet. Pour a cup of vinegar into the toilet bowl and let it sit for at least 30 minutes, or even overnight for tougher stains. Then, scrub the bowl with a toilet brush and flush. You can also add a few drops of tea tree oil or lemon oil for extra cleaning power and a fresh scent. For the exterior of the toilet, spray the DIY cleaner onto a cloth and wipe down the surfaces.
8. How do I store the DIY bathroom cleaner?
Store your DIY bathroom cleaner in a clean, labeled spray bottle. Keep it out of reach of children and pets. It’s best to store the cleaner in a cool, dark place to prevent the essential oils from degrading. The cleaner should be effective for several weeks, but it’s always a good idea to make a fresh batch every month or two to ensure optimal cleaning power.
9. What if I don’t like the smell of vinegar?
The smell of vinegar can be strong, but it dissipates quickly after cleaning. To minimize the vinegar smell, you can add essential oils to your cleaning solution. Citrus oils like lemon or orange are particularly effective at masking the vinegar scent. You can also infuse your vinegar with citrus peels for a few days before using it to create a more pleasant-smelling cleaner. Make sure to ventilate the bathroom well during and after cleaning to help dissipate the vinegar smell.
10. Is this DIY bathroom cleaning method septic-safe?
Yes, this DIY bathroom cleaning method is generally considered septic-safe. Vinegar and baking soda are natural substances that won’t harm your septic system. However, it’s important to use these ingredients in moderation. Avoid pouring large amounts of vinegar or baking soda down the drain at once, as this could disrupt the balance of bacteria in your septic tank. Dish soap should also be used sparingly, as excessive amounts can also harm the septic system.
Leave a Comment