

Baking Soda Oven Cleaning: Are you tired of battling a grimy oven, dreading the harsh chemicals and elbow grease involved in getting it sparkling clean? I know I was! For generations, baking soda has been a trusted household staple, not just for baking delicious treats, but also for its incredible cleaning power. Think of your grandmother’s secret cleaning recipes – chances are, baking soda was a key ingredient.
But why is baking soda oven cleaning such a game-changer? Well, traditional oven cleaners are often packed with harsh chemicals that can be harmful to your health and the environment. Plus, the fumes can be unbearable! This DIY method offers a natural, effective, and budget-friendly alternative.
Imagine effortlessly wiping away baked-on grease and grime, revealing a gleaming oven interior without the toxic fumes. This article will guide you through a simple, step-by-step process to achieve just that. I’ll share my favorite tips and tricks for using baking soda to conquer even the most stubborn oven messes, leaving you with a clean oven and peace of mind. Let’s get started and transform your oven cleaning experience!
DIY Oven Cleaning with Baking Soda: A Sparkling Clean Oven the Natural Way!
Okay, let’s face it, cleaning the oven is probably on everyone’s list of least favorite chores. But a clean oven is a happy oven (and makes for better-tasting food!), so we can’t avoid it forever. The good news is, you don’t need harsh chemicals to get your oven sparkling. This DIY method uses just baking soda and vinegar – two ingredients you probably already have in your pantry! I’ve been using this method for years, and it works like a charm. It’s eco-friendly, budget-friendly, and surprisingly effective. Let’s get started!
What You’ll Need:
Before we dive in, let’s gather our supplies. This is a pretty simple process, so the list is short and sweet:
* Baking Soda
* White Vinegar
* Water
* Spray Bottle
* Spatula or Scraper (plastic or silicone is best to avoid scratching)
* Sponge or Cloth
* Rubber Gloves (optional, but recommended)
* Old Towels or Rags
Step-by-Step Instructions:
Here’s the breakdown of how to get your oven looking brand new using the power of baking soda and vinegar.
Phase 1: The Baking Soda Paste
This is where we create our cleaning powerhouse. The baking soda paste will loosen all that baked-on grime and grease.
1. Empty the Oven: First things first, remove everything from your oven. This includes oven racks, baking stones, thermometers, and anything else you might have stored in there. We want a clean slate to work with.
2. Mix the Paste: In a bowl, mix together ½ cup of baking soda with a few tablespoons of water. Add the water gradually until you form a thick, spreadable paste. You want it to be thick enough to stick to the oven surfaces, but not so thick that it’s difficult to spread. I usually start with 3 tablespoons and add more, a teaspoon at a time, until I get the right consistency.
3. Coat the Oven: Using your fingers (with gloves on, of course!) or a spatula, spread the baking soda paste all over the interior surfaces of your oven. This includes the back, sides, bottom, top, and even the inside of the oven door. Avoid the heating elements! You want a nice, even layer. Don’t be shy – really get in there and cover all the greasy spots.
4. Let it Sit: This is the most important part! Let the baking soda paste sit for at least 12 hours, or even better, overnight. The longer it sits, the more time it has to work its magic and loosen all that stubborn grime. I usually apply the paste before I go to bed and then tackle the rest of the cleaning in the morning.
Phase 2: Cleaning the Oven Racks
While the baking soda paste is doing its thing inside the oven, let’s tackle those grimy oven racks.
1. Soak the Racks: The easiest way to clean oven racks is to soak them in hot, soapy water. Fill your bathtub (or a large utility sink) with hot water and add a generous squirt of dish soap. Submerge the oven racks in the water and let them soak for at least a few hours, or even overnight. The longer they soak, the easier it will be to scrub off the grime.
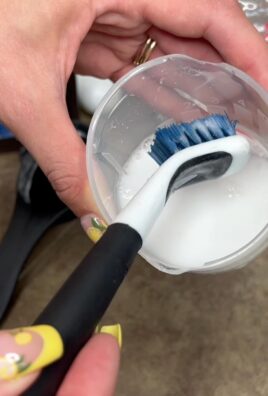
2. Scrub the Racks: After soaking, use a scrub brush or sponge to scrub the racks clean. You might need to use a bit of elbow grease, especially for those really stubborn spots. If you have a lot of baked-on gunk, you can sprinkle some baking soda directly onto the racks while you’re scrubbing. The baking soda will act as a mild abrasive and help to loosen the grime.
3. Rinse and Dry: Once you’ve scrubbed the racks clean, rinse them thoroughly with clean water to remove any soap residue. Then, dry them with a clean towel or let them air dry completely before putting them back in the oven.
Phase 3: The Vinegar Reaction and Final Clean-Up
Now for the fun part – the vinegar reaction! This is where the baking soda and vinegar combine to create a fizzing action that helps to lift away the remaining grime.
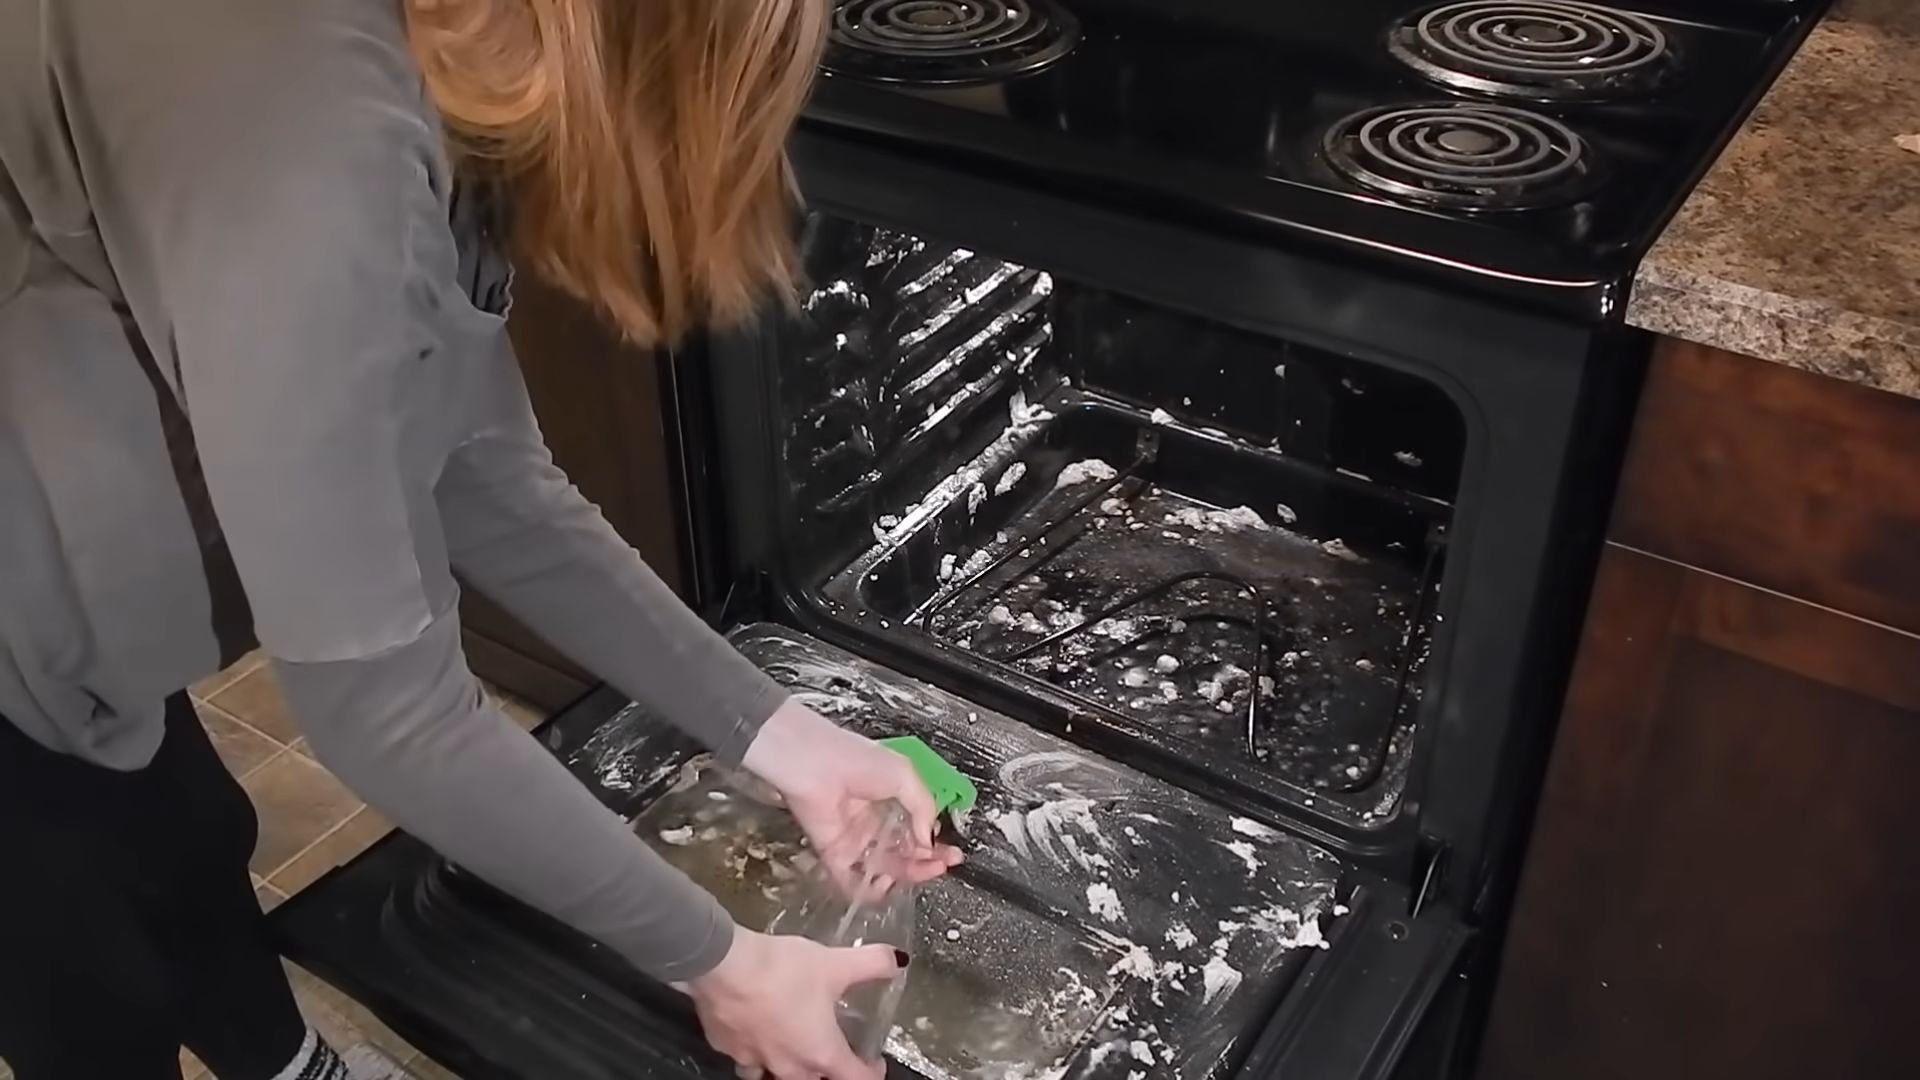
1. Spray with Vinegar: Fill your spray bottle with white vinegar. Lightly spray the inside of the oven where you applied the baking soda paste. You’ll see it start to fizz and bubble as the vinegar reacts with the baking soda. This is a good sign! It means the cleaning process is working.
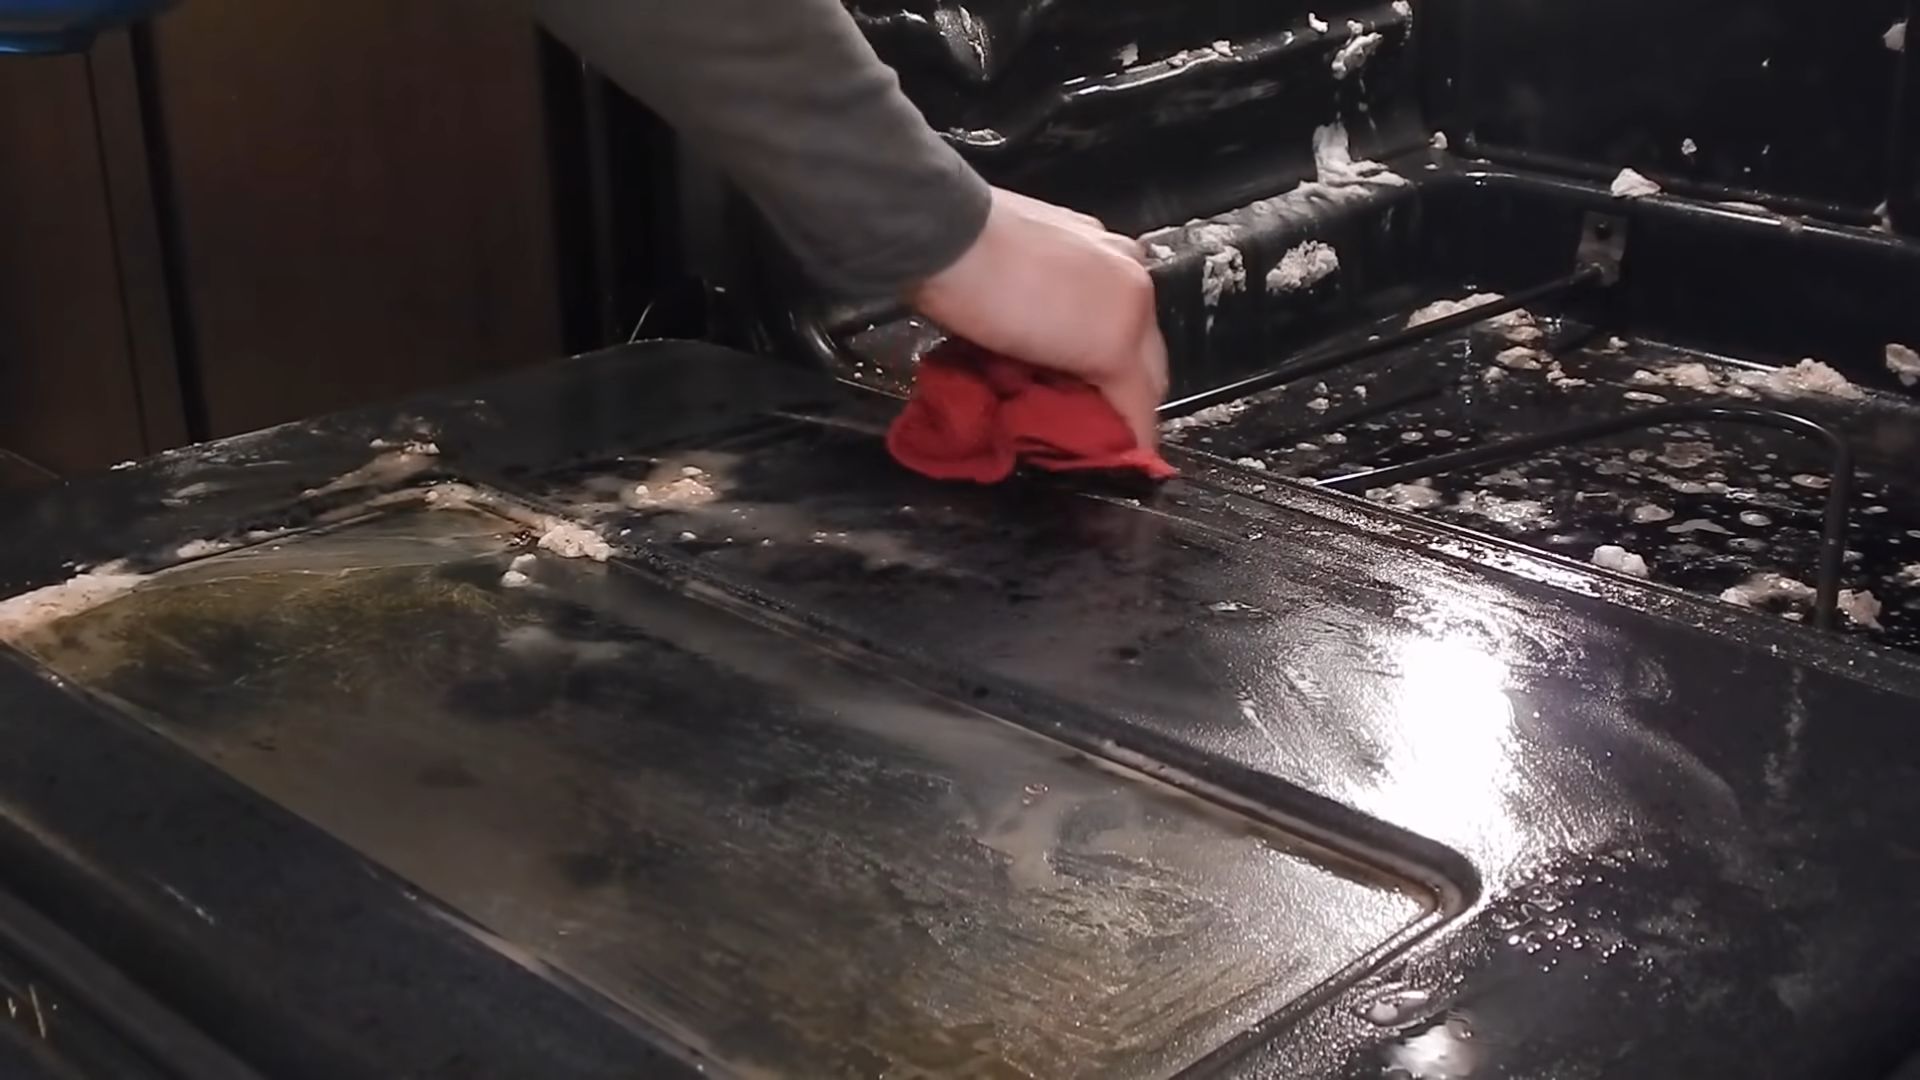
2. Wipe Away the Grime: Using a damp sponge or cloth, wipe away the baking soda paste and loosened grime. You might need to rinse your sponge or cloth frequently as you go. For stubborn spots, you can use a spatula or scraper to gently scrape away the grime. Be careful not to scratch the oven surface!
3. Rinse Thoroughly: Once you’ve wiped away all the baking soda paste and grime, rinse the inside of the oven thoroughly with clean water. You want to make sure you remove all traces of baking soda and vinegar. Use a clean, damp sponge or cloth to wipe down all the surfaces.
4. Dry the Oven: Finally, dry the inside of the oven with a clean towel. This will help to prevent any water spots from forming.
5. Replace the Racks: Once the oven is completely dry, replace the oven racks.
Tips and Tricks for a Sparkling Clean Oven:
Here are a few extra tips and tricks to help you get the best results:
* For Extra Stubborn Grime: If you have some really stubborn spots that just won’t come clean, you can try making a stronger baking soda paste. Use a higher ratio of baking soda to water, and let it sit on the grime for a longer period of time. You can also try using a paste of baking soda and hydrogen peroxide for extra cleaning power.
* Cleaning the Oven Door: Don’t forget to clean the oven door! You can use the same baking soda paste and vinegar method to clean the inside of the oven door. For the outside of the door, you can use a glass cleaner or a mixture of vinegar and water.
* Preventative Measures: To keep your oven clean in the future, try to wipe up any spills as soon as they happen. You can also place a baking sheet on the bottom rack of your oven to catch any drips.
* Self-Cleaning Ovens: While this method is great for a natural clean, if you have a self-cleaning oven, you can still use it! However, I recommend using this baking soda method in between self-cleaning cycles to keep your oven extra clean. Self-cleaning ovens can sometimes leave a residue, so this method can help to remove that.
* Ventilation is Key: Even though we’re using natural ingredients, it’s still a good idea to ventilate your kitchen while you’re cleaning the oven. Open a window or turn on your exhaust fan to help circulate the air.
* Don’t Forget the Lightbulb: While you’re at it, check your oven lightbulb. If it’s burned out, now’s a good time to replace it!
* Repeat if Necessary: For ovens that are extremely dirty, you might need to repeat the process. Don’t be discouraged if it doesn’t come perfectly clean the first time. Just repeat the steps, and you’ll eventually get there!
* Safety First: Always wear gloves when cleaning your oven, even when using natural ingredients. Baking soda can be irritating to the skin. Also, be careful when using a scraper to avoid scratching the oven surface.
* Alternative to Vinegar: If you’re not a fan of the smell of vinegar, you can substitute lemon juice. Lemon juice has similar cleaning properties to vinegar and will leave your oven smelling fresh and citrusy.
* Frequency of Cleaning: How often you need to clean your oven will depend on how often you use it. If you cook frequently, you might need to clean it every month or two. If you only use your oven occasionally, you can probably get away with cleaning it every few months.
* Test in an Inconspicuous Area: Before applying the baking soda paste to the entire oven, test it in a small, inconspicuous area to make sure it doesn’t damage the surface. This is especially important if you have a newer oven with a special coating.
* Patience is a Virtue: Remember, this is a natural cleaning method, so it might take a little more time and effort than using harsh chemicals. But the results are worth it! You’ll have a sparkling clean oven without exposing yourself to harmful fumes.
And there you have it! A sparkling clean oven using just baking soda and vinegar. It might take a little elbow grease, but it’s a safe, effective, and eco-friendly way to keep your oven looking its best. Happy cleaning!
Conclusion
So, there you have it! Ditching those harsh chemicals and embracing the power of baking soda for oven cleaning is not just a trend; it’s a game-changer for your kitchen and your well-being. We’ve walked you through a simple, effective, and surprisingly satisfying method to restore your oven’s sparkle without the fumes and the worry.
Why is this DIY trick a must-try? Because it’s safe, affordable, and incredibly effective. Commercial oven cleaners are often packed with corrosive chemicals that can irritate your skin, damage your oven, and leave behind lingering odors. Baking soda, on the other hand, is a natural, non-toxic alternative that gets the job done just as well, if not better, especially when combined with the cleaning power of vinegar. You’re not just cleaning your oven; you’re creating a healthier environment for yourself and your family.
But the benefits don’t stop there. Think about the money you’ll save! A box of baking soda costs a fraction of what you’d spend on a bottle of commercial oven cleaner, and you probably already have it in your pantry. Plus, you’re reducing your environmental impact by avoiding those harsh chemicals and their packaging. It’s a win-win-win situation!
Now, let’s talk about variations. While the baking soda and vinegar paste is a powerhouse, feel free to experiment to find what works best for you. For particularly stubborn stains, you can let the baking soda paste sit overnight for maximum cleaning power. You can also add a few drops of your favorite essential oil, like lemon or lavender, to the vinegar solution for a fresh, clean scent. If you have a self-cleaning oven, you can use this method as a pre-cleaner to loosen up grime before running the self-cleaning cycle, making it even more effective and reducing the duration of the high-heat cycle.
Another variation involves using a pumice stone (carefully!) on baked-on spills after the baking soda paste has done its work. Just be sure to wet the pumice stone and test it in an inconspicuous area first to avoid scratching the oven surface.
Ultimately, the key to success with this DIY oven cleaning method is patience and persistence. It might take a little elbow grease, but the results are well worth the effort. You’ll be amazed at how much cleaner and brighter your oven looks, and you’ll feel good knowing that you’ve achieved it without resorting to harsh chemicals.
So, what are you waiting for? Grab that box of baking soda, mix up a paste, and get ready to transform your oven. We’re confident that you’ll be thrilled with the results. And once you’ve experienced the magic of baking soda oven cleaning, we want to hear all about it! Share your before-and-after photos, your tips and tricks, and your overall experience in the comments below. Let’s build a community of clean oven enthusiasts! We can’t wait to see your sparkling ovens!
Frequently Asked Questions
Is baking soda safe to use on all types of ovens?
Generally, yes, baking soda is safe to use on most oven surfaces, including enamel, stainless steel, and porcelain. However, it’s always a good idea to test a small, inconspicuous area first, especially if you have a self-cleaning oven with a special coating. Avoid using baking soda on heating elements or gas burners, as it can be difficult to remove completely and may interfere with their function. If you have any concerns about your specific oven model, consult the manufacturer’s instructions.
How long should I leave the baking soda paste on the oven?
For lightly soiled ovens, leaving the baking soda paste on for 30 minutes to an hour may be sufficient. However, for ovens with baked-on grease and grime, it’s best to let the paste sit for several hours, or even overnight. The longer the paste sits, the more time it has to loosen the dirt and grease, making it easier to scrub away. If you’re leaving the paste on overnight, be sure to cover it with plastic wrap to prevent it from drying out.
What if the baking soda paste dries out and becomes difficult to remove?
If the baking soda paste dries out and becomes hard to remove, don’t panic! Simply dampen a sponge or cloth with warm water and gently rehydrate the paste. You can also spray the paste with a mixture of water and vinegar to help loosen it. Let the water or vinegar solution sit for a few minutes before attempting to scrub the paste away. You may need to repeat this process several times to completely remove the dried paste.
Can I use this method on my oven door glass?
Yes, the baking soda and vinegar method is excellent for cleaning oven door glass. Apply the baking soda paste to the glass, let it sit for 30 minutes to an hour, and then scrub it clean with a sponge or cloth. For stubborn stains, you can use a razor blade scraper (carefully!) to remove the grime. Be sure to hold the scraper at a shallow angle to avoid scratching the glass. Finish by wiping the glass clean with a vinegar solution for a streak-free shine.
What if I don’t have vinegar? Can I use something else?
While vinegar is the ideal partner for baking soda in this cleaning method, you can substitute it with lemon juice. Lemon juice is acidic, like vinegar, and will react with the baking soda to create a fizzing action that helps to loosen dirt and grease. Use lemon juice in the same way you would use vinegar, mixing it with water to create a spray solution. However, keep in mind that lemon juice may not be as effective as vinegar for removing tough stains.
How often should I clean my oven using this method?
The frequency of oven cleaning depends on how often you use your oven and how messy it gets. For most households, cleaning the oven every 1-3 months is sufficient. However, if you frequently cook messy dishes or notice a buildup of grease and grime, you may need to clean it more often. Regular cleaning will prevent the buildup of stubborn stains and make the cleaning process easier in the long run.
Will this method remove burnt-on sugar?
Burnt-on sugar can be particularly challenging to remove. For these stubborn spots, try creating a thicker baking soda paste and letting it sit for an extended period, even overnight. You can also try gently scraping the burnt sugar with a plastic spatula or scraper after the paste has had time to work. In some cases, you may need to repeat the process several times to completely remove the burnt sugar.
Is there a way to prevent my oven from getting so dirty in the first place?
Absolutely! Prevention is key to keeping your oven clean and reducing the need for frequent deep cleanings. Here are a few tips:
* Use oven liners or baking sheets to catch spills and drips.
* Wipe up spills immediately before they have a chance to bake on.
* Avoid overfilling dishes, as this can lead to spills.
* Consider using a splatter screen when cooking dishes that tend to splatter.
* Clean your oven regularly, even if it’s just a quick wipe-down, to prevent the buildup of grime.
Can I use this method on a self-cleaning oven?
Yes, you can use this method on a self-cleaning oven, but with a few precautions. As mentioned earlier, test a small, inconspicuous area first to ensure that the baking soda doesn’t damage the oven’s coating. Also, avoid using baking soda on the heating elements. You can use this method as a pre-cleaner to loosen up grime before running the self-cleaning cycle. This will make the self-cleaning cycle more effective and reduce the duration of the high-heat cycle. After the self-cleaning cycle is complete, be sure to wipe out any remaining ash or residue.
What kind of baking soda should I use?
Regular baking soda (sodium bicarbonate) is all you need for this cleaning method. There’s no need to buy any special or expensive baking soda products. The baking soda you already have in your pantry will work just fine.


Leave a Comment