

Baking Soda Grout Cleaner: Is your grout looking a little worse for wear? Are those once-pristine lines between your tiles now sporting a dingy, discolored appearance? Don’t despair! I’m here to tell you that you don’t need harsh chemicals or expensive professional cleaning services to restore your grout to its former glory.
For generations, baking soda has been a trusted household staple, not just for baking delicious treats, but also for its incredible cleaning power. Its use as a cleaning agent can be traced back centuries, with historical records showing its application in various cleaning tasks. Think of your grandmother’s cleaning rituals – chances are, baking soda played a starring role! This simple, natural ingredient is a powerhouse when it comes to tackling stubborn stains and grime.
Let’s face it, nobody enjoys scrubbing grout. It’s a tedious, back-breaking task that often yields disappointing results. But with this easy and effective baking soda grout cleaner DIY method, you can say goodbye to those frustrating cleaning sessions. This trick is a game-changer because it’s affordable, environmentally friendly, and incredibly effective at lifting dirt and discoloration from grout lines. Plus, it’s a fantastic alternative to harsh chemical cleaners that can be harmful to your health and the environment. I’m excited to share this simple solution that will leave your tiles sparkling and your grout looking brand new!
DIY Baking Soda Grout Cleaner: Restore Your Tile’s Sparkle!
Okay, let’s face it: grout is the bane of every homeowner’s existence. It gets grimy, stained, and just plain gross. But don’t despair! You don’t need harsh chemicals or expensive cleaners to bring your grout back to life. I’m going to show you how to make a super effective grout cleaner using baking soda – a pantry staple that’s surprisingly powerful. This method is budget-friendly, eco-conscious, and, most importantly, it works!
Here’s what we’ll cover:
* **Why Baking Soda Works:** Understanding the science behind the clean.
* **Gathering Your Supplies:** A quick checklist of everything you’ll need.
* **Making the Baking Soda Paste:** The perfect consistency for maximum cleaning power.
* **Applying the Paste:** Getting it into those grout lines.
* **Scrubbing Power:** Techniques for effective grout scrubbing.
* **Rinsing and Drying:** The final steps to sparkling grout.
* **Dealing with Stubborn Stains:** When the basic method needs a boost.
* **Preventing Future Grout Grime:** Tips to keep your grout looking its best.
Why Baking Soda Works
Baking soda, also known as sodium bicarbonate, is a mild alkali. This means it can react with acids, like the grease and grime that accumulate in grout lines. It also has a slightly abrasive texture, which helps to loosen dirt and debris without scratching your tiles. Plus, it’s a natural deodorizer, so it’ll leave your bathroom or kitchen smelling fresh and clean. It’s a win-win!
Gathering Your Supplies
Before we dive in, let’s make sure you have everything you need. This will make the whole process smoother and more efficient. Here’s your checklist:
* **Baking Soda:** The star of the show! A standard box will likely be enough for a small to medium-sized area.
* **Water:** Plain old tap water will do just fine.
* **Spray Bottle (Optional):** For easier application of the water.
* **Old Toothbrush or Grout Brush:** An old toothbrush is perfect for smaller areas and detail work. A grout brush is designed specifically for cleaning grout lines and can be more efficient for larger areas.
* **Small Bowl or Container:** For mixing the baking soda paste.
* **Spoon or Stirring Stick:** To mix the paste.
* **Gloves:** To protect your hands from the baking soda and any potential irritants.
* **Clean Cloth or Sponge:** For wiping away the excess paste and rinsing.
* **Paper Towels:** For drying the grout lines.
* **White Vinegar (Optional):** For extra cleaning power on stubborn stains.
* **Eye Protection (Optional):** If you’re using vinegar, it’s a good idea to protect your eyes.
Making the Baking Soda Paste
Now for the fun part! We’re going to create the magic grout-cleaning potion. The key is to get the right consistency – not too runny, not too thick.
1. **Pour Baking Soda into the Bowl:** Start by pouring about 1/2 cup of baking soda into your bowl or container. You can always add more if needed, depending on the size of the area you’re cleaning.
2. **Add Water Gradually:** Slowly add water, a tablespoon at a time, to the baking soda. Stir well after each addition.
3. **Mix to a Paste:** Continue adding water and stirring until you achieve a thick, spreadable paste. It should be similar to the consistency of toothpaste. You want it to be thick enough to stick to the grout lines without running.
4. **Adjust as Needed:** If the paste is too thick, add a little more water. If it’s too runny, add a little more baking soda. Don’t be afraid to experiment until you get the perfect consistency.
Applying the Paste
Alright, we’ve got our cleaning paste ready. Now it’s time to get it onto the grout.
1. **Dampen the Grout Lines (Optional):** Lightly dampen the grout lines with water using a spray bottle or a damp sponge. This can help the baking soda paste adhere better. Don’t soak the area, just a light mist is enough.
2. **Apply the Paste to the Grout Lines:** Using your fingers (with gloves on, of course!), the toothbrush, or the grout brush, apply the baking soda paste generously to the grout lines. Make sure you cover all the grout thoroughly.
3. **Let it Sit:** Once you’ve applied the paste, let it sit for at least 5-10 minutes. This allows the baking soda to work its magic and loosen the dirt and grime. For heavily soiled grout, you can let it sit for up to 30 minutes.
Scrubbing Power
This is where the elbow grease comes in! But don’t worry, it’s not as bad as it sounds.
1. **Scrub the Grout Lines:** Using your toothbrush or grout brush, scrub the grout lines vigorously. Use a back-and-forth motion to really get into the crevices and loosen the dirt.
2. **Focus on Stubborn Areas:** Pay extra attention to areas with stubborn stains or heavy grime. You may need to scrub these areas a little longer and with more pressure.
3. **Rinse the Brush Frequently:** As you scrub, rinse your brush frequently in clean water to remove the dirt and grime. This will help you scrub more effectively.
Rinsing and Drying
Almost there! Now we just need to rinse away the baking soda paste and dry the grout lines.
1. **Rinse with Clean Water:** Using a clean cloth or sponge, rinse the grout lines thoroughly with clean water. Make sure you remove all traces of the baking soda paste. You may need to rinse several times to get it all off.
2. **Dry the Grout Lines:** Use paper towels to dry the grout lines. This will help prevent water spots and mildew growth.
3. **Inspect and Repeat (If Necessary):** Once the grout lines are dry, inspect them to see if they’re clean. If there are any remaining stains or grime, repeat the process.
Dealing with Stubborn Stains
Sometimes, the basic baking soda paste just isn’t enough to tackle those really stubborn stains. That’s where vinegar comes in!
1. **Vinegar Power:** After applying the baking soda paste and letting it sit, spray the grout lines with white vinegar. The vinegar will react with the baking soda, creating a fizzing action that helps to loosen the dirt and grime.
2. **Let it Fizz:** Let the vinegar and baking soda mixture fizz for a few minutes.
3. **Scrub and Rinse:** Scrub the grout lines with your toothbrush or grout brush, then rinse thoroughly with clean water.
**Important Note:** Always test the vinegar on a small, inconspicuous area of your tile first to make sure it doesn’t damage the surface. Some types of tile are sensitive to acidic cleaners. Also, never mix vinegar with bleach, as this can create dangerous fumes.
Preventing Future Grout Grime
Now that your grout is sparkling clean, let’s talk about how to keep it that way! Prevention is key to avoiding future grout-cleaning headaches.
* **Wipe Up Spills Immediately:** The sooner you wipe up spills, the less likely they are to stain the grout.
* **Ventilate Your Bathroom:** Proper ventilation helps to prevent moisture buildup, which can lead to mildew growth. Run the exhaust fan during and after showers.
* **Seal Your Grout:** Applying a grout sealer can help to protect the grout from stains and moisture. Reapply the sealer every 6-12 months, or as directed by the manufacturer.
* **Regular Cleaning:** Clean your grout regularly with a mild cleaner to prevent grime from building up. A simple solution of soap and water can work wonders.
* **Use a Squeegee:** After showering, use a squeegee to remove excess water from the tile and grout. This will help to prevent water spots and mildew growth.
And that’s it! You’ve successfully cleaned your grout with baking soda. Now you can enjoy your sparkling clean tiles and feel good about using a natural, eco-friendly cleaning solution. Happy cleaning!

Conclusion
So, there you have it! This simple baking soda grout cleaner method is more than just a cleaning hack; it’s a game-changer for anyone battling dingy, stained grout. We’ve walked you through the easy steps, highlighting why this DIY approach is a must-try for several compelling reasons.
First and foremost, it’s incredibly cost-effective. Forget shelling out big bucks for harsh chemical cleaners that often come with unpleasant odors and potential health risks. Baking soda is a pantry staple for many, and even if you need to purchase it, it’s remarkably inexpensive. Paired with readily available ingredients like water or vinegar, you’re looking at a cleaning solution that’s both budget-friendly and effective.
Secondly, this method is gentle yet powerful. The mild abrasive nature of baking soda helps to lift dirt and grime without damaging your tiles or grout. Unlike some harsh chemicals that can etch or discolor surfaces, baking soda offers a safer alternative, especially for delicate or older tiles.
Thirdly, it’s environmentally conscious. By opting for a natural cleaning solution like baking soda, you’re reducing your exposure to harmful chemicals and minimizing your impact on the environment. This is a win-win for both your home and the planet.
But the benefits don’t stop there. This baking soda grout cleaner is also incredibly versatile. While we’ve focused on a basic paste, feel free to experiment with variations to suit your specific needs. For instance, if you’re dealing with particularly stubborn stains, try adding a few drops of tea tree oil or lemon essential oil to the paste for their natural antibacterial and antifungal properties. These additions not only boost the cleaning power but also leave behind a fresh, clean scent.
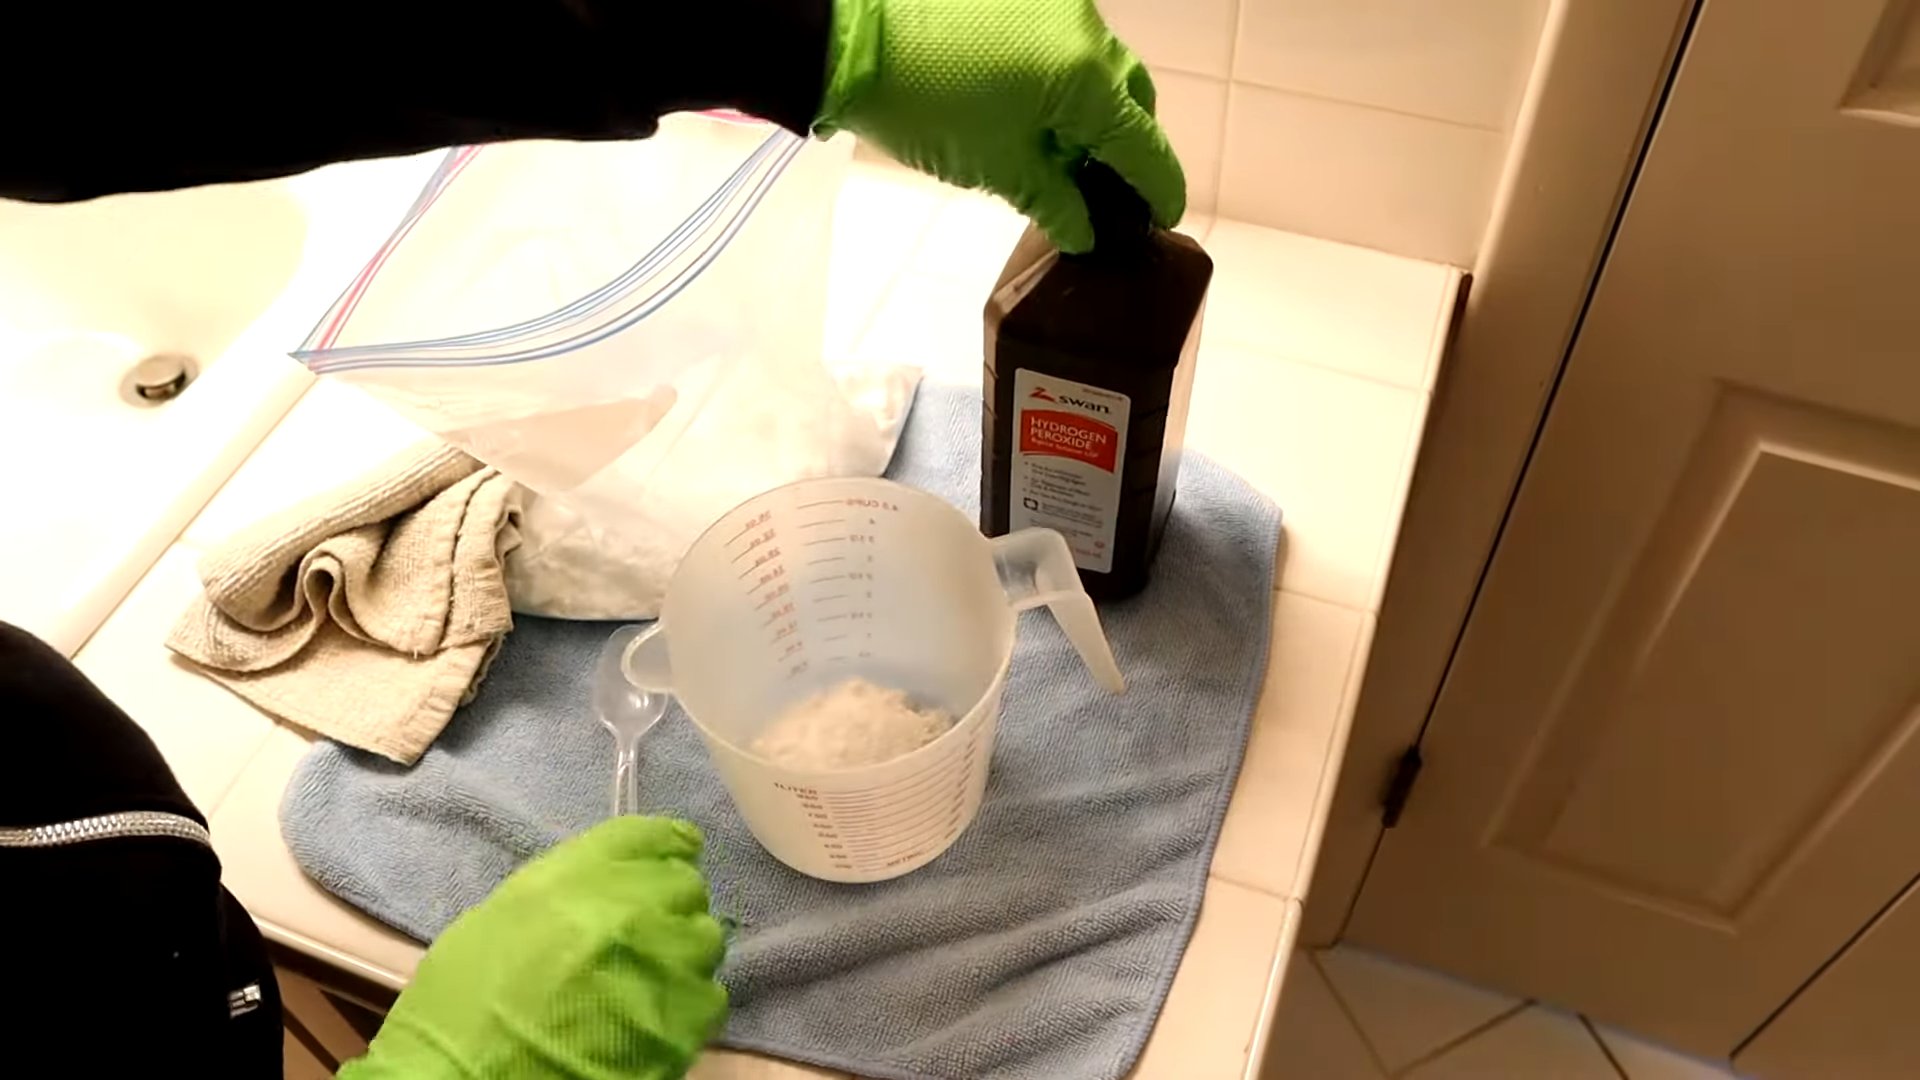
Another variation involves using hydrogen peroxide instead of water or vinegar. Hydrogen peroxide is a mild bleaching agent that can help to brighten grout and remove discoloration. However, it’s important to test this method in an inconspicuous area first to ensure it doesn’t affect the color of your grout.
For vertical surfaces like shower walls, consider making a thicker paste that will adhere better. You can also use an old toothbrush or grout brush with a longer handle to reach those hard-to-reach areas.
Don’t be afraid to experiment and find what works best for your specific grout and cleaning needs. The beauty of this DIY method is its adaptability.
We are confident that once you try this baking soda grout cleaner, you’ll be amazed by the results. It’s a simple, effective, and affordable way to restore your grout to its former glory.
So, what are you waiting for? Grab your baking soda, gather your supplies, and get ready to transform your grout. We encourage you to try this DIY trick and share your experience with us! Let us know in the comments below what variations you tried, what worked best for you, and any tips you have for fellow readers. We can’t wait to hear your success stories!
Frequently Asked Questions (FAQ)
1. Is baking soda grout cleaner safe for all types of grout?
Generally, yes, baking soda is safe for most types of grout, including cementitious and epoxy grout. However, it’s always a good idea to test the baking soda paste in an inconspicuous area first, especially if you have colored grout or are unsure of the grout type. This will help you ensure that the baking soda doesn’t cause any discoloration or damage. If you notice any adverse effects, discontinue use immediately. For particularly delicate or antique tiles and grout, consult with a professional cleaning service before using any DIY cleaning methods.
2. How often should I clean my grout with baking soda?
The frequency of cleaning depends on several factors, including the amount of foot traffic in the area, the level of humidity, and how prone your grout is to staining. As a general guideline, cleaning your grout with baking soda every 1-2 months is a good starting point. For high-traffic areas like kitchens and bathrooms, you may need to clean more frequently, perhaps every 2-4 weeks. Regular cleaning will prevent dirt and grime from building up and make it easier to maintain clean grout over time.
3. Can I use baking soda grout cleaner on colored grout?
Yes, you can use baking soda on colored grout, but with caution. As mentioned earlier, it’s crucial to test the baking soda paste in an inconspicuous area first to ensure that it doesn’t cause any discoloration. Some colored grouts may be more susceptible to fading or lightening when exposed to baking soda. If you notice any color change, dilute the baking soda paste with more water or reduce the contact time. Alternatively, you can try using a gentler cleaning solution specifically designed for colored grout.
4. What’s the best way to apply the baking soda paste to the grout?
The best way to apply the baking soda paste is to use an old toothbrush or a grout brush with stiff bristles. Dip the brush into the paste and scrub the grout lines in a back-and-forth motion. Apply gentle pressure to lift dirt and grime without damaging the grout. For hard-to-reach areas, consider using a brush with a longer handle. You can also use a small spatula or putty knife to apply the paste to the grout lines, especially if you’re dealing with vertical surfaces.
5. How long should I leave the baking soda paste on the grout before rinsing?
The recommended contact time for the baking soda paste is typically 5-10 minutes. This allows the baking soda to penetrate the grout and loosen dirt and grime. For stubborn stains, you can leave the paste on for up to 15 minutes, but be sure to monitor the grout closely to ensure that it doesn’t become discolored. After the contact time, rinse the grout thoroughly with clean water and wipe away any remaining residue with a damp cloth or sponge.
6. What if the baking soda grout cleaner doesn’t remove all the stains?
If the baking soda grout cleaner doesn’t remove all the stains, there are a few things you can try. First, repeat the cleaning process, applying a fresh batch of baking soda paste and scrubbing the grout lines again. You can also try using a stronger cleaning solution, such as a mixture of baking soda and hydrogen peroxide. Apply the mixture to the grout lines, let it sit for 5-10 minutes, and then scrub and rinse thoroughly. For particularly stubborn stains, you may need to use a commercial grout cleaner specifically designed for stain removal. Always follow the manufacturer’s instructions and test the cleaner in an inconspicuous area first.
7. Can I use baking soda grout cleaner on other surfaces besides tile?
While baking soda is generally safe for most surfaces, it’s best to avoid using it on delicate or porous materials like marble, granite, or natural stone. These materials can be easily scratched or damaged by the abrasive nature of baking soda. For these surfaces, use a cleaning solution specifically designed for natural stone. Baking soda can be used on other surfaces like porcelain, ceramic, and glass, but always test it in an inconspicuous area first to ensure that it doesn’t cause any damage.
8. How do I prevent grout from getting dirty in the first place?
Preventing grout from getting dirty is key to maintaining clean grout over time. Here are a few tips:
* Seal your grout: Applying a grout sealer will create a protective barrier that prevents dirt and grime from penetrating the grout.
* Wipe up spills immediately: Clean up spills as soon as they occur to prevent them from staining the grout.
* Use doormats and rugs: Place doormats and rugs at entrances to trap dirt and debris before they reach your tiled areas.
* Ventilate your bathroom: Proper ventilation will help to reduce humidity and prevent mold and mildew growth in your grout.
* Clean regularly: Regular cleaning with a mild detergent and water will help to prevent dirt and grime from building up.
9. Can I use vinegar with baking soda to clean grout? I’ve heard that’s a good combination.
While vinegar and baking soda can create a fizzing reaction that helps to loosen dirt and grime, it’s generally not recommended to use them together for cleaning grout. The reaction between vinegar (an acid) and baking soda (a base) neutralizes both substances, reducing their cleaning power. Additionally, the fizzing action can be difficult to control and may not be as effective as using baking soda or vinegar separately. It’s best to use baking soda paste on its own or try using vinegar diluted with water as a separate cleaning solution.
10. What are some other natural alternatives to baking soda for cleaning grout?
Besides baking soda, there are several other natural alternatives you can use to clean grout:
* Vinegar: Diluted vinegar is a mild acid that can help to dissolve dirt and grime.
* Lemon juice: Lemon juice is another natural acid that can be used to clean grout.
* Hydrogen peroxide: Hydrogen peroxide is a mild bleaching agent that can help to brighten grout.
* Tea tree oil: Tea tree oil has natural antibacterial and antifungal properties that can help to prevent mold and mildew growth.
* Borax: Borax is a natural mineral that can be used to clean and disinfect grout.
Remember to always test any cleaning solution in an inconspicuous area first to ensure that it doesn’t damage your grout or tiles.


Leave a Comment