

Anemone Planting Guide: Unlocking a burst of vibrant color in your garden is easier than you think! Have you ever dreamt of a garden that explodes with jewel-toned blooms, dancing in the breeze and captivating every eye? Well, get ready to turn that dream into reality! This DIY guide is your secret weapon to cultivating breathtaking anemones, even if you’re a complete beginner.
Anemones, with their delicate petals and captivating centers, have a rich history, often associated with mythology and symbolism. In Greek mythology, the anemone sprang from the tears of Aphrodite as she mourned the death of Adonis, imbuing the flower with a sense of love and remembrance. For centuries, these beauties have graced gardens and inspired artists, and now, it’s your turn to experience their magic firsthand.
But why should you bother with this anemone planting guide? Because life’s too short for boring gardens! Seriously, adding anemones is a simple way to inject personality and charm into your outdoor space. Plus, they’re relatively low-maintenance once established, making them perfect for busy gardeners like you and me. This guide will walk you through every step, from choosing the right varieties to ensuring they thrive, so you can enjoy a stunning display of color year after year. Let’s get planting!
Planting Anemone Bulbs: A DIY Guide to Vibrant Spring Blooms
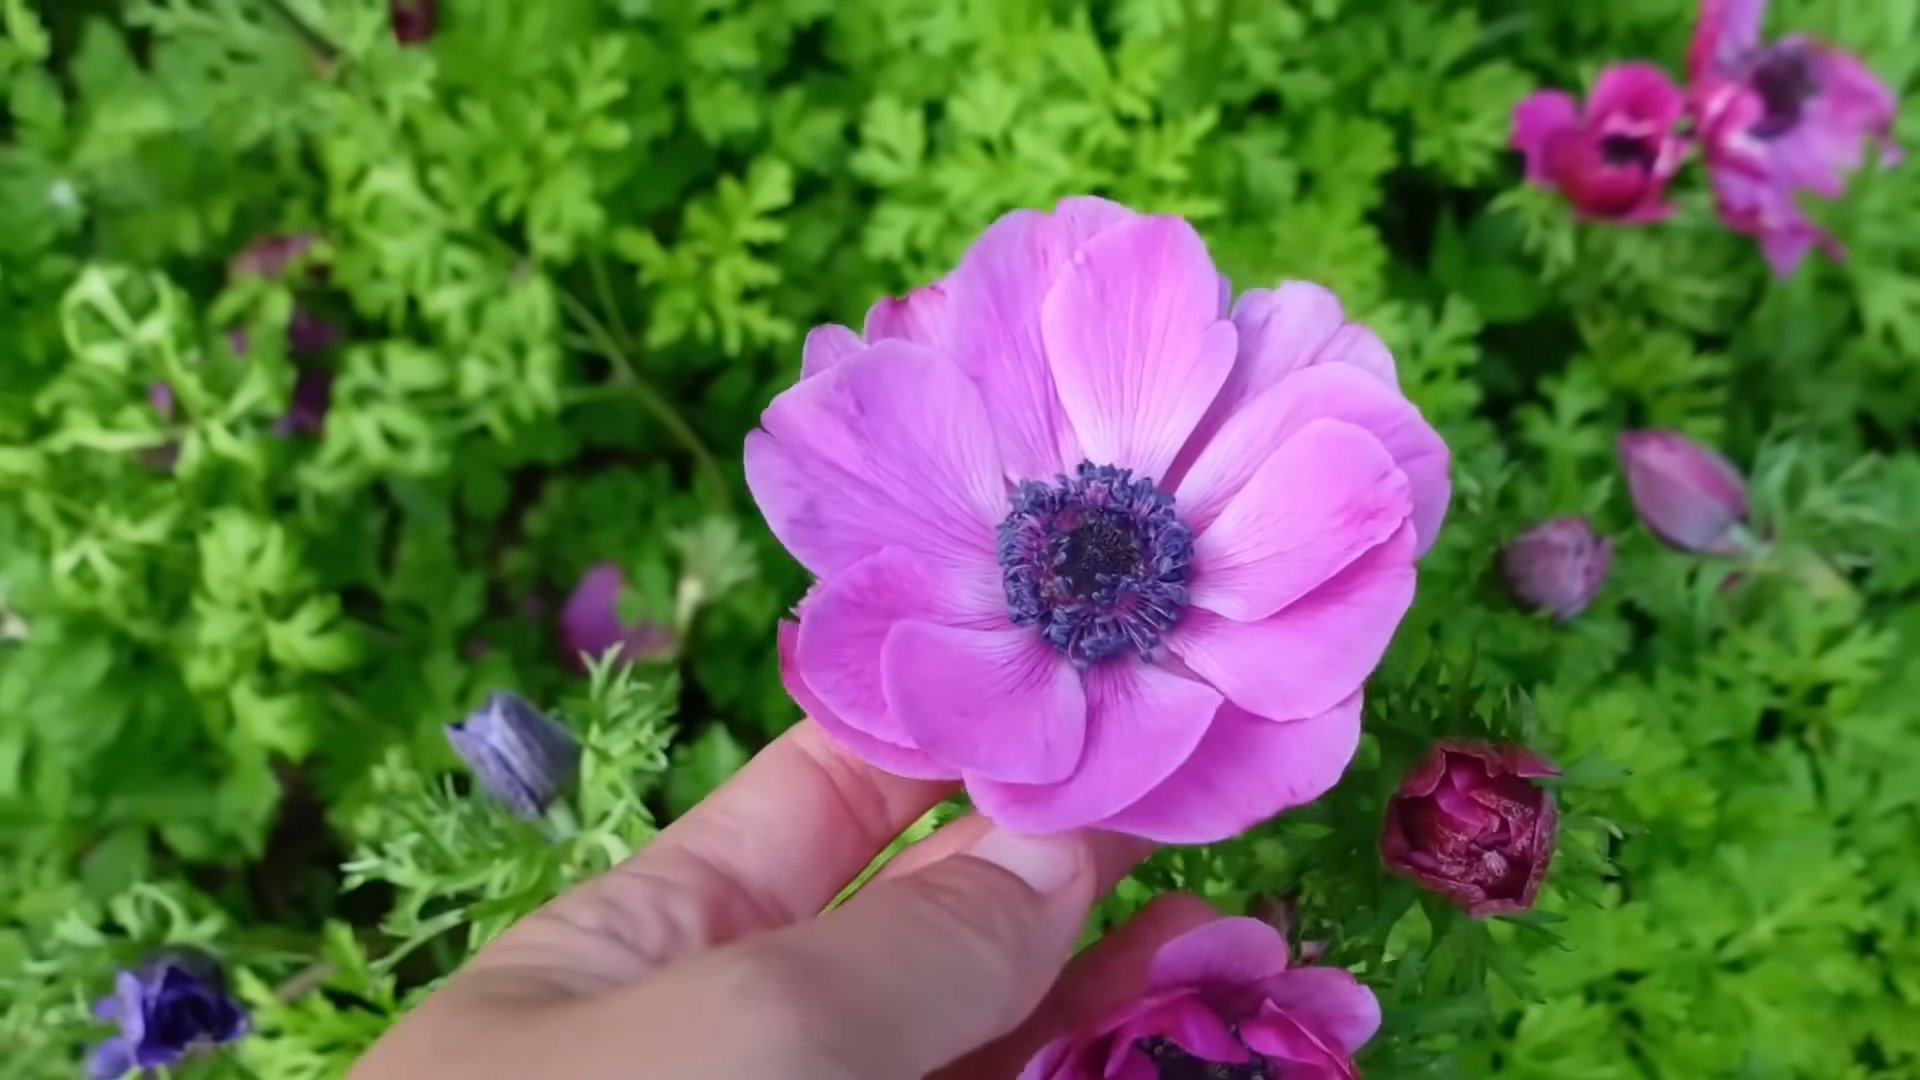
Hey there, fellow flower enthusiasts! Are you dreaming of a garden bursting with vibrant, poppy-like blooms in early spring? Then you’ve come to the right place! Anemones, with their delicate petals and captivating colors, are a fantastic addition to any garden. And the best part? Planting them is a super rewarding DIY project that anyone can tackle. Let’s dive in and get our hands dirty!
Understanding Anemone Bulbs (Corms)
Before we get started, it’s important to understand that anemone bulbs are actually corms – a type of underground stem. They often look like small, shriveled pebbles, which can be a bit deceiving! Don’t worry, though; with a little TLC, these little guys will transform into stunning flowers.
Key things to remember about anemone corms:
* Dormancy: Anemone corms are dormant when you receive them. This means they need a little encouragement to wake up and start growing.
* Soaking: Soaking the corms in water before planting is crucial. This rehydrates them and helps them sprout.
* Planting Time: The best time to plant anemone corms depends on your climate. In warmer climates (zones 8-10), you can plant them in the fall for spring blooms. In colder climates (zones 3-7), plant them in the spring after the last frost.
* Depth and Spacing: Proper planting depth and spacing are essential for healthy growth.
Materials You’ll Need
To make this DIY project a breeze, gather these materials before you begin:
* Anemone corms (choose your favorite colors!)
* A small container or bowl
* Water (lukewarm is best)
* Gardening gloves (optional, but recommended)
* A trowel or small shovel
* Well-draining soil (potting mix or garden soil amended with compost)
* A sunny or partially shaded planting location
* Mulch (optional, but helpful for moisture retention)
* Plant markers (to remember where you planted them!)
Step-by-Step Planting Guide
Alright, let’s get down to the nitty-gritty! Follow these steps for successful anemone planting:
Phase 1: Soaking the Corms
This is arguably the most important step, so don’t skip it!
1. Prepare the Soaking Container: Fill your container or bowl with lukewarm water. Make sure there’s enough water to completely submerge the anemone corms.
2. Soak the Corms: Place the anemone corms in the water. You might notice that they float at first. Don’t worry; they’ll eventually sink as they absorb water.
3. Soaking Time: Let the corms soak for 2-4 hours. This allows them to rehydrate and plump up, which is essential for germination. I usually aim for at least 3 hours. You’ll notice they’ll look a bit bigger and rounder after soaking.
4. Drain the Water: After soaking, carefully drain the water from the container.
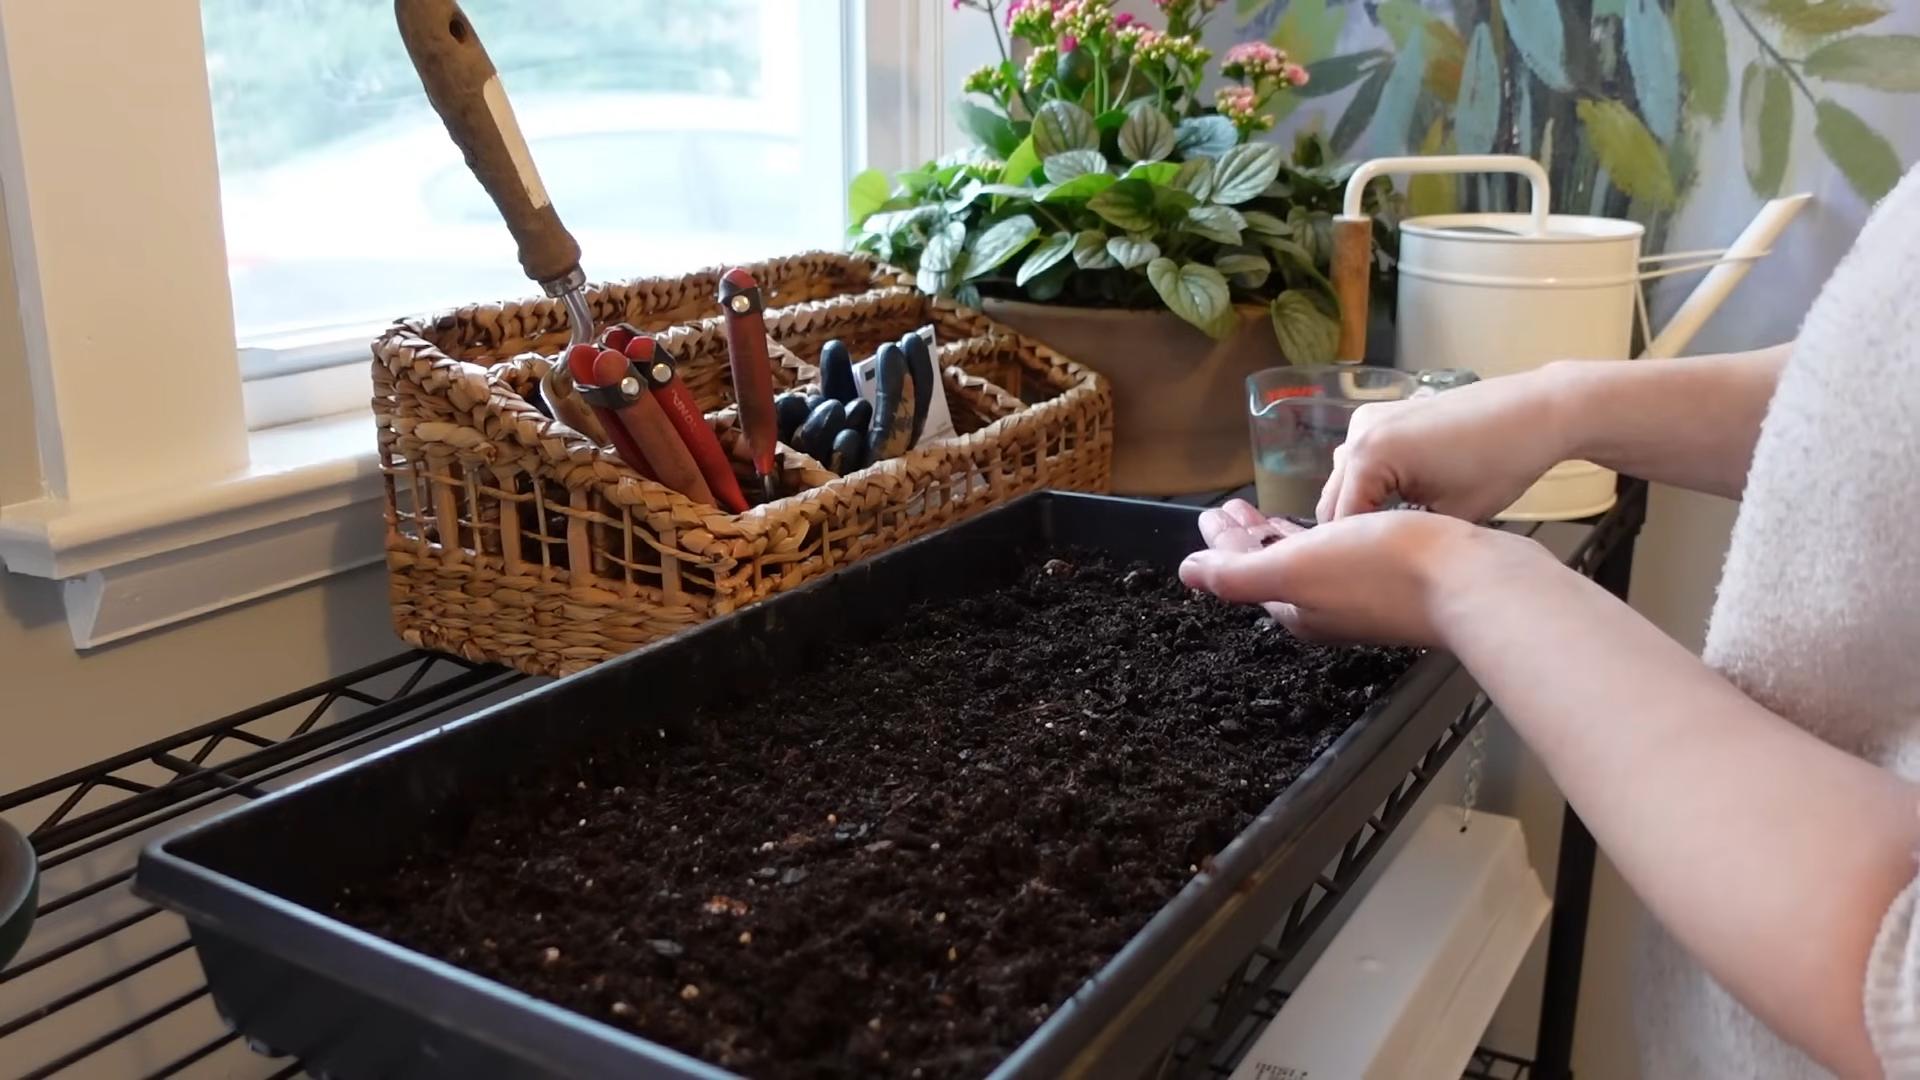
Phase 2: Preparing the Planting Site
While your corms are soaking, let’s get the planting site ready.
1. Choose the Right Location: Anemones thrive in sunny or partially shaded locations. They need at least 4-6 hours of sunlight per day. In hotter climates, afternoon shade is beneficial.
2. Prepare the Soil: Anemones prefer well-draining soil. If your soil is heavy clay, amend it with compost or other organic matter to improve drainage. Loosen the soil to a depth of about 6-8 inches.
3. Dig the Holes: Using your trowel or shovel, dig holes that are about 2-3 inches deep. Space the holes about 3-4 inches apart. This gives the anemones enough room to grow without overcrowding each other.
4. Optional: Add Fertilizer: If you want to give your anemones an extra boost, you can add a small amount of slow-release fertilizer to the bottom of each hole. Follow the instructions on the fertilizer package.
Phase 3: Planting the Corms
Now for the fun part – planting!
1. Identify the Top and Bottom: This can be tricky since anemone corms don’t have a clear top or bottom. However, most corms have a slightly pointed end and a flatter end. Plant the corm with the pointed end facing down. If you’re unsure, don’t stress too much; they’ll usually figure it out.
2. Place the Corms in the Holes: Gently place one anemone corm in each hole, with the pointed end facing down.
3. Cover with Soil: Cover the corms with soil, gently patting it down to remove any air pockets.
4. Water Thoroughly: Water the planting area thoroughly after planting. This helps settle the soil and encourages the corms to start growing.
Phase 4: Post-Planting Care
Congratulations, you’ve planted your anemone corms! Now, let’s talk about how to care for them.
1. Watering: Keep the soil consistently moist, but not soggy. Water when the top inch of soil feels dry to the touch. Avoid overwatering, as this can cause the corms to rot.
2. Mulching (Optional): Apply a layer of mulch around the plants to help retain moisture, suppress weeds, and regulate soil temperature.
3. Fertilizing: Fertilize your anemones every few weeks with a balanced liquid fertilizer during the growing season. Follow the instructions on the fertilizer package.
4. Deadheading: As the flowers fade, deadhead them by cutting off the spent blooms. This encourages the plant to produce more flowers.
5. Protecting from Frost: In colder climates, protect your anemones from frost by covering them with a layer of mulch or a frost blanket.
6. Dealing with Pests and Diseases: Anemones are generally pest-resistant, but they can sometimes be affected by aphids or slugs. If you notice any pests, treat them with an appropriate insecticide or slug bait. They can also be susceptible to fungal diseases in overly wet conditions. Ensure good air circulation and avoid overwatering to prevent these issues.
Troubleshooting Tips
Sometimes, things don’t go exactly as planned. Here are some common issues and how to address them:
* Corms Not Sprouting: If your corms don’t sprout after a few weeks, don’t panic! It can sometimes take a little longer. Make sure the soil is consistently moist and that the corms are planted at the correct depth. If you’re still not seeing any growth, gently dig up a corm to check if it’s rotting. If it is, discard it and try planting new corms in a different location.
* Yellowing Leaves: Yellowing leaves can be a sign of overwatering or nutrient deficiency. Check the soil moisture and adjust your watering schedule accordingly. If the soil is well-draining and you’re not overwatering, try fertilizing the plants with a balanced fertilizer.
* Lack of Blooms: If your anemones are growing but not blooming, it could be due to insufficient sunlight or lack of nutrients. Make sure they’re getting at least 4-6 hours of sunlight per day and fertilize them regularly.
* Corms Rotting: Corm rot is usually caused by overwatering or poor drainage. Make sure the soil is well-draining and avoid overwatering. If you suspect corm rot, gently dig up the affected corms and discard them.
Enjoying Your Anemone Blooms
Once your anemones start blooming, get ready for a stunning display of color! These beautiful flowers are perfect for cutting and bringing indoors. They also attract pollinators like bees and butterflies to your garden.
Tips for enjoying your anemone blooms:
* Cut Flowers: Cut the flowers in the morning when they’re fully open. Place them in a vase of fresh water and enjoy their beauty indoors.
* Garden Display: Plant anemones in groups for a more dramatic effect. They look great in borders, rock gardens, and containers.
* Photography: Anemones are incredibly photogenic. Capture their beauty with your camera and share your photos with friends and family.
Extending the Bloom Season
Want to enjoy anemone blooms for as long as possible? Here are a few tips:
* Succession Planting: Plant anemone corms in stages, a few weeks apart, to extend the bloom season.
* Choose Different Varieties: Different anemone varieties bloom at different times. Choose a mix of varieties to enjoy a longer bloom season.
* Provide Consistent Care: Consistent watering, fertilizing, and deadheading will help your anemones bloom for longer.
Saving Corms for Next Year
In colder
Conclusion
So, there you have it – a comprehensive guide to successfully planting anemones and unlocking a vibrant burst of color in your garden. This isn’t just about sticking a bulb in the ground; it’s about understanding the anemone’s needs and providing the optimal environment for it to thrive. We’ve walked through the crucial steps, from choosing the right variety and preparing the corms to planting depth and ongoing care.
Why is this DIY anemone planting trick a must-try? Because it empowers you to cultivate these stunning flowers with confidence, regardless of your gardening experience. Forget the frustration of watching your anemones fail to bloom. By following these guidelines, you’ll significantly increase your chances of success, transforming your garden into a breathtaking display of anemone blooms. The satisfaction of nurturing these delicate beauties from corm to flower is truly rewarding.
But don’t stop there! Experiment with different anemone varieties to create a tapestry of colors and textures. Consider planting them in containers for a portable burst of beauty on your patio or balcony. You can also try companion planting with other spring-blooming bulbs like tulips and daffodils for a harmonious and visually stunning display. For a more naturalistic look, scatter the corms randomly in a wildflower meadow setting.
Remember, the key to successful anemone planting lies in patience and attention to detail. Don’t be discouraged if your first attempt isn’t perfect. Gardening is a learning process, and every experience, whether successful or not, provides valuable insights.
We wholeheartedly encourage you to try this DIY anemone planting trick. Embrace the challenge, get your hands dirty, and witness the magic of these captivating flowers unfold before your eyes. And most importantly, share your experience with us! We’d love to hear about your successes, challenges, and any variations you’ve tried. Post photos of your blooming anemones on social media using #AnemoneMagic or leave a comment below. Let’s create a community of anemone enthusiasts and inspire others to discover the joy of growing these exquisite flowers. Happy gardening!
Frequently Asked Questions (FAQs)
What are anemones and why should I grow them?
Anemones are a genus of flowering plants in the buttercup family (Ranunculaceae). They are prized for their vibrant, poppy-like flowers that bloom in spring or fall, depending on the variety. Growing anemones adds a splash of color and elegance to any garden. They are relatively easy to grow, making them a great choice for both beginner and experienced gardeners. Furthermore, they attract pollinators like bees and butterflies, contributing to a healthy garden ecosystem.
When is the best time to plant anemone corms?
The ideal planting time depends on your climate and the specific anemone variety. For spring-blooming anemones (like Anemone coronaria), plant the corms in the fall, typically from September to November. This allows them to establish roots over the winter and bloom in the spring. For fall-blooming anemones (like Anemone hupehensis), plant the corms in the spring, after the last frost. Always check the specific recommendations for the variety you are planting.
How do I prepare anemone corms before planting?
Anemone corms are often dry and shriveled when you receive them. To rehydrate them and encourage sprouting, soak them in lukewarm water for several hours, ideally overnight, before planting. This helps to plump them up and kickstart the germination process. Some gardeners add a small amount of rooting hormone to the soaking water to further stimulate root growth.
What type of soil is best for anemones?
Anemones prefer well-draining soil that is rich in organic matter. Amend heavy clay soil with compost or other organic amendments to improve drainage. A slightly acidic to neutral soil pH (around 6.0 to 7.0) is ideal. Avoid planting anemones in waterlogged soil, as this can lead to rot.
How deep and far apart should I plant anemone corms?
Plant anemone corms about 2-3 inches deep, with the pointed end facing down. Space them about 4-6 inches apart, depending on the variety and desired density. If you’re unsure which end is the pointed end, plant the corm on its side – the plant will find its way up.
How much sunlight do anemones need?
Most anemones prefer full sun to partial shade. Spring-blooming varieties generally benefit from full sun in the spring, while fall-blooming varieties can tolerate more shade, especially in hot climates. Ensure they receive at least 6 hours of sunlight per day for optimal blooming.
How often should I water anemones?
Water anemones regularly, especially during dry periods. Keep the soil consistently moist but not waterlogged. Once the plants are established, they are relatively drought-tolerant, but regular watering will promote better blooming. Reduce watering after the flowers fade and the foliage begins to die back.
Do anemones need fertilizer?
Anemones benefit from regular fertilization. Apply a balanced fertilizer (e.g., 10-10-10) in the spring when new growth appears. You can also amend the soil with compost or other organic matter to provide slow-release nutrients. Avoid over-fertilizing, as this can lead to excessive foliage growth at the expense of flowers.
Are anemones deer-resistant?
Anemones are considered moderately deer-resistant, but deer may still browse on them, especially when other food sources are scarce. To protect your anemones from deer, consider using deer repellent sprays or fencing.
How do I care for anemones after they bloom?
After the flowers fade, allow the foliage to die back naturally. This allows the plant to store energy in the corms for the following year. Once the foliage has completely withered, you can cut it back to the ground. In colder climates, you may need to lift the corms in the fall and store them in a cool, dry place over the winter. Replant them in the spring.
Can I grow anemones in containers?
Yes, anemones can be successfully grown in containers. Choose a pot that is at least 6 inches deep and has drainage holes. Use a well-draining potting mix and follow the same planting and care instructions as for growing them in the ground. Container-grown anemones may need more frequent watering and fertilization than those grown in the ground.
What are some common problems with anemones?
Some common problems with anemones include rot, fungal diseases, and pests like aphids and slugs. Prevent rot by planting in well-draining soil and avoiding overwatering. Treat fungal diseases with a fungicide. Control aphids and slugs with insecticidal soap or other appropriate pest control methods.
How do I encourage anemones to rebloom?
To encourage anemones to rebloom, deadhead spent flowers regularly. This prevents the plant from putting energy into seed production and encourages it to produce more flowers. Also, ensure that the plants receive adequate sunlight, water, and fertilizer.
Are all anemones perennial?
Some anemone varieties are perennial, meaning they will come back year after year, while others are annual or biennial. Anemone coronaria, for example, is often treated as an annual in colder climates. Anemone hupehensis is a reliable perennial. Check the specific recommendations for the variety you are planting to determine its lifespan.
Where can I buy anemone corms?
Anemone corms can be purchased from garden centers, nurseries, and online retailers. Look for reputable suppliers that offer high-quality corms. Choose varieties that are suitable for your climate and growing conditions.
Leave a Comment