

Plant Bush Beans and unlock a world of fresh, homegrown goodness right in your backyard! Have you ever dreamed of plucking crisp, tender beans straight from the vine for your dinner table? It’s easier than you think, and this DIY guide will show you how. For centuries, cultivating beans has been a cornerstone of sustainable agriculture, providing essential nutrients and enriching the soil. From ancient civilizations to modern-day gardens, the humble bean has played a vital role in feeding communities.
But why should you bother planting bush beans? In today’s world, where we’re increasingly conscious of where our food comes from, growing your own produce offers unparalleled control over quality and freshness. Plus, let’s be honest, store-bought beans just can’t compare to the vibrant flavor of homegrown ones. This DIY trick will help you avoid the common pitfalls of bean cultivation, ensuring a bountiful harvest even if you’re a complete beginner. I’m going to share my favorite tips and tricks for successfully planting bush beans, from selecting the right variety to protecting your plants from pests. Get ready to roll up your sleeves and discover the joy of growing your own delicious, nutritious beans!
DIY Guide: Planting Bush Beans for a Bountiful Harvest
Hey there, fellow gardening enthusiasts! Today, I’m super excited to share my tried-and-true method for planting bush beans. These little guys are relatively easy to grow, perfect for beginner gardeners, and reward you with a delicious harvest in just a few weeks. Get ready to enjoy fresh, homegrown beans!
Choosing Your Bush Bean Variety
Before we get our hands dirty, let’s talk about bean varieties. Bush beans come in a rainbow of colors and flavors. Some popular choices include:
* Blue Lake Bush Beans: A classic, reliable variety with excellent flavor and texture.
* Contender Bush Beans: Early producers, great for those eager to harvest quickly.
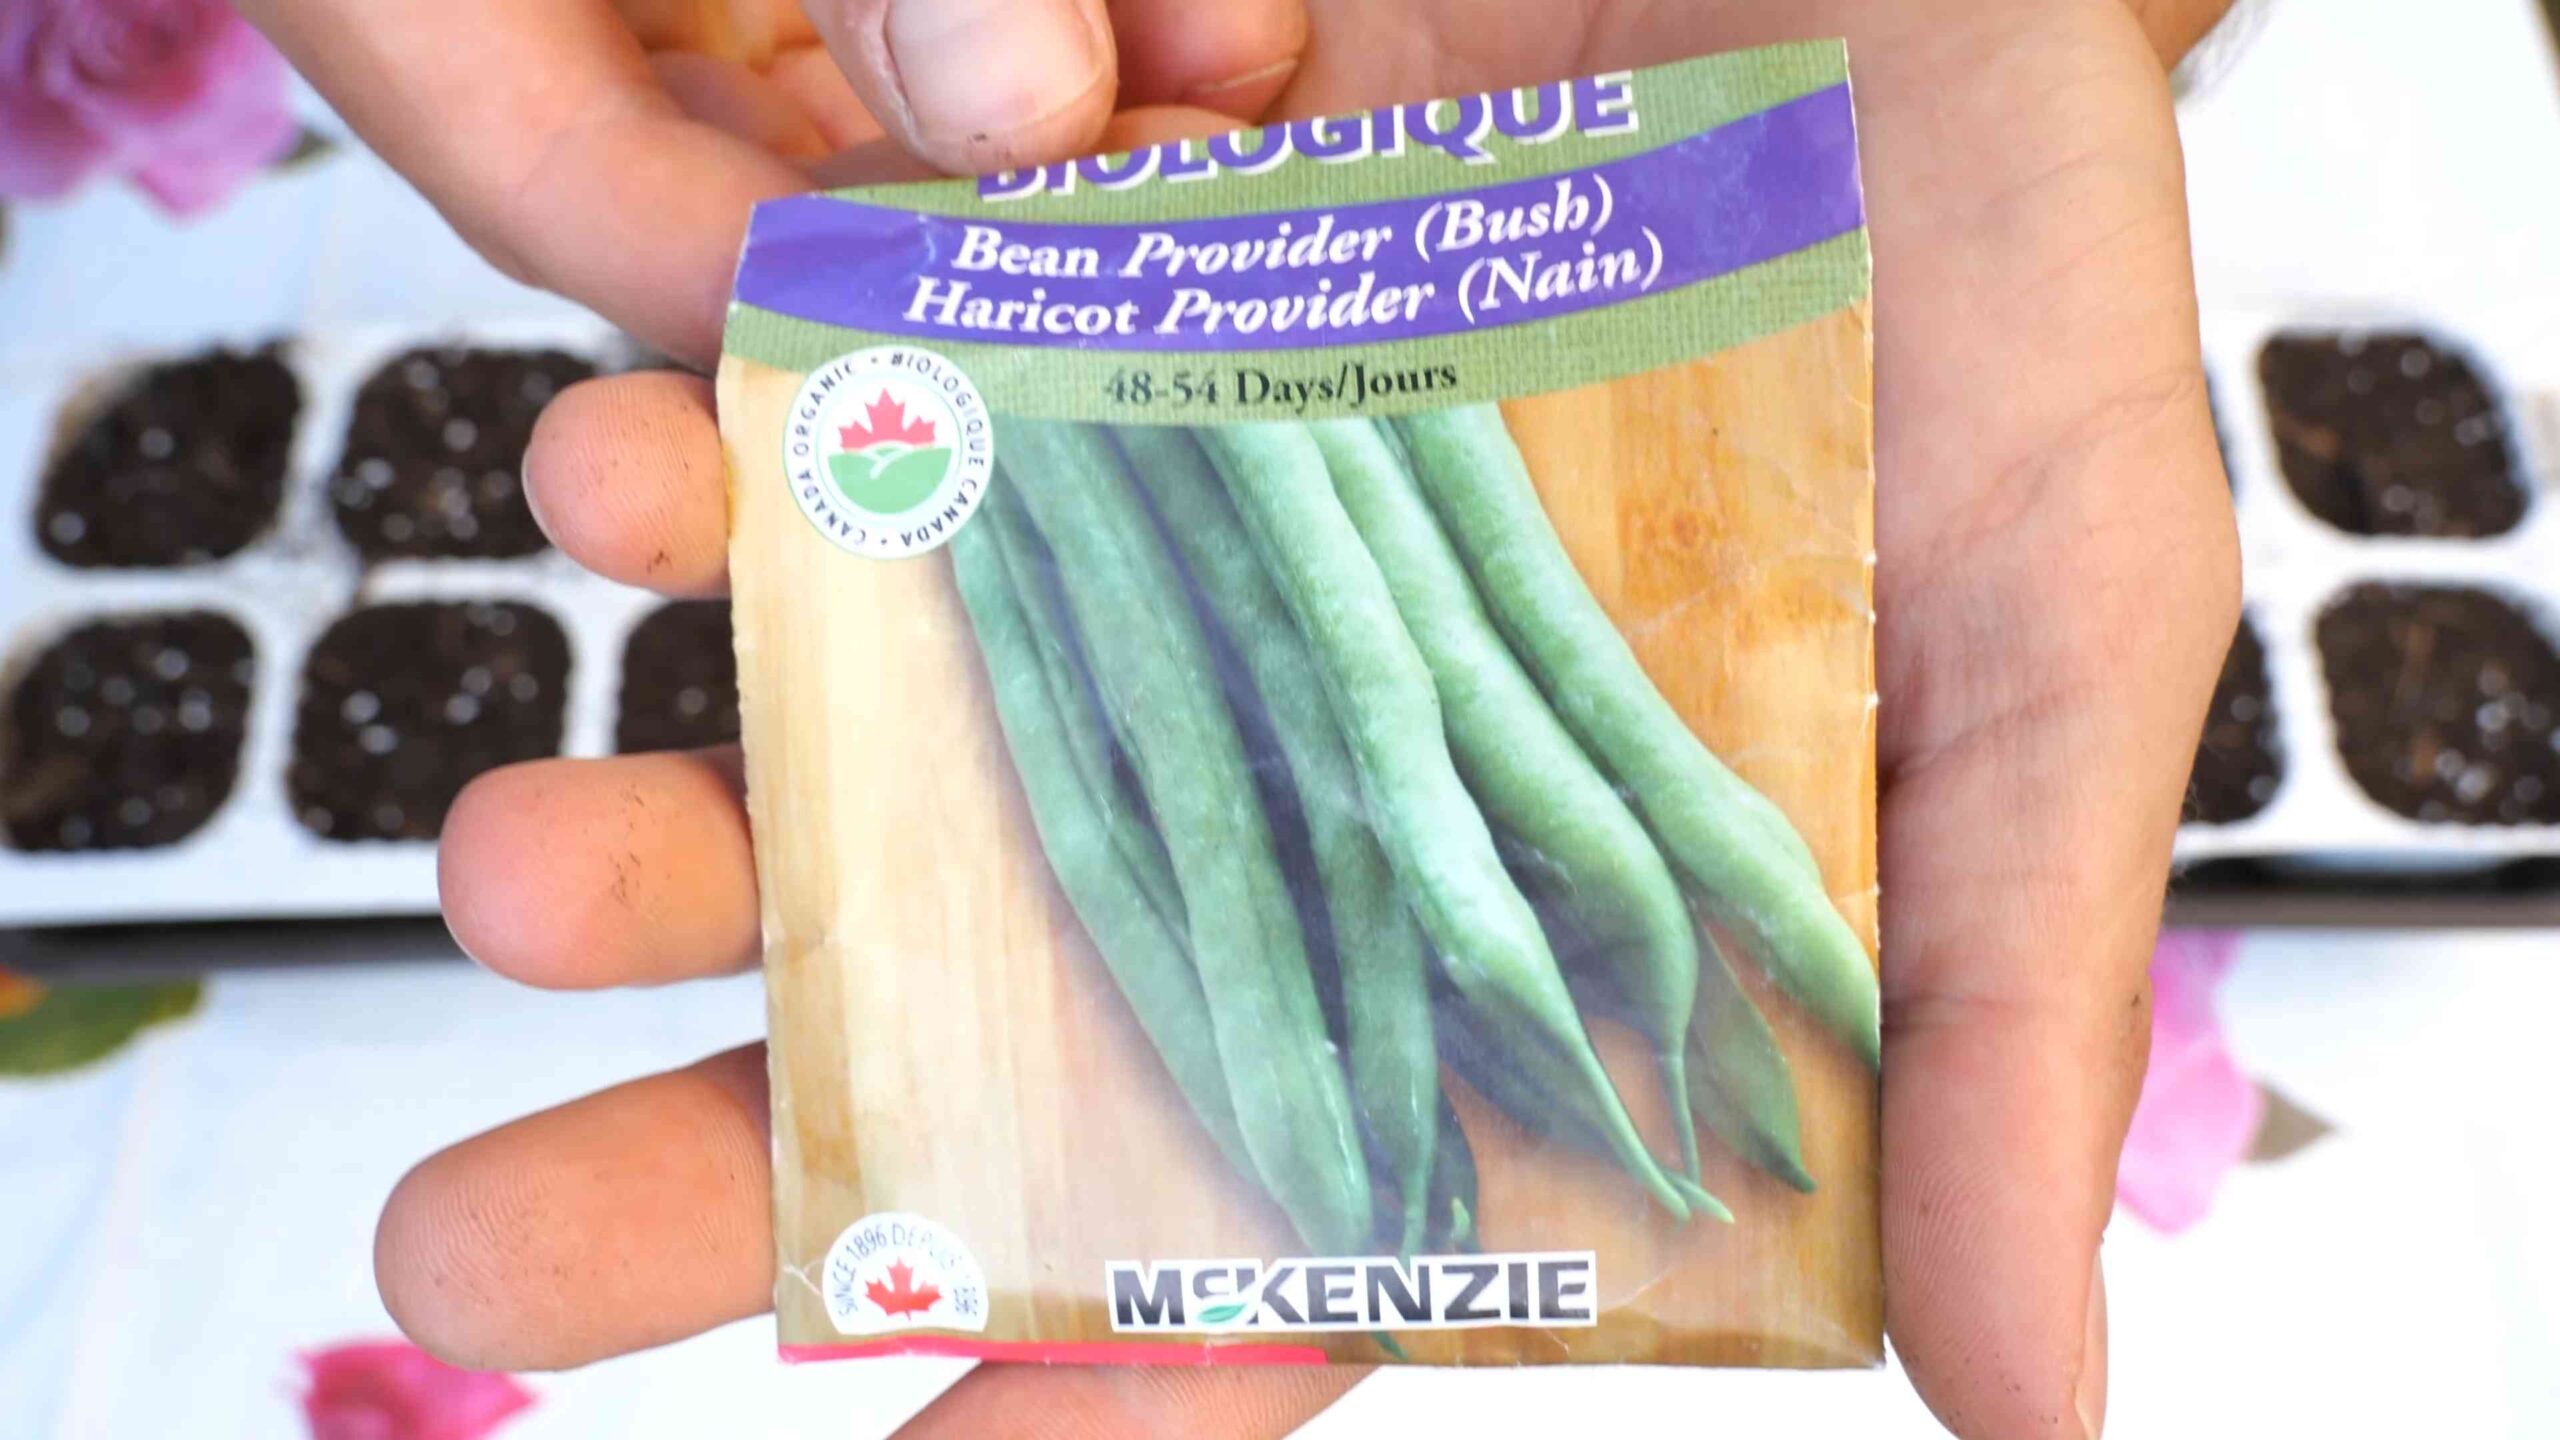
* Provider Bush Beans: Another early variety, known for its high yields.
* Roma Bush Beans: Flat, Italian-style beans with a rich flavor.
* Golden Wax Bush Beans: Yellow beans with a buttery taste.
I personally love growing Blue Lake and Roma beans because they’re so versatile in the kitchen. But feel free to experiment and find your favorites!
Preparing Your Planting Area
Bush beans thrive in well-drained soil and plenty of sunshine. Here’s how to get your garden bed ready:
* Sunlight: Choose a spot that gets at least 6-8 hours of direct sunlight per day.
* Soil: Bush beans prefer slightly acidic soil with a pH between 6.0 and 6.8. You can test your soil using a home testing kit or send a sample to your local extension office.
* Drainage: Ensure your soil drains well. Beans don’t like soggy feet! If your soil is heavy clay, amend it with compost, aged manure, or other organic matter to improve drainage.
* Weed Removal: Clear the area of any weeds and grass. These unwanted guests will compete with your beans for nutrients and water.
* Soil Enrichment: Incorporate compost or aged manure into the soil to provide essential nutrients. I usually add a generous layer (about 2-3 inches) and mix it in thoroughly.
Planting Your Bush Bean Seeds
Now for the fun part – planting! Here’s a step-by-step guide:
1. Timing is Key: Bush beans are warm-season crops, so wait until the danger of frost has passed before planting. Soil temperature should be at least 60°F (16°C). I usually plant mine a couple of weeks after the last expected frost date.
2. Soaking the Seeds (Optional): Some gardeners like to soak their bean seeds in water for a few hours before planting to speed up germination. I’ve tried it both ways and haven’t noticed a huge difference, but it can’t hurt! If you choose to soak, don’t soak them for more than 8 hours, or they might rot.
3. Creating Furrows: Use a hoe or trowel to create furrows (shallow trenches) in your prepared soil. The furrows should be about 1 inch deep.
4. Spacing the Seeds: Plant the bean seeds about 2-3 inches apart within the furrows. This gives them enough room to grow without overcrowding.
5. Covering the Seeds: Gently cover the seeds with soil.
6. Watering: Water the planted area thoroughly but gently. You don’t want to wash away the seeds! Use a watering can or a hose with a gentle spray nozzle.
7. Marking the Rows: Label your rows with the bean variety and planting date. This will help you keep track of what you’ve planted and when to expect your harvest. I use simple garden markers made from popsicle sticks and a permanent marker.
Caring for Your Bush Bean Plants
Once your bean seeds have sprouted (usually within 7-14 days), it’s time to provide them with the care they need to thrive.
* Watering: Water your bean plants regularly, especially during dry spells. Aim to keep the soil consistently moist but not waterlogged. I usually water deeply once or twice a week, depending on the weather.
* Weeding: Keep the area around your bean plants free of weeds. Weeds compete for nutrients and water, so regular weeding is essential.
* Fertilizing (Optional): Bush beans are relatively light feeders, but you can give them a boost with a side dressing of compost or a balanced fertilizer a few weeks after they emerge. Follow the instructions on the fertilizer package carefully.
* Pest Control: Keep an eye out for common bean pests like aphids, bean beetles, and slugs. If you spot any pests, take action promptly. You can try handpicking them off the plants, using insecticidal soap, or introducing beneficial insects like ladybugs. I prefer organic pest control methods whenever possible.
* Supporting the Plants (Usually Not Necessary): Bush beans are generally self-supporting, but if you’re growing a particularly tall variety or if you live in a windy area, you may want to provide some support. You can use small stakes or a trellis to help keep the plants upright.
Harvesting Your Bush Beans
The moment you’ve been waiting for – harvest time! Bush beans are typically ready to harvest about 50-60 days after planting, depending on the variety.
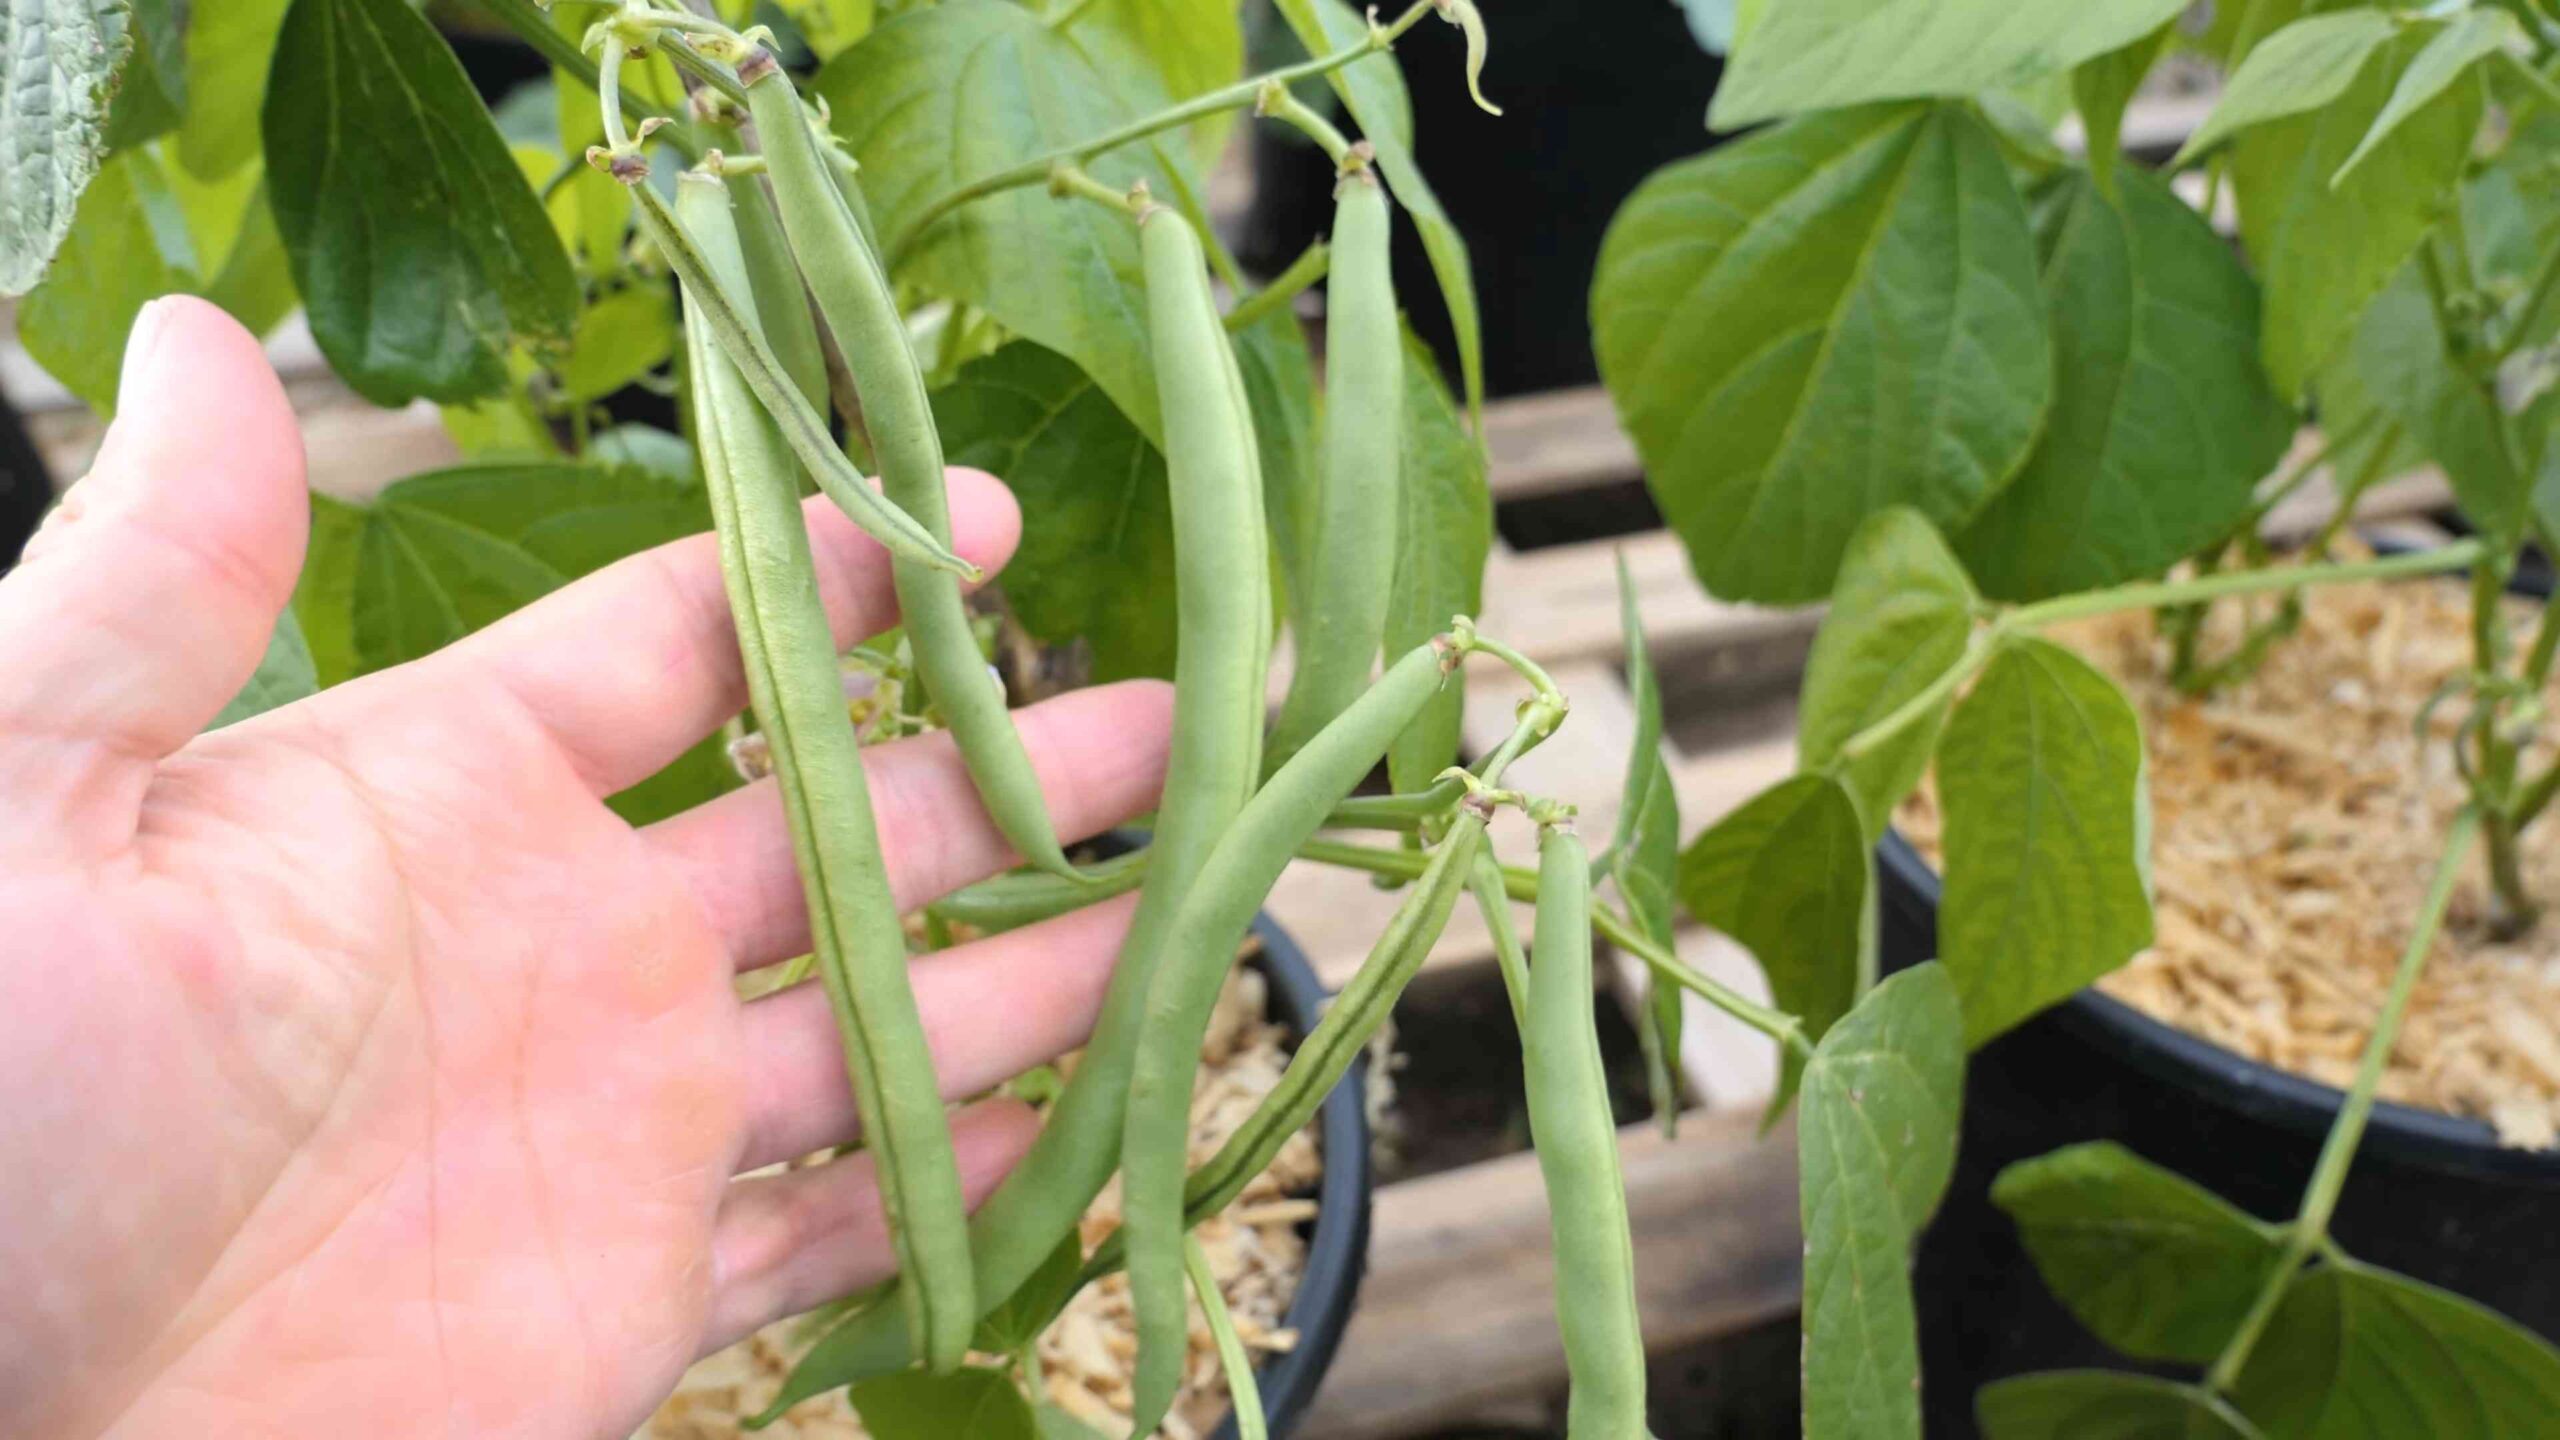
1. Check for Readiness: The bean pods should be firm, plump, and snap easily when bent. They shouldn’t be bulging with seeds.
2. Harvesting Technique: Gently snap the bean pods off the plant, being careful not to damage the stems or leaves.
3. Regular Harvesting: Harvest your beans regularly, every few days, to encourage continued production. The more you pick, the more they’ll produce!
4. Enjoy Your Harvest: Freshly harvested bush beans are delicious steamed, sautéed, or added to salads and soups. You can also freeze or can them for later use.
Troubleshooting Common Problems
Even with the best care, you might encounter a few challenges when growing bush beans. Here are some common problems and how to address them:
* Poor Germination: If your bean seeds aren’t germinating, it could be due to cold soil, poor-quality seeds, or overwatering. Make sure the soil temperature is warm enough, use fresh seeds, and avoid overwatering.
* Yellowing Leaves: Yellowing leaves can indicate a nutrient deficiency, overwatering, or a pest infestation. Check the soil drainage, fertilize if necessary, and inspect the plants for pests.
* Bean Beetle Damage: Bean beetles can quickly decimate your bean plants. Handpick them off the plants, use insecticidal soap, or cover the plants with row covers.
* Powdery Mildew: Powdery mildew is a fungal disease that can affect bean plants in humid conditions. Improve air circulation by spacing the plants properly, water at the base of the plants, and apply a fungicide if necessary.
Extending Your Bean Harvest
Want to enjoy fresh bush beans for as long as possible? Here are a few tips for extending your harvest:
* Succession Planting: Plant a new batch of bean seeds every 2-3 weeks to ensure a continuous supply of beans throughout the growing season.
* Choose Heat-Tolerant Varieties: If you live in a hot climate, select bean varieties that are known to tolerate heat.
* Provide Shade: During the hottest part of the day, provide some shade for your bean plants using shade cloth or other materials.
* Water Deeply: Water your bean plants deeply and regularly, especially during hot weather.
Saving Bean Seeds for Next Year
If you want to save seeds from your bush bean plants for next year, here’s how:
1. Select Healthy Plants: Choose healthy, vigorous plants that produce high-quality beans.
2. Allow Pods to Dry: Allow some of the bean pods to dry completely on the plant. The pods should turn brown and brittle.
3. Harvest the Seeds: Once the pods are dry, harvest them and shell the seeds.
4. Dry the Seeds Further: Spread the seeds out on a tray and allow them to dry for a few more days.
5. Store the Seeds: Store the dried seeds in an airtight container in a cool, dark, and dry place. They should remain viable for several years.
Enjoying Your Homegrown Bush Beans
There’s nothing quite like the taste of freshly harvested bush beans. Here are a few of my favorite ways to enjoy them:
* Steamed with Butter and Herbs: A simple and classic way to enjoy the fresh flavor of bush beans.
* Sautéed with Garlic and Olive Oil: A quick and easy side dish that’s packed with flavor.
* Added to Salads: Bush beans add a crunchy and nutritious element to salads.
* In Soups and Stews: Bush beans are a great addition to soups and stews.
* Pick
Conclusion
So, there you have it! Planting bush beans doesn’t have to be a daunting task reserved for seasoned gardeners. This simple, DIY method unlocks a world of fresh, homegrown goodness right at your fingertips. We’ve walked you through the process, highlighting the ease and efficiency of this approach, and hopefully, dispelled any lingering doubts you might have had.
Why is this a must-try? Because beyond the satisfaction of nurturing life from a tiny seed, you’re gaining access to incredibly flavorful and nutritious bush beans that far surpass anything you’ll find in a grocery store. Imagine the crisp snap of freshly picked beans, the vibrant green color, and the burst of flavor in every bite. This isn’t just about growing vegetables; it’s about connecting with nature, reducing your carbon footprint, and enjoying the unparalleled taste of homegrown produce.
But the beauty of gardening lies in its adaptability. Feel free to experiment with different varieties of bush beans. Consider planting a mix of green beans, yellow wax beans, or even purple bush beans for a colorful and diverse harvest. You can also explore companion planting. Marigolds, for example, are known to deter pests, while nasturtiums can attract aphids away from your precious bean plants. Think about adding some summer savory near your bush beans, as it is said to improve their flavor and growth.
Another variation to consider is succession planting. By planting a new batch of bush beans every few weeks, you can ensure a continuous harvest throughout the growing season. This is especially useful if you have a small garden and want to maximize your yield.
Don’t be afraid to get your hands dirty and embrace the learning process. Gardening is a journey, and every mistake is an opportunity to learn and grow (pun intended!). The most important thing is to start. Even if you only have a small balcony or patio, you can still successfully plant bush beans in containers.
We are confident that this DIY guide will empower you to successfully plant bush beans and enjoy a bountiful harvest. We encourage you to give it a try and experience the joy of growing your own food. And most importantly, we want to hear about your experiences! Share your photos, tips, and challenges in the comments below. Let’s create a community of bush bean enthusiasts and learn from each other. What varieties did you try? What challenges did you face, and how did you overcome them? Your insights could be invaluable to other aspiring gardeners.
So, grab your seeds, prepare your soil, and get ready to embark on a rewarding gardening adventure. Happy planting!
Frequently Asked Questions (FAQ)
What is the best time of year to plant bush beans?
The ideal time to plant bush beans is after the last frost of spring, when the soil has warmed to at least 60°F (15°C). Bush beans are sensitive to cold temperatures, so planting too early can result in poor germination or stunted growth. In most regions, this typically falls between late spring and early summer. To determine the best planting time for your specific location, consult your local weather forecast or gardening calendar. You can also use a soil thermometer to ensure the soil is warm enough before planting. Remember, it’s always better to err on the side of caution and wait until the weather is consistently warm before planting your bush beans.
How much sunlight do bush beans need?
Bush beans thrive in full sun, requiring at least 6-8 hours of direct sunlight per day. Sunlight is essential for photosynthesis, the process by which plants convert light energy into chemical energy for growth. Insufficient sunlight can lead to leggy growth, reduced yields, and increased susceptibility to pests and diseases. When choosing a location for your bush bean plants, select a spot that receives ample sunlight throughout the day. If you’re growing bush beans in containers, you can move them around to ensure they get enough sunlight. If you live in a particularly hot climate, providing some afternoon shade can help prevent the plants from overheating.
What type of soil is best for growing bush beans?
Bush beans prefer well-drained, fertile soil with a pH between 6.0 and 7.0. Well-drained soil is crucial to prevent root rot, a common problem in overly wet conditions. Fertile soil provides the necessary nutrients for healthy growth and abundant yields. Before planting, amend your soil with compost or other organic matter to improve its drainage, fertility, and water-holding capacity. Avoid heavy clay soils, as they tend to retain too much water. If you have clay soil, consider adding sand or perlite to improve drainage. A soil test can help you determine the pH of your soil and identify any nutrient deficiencies.
How often should I water my bush bean plants?
Bush beans need consistent moisture, especially during germination and pod development. Water deeply and regularly, aiming to keep the soil consistently moist but not waterlogged. The frequency of watering will depend on the weather conditions, soil type, and stage of growth. During hot, dry weather, you may need to water daily. In cooler, wetter weather, you may only need to water every few days. A good rule of thumb is to check the soil moisture by sticking your finger about an inch into the soil. If the soil feels dry, it’s time to water. Avoid overhead watering, as it can promote fungal diseases. Instead, water at the base of the plants.
Do I need to fertilize my bush bean plants?
While bush beans are relatively low-maintenance, they can benefit from fertilization, especially if your soil is lacking in nutrients. Apply a balanced fertilizer (e.g., 10-10-10) at planting time, following the instructions on the fertilizer package. Avoid over-fertilizing, as this can lead to excessive foliage growth at the expense of pod production. You can also side-dress your plants with compost tea or other organic fertilizers during the growing season. Bush beans are legumes, which means they can fix nitrogen from the atmosphere in the soil. However, they still need other essential nutrients like phosphorus and potassium.
What are some common pests and diseases that affect bush beans?
Bush beans can be susceptible to various pests and diseases, including aphids, bean beetles, spider mites, and fungal diseases like powdery mildew and bean rust. Regularly inspect your plants for signs of infestation or disease. If you spot any problems, take action promptly to prevent them from spreading. Organic pest control methods, such as insecticidal soap or neem oil, can be effective against many common pests. To prevent fungal diseases, ensure good air circulation around your plants and avoid overhead watering. Crop rotation can also help reduce the risk of soilborne diseases.
When are bush beans ready to harvest?
Bush beans are typically ready to harvest about 50-60 days after planting. The pods should be firm, plump, and snap easily when bent. Harvest your beans regularly, as this encourages the plants to produce more pods. Overripe beans can become tough and stringy. To harvest, gently snap the pods off the plant, being careful not to damage the stems. Bush beans are best eaten fresh, but they can also be frozen or canned for later use.
Can I grow bush beans in containers?
Yes, bush beans are well-suited for container gardening. Choose a container that is at least 12 inches deep and wide to provide enough room for the roots to grow. Use a well-draining potting mix and ensure the container has drainage holes. Place the container in a sunny location and water regularly. Container-grown bush beans may need more frequent watering and fertilization than those grown in the ground. Consider using a self-watering container to help maintain consistent moisture levels.
How can I save seeds from my bush bean plants?
Saving seeds from your bush bean plants is a great way to preserve your favorite varieties and save money on seeds in the future. To save seeds, allow some of the pods to mature fully on the plant. The pods will turn brown and dry out. Once the pods are completely dry, harvest them and shell the seeds. Spread the seeds out on a tray to dry completely for a few days. Store the dried seeds in an airtight container in a cool, dark, and dry place. Be sure to label the container with the variety and date. Keep in mind that hybrid varieties may not produce true-to-type seeds.
Leave a Comment