

Remove Dog Hair Car: A furry friend is a family member, and car rides are often part of the fun! But let’s be honest, the aftermath of those joyful journeys can leave your car looking like a canine explosion. We’re talking about that stubborn, clinging dog hair that seems to weave itself into every nook and cranny.
For centuries, humans have shared their lives and vehicles with dogs, and with that companionship comes the inevitable shedding. While we cherish the memories made on the road with our pups, the task of cleaning up their fur can feel daunting. But don’t despair! I’m here to share some incredibly effective and easy DIY tricks to help you remove dog hair car interiors quickly and efficiently.
Why is this so important? Beyond the aesthetic appeal of a clean car, excessive dog hair can trigger allergies and even affect your car’s ventilation system. Plus, a hair-free car is simply more pleasant for everyone, especially passengers who might not be as enthusiastic about canine cuddles as you are. So, let’s dive into these simple yet powerful DIY solutions that will have your car looking and feeling fresh in no time!
DIY Dog Hair Removal: Conquer Your Car’s Furry Invasion!
Okay, fellow dog lovers, let’s face it: our furry friends are amazing, but their shedding? Not so much. Especially in our cars! I’ve battled the dog hair beast in my own vehicle for years, and I’ve finally perfected a system that actually works. Forget those expensive detailing services – we’re going to tackle this ourselves! This guide will walk you through the best DIY methods for removing dog hair from your car, leaving it looking (and smelling!) fresh and clean.
What You’ll Need: Your Arsenal Against Fur
Before we dive in, let’s gather our supplies. Having everything ready will make the process much smoother. Here’s what I recommend:
* Vacuum Cleaner: A powerful vacuum with various attachments is essential. A handheld vacuum is great for tight spaces.
* Rubber Gloves: The kind you use for dishwashing. Trust me on this one!
* Spray Bottle: For our static-busting solution.
* Fabric Softener: A small amount to mix with water.
* Water: For diluting the fabric softener.
* Microfiber Cloths: These are gentle on your car’s interior and excellent for wiping.
* Pet Hair Roller or Lint Roller: For those stubborn, clinging hairs.
* Duct Tape or Packing Tape: For a super sticky hair-grabbing solution.
* Stiff Bristle Brush: For agitating hair embedded in carpets and upholstery.
* Detailing Brush: A small, soft brush for vents and crevices.
* Enzyme Cleaner (Optional): If you’re dealing with lingering odors.
* Leather Cleaner/Conditioner (If Applicable): For leather seats.
* Patience: This might take a little time, but the results are worth it!
Phase 1: The Pre-Vacuum Prep – Loosening the Furry Grip
This phase is crucial! Don’t skip it. We need to loosen the dog hair before we even think about vacuuming.
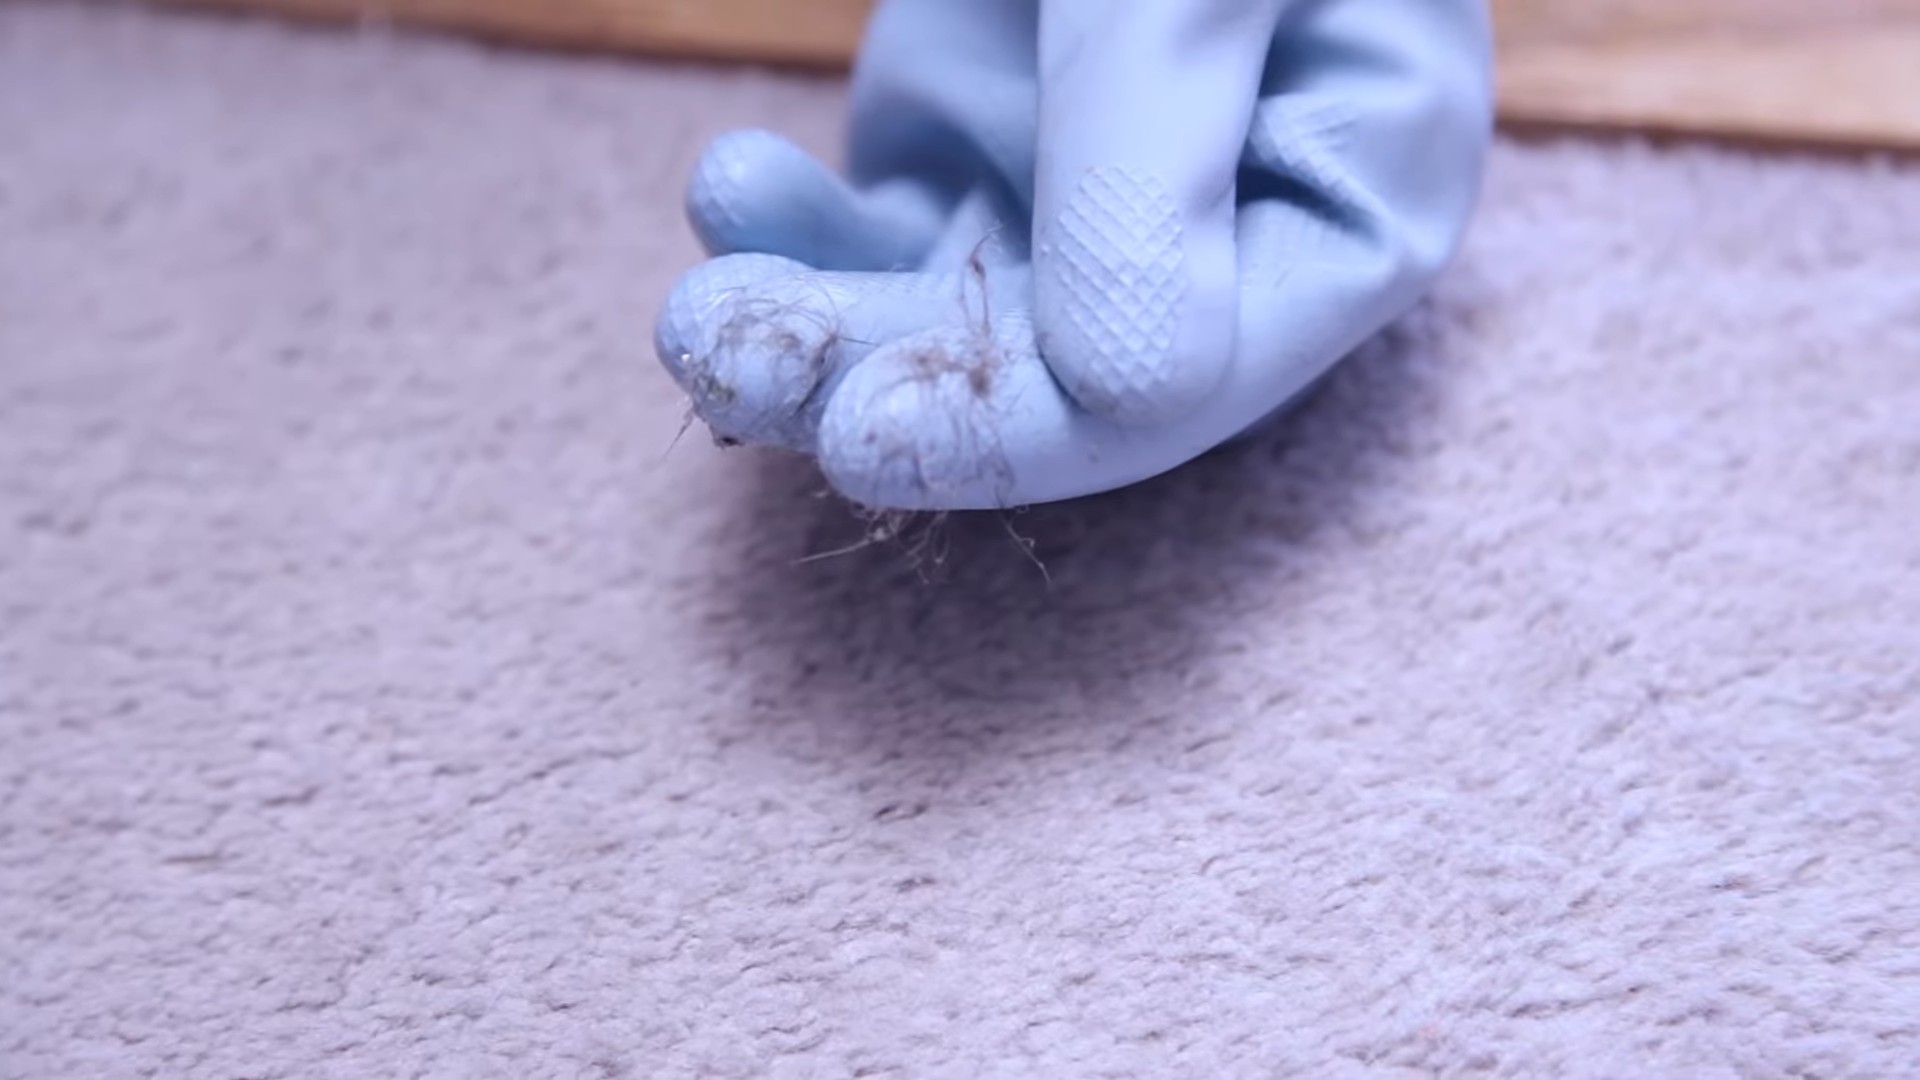
1. The Rubber Glove Trick: Put on your rubber gloves. Lightly dampen them with water. Now, run your gloved hands over the seats, carpets, and any other fabric surfaces. The rubber will create static electricity, causing the dog hair to clump together and lift away from the fabric. You’ll be amazed at how much hair you can gather this way! Periodically rinse the gloves to remove the collected hair.
2. Fabric Softener Spray: In your spray bottle, mix one part fabric softener with three parts water. Lightly mist the fabric surfaces in your car. Don’t saturate them! The fabric softener will help to neutralize static cling, making the hair easier to vacuum. Let it sit for a few minutes.
3. Brush It Out: Use your stiff bristle brush to gently brush the carpets and upholstery. This will further loosen the embedded hairs. Work in small sections and brush in different directions to dislodge as much hair as possible. Be careful not to damage the fabric.
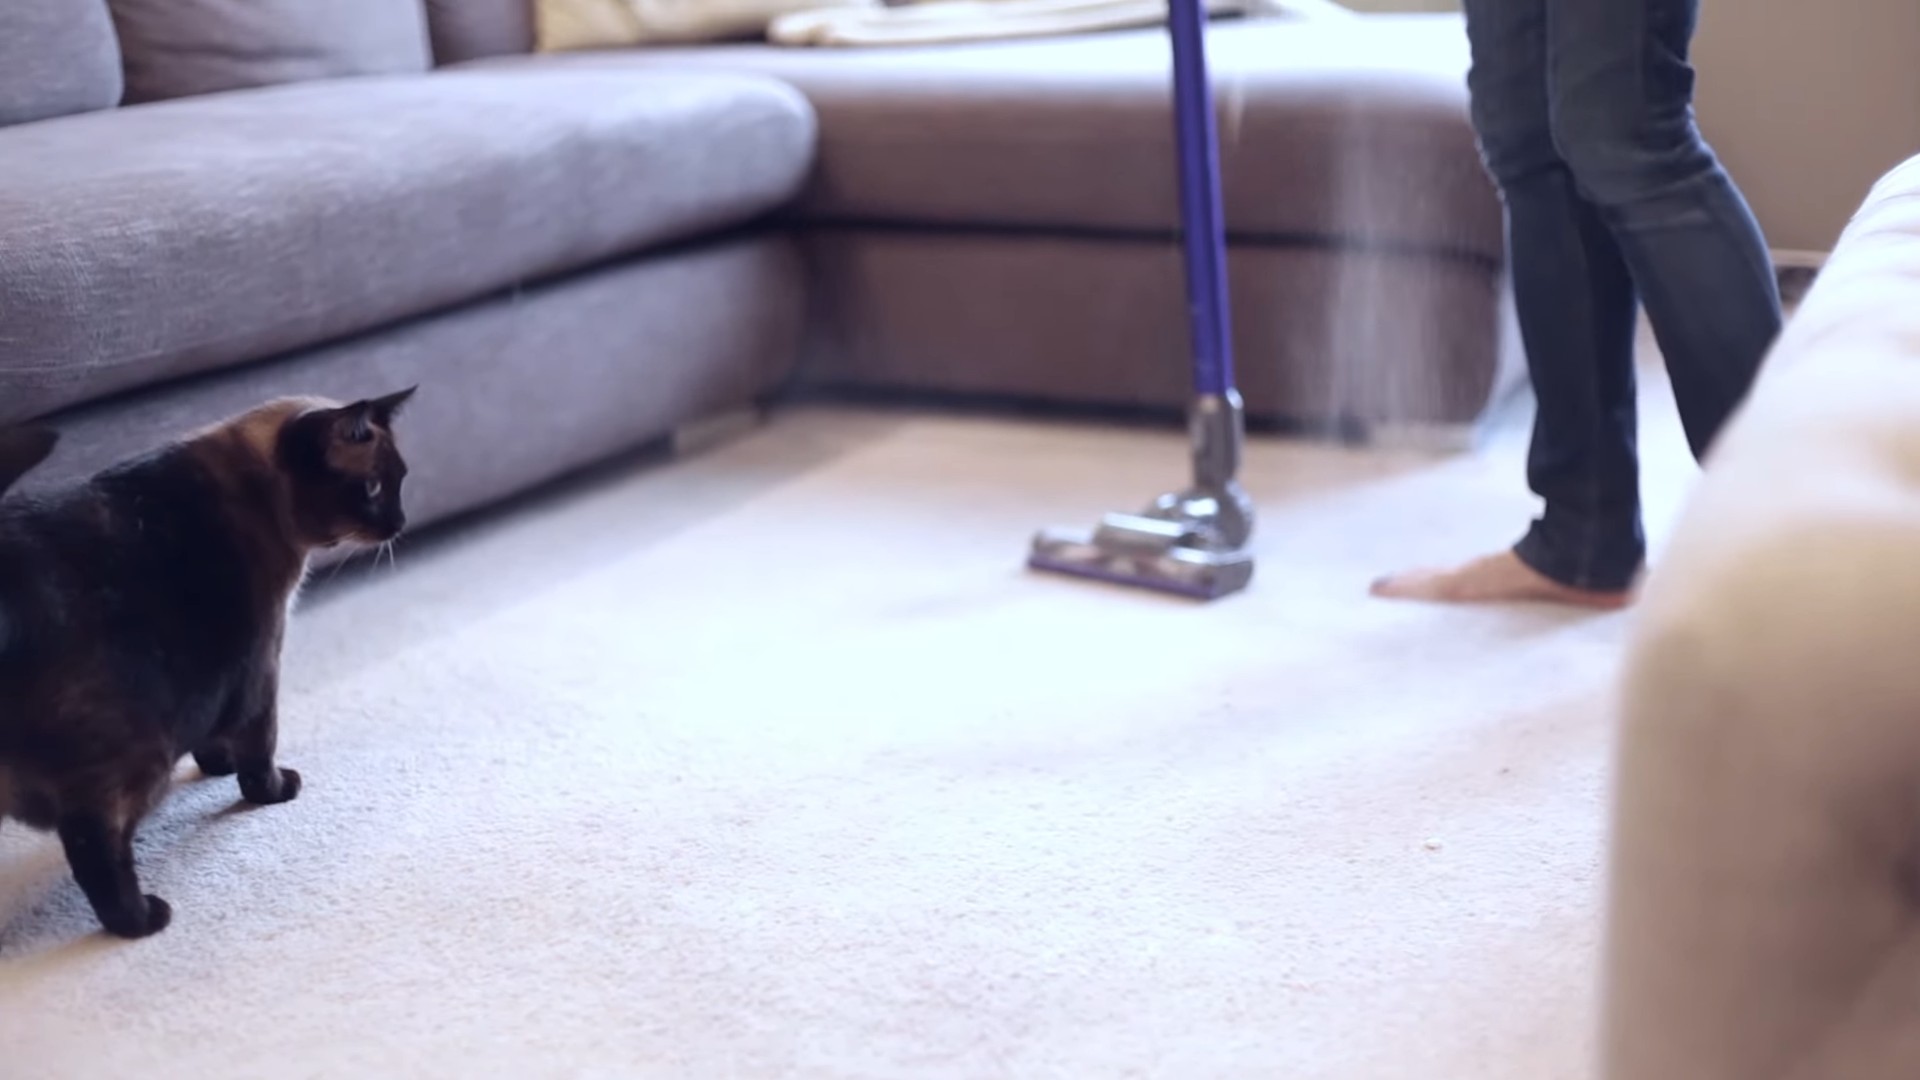
Phase 2: Vacuuming – Sucking Up the Evidence
Now for the main event! A good vacuuming session is key to removing the bulk of the dog hair.
1. Choose the Right Attachment: Select the appropriate vacuum attachment for the surface you’re cleaning. A crevice tool is great for tight spaces, an upholstery attachment is perfect for seats, and a brush attachment is ideal for carpets.
2. Systematic Vacuuming: Start at the top and work your way down. Vacuum the headrests, seats, dashboard, center console, carpets, and floor mats. Pay special attention to areas where your dog spends the most time.
3. Overlapping Strokes: Use overlapping strokes to ensure you cover every inch of the surface. Go slowly and deliberately. Don’t rush!
4. Floor Mats: Remove the floor mats and vacuum them separately. You might even want to beat them against a hard surface to dislodge any stubborn dirt and hair before vacuuming.
5. Crevices and Corners: Use the crevice tool to get into those hard-to-reach areas, like between the seats, along the edges of the carpets, and in the vents.
6. Trunk Area: Don’t forget the trunk! This area often accumulates a lot of dog hair, especially if you transport your dog in the trunk.
Phase 3: Fine-Tuning – The Final Touches
We’re almost there! This phase is all about getting rid of those last few stubborn hairs.
1. Lint Roller or Pet Hair Roller: Use a lint roller or pet hair roller to pick up any remaining hairs on the seats, carpets, and upholstery. These rollers are especially effective at removing fine hairs that the vacuum might have missed.
2. Duct Tape/Packing Tape: For those super stubborn hairs that just won’t budge, try using duct tape or packing tape. Wrap a piece of tape around your hand, sticky side out, and dab it onto the affected area. The tape will grab the hairs and lift them away.
3. Detailing Brush: Use a detailing brush to clean out the vents and other small crevices. This will remove any dust, dirt, and hair that might be trapped in these areas.
4. Enzyme Cleaner (Optional): If your car has a lingering dog odor, use an enzyme cleaner to neutralize the smell. Follow the instructions on the product label. Spray lightly and allow to air dry. Enzyme cleaners are designed to break down the organic compounds that cause odors.
5. Leather Cleaning (If Applicable): If you have leather seats, clean and condition them with a leather cleaner and conditioner. This will help to keep the leather supple and prevent it from cracking. Follow the instructions on the product label.
Phase 4: Prevention – Keeping the Fur at Bay
Now that your car is sparkling clean, let’s talk about prevention. Here are a few tips to help keep the dog hair at bay:
* Car Seat Covers: Invest in car seat covers specifically designed for pets. These covers will protect your seats from hair, dirt, and scratches. They are also easy to remove and wash.
* Regular Grooming: Brush your dog regularly to remove loose hair before it ends up in your car.
* Designated Dog Area: If possible, designate a specific area in your car for your dog to ride in. This will help to contain the hair to one area.
* Regular Vacuuming: Vacuum your car regularly, even if you don’t see a lot of dog hair. This will help to prevent the hair from building up and becoming embedded in the carpets and upholstery.
* Doggy Seat Belt: Using a doggy seat belt not only keeps your dog safe but also confines them to one area, minimizing hair spread.
* Air Purifier: Consider using a car air purifier with a HEPA filter to help remove pet dander and odors from the air.
Extra Tips and Tricks I’ve Learned Along the Way
* Static Electricity: Static electricity is your enemy when it comes to dog hair. Using a fabric softener spray or anti-static spray can help to reduce static cling and make the hair easier to remove.
* Sunlight: Park your car in the sun for a few hours after cleaning. The sunlight will help to dry out any damp areas and kill any bacteria that might be present.
* Baking Soda: Sprinkle baking soda on the carpets and upholstery before vacuuming. Baking soda will help to absorb odors and loosen dirt and hair. Let it sit for at least 30 minutes before vacuuming.
* Pumice Stone: A slightly damp pumice stone can be surprisingly effective at removing dog hair from carpets. Gently rub the pumice stone over the affected area in a circular motion. Be careful not to rub too hard, as this could damage the carpet.
* Don’t Give Up! Removing dog hair from your car can be a challenge, but it’s not impossible. With a little patience and the right tools, you can conquer the furry invasion and keep your car looking its best.
I hope these tips and tricks help you win the battle against dog hair in your car! Remember, consistency is key. The more often you clean your car, the easier it will be to keep it free of dog hair. Happy cleaning!
Conclusion
So, there you have it! Removing dog hair from your car doesn’t have to be a constant battle or an expensive trip to the detailer. This simple, DIY trick using readily available materials is a game-changer for pet owners who love taking their furry friends on adventures. We’ve shown you how to effectively lift and remove even the most stubborn dog hair clinging to your car’s upholstery, carpets, and those hard-to-reach crevices.
Why is this a must-try? Because it’s cost-effective, environmentally friendly, and, most importantly, it works! Forget about endlessly vacuuming with limited success. This method targets the static cling that binds the hair to the fabric, making removal significantly easier and more efficient. You’ll save time, money, and your sanity!
But don’t stop there! Feel free to experiment with variations to find what works best for your specific car and your dog’s hair type. For instance, if you have leather seats, consider using a slightly damp microfiber cloth instead of a rubber glove to avoid any potential scratching. You can also add a few drops of your favorite essential oil to the water for a refreshing scent boost – just be sure it’s pet-safe! Another variation involves using a pumice stone (gently!) on particularly stubborn areas of carpet. Always test in an inconspicuous area first.
The key takeaway is this: You don’t need fancy, expensive products to achieve a hair-free car. This DIY solution is a testament to the power of simple ingenuity.
We are confident that this method will revolutionize your car cleaning routine. Say goodbye to embarrassing dog hair tumbleweeds and hello to a clean, fresh-smelling vehicle.
Now, it’s your turn! We urge you to try this DIY trick for removing dog hair from your car. We’re eager to hear about your experiences. Did it work as well for you as it did for us? Did you discover any helpful variations? Share your tips, tricks, and before-and-after photos in the comments below. Let’s create a community of pet owners who are winning the war against dog hair! Your feedback will help other readers and contribute to making this guide even better. Let us know how you tackled the challenge of removing dog hair from your car!
Frequently Asked Questions (FAQ)
Q: What kind of rubber glove should I use?
A: Any clean rubber glove will work, such as dishwashing gloves or cleaning gloves. The key is the texture of the rubber, which helps to grab and lift the dog hair. Avoid using gloves with holes or tears, as they won’t be as effective. Thicker gloves tend to be more durable and comfortable to use for extended periods. You can even use a rubber grooming glove designed for pets, as these have textured surfaces specifically designed to attract hair.
Q: Will this method work on all types of dog hair?
A: This method is generally effective on most types of dog hair, including short, long, thick, and fine hair. However, the effectiveness may vary depending on the specific type of hair and the fabric of your car’s interior. For extremely stubborn or deeply embedded hair, you may need to repeat the process several times or use a combination of techniques, such as vacuuming after using the rubber glove.
Q: Can I use this method on leather seats?
A: Yes, you can use this method on leather seats, but with caution. Leather is more delicate than fabric, so it’s important to be gentle and avoid using excessive pressure. Instead of a rubber glove, consider using a slightly damp microfiber cloth. The dampness helps to loosen the hair, and the microfiber cloth is soft and non-abrasive. Always test in an inconspicuous area first to ensure that the cloth doesn’t damage or discolor the leather. You can also use a leather cleaner and conditioner after removing the hair to help restore the leather’s moisture and shine.
Q: How often should I use this method to remove dog hair from my car?
A: The frequency of cleaning depends on how often your dog rides in the car and how much they shed. If your dog sheds heavily, you may need to clean your car once a week or even more frequently. If your dog sheds less or only rides in the car occasionally, you may only need to clean it once a month. Regular cleaning will prevent the hair from becoming deeply embedded in the fabric and make it easier to remove.
Q: What if I don’t have a rubber glove? Are there any alternatives?
A: Yes, there are several alternatives to using a rubber glove. A pumice stone (used gently) can work well on carpets. You can also try using a lint roller, packing tape wrapped around your hand (sticky side out), or a damp sponge. Another option is to use a pet hair removal brush, which is specifically designed to grab and lift pet hair from upholstery and carpets. These brushes often have rubber bristles or a microfiber surface that attracts hair.
Q: Is it safe to use a vacuum cleaner after using the rubber glove method?
A: Yes, vacuuming after using the rubber glove method is a great way to remove any remaining loose hair. The rubber glove helps to loosen and gather the hair, making it easier for the vacuum cleaner to pick it up. Use a vacuum cleaner with a hose attachment and a crevice tool to reach tight spaces and corners.
Q: Can I use this method on other surfaces besides car interiors?
A: Yes, this method can be used on other surfaces where dog hair accumulates, such as furniture, carpets, and clothing. The same principles apply: the rubber glove helps to grab and lift the hair, making it easier to remove. Just be sure to test in an inconspicuous area first to ensure that the glove doesn’t damage the surface.
Q: How can I prevent dog hair from getting into my car in the first place?
A: Prevention is always better than cure! There are several things you can do to minimize the amount of dog hair that gets into your car. Consider using a car seat cover specifically designed for pets. These covers protect your seats from hair, dirt, and scratches. You can also groom your dog regularly to remove loose hair before they get into the car. Brushing your dog outdoors can help to prevent hair from spreading inside your home and car. Finally, consider restricting your dog to a specific area of the car, such as the back seat or cargo area.
Q: My dog’s hair is really stuck in the carpet. What can I do?
A: For deeply embedded dog hair, you might need to take a more aggressive approach. Try spraying a mixture of water and fabric softener onto the carpet (test in a hidden area first!). Let it sit for a few minutes to loosen the hair, then use the rubber glove or a stiff brush to scrub the area. Follow up with a vacuum cleaner. You can also try using a carpet rake, which is designed to lift and loosen embedded debris. As a last resort, you might consider using a carpet cleaner specifically designed for pet hair removal.
Leave a Comment