

DIY Stain Removal Tips: Your clothes are your canvas, and life, well, life happens! We’ve all been there – that dreaded moment when a splash of coffee, a rogue pen, or a dollop of something mysterious lands squarely on our favorite outfit. Don’t panic! Before you resign that garment to the “rag pile,” let’s explore some amazing DIY stain removal tips that can rescue your wardrobe and save you money.
For generations, resourceful individuals have passed down stain-fighting secrets, often relying on simple household ingredients. Think about it: our grandmothers didn’t have a shelf full of specialized stain removers; they used vinegar, baking soda, and a little elbow grease! These time-tested methods are not only effective but also often gentler on fabrics and the environment.
Why do you need these DIY stain removal tricks? Because life is messy! And let’s be honest, those commercial stain removers can be expensive and full of harsh chemicals. I’m here to show you how to tackle almost any stain with ingredients you probably already have in your pantry. From tackling stubborn grease stains to banishing ink marks, these DIY stain removal tips will empower you to keep your clothes looking their best, longer. So, let’s dive in and unlock the secrets to a stain-free life!
DIY Stain Removal: Conquer Any Mess Like a Pro!
Okay, let’s face it, life is messy! And sometimes, that mess ends up on our favorite clothes, carpets, or furniture. But don’t panic! Before you reach for those harsh chemicals or resign yourself to a permanent stain, I’m going to share some of my favorite DIY stain removal tricks that have saved me countless times. These are tried-and-true methods using common household ingredients, so you can tackle those pesky stains without breaking the bank or damaging your precious items.
General Stain Removal Tips (Before You Start!)
Before we dive into specific stain types, here are a few golden rules to keep in mind for successful stain removal:
* Act Fast! The sooner you treat a stain, the better your chances of removing it completely. Fresh stains are much easier to lift than old, set-in ones.
* Blot, Don’t Rub! Rubbing a stain will only spread it and grind it deeper into the fibers. Always blot gently with a clean cloth or paper towel, working from the outside of the stain inward.
* Test in an Inconspicuous Area: Before applying any cleaning solution to the stain, test it on a hidden area of the fabric or surface to ensure it doesn’t cause discoloration or damage.
* Cold Water is Your Friend: Unless otherwise specified, always use cold water for stain removal. Hot water can set some stains, making them even harder to remove.
* Patience is Key: Stain removal can sometimes be a process. Don’t get discouraged if the stain doesn’t disappear immediately. Repeat the steps as needed, and be patient.
* Read the Care Label: Always check the care label of the garment or item before attempting any stain removal method. Some fabrics require professional cleaning.
Tackling Common Stains: Step-by-Step Guides
Now, let’s get down to the nitty-gritty! Here are some specific stain removal techniques for common culprits:
1. Coffee Stains
Ah, coffee – the lifeblood of many! But those accidental spills can be a real pain. Here’s how I tackle them:
What You’ll Need:
* Cold water
* Liquid dish soap
* White vinegar
* Clean cloths or paper towels
Instructions:
1. Blot the Excess: Immediately blot up as much of the coffee as possible with a clean cloth or paper towel. Remember, blot, don’t rub!
2. Rinse with Cold Water: Rinse the stained area from the back with cold water. This helps to flush the coffee out of the fibers.
3. Apply Dish Soap: Apply a small amount of liquid dish soap to the stain and gently rub it in with your fingers or a soft brush.
4. Rinse Again: Rinse the area thoroughly with cold water to remove the soap.
5. Vinegar Power: If the stain persists, mix equal parts white vinegar and cold water. Apply the solution to the stain and let it sit for 10-15 minutes.
6. Final Rinse: Rinse the area one last time with cold water.
7. Air Dry: Allow the item to air dry completely. Avoid putting it in the dryer until you’re sure the stain is gone, as heat can set the stain.
2. Red Wine Stains
Red wine stains are notorious for being difficult to remove, but don’t despair! I have a few tricks up my sleeve:
What You’ll Need:
* Salt
* Boiling water (for fabric that can withstand it)
* Club soda
* White wine (yes, really!)
* Clean cloths or paper towels
Instructions:
1. Act Fast (Again!): The key to removing red wine stains is to act quickly.
2. Salt to the Rescue: Immediately cover the stain with a generous amount of salt. The salt will absorb the wine and help to lift it from the fabric. Let the salt sit on the stain for at least 30 minutes, or even longer for stubborn stains.
3. Vacuum or Brush Away the Salt: Once the salt has absorbed the wine, vacuum it up or brush it away.
4. Boiling Water Method (Use with Caution!): If the fabric is suitable (check the care label!), carefully stretch the stained area over a bowl or pot and slowly pour boiling water through the stain from a height. The force of the water can help to flush out the remaining wine.
5. Club Soda Alternative: If you’re not comfortable using boiling water, try blotting the stain with club soda. The carbonation can help to lift the stain.
6. White Wine Trick: Believe it or not, white wine can actually help to remove red wine stains! Pour a small amount of white wine over the stain and blot it with a clean cloth. The alcohol in the white wine can help to dissolve the red wine pigments.
7. Launder as Usual: After trying one of these methods, launder the item as usual, making sure the stain is completely gone before putting it in the dryer.
3. Grease Stains
Grease stains can be tricky because they’re oily and tend to cling to fibers. But with the right approach, you can get rid of them:
What You’ll Need:
* Baking soda or cornstarch
* Liquid dish soap
* White vinegar
* Clean cloths or paper towels
Instructions:
1. Absorb the Excess: Sprinkle a generous amount of baking soda or cornstarch onto the grease stain. These powders will absorb the excess oil. Let it sit for at least 30 minutes, or even overnight for stubborn stains.
2. Vacuum or Brush Away the Powder: Vacuum up or brush away the baking soda or cornstarch.
3. Dish Soap Power: Apply a small amount of liquid dish soap directly to the stain and gently rub it in with your fingers or a soft brush. Dish soap is designed to cut through grease, so it’s a great weapon against grease stains.
4. Rinse with Warm Water: Rinse the area thoroughly with warm water to remove the soap.
5. Vinegar Boost: If the stain persists, mix equal parts white vinegar and warm water. Apply the solution to the stain and let it sit for 10-15 minutes.
6. Final Rinse: Rinse the area one last time with warm water.
7. Launder as Usual: Launder the item as usual, making sure the stain is completely gone before putting it in the dryer.
4. Ink Stains
Ink stains can be particularly stubborn, especially if they’re from permanent markers. But don’t give up hope! Here’s what I do:
What You’ll Need:
* Rubbing alcohol
* Hairspray (alcohol-based)
* Milk
* Clean cloths or cotton balls
Instructions:
1. Rubbing Alcohol First: Apply rubbing alcohol to a clean cloth or cotton ball and gently blot the ink stain. Work from the outside of the stain inward to prevent it from spreading. Repeat this process, using a clean area of the cloth or a fresh cotton ball each time, until the ink starts to lift.
2. Hairspray Alternative: If rubbing alcohol doesn’t work, try spraying the stain with hairspray (make sure it’s alcohol-based). Let it sit for a few minutes, then blot it with a clean cloth.
3. Milk Soak (For Delicate Fabrics): For delicate fabrics, try soaking the stained area in milk for several hours or even overnight. The milk can help to break down the ink pigments.
4. Rinse and Launder: After trying one of these methods, rinse the area thoroughly with cold water and launder the item as usual.
5. Blood Stains
Blood stains can be a bit unsettling, but they’re actually quite easy to remove if you act quickly:
What You’ll Need:
* Cold water
* Hydrogen peroxide
* Salt
* Liquid dish soap
* Clean cloths or paper towels
Instructions:
1. Cold Water is Key: Immediately rinse the stained area with cold water. Never use hot water, as it will set the stain.
2. Hydrogen Peroxide Power: Apply a small amount of hydrogen peroxide (3% solution) to the stain. You’ll see it start to bubble, which means it’s working. Let it sit for a few minutes.
3. Blot with a Clean Cloth: Blot the area with a clean cloth to absorb the hydrogen peroxide and the blood.
4. Salt Paste: If the stain persists, make a paste of salt and cold water. Apply the paste to the stain and let it dry completely.
5. Brush Away the Salt: Brush away the dried salt.
6.
Conclusion
So, there you have it! Mastering these DIY stain removal tips is not just about saving money; it’s about reclaiming your favorite clothes and household items from the clutches of stubborn stains. We’ve armed you with a powerful arsenal of natural, readily available ingredients and simple techniques that can tackle everything from coffee spills to grass stains.
Why is this a must-try? Because it empowers you. No longer will you be at the mercy of expensive, chemical-laden stain removers that might not even work. You’ll have the knowledge and the tools to address stains quickly and effectively, minimizing the damage and maximizing the lifespan of your belongings. Think of the satisfaction of rescuing that beloved white shirt from a rogue splash of red wine, or restoring your child’s favorite jeans after a mud-filled adventure. This is about more than just clean clothes; it’s about confidence and control.
But don’t stop there! Experiment with these techniques and adapt them to your specific needs. For instance, if you’re dealing with a particularly stubborn grease stain, try adding a few drops of dish soap to your baking soda paste. Or, if you’re concerned about colorfastness, always test your chosen solution on an inconspicuous area of the fabric first. Consider using a soft-bristled toothbrush for gentle scrubbing on delicate materials. For older, set-in stains, you might need to repeat the treatment several times, or even combine different methods for optimal results. Remember, patience is key!
We encourage you to embrace these DIY stain removal tips and discover the magic of natural cleaning. The beauty of these methods lies in their simplicity and accessibility. You likely already have most of the ingredients in your pantry or bathroom cabinet. And the best part? You’re reducing your reliance on harsh chemicals, making your home a safer and healthier environment for you and your family.
Now, it’s your turn! Put these DIY stain removal tips to the test and see the amazing results for yourself. We’re confident that you’ll be impressed. And most importantly, we want to hear about your experiences! Share your success stories, your challenges, and any variations you’ve discovered in the comments below. Let’s build a community of stain-fighting experts and help each other keep our homes and wardrobes looking their best. Your insights could be invaluable to someone else struggling with a similar stain. So, go forth, conquer those stains, and share your wisdom! Let’s make stain removal a little less daunting and a lot more empowering, one DIY solution at a time. Remember, a little effort can go a long way in preserving your cherished items and saving you money in the long run.
Frequently Asked Questions (FAQs)
What are the most common types of stains these DIY methods can remove?
These DIY stain removal tips are effective on a wide range of common stains, including:
* **Food and Beverage Stains:** Coffee, tea, wine, juice, sauces, chocolate, grease, and oil.
* **Household Stains:** Ink, grass, mud, blood, pet stains, and mildew.
* **Cosmetic Stains:** Makeup, lipstick, and nail polish.
However, the effectiveness can vary depending on the age and severity of the stain, as well as the type of fabric. Always test in an inconspicuous area first.
Are these DIY stain removal tips safe for all types of fabrics?
While most of these methods are generally safe, it’s crucial to exercise caution and test on an inconspicuous area of the fabric before applying to the entire stain. Delicate fabrics like silk, wool, and linen may require gentler approaches. Avoid using harsh chemicals like bleach on these materials. For sensitive fabrics, consider using a diluted solution or consulting a professional cleaner. Always check the garment’s care label for specific instructions.
How do I treat a stain that has already set in?
Set-in stains can be more challenging to remove, but don’t give up hope! Here are some tips for tackling them:
* **Pre-soak:** Soak the stained item in cold water with a mild detergent or vinegar for several hours or overnight.
* **Repeat Treatments:** You may need to repeat the stain removal process multiple times.
* **Combine Methods:** Try combining different DIY methods for a more powerful approach. For example, you could pre-treat with baking soda and vinegar, then wash with a stain-fighting detergent.
* **Sunlight:** Sunlight can act as a natural bleaching agent. After treating the stain, hang the item outdoors in direct sunlight to help fade the discoloration. Be cautious with dark-colored fabrics, as sunlight can also cause fading.
* **Professional Help:** If the stain is extremely stubborn or the fabric is delicate, consider seeking professional cleaning services.
What is the best way to prevent stains from setting in?
The key to successful stain removal is to act quickly! The longer a stain sits, the harder it becomes to remove. Here are some tips for preventing stains from setting in:
* **Act Fast:** Treat the stain as soon as possible.
* **Blot, Don’t Rub:** Rubbing can spread the stain and damage the fabric. Instead, gently blot the stain with a clean cloth or paper towel.
* **Cold Water:** Use cold water to rinse most stains, as hot water can set some stains.
* **Pre-treat:** Apply a stain remover or DIY solution before washing.
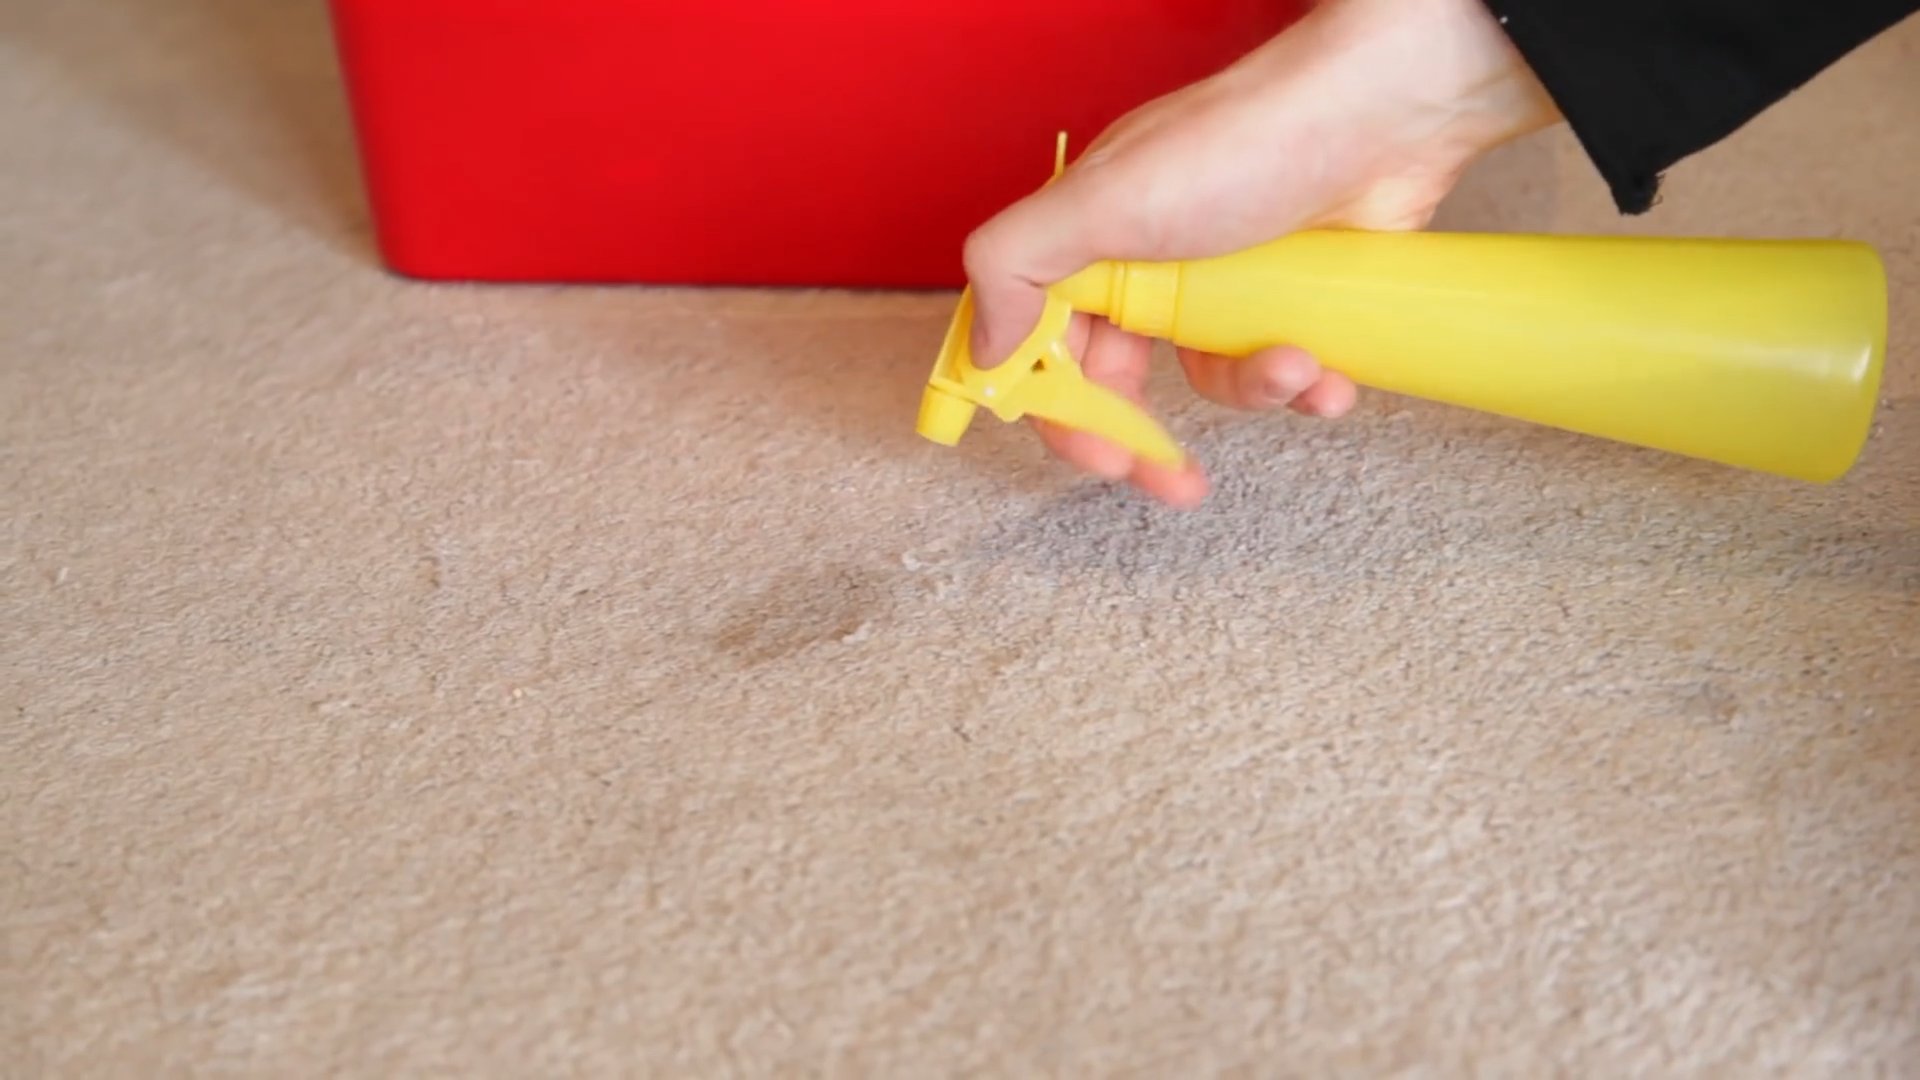
Can I use these DIY stain removal tips on upholstery and carpets?
Yes, many of these DIY methods can be used on upholstery and carpets. However, it’s even more important to test in an inconspicuous area first, as these materials can be more sensitive to cleaning solutions. Avoid over-wetting the fabric, as this can lead to mildew growth. Use a clean cloth to blot the stain and then dry the area thoroughly with a clean towel or a fan. For large or stubborn stains, consider renting a carpet cleaner or hiring a professional upholstery cleaner.
How do I make a baking soda paste for stain removal?
Making a baking soda paste is simple:
1. Combine baking soda with a small amount of water.
2. Mix until you achieve a thick, paste-like consistency.
3. Apply the paste to the stain and let it sit for 15-30 minutes before rinsing.
You can also add a few drops of lemon juice or vinegar to the paste for extra stain-fighting power.
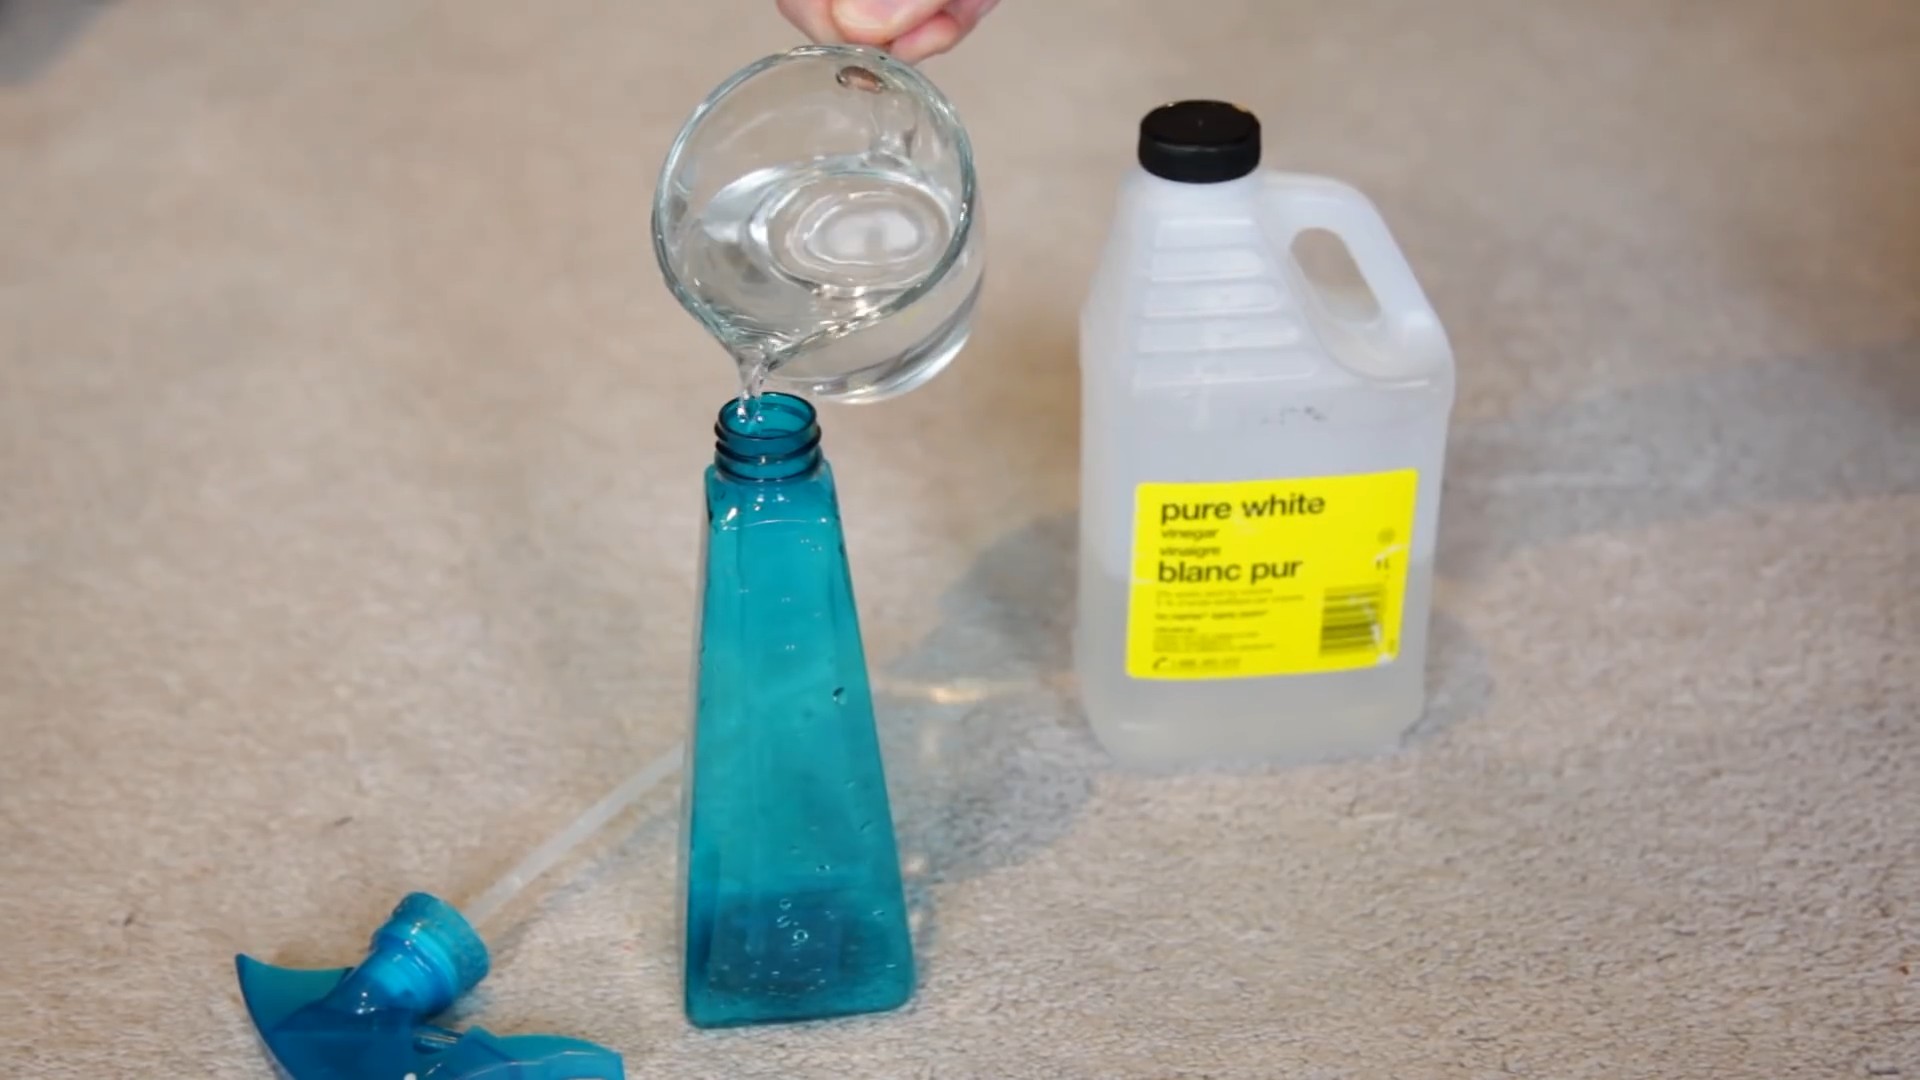
What is the role of vinegar in stain removal?
Vinegar is a versatile cleaning agent that can help remove a variety of stains. Its acidity helps to break down stains and deodorize fabrics. It’s particularly effective on stains like mildew, coffee, and tea. You can use vinegar as a pre-soak, add it to your laundry, or apply it directly to the stain. Always dilute vinegar with water before using it on delicate fabrics.
Are there any stains that these DIY methods won’t work on?
While these DIY stain removal tips are effective on many common stains, some stains may be more difficult to remove, especially if they are old or set-in. These include:
* **Permanent Ink:** Permanent ink stains are notoriously difficult to remove.
* **Some Dyes:** Certain dyes can permanently stain fabrics.
* **Severe Bleach Damage:** Bleach can permanently discolor fabrics.
In these cases, professional cleaning may be necessary.
How can I share my DIY stain removal success stories and variations?
We encourage you to share your experiences in the comments section below the article. Tell us about the stains you’ve conquered, the methods you’ve tried, and any variations you’ve discovered. Your insights can help others learn and improve their stain-fighting skills. We’re excited to hear from you!

Leave a Comment