

DIY Shower Cleaner: Are you tired of battling stubborn soap scum and mildew in your shower? I know I am! It feels like no matter how much scrubbing I do, those grimy stains just keep coming back. But what if I told you there’s a simple, effective, and budget-friendly solution hiding in your pantry?
For generations, resourceful homemakers have relied on homemade cleaning solutions, often passing down recipes from mother to daughter. While the exact origins of using vinegar and baking soda for cleaning are hard to pinpoint, the practice reflects a long-standing tradition of resourcefulness and a desire to avoid harsh chemicals. Think about it – before the age of mass-produced cleaning products, people had to rely on natural ingredients to keep their homes sparkling!
That’s where this DIY Shower Cleaner comes in. In today’s world, we’re increasingly aware of the impact harsh chemicals have on our health and the environment. Store-bought shower cleaners can be expensive and filled with ingredients we can’t even pronounce. This DIY trick not only saves you money but also allows you to control exactly what goes into cleaning your shower, ensuring a safer and healthier home for you and your family. Plus, it’s incredibly satisfying to create something effective with your own two hands. So, let’s ditch the harsh chemicals and embrace a natural, sparkling clean shower!
DIY Shower Cleaner: Sparkling Clean Without the Harsh Chemicals!
Okay, let’s face it, cleaning the shower is nobody’s favorite chore. But it’s a necessary evil, right? And those store-bought cleaners? They’re often packed with chemicals that can make your eyes water and leave you feeling like you need to evacuate the bathroom immediately. So, I’m going to share my go-to DIY shower cleaner recipe and method. It’s super effective, uses ingredients you probably already have, and won’t leave you gasping for air. Trust me, your shower (and your lungs) will thank you!
What You’ll Need: The Arsenal of Clean
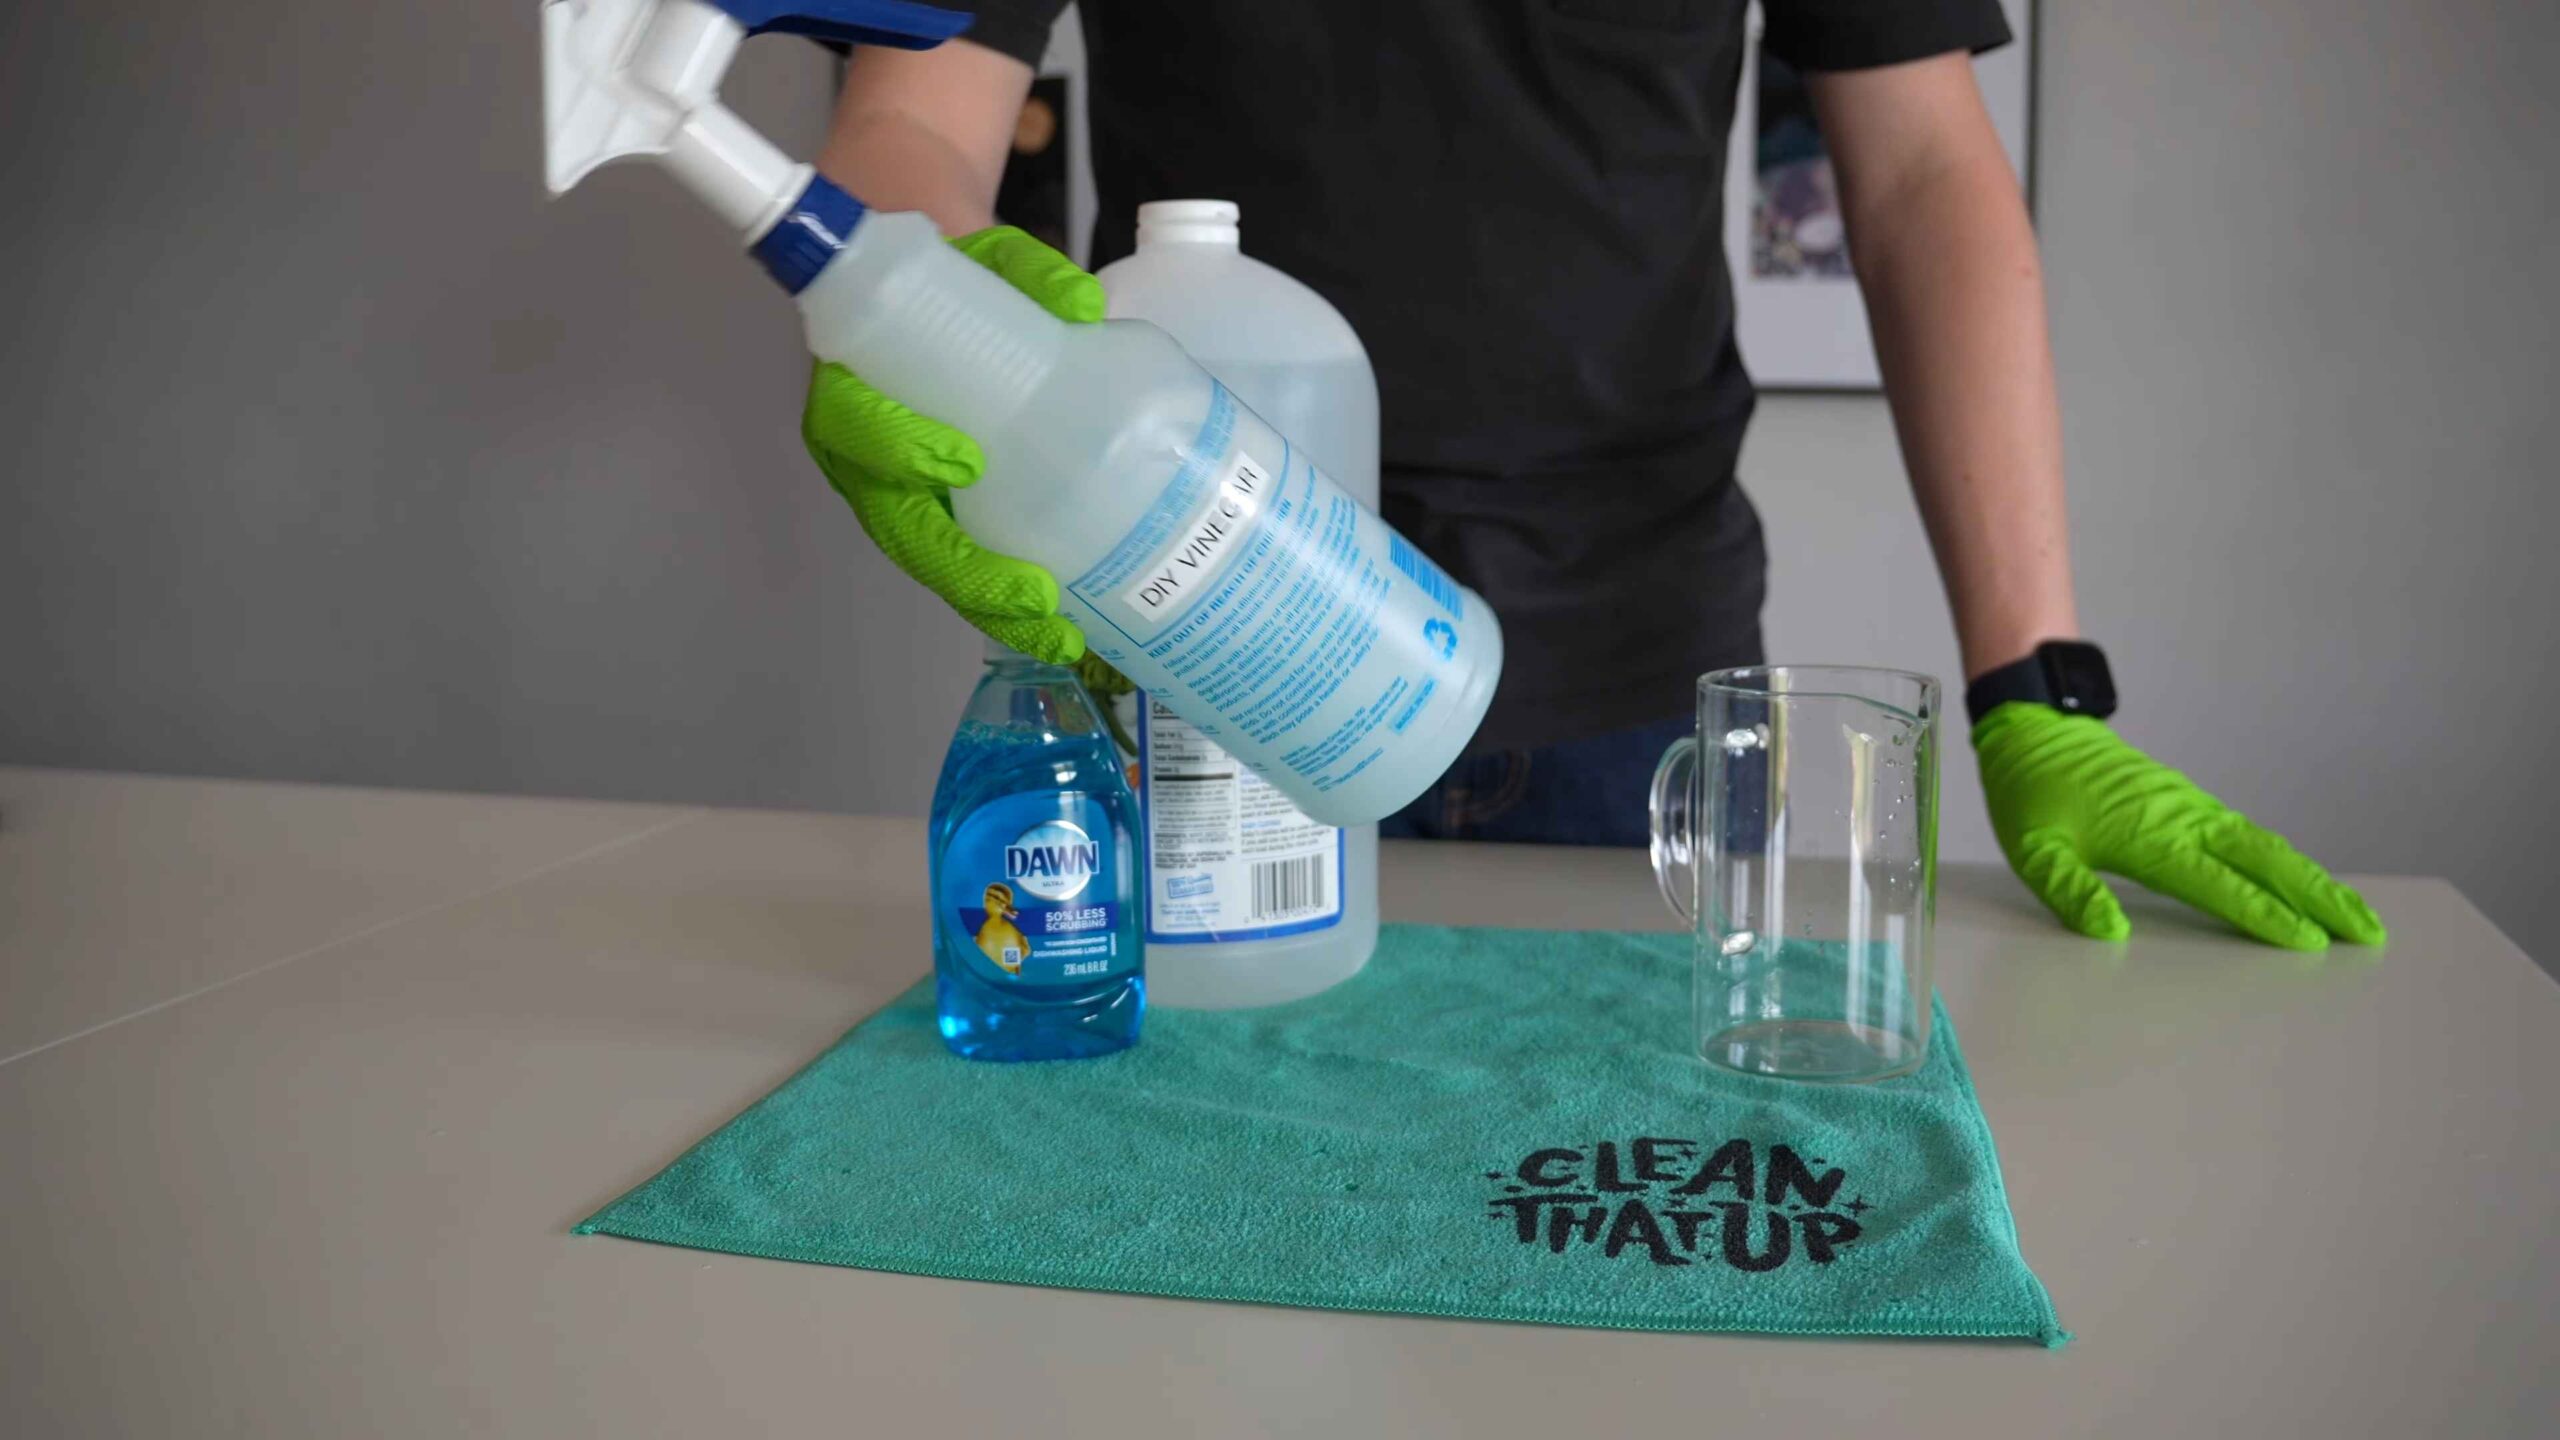
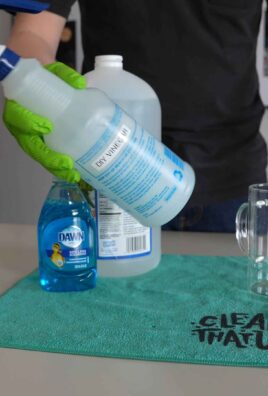
Before we dive in, let’s gather our supplies. This is a pretty simple recipe, so you won’t need anything too fancy.
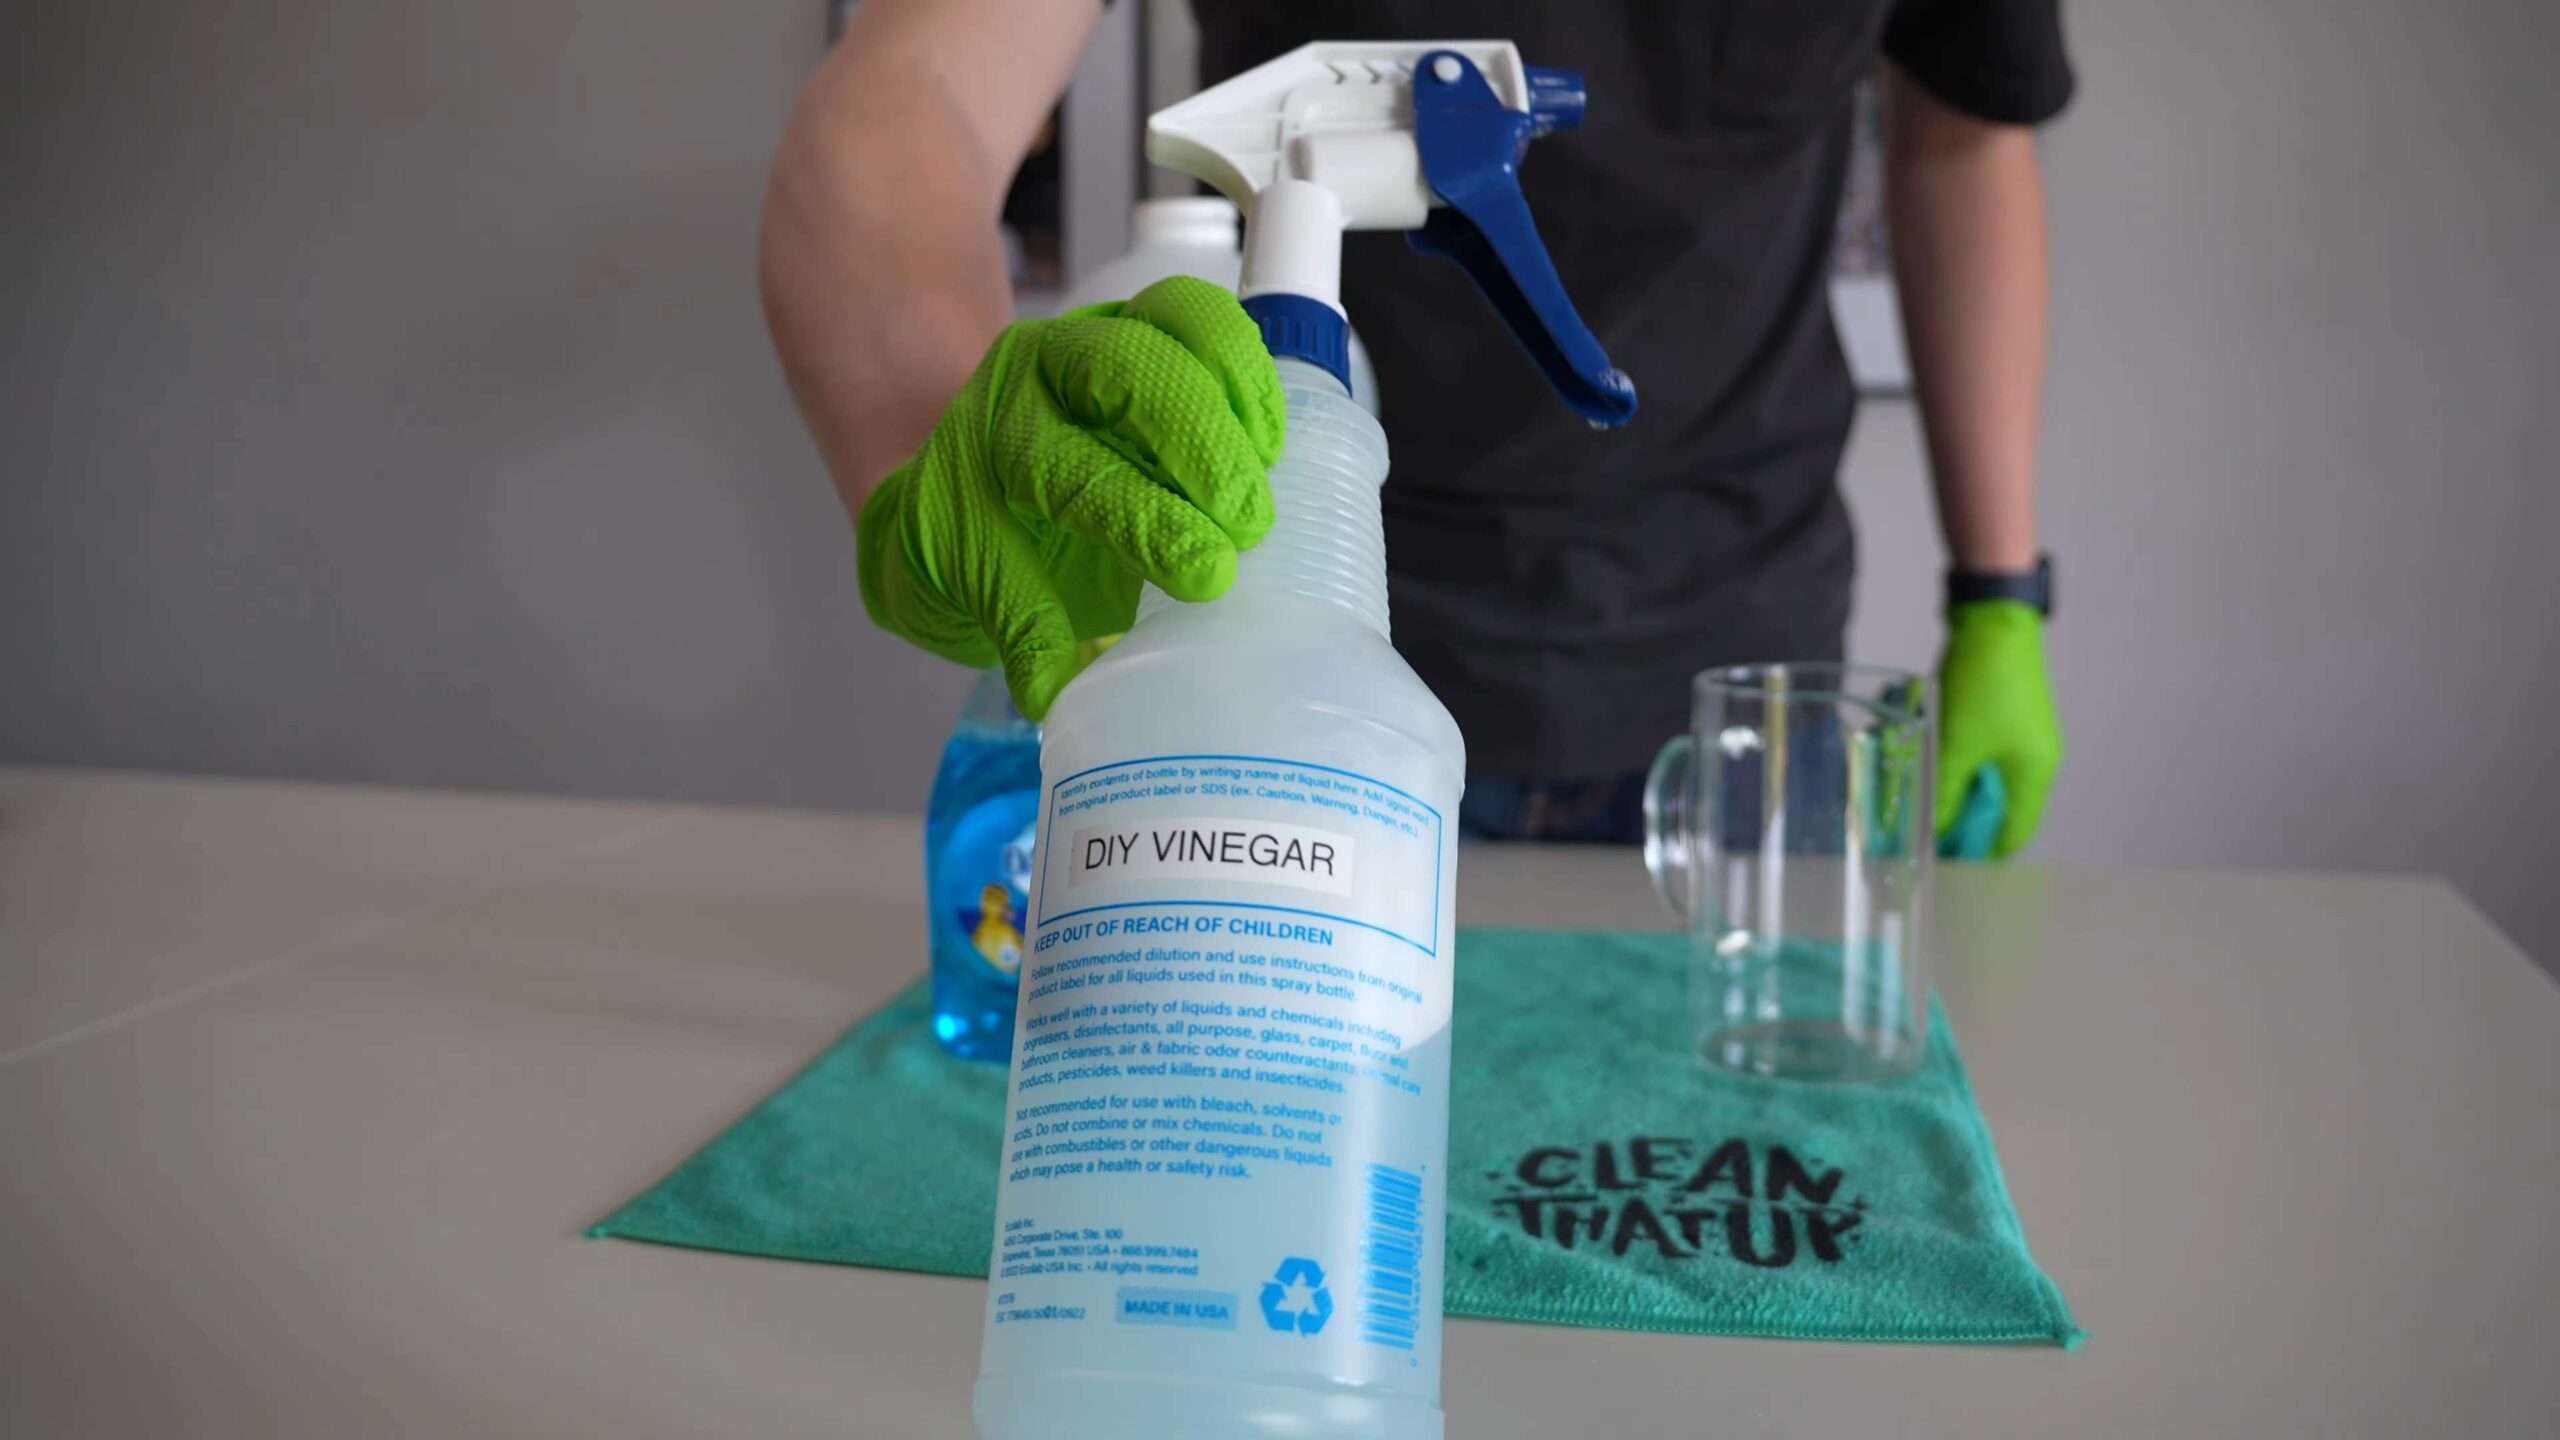
* **Spray Bottle:** A clean, empty spray bottle is essential. I prefer a sturdy one that can handle a bit of wear and tear.
* **White Vinegar:** This is the star of the show! Vinegar’s acidity helps break down soap scum and hard water stains.
* **Dish Soap:** Just a little bit of dish soap helps cut through grease and grime. I usually use Dawn, but any grease-fighting dish soap will work.
* **Baking Soda:** This is our secret weapon for tackling tough stains and adding a bit of scrubbing power.
* **Essential Oil (Optional):** If you want to add a pleasant scent, a few drops of your favorite essential oil can do the trick. Lavender, tea tree, or eucalyptus are all great choices.
* **Microfiber Cloths or Sponges:** These are perfect for wiping down surfaces without leaving streaks.
* **Scrub Brush (Optional):** For those extra stubborn areas, a scrub brush can be a lifesaver.
* **Gloves (Optional):** If you have sensitive skin, you might want to wear gloves to protect your hands.
* **Squeegee (Optional):** A squeegee is great for preventing future buildup after each shower.
The Recipe: Mixing the Magic Potion
Now for the fun part – creating our cleaning concoction!
1. **Vinegar Power:** Fill your spray bottle with equal parts white vinegar and water. I usually do about half and half, but you can adjust the ratio depending on how tough your shower stains are. For really stubborn grime, you can use straight vinegar.
2. **Dish Soap Boost:** Add a tablespoon of dish soap to the spray bottle. Be careful not to add too much, or you’ll end up with a bubbly mess.
3. **Essential Oil Enhancement (Optional):** If you’re using essential oils, add 10-15 drops to the mixture.
4. **Shake It Up:** Secure the spray bottle lid and give it a good shake to combine all the ingredients.
The Cleaning Process: Step-by-Step to a Sparkling Shower
Alright, we’ve got our cleaner, we’ve got our tools, now let’s get down to business!
1. **Pre-Spray Prep:** Before you start spraying, make sure to ventilate your bathroom. Open a window or turn on the exhaust fan to avoid any lingering vinegar smells.
2. **Spray It Down:** Generously spray the entire shower area with your vinegar mixture. Pay special attention to areas with soap scum, mildew, or hard water stains. Don’t be shy – really saturate those problem spots.
3. **Soak Time:** Let the cleaner sit for at least 15-30 minutes. This gives the vinegar time to break down the grime and make it easier to remove. For really tough stains, you can let it sit for even longer – up to an hour.
4. **Baking Soda Scrub (For Stubborn Stains):** If you have any particularly stubborn stains, sprinkle a bit of baking soda onto a damp sponge or cloth and gently scrub the affected area. The baking soda acts as a mild abrasive to help lift the grime.
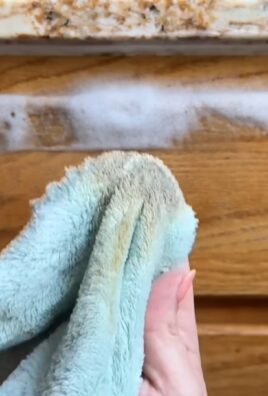
5. **Scrub-a-Dub-Dub:** Using your microfiber cloth, sponge, or scrub brush, scrub all the surfaces of your shower. Pay attention to the walls, floor, shower door, and fixtures.
6. **Rinse and Repeat (If Necessary):** Rinse the entire shower area thoroughly with warm water. If you still see any lingering stains, repeat steps 2-5.
7. **Dry and Shine:** Once you’re satisfied with the cleanliness of your shower, dry all the surfaces with a clean microfiber cloth. This will help prevent water spots and leave your shower looking sparkling clean.
8. **Squeegee for Success (Optional):** After each shower, use a squeegee to remove excess water from the walls and shower door. This will help prevent soap scum and hard water buildup, making your next cleaning session much easier.
Tackling Specific Shower Issues: A Deeper Dive
Sometimes, you’ll encounter specific shower issues that require a little extra attention. Here’s how to deal with some common problems:
Dealing with Mildew and Mold
Mildew and mold are common shower problems, especially in humid environments. Here’s how to tackle them with our DIY cleaner:
1. **Identify the Problem Areas:** Carefully inspect your shower for any signs of mildew or mold. Look for black or green spots, especially in grout lines and corners.
2. **Vinegar Power-Up:** For mildew and mold, use straight white vinegar in your spray bottle. No need to dilute it with water.
3. **Saturate and Soak:** Generously spray the affected areas with vinegar and let it sit for at least an hour. For severe cases, you can let it sit overnight.
4. **Scrub with Vigor:** Use a scrub brush to thoroughly scrub the mildew or mold. You may need to apply some elbow grease to remove it completely.
5. **Rinse and Repeat (If Necessary):** Rinse the area with warm water and repeat the process if necessary.
6. **Prevention is Key:** To prevent future mildew and mold growth, make sure to ventilate your bathroom well and dry the shower surfaces after each use. You can also spray the shower with vinegar once a week as a preventative measure.
Conquering Hard Water Stains
Hard water stains are those unsightly white or chalky deposits that can build up on your shower surfaces. Here’s how to get rid of them:
1. **Vinegar Soak:** Spray the affected areas with undiluted white vinegar and let it sit for at least an hour. For really tough stains, you can soak a paper towel in vinegar and apply it directly to the stain.
2. **Baking Soda Paste:** Make a paste of baking soda and water. Apply the paste to the hard water stains and let it sit for about 15 minutes.
3. **Scrub and Rinse:** Use a scrub brush or sponge to scrub the stains. The baking soda will act as a mild abrasive to help lift the deposits. Rinse thoroughly with warm water.
4. **Lemon Juice Boost (Optional):** For extra cleaning power, you can add a squeeze of lemon juice to the vinegar. The citric acid in lemon juice helps break down hard water stains.
5. **Preventative Measures:** To prevent future hard water buildup, consider installing a water softener or using a showerhead filter. You can also wipe down your shower surfaces after each use to remove excess water.
Cleaning Shower Doors and Glass
Shower doors and glass can be particularly prone to soap scum and water spots. Here’s how to keep them sparkling clean:
1. **Vinegar Spray:** Spray the shower door or glass with your vinegar mixture.
2. **Wipe and Squeegee:** Wipe the surface with a microfiber cloth and then use a squeegee to remove excess water.
3. **Lemon Oil Polish (Optional):** For extra shine, you can apply a small amount of lemon oil to a clean cloth and polish the glass.
4. **Regular Maintenance:** To prevent buildup, wipe down your shower door or glass after each use with a squeegee or microfiber cloth.
Tips and Tricks for Shower Cleaning Success
Here are a few extra tips and tricks to help you achieve shower cleaning success:
* **Frequency is Key:** The more often you clean your shower, the easier it will be to maintain. Aim to clean your shower at least once a week.
* **Ventilation is Vital:** Always ventilate your bathroom well when cleaning to avoid any lingering odors or fumes.
* **Don’t Be Afraid to Experiment:** Feel free to adjust the recipe and cleaning method to suit your specific needs and preferences.
* **Safety First:** Always test your cleaner in an inconspicuous area before applying it to the entire shower.
* **Enjoy the Results:** Once you’re finished cleaning, take a moment to admire your sparkling clean shower!
So there you have it! My tried-and-true DIY shower cleaner recipe and method. It’s simple, effective, and won’t break the bank. Plus, you can feel good knowing that you’re using natural ingredients that are safe for your family and the environment. Happy cleaning!
Conclusion
So, there you have it! This DIY shower cleaner isn’t just another recipe; it’s a game-changer for anyone tired of battling stubborn soap scum, mildew, and hard water stains with harsh chemicals. We’ve walked you through a simple, effective, and budget-friendly method to create a sparkling clean shower using ingredients you likely already have in your pantry.
Why is this DIY trick a must-try? Because it’s powerful, safe, and customizable. Commercial shower cleaners are often packed with ingredients that can irritate your skin, harm the environment, and leave behind lingering fumes. Our DIY version harnesses the natural cleaning power of vinegar and baking soda, creating a potent fizzing action that lifts away grime without the need for harsh chemicals. Plus, you control exactly what goes into it, making it a safer option for your family and pets.
But the benefits don’t stop there. This DIY shower cleaner is incredibly cost-effective. A bottle of commercial shower cleaner can easily set you back several dollars, while the ingredients for our homemade version cost pennies per application. Over time, the savings can really add up!
Looking for variations? Absolutely! For an extra boost of cleaning power, add a few drops of tea tree oil or eucalyptus oil. These essential oils not only have antiseptic and antifungal properties, but they also leave your shower smelling fresh and clean. If you prefer a creamier consistency, add a tablespoon of dish soap to the mixture. This will help the cleaner cling to surfaces, giving it more time to work its magic. For those with particularly stubborn stains, pre-treating the area with a paste of baking soda and water can work wonders. Let the paste sit for 15-20 minutes before applying the DIY shower cleaner.
Consider adding a citrus scent by infusing your vinegar with lemon or orange peels for a week or two before using it in the recipe. This will not only add a pleasant fragrance but also boost the cleaning power, as citrus oils are natural degreasers. Another variation is to use a spray bottle instead of a sponge. This is especially useful for cleaning shower doors and walls, as it allows you to apply the cleaner evenly and efficiently.
We are confident that once you try this DIY shower cleaner, you’ll never go back to store-bought versions. It’s effective, affordable, and environmentally friendly – a winning combination!
Now, it’s your turn. We encourage you to give this DIY shower cleaner a try and experience the difference for yourself. Don’t be afraid to experiment with different variations and find what works best for your shower. And most importantly, share your experience with us! Let us know in the comments below how this DIY shower cleaner worked for you, what variations you tried, and any tips or tricks you discovered along the way. Your feedback will help other readers and inspire them to ditch the harsh chemicals and embrace the power of DIY cleaning. We can’t wait to hear your success stories!
Frequently Asked Questions (FAQ)
1. What exactly is this DIY shower cleaner made of?
This DIY shower cleaner primarily uses two key ingredients: white vinegar and baking soda. The combination of these two creates a fizzing action that helps to loosen and lift away dirt, grime, soap scum, and hard water stains. You can also add essential oils for fragrance and enhanced cleaning properties. Some variations include dish soap for a creamier consistency and citrus peels for a natural degreasing boost.
2. Is this DIY shower cleaner safe to use on all shower surfaces?
While vinegar is generally safe, it’s best to test it on a small, inconspicuous area first, especially on natural stone surfaces like marble or granite. Vinegar can etch these surfaces over time. For these types of showers, consider using a milder cleaner, such as a baking soda paste or a diluted solution of dish soap and water. Always rinse thoroughly after cleaning, regardless of the surface. For acrylic or fiberglass showers, this DIY shower cleaner is generally safe and effective.
3. How often should I use this DIY shower cleaner?
The frequency of cleaning depends on how often you use your shower and how quickly it gets dirty. For most households, cleaning the shower once a week is sufficient to prevent the buildup of soap scum and mildew. However, if you have hard water or a lot of shower users, you may need to clean it more frequently, perhaps every few days. Regular cleaning will make the job easier and prevent stubborn stains from forming.
4. Can I store the leftover DIY shower cleaner?
It’s best to use the DIY shower cleaner immediately after mixing, as the fizzing action is most effective when the baking soda and vinegar are freshly combined. If you do have leftover cleaner, store it in a well-ventilated container, such as a spray bottle with a loose lid, to allow any excess gas to escape. However, keep in mind that the cleaning power will diminish over time. It’s generally recommended to make a fresh batch each time you clean your shower.
5. What if I don’t have vinegar or baking soda? Are there any alternatives?
While vinegar and baking soda are the most effective and readily available ingredients for this DIY shower cleaner, there are some alternatives you can try. For vinegar, you can use lemon juice, which has similar acidic properties. For baking soda, you can use borax, which is a natural mineral with cleaning and deodorizing properties. However, borax is more alkaline than baking soda, so use it sparingly and with caution. Always wear gloves when handling borax.
6. The DIY shower cleaner didn’t completely remove all the stains. What should I do?
For stubborn stains, you may need to pre-treat the area with a paste of baking soda and water. Apply the paste to the stain, let it sit for 15-20 minutes, and then scrub with a brush or sponge. You can also try using a stronger concentration of vinegar in your DIY shower cleaner. For particularly tough stains, consider using a commercial mildew remover, but always follow the manufacturer’s instructions and wear appropriate safety gear.
7. My shower smells like vinegar after using the DIY cleaner. How can I get rid of the smell?
The vinegar smell will dissipate quickly after cleaning. To speed up the process, you can open a window or turn on the exhaust fan to ventilate the bathroom. You can also add essential oils to your DIY shower cleaner to mask the vinegar smell. Lemon, orange, tea tree, and eucalyptus oils are all good options. Another trick is to place a bowl of baking soda in the shower after cleaning to absorb any lingering odors.
8. Can I use this DIY shower cleaner on glass shower doors?
Yes, this DIY shower cleaner is safe and effective for cleaning glass shower doors. The vinegar helps to dissolve hard water stains and soap scum, leaving the glass sparkling clean. For best results, spray the cleaner onto the glass, let it sit for a few minutes, and then wipe it clean with a microfiber cloth or squeegee.
9. Is this DIY shower cleaner safe for septic systems?
Yes, this DIY shower cleaner is generally safe for septic systems. Vinegar and baking soda are both natural substances that won’t harm the bacteria in your septic tank. However, it’s always a good idea to use cleaning products sparingly, regardless of whether they are commercial or homemade. Avoid pouring large amounts of any cleaning product down the drain at once.
10. Can I add bleach to this DIY shower cleaner for extra cleaning power?
No, never mix vinegar and bleach! This combination creates toxic chlorine gas, which can be harmful or even fatal. It’s important to use cleaning products safely and avoid mixing chemicals that can react with each other. If you need a stronger cleaner, consider using a commercial mildew remover specifically designed for showers, but always follow the manufacturer’s instructions and wear appropriate safety gear.
Leave a Comment