

Growing Basil for Beginners can seem daunting, but trust me, it’s easier than you think! Have you ever dreamed of stepping into your backyard and snipping fresh, fragrant basil leaves to elevate your pasta sauce or brighten up a summer salad? Imagine the burst of flavor, the satisfaction of knowing you grew it yourself, and the money you’ll save by skipping those wilted bunches at the grocery store. That’s the magic of home gardening, and basil is the perfect place to start.
Basil’s history stretches back thousands of years, with roots in ancient India, where it was revered as a sacred herb. It then spread throughout the Mediterranean and beyond, becoming a staple in cuisines worldwide. For centuries, basil has been more than just a culinary delight; it’s been associated with good luck, love, and even protection.
But why should you learn about growing basil for beginners? Well, beyond the delicious taste and rich history, growing your own basil is incredibly rewarding. It’s a fantastic way to connect with nature, reduce your carbon footprint, and enjoy fresh, healthy ingredients right at your fingertips. Plus, with a few simple tricks and DIY hacks, you can easily cultivate a thriving basil plant, even if you have limited space or gardening experience. I’m here to guide you through the process, making it fun, accessible, and ultimately, successful!
Growing Basil: A Beginner’s Guide to a Bountiful Harvest
Hey there, fellow plant enthusiasts! I’m so excited you’re diving into the wonderful world of growing basil. It’s honestly one of the most rewarding herbs to cultivate – not only is it incredibly versatile in the kitchen, but the aroma alone is enough to brighten any day. This guide is designed to walk you through every step, from choosing the right variety to harvesting your fragrant leaves. Let’s get started!
Choosing Your Basil Variety
Basil isn’t just basil! There’s a whole world of flavors and aromas to explore. Here are a few popular varieties to consider:
* Sweet Basil: This is your classic Italian basil, perfect for pesto, tomato sauces, and salads. It’s the most common and readily available variety.
* Genovese Basil: Similar to sweet basil but with a slightly more intense flavor. Many consider it the gold standard for pesto.
* Thai Basil: With its anise-like flavor, Thai basil is a staple in Southeast Asian cuisine. It has slightly smaller, pointed leaves and purple stems.
* Lemon Basil: As the name suggests, this basil has a distinct lemon aroma and flavor, making it great for teas, fish dishes, and desserts.
* Purple Basil: Adds a beautiful visual element to your garden and dishes. The flavor is similar to sweet basil but with a slightly spicier note.
I recommend starting with sweet basil or Genovese basil if you’re a beginner. They’re easy to grow and incredibly versatile.
Getting Started: Planting Your Basil
You have two main options for starting your basil: from seed or from a seedling (a small, already-started plant). I’ll cover both:
Starting from Seed
This is the most economical option, and it allows you to choose from a wider variety of basil types.
1. Gather Your Supplies: You’ll need basil seeds, seed starting trays or small pots, seed starting mix (a light, sterile soil mix), a spray bottle, and a warm, sunny location or a grow light.
2. Sow the Seeds: Fill your seed starting trays or pots with seed starting mix. Moisten the soil gently with your spray bottle. Sprinkle a few basil seeds on top of the soil in each cell or pot. Gently press the seeds into the soil – they don’t need to be buried too deep, just lightly covered.
3. Provide Warmth and Moisture: Basil seeds need warmth to germinate. Aim for a temperature between 70-80°F (21-27°C). You can use a heat mat under your seed starting trays to help maintain the temperature. Keep the soil consistently moist, but not soggy. Use your spray bottle to mist the soil regularly.
4. Wait for Germination: Basil seeds typically germinate within 5-10 days. Once the seedlings emerge, provide them with plenty of light. If you’re using a grow light, position it a few inches above the seedlings.
5. Thin the Seedlings: Once the seedlings have a couple of sets of true leaves (the leaves that look like miniature basil leaves, not the initial seed leaves), thin them out so that only one strong seedling remains in each cell or pot. Use small scissors to snip off the weaker seedlings at the soil level.
Starting from Seedlings
This is a faster and easier option, especially if you’re short on time or don’t have the ideal conditions for seed starting.
1. Choose Healthy Seedlings: Look for seedlings that are vibrant green, have sturdy stems, and show no signs of disease or pests. Avoid seedlings that are leggy (tall and spindly) or have yellowing leaves.
2. Prepare Your Planting Location: Whether you’re planting in a container or in the ground, make sure the soil is well-draining and rich in organic matter. Amend the soil with compost or aged manure if needed.
3. Gently Remove the Seedlings: Carefully remove the seedlings from their containers, being gentle with the roots. If the roots are tightly packed, gently loosen them with your fingers.
4. Plant the Seedlings: Dig a hole that’s slightly larger than the root ball of the seedling. Place the seedling in the hole and backfill with soil, gently firming it around the base of the plant.
5. Water Thoroughly: Water the seedlings thoroughly after planting to help them settle in.
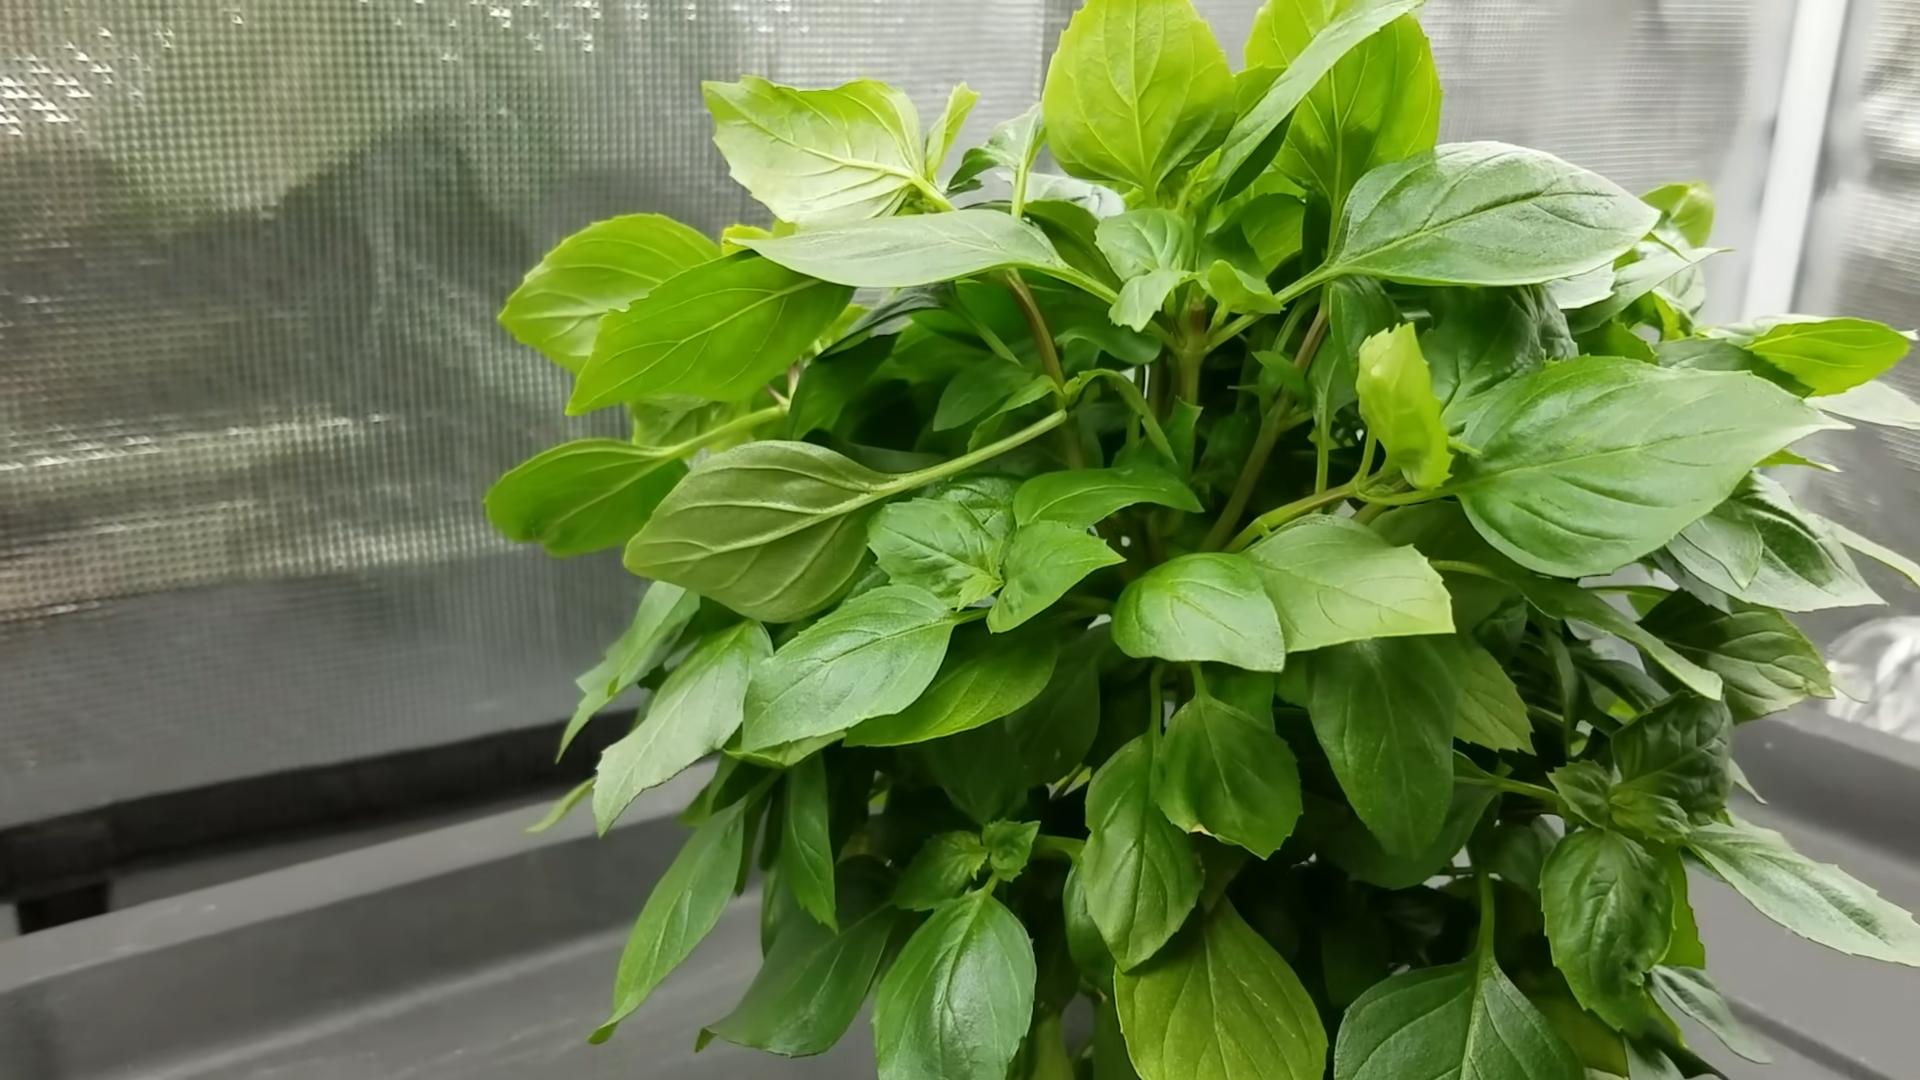
Caring for Your Basil Plants
Once your basil plants are established, here’s how to keep them thriving:
* Sunlight: Basil loves sunshine! Aim for at least 6-8 hours of direct sunlight per day. If you’re growing basil indoors, place it near a sunny window or use a grow light.
* Watering: Water your basil plants regularly, especially during hot weather. The soil should be consistently moist, but not waterlogged. Check the soil moisture by sticking your finger into the soil – if the top inch feels dry, it’s time to water.
* Fertilizing: Basil benefits from regular fertilization. Use a balanced liquid fertilizer every 2-3 weeks, following the instructions on the label. You can also amend the soil with compost or aged manure to provide a slow-release source of nutrients.
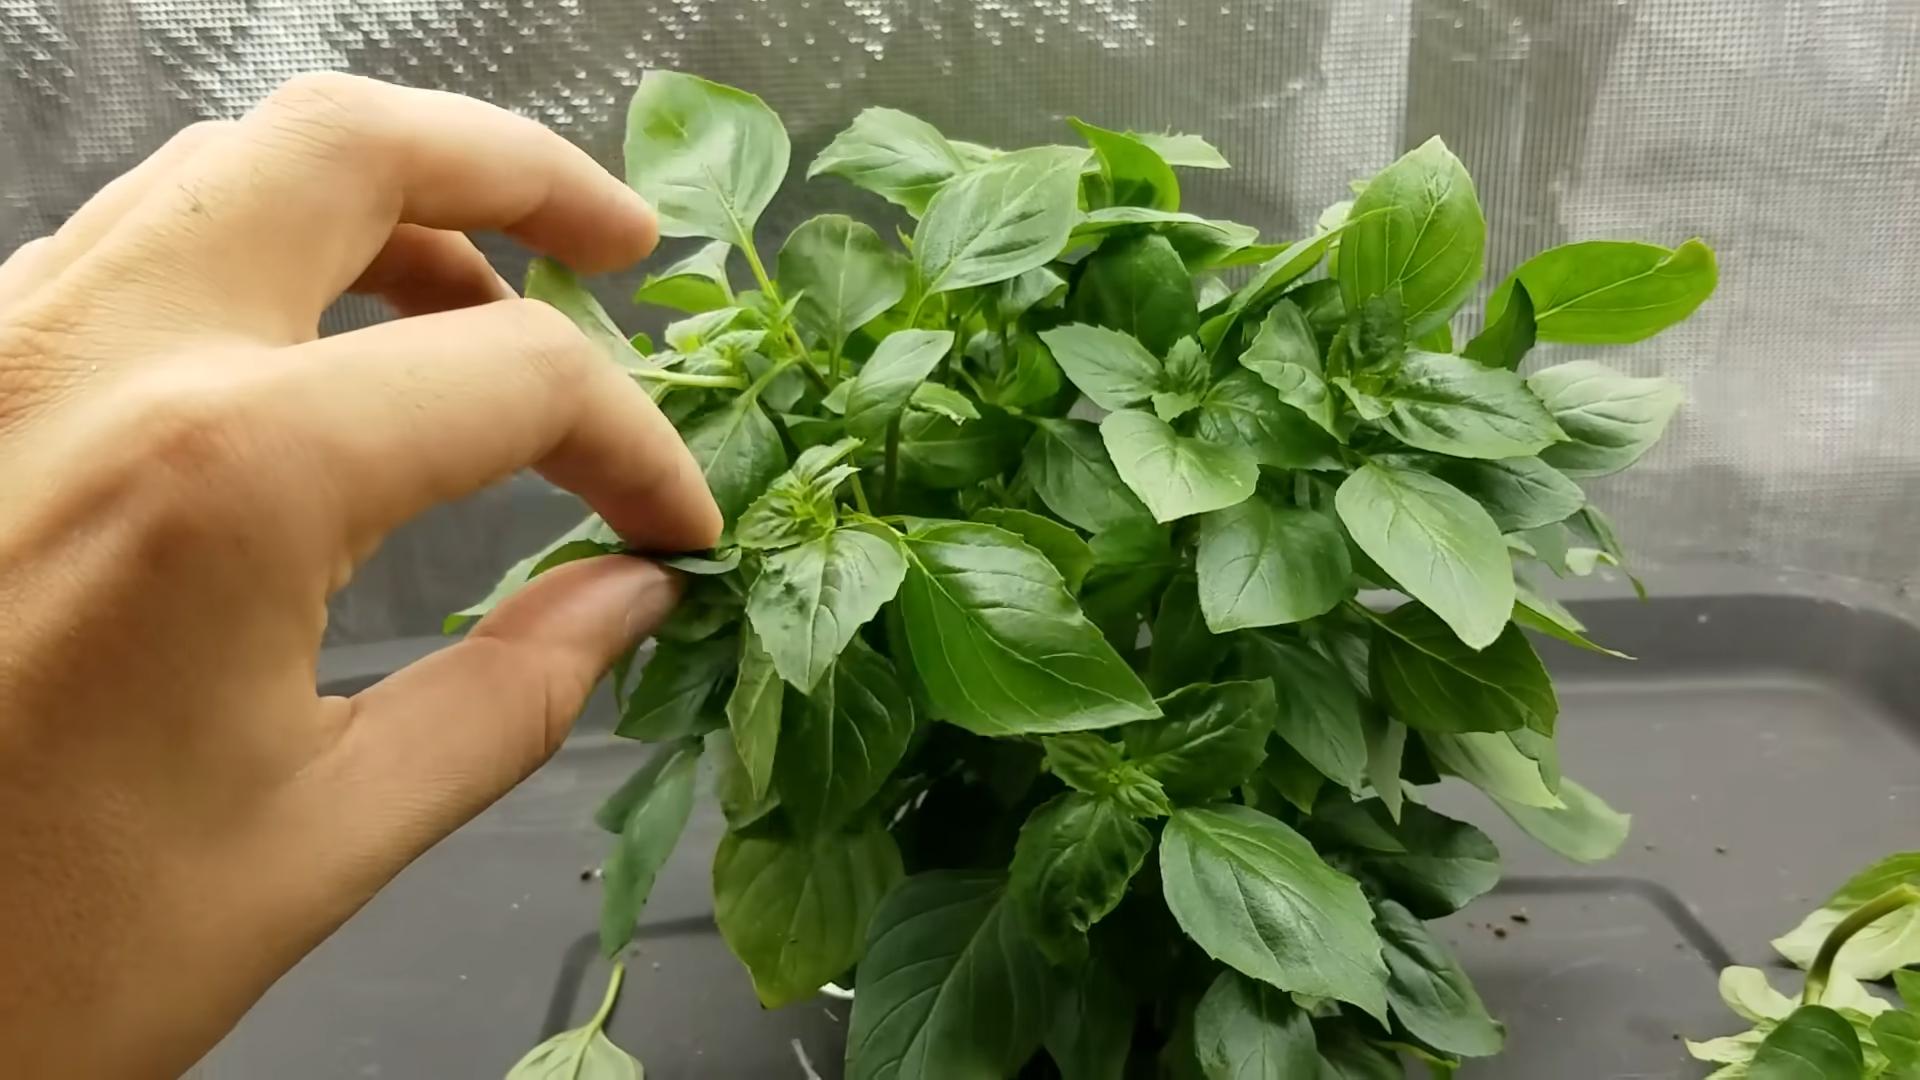
* Pinching and Pruning: This is crucial for encouraging bushy growth and preventing your basil plants from flowering too early. When the plants are about 6 inches tall, pinch off the top set of leaves just above a leaf node (the point where leaves emerge from the stem). This will encourage the plant to branch out and produce more leaves. Continue pinching and pruning throughout the growing season.
* Preventing Flowering: Basil plants will eventually flower, which signals the end of their productive life. To prolong the harvest, pinch off any flower buds as soon as you see them. Once the plant flowers, the leaves will become bitter.
* Pest and Disease Control: Basil is generally pest-resistant, but it can be susceptible to aphids, spider mites, and Japanese beetles. Inspect your plants regularly for signs of pests and take action promptly. You can often control pests with a strong spray of water or by using insecticidal soap. Basil can also be susceptible to fungal diseases, especially in humid conditions. Ensure good air circulation around your plants and avoid overwatering.
Harvesting Your Basil
Harvesting basil is easy and rewarding!
1. When to Harvest: You can start harvesting basil leaves as soon as the plants are about 6 inches tall. The best time to harvest is in the morning, after the dew has dried but before the sun gets too hot.
2. How to Harvest: Use scissors or pruning shears to cut the stems just above a leaf node. This will encourage the plant to branch out and produce more leaves. You can harvest individual leaves or entire stems.
3. Regular Harvesting: The more you harvest, the more your basil plants will produce! Don’t be afraid to cut them back regularly.
4. Storing Your Basil: Freshly harvested basil is best used immediately. However, you can store it in the refrigerator for a few days. Wrap the basil leaves in a damp paper towel and place them in a plastic bag or container. You can also freeze basil leaves for longer storage. Blanch the leaves in boiling water for a few seconds, then plunge them into ice water. Drain the leaves and pat them dry, then freeze them in a single layer on a baking sheet. Once frozen, transfer the leaves to a freezer bag or container. Another great option is to make pesto and freeze it in ice cube trays for easy portioning.
Troubleshooting Common Basil Problems
Even with the best care, you might encounter some challenges. Here are a few common problems and how to address them:
* Yellowing Leaves: This can be caused by overwatering, underwatering, nutrient deficiencies, or pests. Check the soil moisture and adjust your watering accordingly. Fertilize your plants regularly. Inspect for pests and take action if needed.
* Leggy Growth: This is usually caused by insufficient sunlight. Move your basil plants to a sunnier location or use a grow light. Pinch back the stems to encourage bushier growth.
* Bitter Leaves: This is usually a sign that the plant is flowering. Pinch off any flower buds as soon as you see them.
* Downy Mildew: This fungal disease can cause yellow spots on the leaves, followed by a grayish-purple fuzz on the underside of the leaves. Ensure good air circulation around your plants and avoid overhead watering. Remove and destroy any infected leaves. Consider using a fungicide if the problem is severe.
Enjoying Your Homegrown Basil
Now for the best part – using your homegrown basil! Here are just a few ideas:
* Pesto: The classic basil sauce, perfect for pasta, sandwiches, and dips.
* Tomato Sauce: Add fresh basil to your favorite tomato sauce for a burst of flavor.
* Salads: Sprinkle fresh basil leaves on salads for a refreshing touch.
* Pizza: Top your homemade pizza with fresh basil after baking.
*
Conclusion
So, there you have it! Mastering the art of growing basil from cuttings is not just a fun experiment; it’s a game-changer for any home cook or gardening enthusiast. Why spend money on those sad, wilted bunches at the grocery store when you can have a thriving supply of fresh, fragrant basil right at your fingertips? This DIY trick is a must-try because it’s incredibly cost-effective, environmentally friendly (reducing waste!), and surprisingly simple. Plus, there’s a unique satisfaction in nurturing a plant from a simple cutting to a flourishing herb.
Think about the possibilities! Imagine adding a handful of freshly harvested basil to your homemade pesto, sprinkling it over a Caprese salad bursting with flavor, or infusing your olive oil with its aromatic essence. The difference between store-bought and homegrown basil is truly remarkable – the taste is brighter, the aroma is more intense, and the leaves are far more vibrant.
But don’t stop there! Once you’ve mastered the basic technique, experiment with different varieties of basil. Try growing Thai basil for your stir-fries, lemon basil for a refreshing twist in your iced tea, or purple basil for a visually stunning addition to your garden and your plate. You can even try propagating basil in different mediums, such as perlite or vermiculite, to see which method works best for you. Consider using rooting hormone for even faster and more reliable results, especially with more challenging basil varieties.
Beyond culinary uses, consider the ornamental value of basil. A pot of lush, green basil adds a touch of beauty to any windowsill or balcony. You can even incorporate basil into your flower arrangements for a fragrant and unexpected element.
We are confident that you will find success with this method of growing basil. It’s a rewarding experience that connects you to the natural world and provides you with a constant supply of fresh herbs.
Don’t be intimidated if you’ve never propagated plants before. This is a great starting point, and the results are well worth the effort. Remember to provide your cuttings with plenty of light, fresh water, and a little bit of patience.
We encourage you to give this DIY trick a try and share your experience with us! Post photos of your basil cuttings on social media using #HomegrownBasil and tag us so we can see your progress. Let us know what varieties you’re growing, what challenges you’ve encountered, and what delicious dishes you’re creating with your homegrown basil. Your tips and insights could help other aspiring gardeners discover the joy of growing their own herbs. We are excited to see your success with growing basil!
Frequently Asked Questions (FAQ)
What kind of basil is best for growing from cuttings?
Most common basil varieties, such as Genovese basil (the standard Italian basil), Thai basil, lemon basil, and purple basil, are relatively easy to propagate from cuttings. Genovese basil is often the easiest for beginners. However, some less common or hybrid varieties might be more challenging. Experiment to see what works best for you!
How long does it take for basil cuttings to root?
Typically, basil cuttings will start to develop roots within 7-14 days. You’ll notice small white roots emerging from the stem. The speed of rooting can depend on factors like temperature, light, and the specific basil variety. Warmer temperatures and bright, indirect light will generally encourage faster root growth.
What is the best way to prepare basil cuttings for rooting?
To prepare basil cuttings, select healthy stems that are about 4-6 inches long. Remove the leaves from the bottom 1-2 inches of the stem, as these leaves will rot if submerged in water. Leaving a few leaves at the top of the stem will help the cutting photosynthesize and develop roots. Make a clean cut just below a node (the point where leaves grow from the stem).
Can I use rooting hormone to help basil cuttings root faster?
Yes, using rooting hormone can significantly increase the success rate and speed up the rooting process, especially for more challenging basil varieties. Dip the cut end of the stem in rooting hormone powder or liquid before placing it in water. Follow the instructions on the rooting hormone packaging.
What type of water should I use for rooting basil cuttings?
Tap water is generally fine for rooting basil cuttings, but it’s best to let it sit out for 24 hours to allow any chlorine to dissipate. Alternatively, you can use filtered or distilled water. Avoid using softened water, as it can contain high levels of sodium, which can inhibit root growth.
How often should I change the water for basil cuttings?
Change the water every 1-2 days to keep it fresh and prevent the growth of bacteria or algae. This will also ensure that the cuttings have access to oxygen, which is essential for root development.
What kind of light do basil cuttings need?
Basil cuttings need bright, indirect light to thrive. Avoid placing them in direct sunlight, as this can scorch the leaves. A windowsill that receives morning sun or a spot under a grow light is ideal.
When should I transplant rooted basil cuttings into soil?
Once the roots are about 1-2 inches long, the basil cuttings are ready to be transplanted into soil. Choose a well-draining potting mix and a pot that is large enough to accommodate the roots. Gently remove the cutting from the water and plant it in the soil, being careful not to damage the roots.
What kind of soil is best for growing basil?
Basil prefers well-draining soil that is rich in organic matter. A good potting mix for basil should contain a blend of peat moss, perlite, and vermiculite. You can also amend your soil with compost or other organic matter to improve its fertility and drainage.
How often should I water basil plants?
Water basil plants regularly, keeping the soil consistently moist but not waterlogged. Allow the top inch of soil to dry out slightly between waterings. Overwatering can lead to root rot, so it’s important to ensure that the pot has good drainage.
How do I prevent basil from flowering?
Pinch off the flower buds as soon as you see them. Flowering signals to the plant that it’s time to stop producing leaves and focus on seed production. Removing the flower buds will encourage the plant to continue producing new leaves.
What are some common problems when growing basil from cuttings?
Some common problems include root rot (due to overwatering), fungal diseases (due to poor air circulation), and pests (such as aphids or spider mites). To prevent these problems, ensure that your basil cuttings have good drainage, adequate air circulation, and are protected from pests.
Can I grow basil cuttings indoors year-round?
Yes, you can grow basil cuttings indoors year-round, provided that you provide them with adequate light, water, and nutrients. Use a grow light if necessary to supplement natural light, especially during the winter months.
Is growing basil from cuttings better than growing from seed?
Both methods have their advantages. Growing from cuttings is faster and allows you to replicate a specific basil variety. Growing from seed is more cost-effective and allows you to grow a larger number of plants. The best method depends on your individual needs and preferences.
Leave a Comment