

Lettuce Bowl from Seed: Imagine fresh, crisp lettuce, grown right outside your door, ready to be harvested whenever you crave a healthy salad. Sounds dreamy, right? Well, it’s more achievable than you think! For centuries, cultivating your own food has been a cornerstone of self-sufficiency and a connection to the earth. From ancient Roman kitchen gardens to the victory gardens of wartime, growing your own produce has always been a way to ensure fresh, healthy food is available.
But let’s face it, not everyone has acres of land or the time for extensive gardening. That’s where the magic of container gardening comes in! And specifically, growing a lettuce bowl from seed is a fantastic way to enjoy homegrown greens, even if you only have a small balcony or patio. I’m going to show you some simple, effective DIY tricks and hacks that will have you harvesting delicious lettuce in no time.
Why do you need this DIY trick? Because store-bought lettuce can be expensive, and often lacks the freshness and flavor of homegrown varieties. Plus, knowing exactly where your food comes from and how it was grown gives you peace of mind. So, ditch the wilted supermarket greens and get ready to embark on a rewarding journey of growing your own lettuce bowl from seed! Let’s get started!
Grow Your Own Delicious Lettuce Bowl: A DIY Guide From Seed to Salad!
Hey there, fellow gardening enthusiasts! I’m so excited to share my tried-and-true method for growing a bountiful lettuce bowl right in your own backyard (or even on your balcony!). Forget those wilted, overpriced greens from the grocery store – fresh, crisp lettuce is just a few steps away. This guide will walk you through everything you need to know, from selecting the right seeds to harvesting your leafy bounty. Let’s get started!
What You’ll Need: The Essentials for Lettuce Success
Before we dive into the nitty-gritty, let’s gather our supplies. Here’s a checklist to make sure you’re all set:
* **Lettuce Seeds:** Choose a mix of varieties for a colorful and flavorful bowl. I personally love a blend of Romaine, Butterhead, and loose-leaf varieties like Black Seeded Simpson.
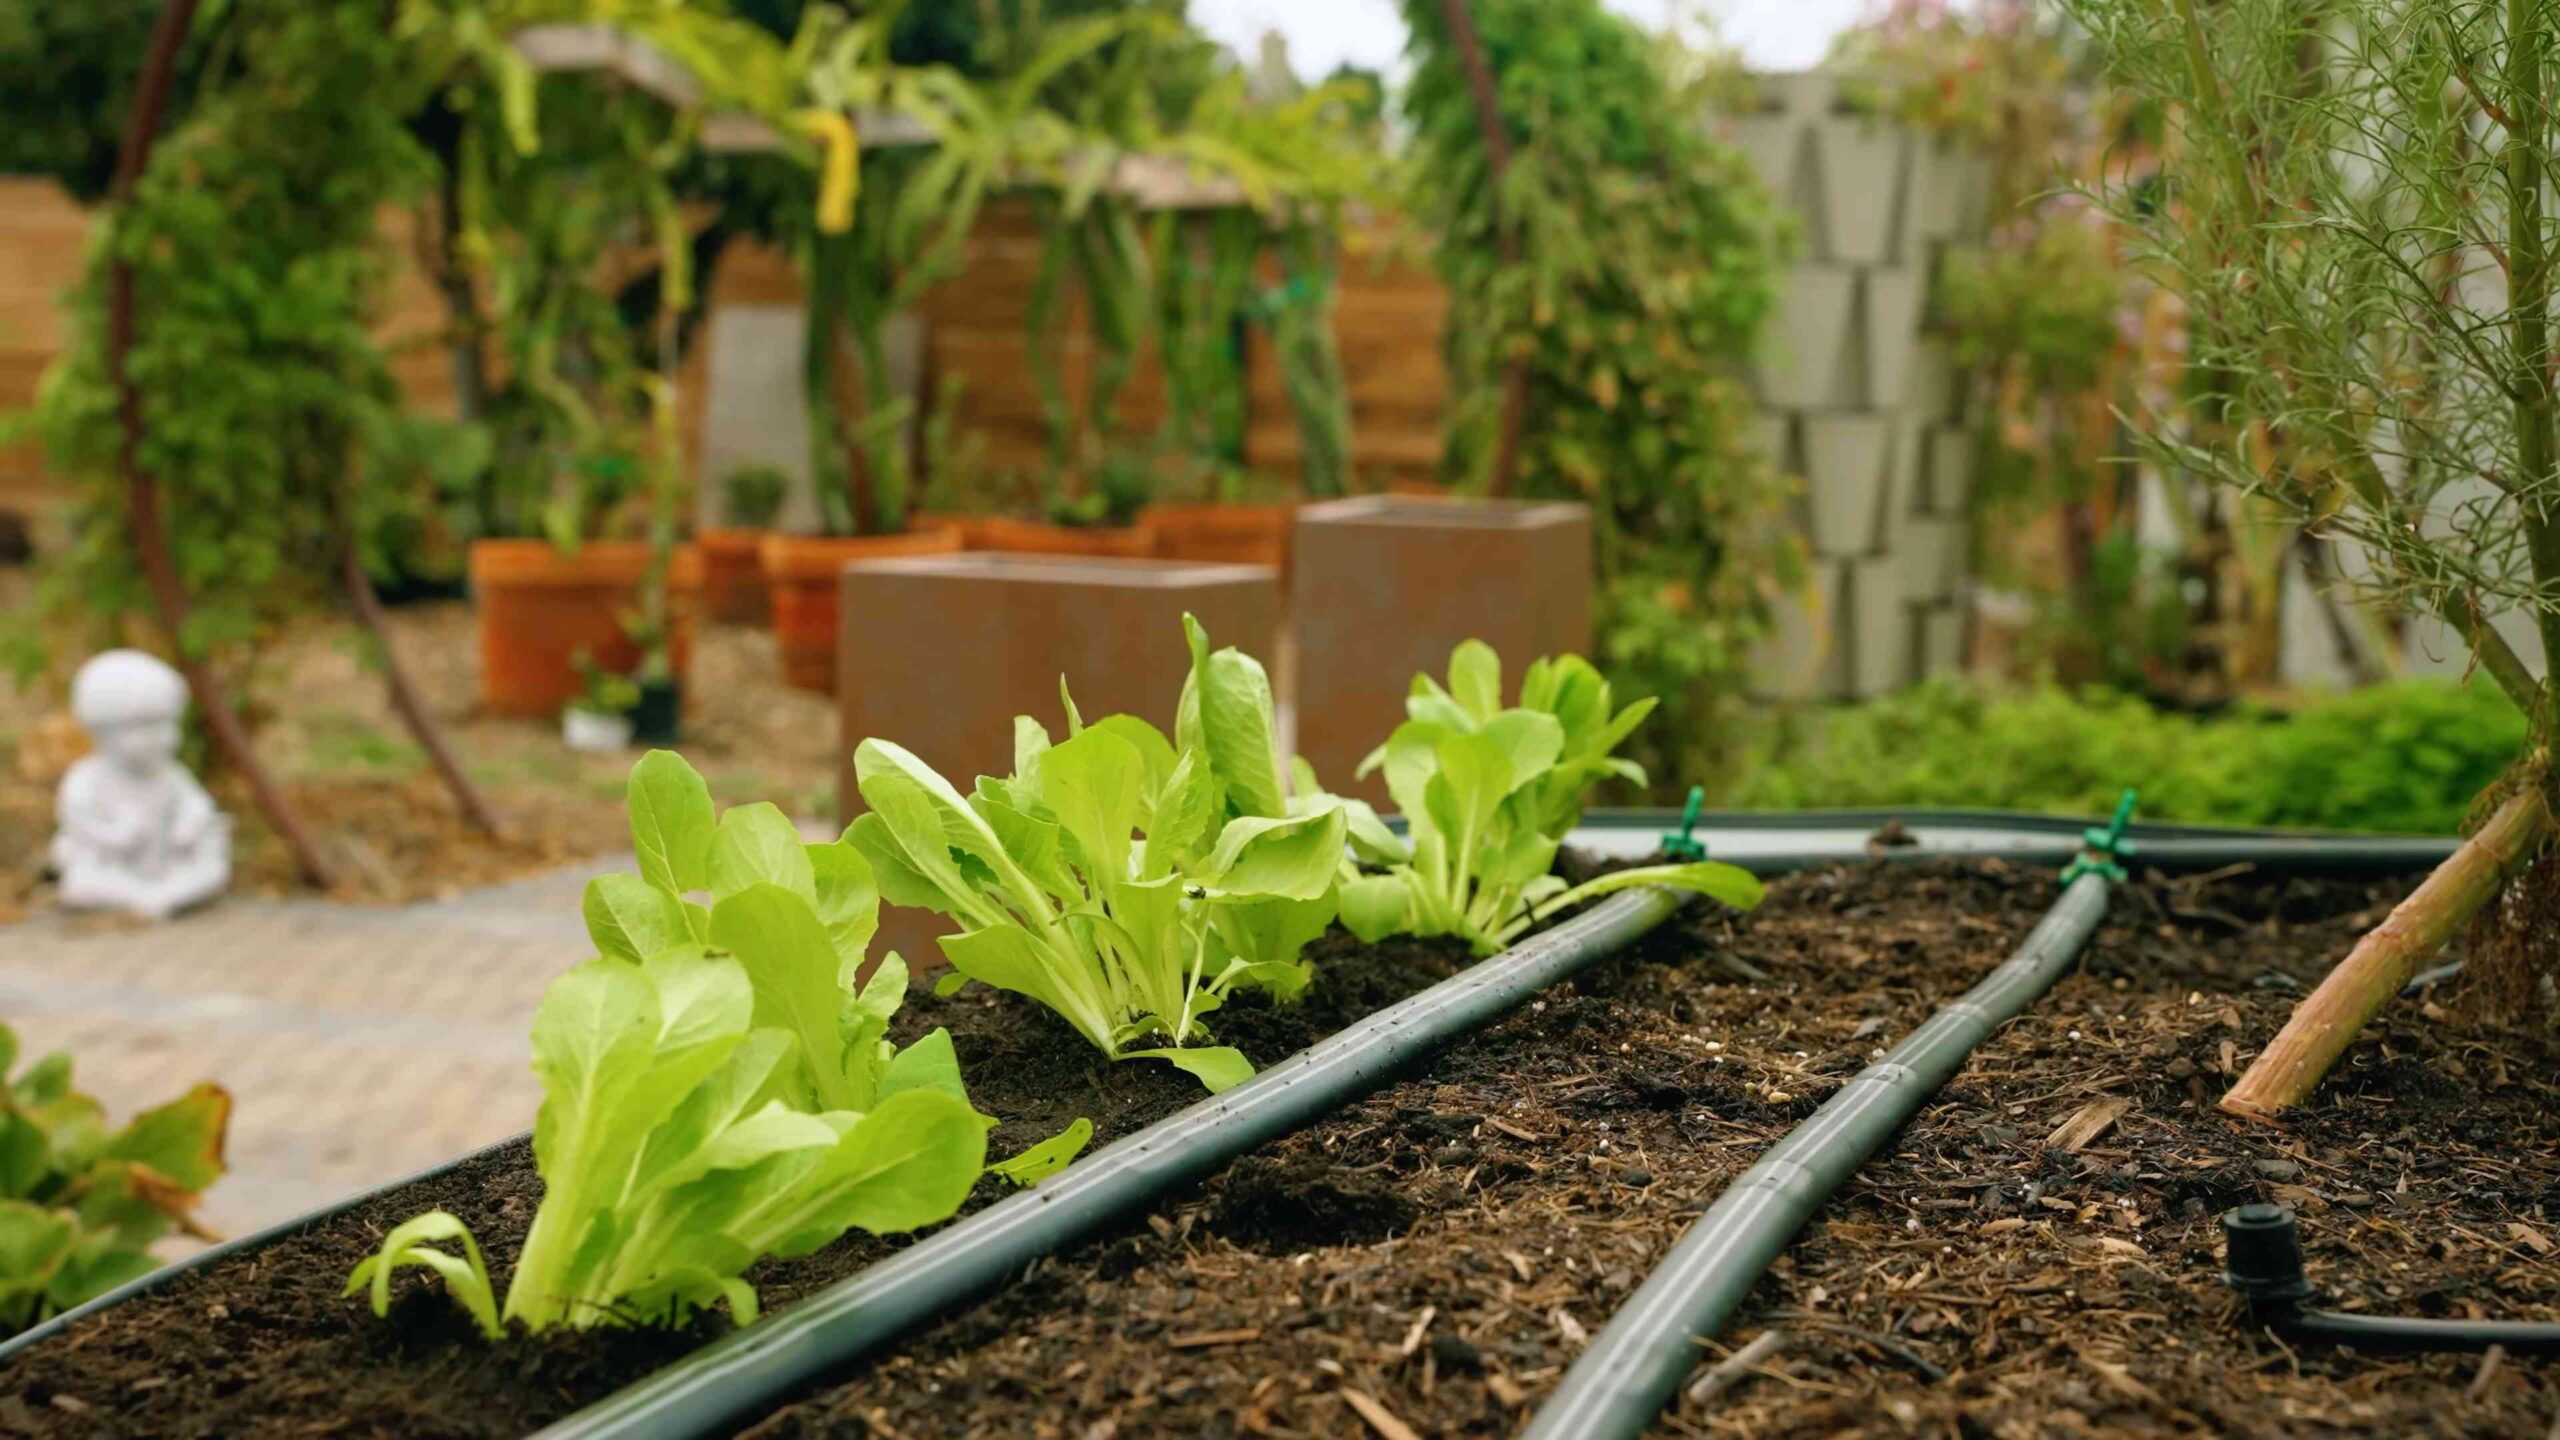
* **Container:** A wide, shallow container works best. Think a large planter, a repurposed tub, or even a window box. Aim for at least 6-8 inches deep.
* **Potting Mix:** Use a high-quality potting mix that drains well. Avoid using garden soil, as it can compact and hinder drainage.
* **Watering Can or Hose with a Gentle Spray Nozzle:** Gentle watering is key, especially for delicate seedlings.
* **Optional: Seed Starting Tray and Dome:** These are helpful for starting seeds indoors, but not essential if you’re direct sowing.
* **Optional: Fertilizer:** A balanced liquid fertilizer can give your lettuce a boost, but it’s not always necessary.
* **Sunny Location:** Lettuce needs at least 4-6 hours of sunlight per day.
Phase 1: Sowing the Seeds of Success
This is where the magic begins! We’ll be planting our lettuce seeds, either directly into the container or starting them indoors. I’ll cover both methods.
Method 1: Direct Sowing (The Easy Route)
This is my preferred method for its simplicity.
1. **Prepare the Container:** Fill your container with potting mix, leaving about an inch of space at the top. Gently pat down the soil to create a level surface.
2. **Sow the Seeds:** Sprinkle the lettuce seeds evenly over the surface of the soil. Lettuce seeds are tiny, so don’t worry about spacing them perfectly. A pinch of seeds per handful of soil is a good rule of thumb.
3. **Cover the Seeds:** Lightly cover the seeds with a thin layer of potting mix (about 1/4 inch). Remember, lettuce seeds need light to germinate, so don’t bury them too deep.
4. **Water Gently:** Use a watering can or hose with a gentle spray nozzle to thoroughly moisten the soil. Be careful not to wash away the seeds.
5. **Keep it Moist:** Keep the soil consistently moist, but not soggy. You can cover the container with plastic wrap or a clear lid to help retain moisture, but be sure to remove it once the seedlings emerge.
6. **Find a Sunny Spot:** Place the container in a sunny location that receives at least 4-6 hours of sunlight per day.
7. **Patience is Key:** Germination typically takes 7-14 days, depending on the variety and temperature.
Method 2: Starting Seeds Indoors (For a Head Start)
If you live in a colder climate or want to get a head start on the growing season, starting seeds indoors is a great option.
1. **Prepare the Seed Starting Tray:** Fill the cells of your seed starting tray with potting mix.
2. **Sow the Seeds:** Place 2-3 lettuce seeds in each cell.
3. **Cover the Seeds:** Lightly cover the seeds with a thin layer of potting mix (about 1/4 inch).
4. **Water Gently:** Use a spray bottle to gently moisten the soil in each cell.
5. **Cover with a Dome:** Place a clear dome over the seed starting tray to create a humid environment.
6. **Find a Warm Spot:** Place the tray in a warm location (around 70°F) that receives indirect sunlight. A heat mat can also be helpful.
7. **Keep it Moist:** Keep the soil consistently moist, but not soggy.
8. **Remove the Dome:** Once the seedlings emerge (typically in 7-14 days), remove the dome and place the tray in a sunny location or under grow lights.
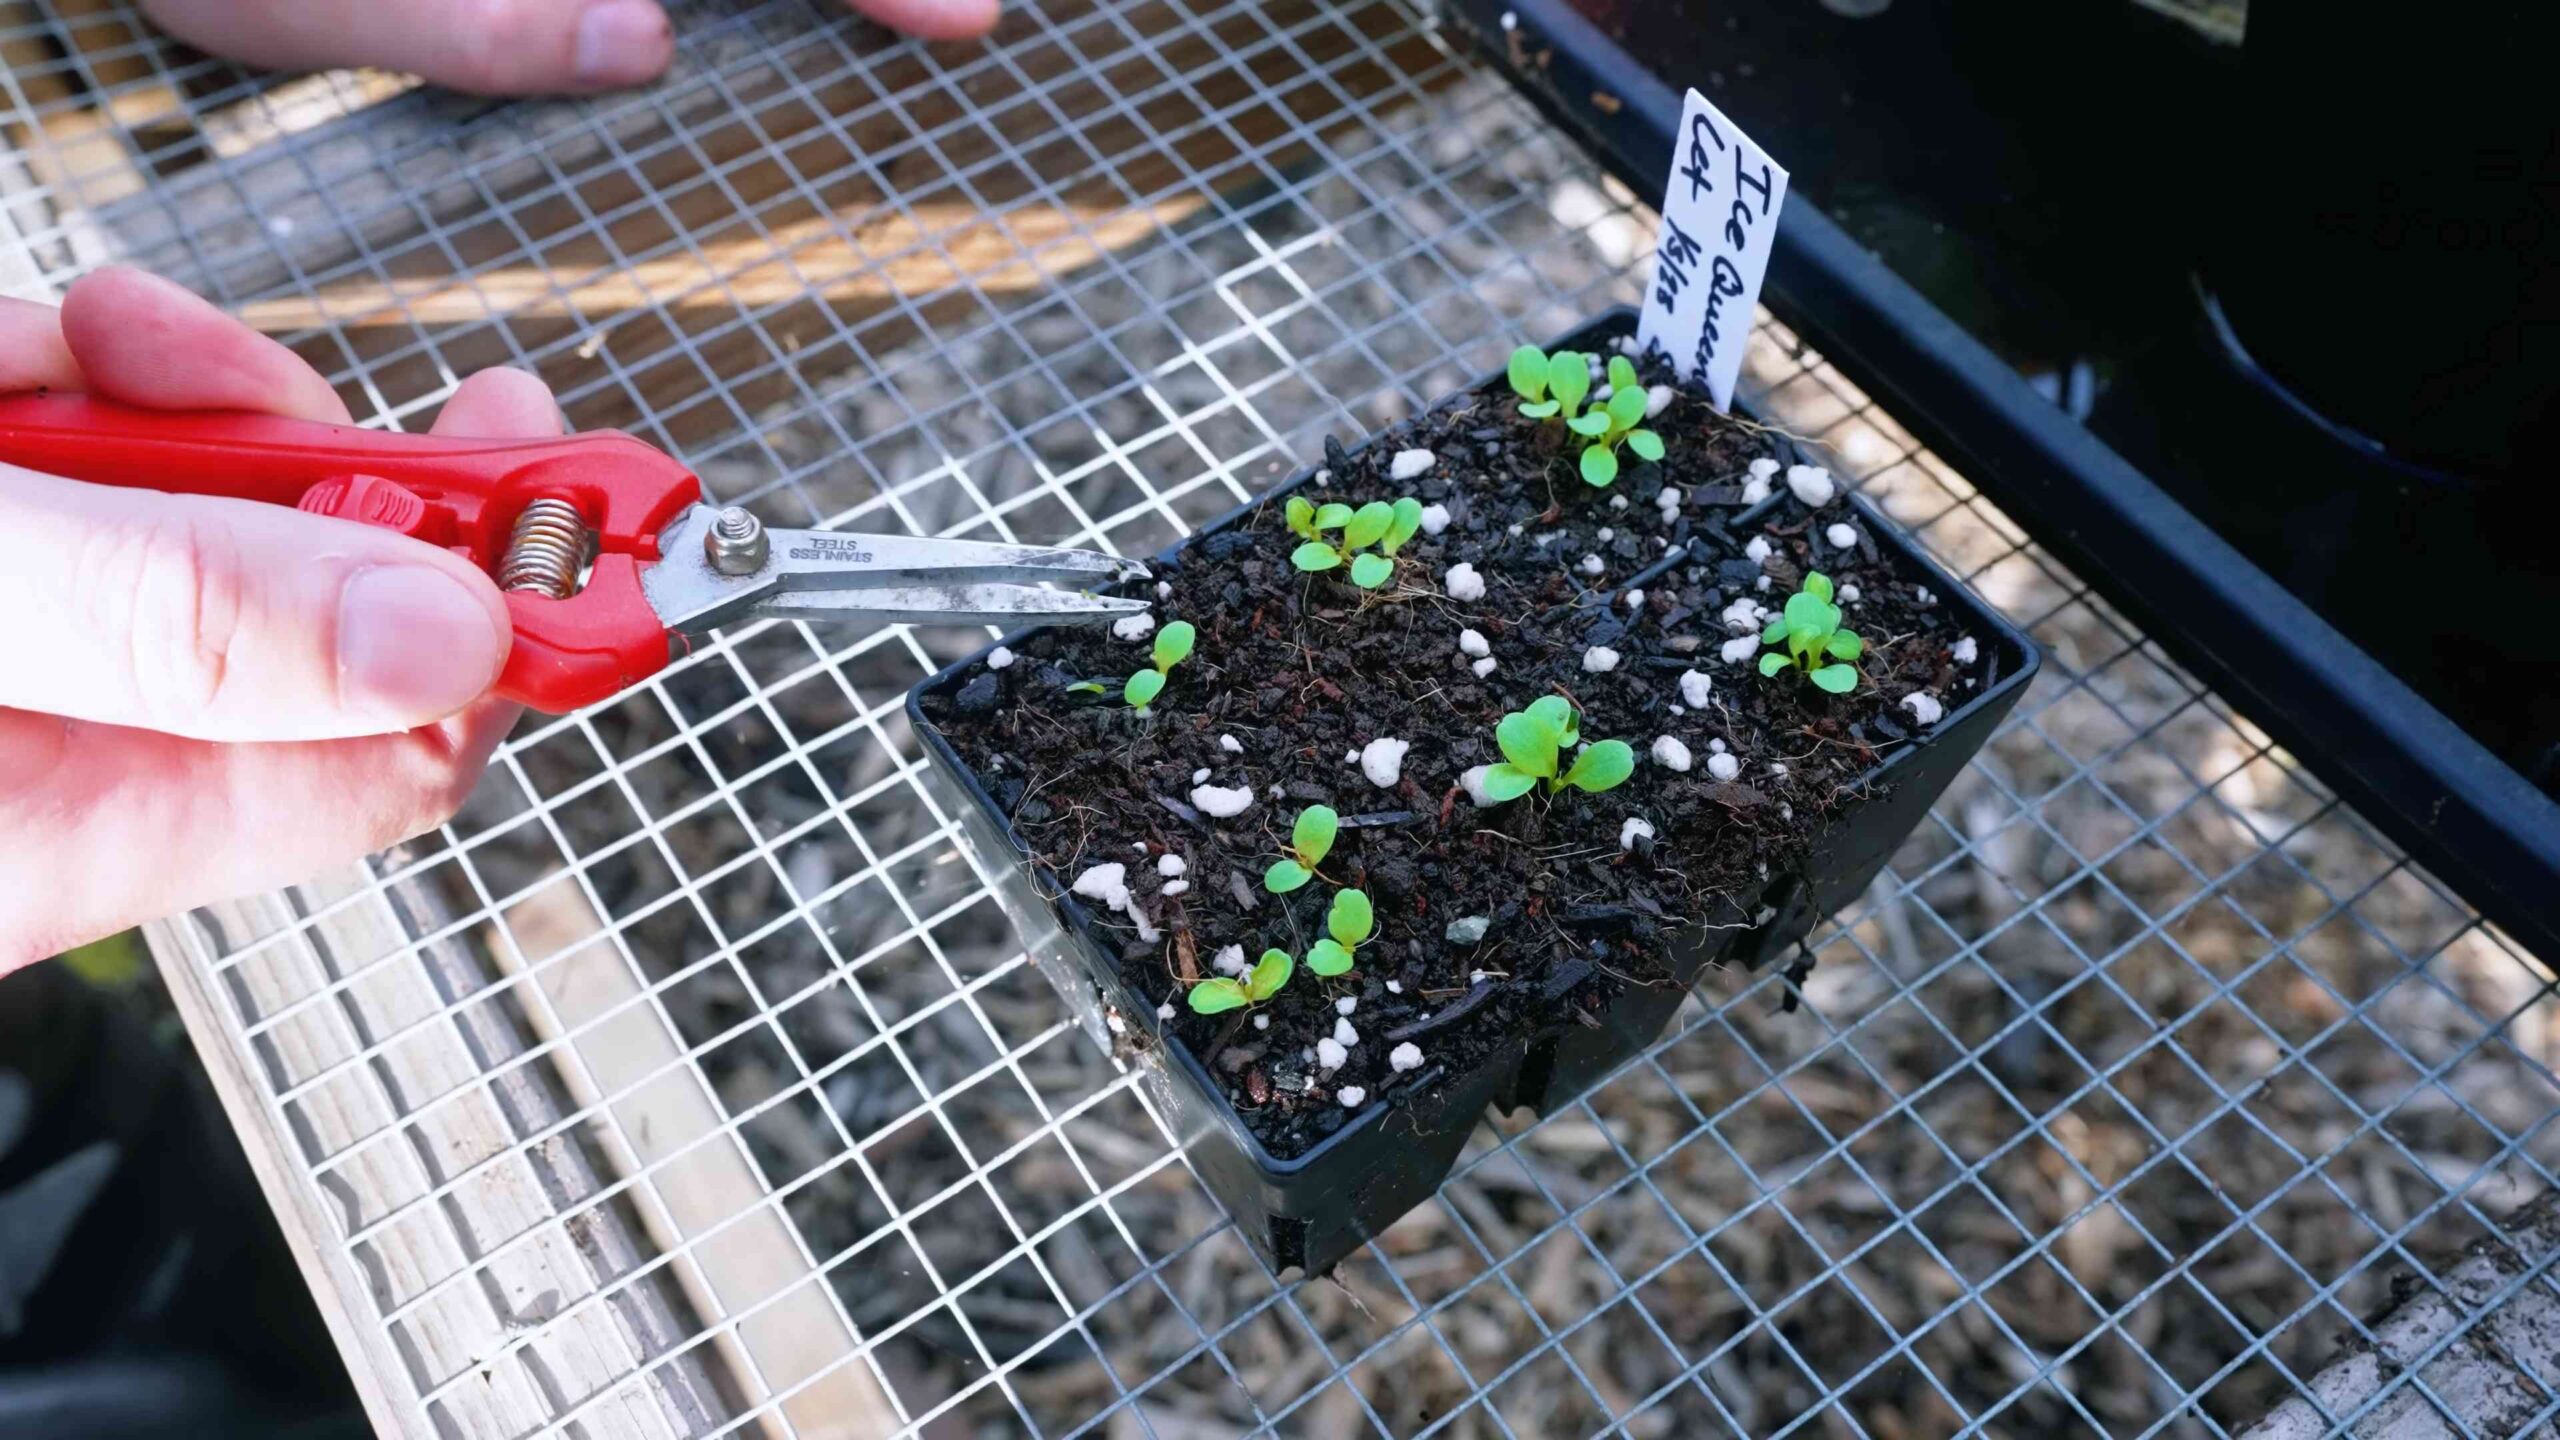
9. **Thin the Seedlings:** Once the seedlings have developed a few true leaves, thin them to one seedling per cell. Choose the strongest seedling and gently snip off the others at the base.
10. **Harden Off the Seedlings:** Before transplanting the seedlings outdoors, you’ll need to “harden them off” to acclimate them to the outdoor environment. Gradually expose them to longer periods of outdoor sunlight and cooler temperatures over the course of a week.
11. **Transplant the Seedlings:** Once the seedlings are hardened off, gently transplant them into your container, spacing them about 4-6 inches apart.
Phase 2: Nurturing Your Lettuce Bowl
Now that our seeds are sown (or seedlings transplanted), it’s time to provide the care they need to thrive.
1. **Watering:** Consistent watering is crucial for healthy lettuce growth. Water deeply whenever the top inch of soil feels dry to the touch. Avoid overwatering, as this can lead to root rot. Water in the morning to allow the foliage to dry before nightfall, which can help prevent fungal diseases.
2. **Sunlight:** Lettuce needs at least 4-6 hours of sunlight per day. If you’re growing your lettuce bowl indoors, you may need to supplement with grow lights.
3. **Fertilizing (Optional):** If you notice your lettuce plants are looking pale or growing slowly, you can give them a boost with a balanced liquid fertilizer. Follow the instructions on the fertilizer label. I usually dilute the fertilizer to half strength to avoid burning the plants.
4. **Weeding:** Keep your lettuce bowl free of weeds, as they can compete for nutrients and water. Gently pull out any weeds that you see.
5. **Pest Control:** Keep an eye out for pests like aphids, slugs, and snails. You can control aphids with a strong spray of water or by introducing beneficial insects like ladybugs. Slugs and snails can be handpicked or trapped with beer traps.
6. **Bolting Prevention:** Bolting is when lettuce plants send up a flower stalk and become bitter. This is often triggered by hot weather. To prevent bolting, choose heat-tolerant varieties, provide shade during the hottest part of the day, and water regularly.
Phase 3: Harvesting Your Leafy Rewards
The best part! Harvesting your own lettuce is incredibly satisfying.
1. **When to Harvest:** You can start harvesting lettuce leaves as soon as they are large enough to eat. I usually start harvesting when the leaves are about 4-6 inches long.
2. **How to Harvest:** There are two main ways to harvest lettuce:
* **Cut-and-Come-Again:** This method involves harvesting the outer leaves of the plant, leaving the inner leaves to continue growing. This allows you to harvest lettuce from the same plant multiple times. Simply use scissors or a knife to cut the outer leaves about an inch above the soil.
* **Head Harvest:** This method involves harvesting the entire head of lettuce at once. This is best for head-forming varieties like Romaine and Butterhead. Simply cut the head of lettuce at the base of the plant.
3. **Harvesting Time:** Harvest lettuce in the morning, when the leaves are crisp and cool.
4. **Washing and Storing:** Wash the harvested lettuce leaves thoroughly and dry them with a salad spinner or paper towels. Store the lettuce in a plastic bag in the refrigerator. It should stay fresh for several days.
Tips for a Supercharged Lettuce Bowl
Here are a few extra tips to help you achieve lettuce-growing success:
* Succession Planting: Sow new lettuce seeds every few weeks to ensure a continuous supply of fresh lettuce.
* Choose the Right Varieties: Select lettuce varieties that are well-suited to your climate and growing conditions.
* Improve Drainage: If your container doesn’t have drainage holes, drill some holes in the bottom to prevent waterlogging.
* Companion Planting: Plant lettuce alongside other vegetables like carrots, radishes, and onions. These plants can help deter pests and improve soil health.
* Enjoy the Process! Gardening should be a relaxing and enjoyable experience. Don’t be afraid to experiment and learn from your mistakes.
Troubleshooting Common Lettuce Problems
Even with the best care, you may encounter some problems along the way. Here are a few common issues and how to address them:
* **Yellowing Leaves:** This can be caused by overwatering, underwatering, nutrient deficiencies, or pests. Adjust your watering schedule, fertilize if necessary, and inspect the plants for pests.
* **Wilting Leaves:** This is usually a sign of underwatering.
Conclusion
So, there you have it! Creating your own lettuce bowl from seed is not just a fun project; it’s a gateway to fresher, more flavorful salads, and a deeper connection to the food you eat. Forget those wilted, pre-packaged greens from the grocery store. Imagine stepping outside your door and harvesting crisp, vibrant lettuce leaves whenever you need them. The difference in taste and texture is truly remarkable.
This DIY lettuce bowl method offers a sustainable and cost-effective way to enjoy fresh lettuce year-round, especially if you utilize succession planting. By staggering your planting times, you can ensure a continuous harvest, preventing gluts and ensuring a steady supply of your favorite greens. Plus, it’s incredibly rewarding to watch those tiny seeds sprout and flourish into a bountiful bowl of deliciousness.
But the benefits extend beyond just taste and convenience. Growing your own lettuce reduces your carbon footprint by eliminating the transportation and packaging associated with store-bought produce. It also allows you to control the growing environment, ensuring that your lettuce is free from harmful pesticides and herbicides. You know exactly what you’re putting into your body, and that peace of mind is priceless.
Why is this a must-try? Because it empowers you to take control of your food source, providing you with the freshest, healthiest, and most flavorful lettuce imaginable. It’s a simple project that yields significant rewards, both for your taste buds and for the environment.
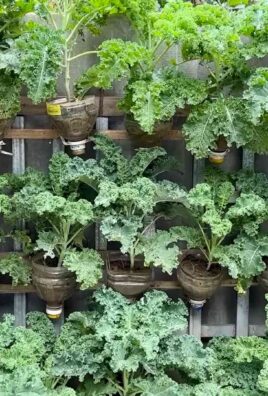
Ready to take it to the next level? Consider experimenting with different varieties of lettuce. Romaine, butterhead, loose-leaf – the possibilities are endless! You can also add other leafy greens to your bowl, such as spinach, arugula, or kale, to create a diverse and nutrient-rich salad mix. For an added touch of flavor, try interplanting herbs like basil, chives, or parsley. These herbs not only enhance the taste of your lettuce but also attract beneficial insects to your garden.
Don’t be afraid to get creative with your container choices, too. While a standard pot works perfectly well, you can also repurpose old containers like buckets, tubs, or even hanging baskets. Just make sure that your container has adequate drainage to prevent waterlogging.
We are confident that you will find this DIY lettuce bowl project both enjoyable and rewarding. The satisfaction of harvesting your own fresh lettuce is unparalleled. So, grab your seeds, soil, and container, and get ready to embark on a delicious adventure.
We encourage you to try this DIY lettuce bowl method and share your experiences with us! Let us know what varieties of lettuce you planted, what challenges you encountered, and what tips you discovered along the way. Share your photos and stories on social media using #DIYLettuceBowl. We can’t wait to see your creations! Your insights will help other gardeners learn and grow, creating a community of fresh lettuce enthusiasts. Happy gardening!
FAQ
What kind of lettuce grows best in a bowl?
The best types of lettuce for growing in a bowl are loose-leaf varieties like Black Seeded Simpson, Red Sails, and Oakleaf. These varieties are easy to harvest by simply snipping off the outer leaves as needed, allowing the inner leaves to continue growing. Butterhead lettuce, such as Buttercrunch, also does well in containers and provides a tender, buttery flavor. Romaine lettuce can be grown in a bowl, but it may require a larger container and more space. Ultimately, the best lettuce for you depends on your personal preferences and the amount of space you have available. Experiment with different varieties to find your favorites!
How often should I water my lettuce bowl?
Lettuce needs consistent moisture to thrive, but it doesn’t like to be waterlogged. Water your lettuce bowl whenever the top inch of soil feels dry to the touch. The frequency of watering will depend on factors such as the weather, the size of your container, and the type of soil you’re using. In hot, dry weather, you may need to water your lettuce bowl daily, while in cooler, wetter weather, you may only need to water it every few days. When watering, be sure to water deeply, allowing the water to soak into the soil and reach the roots. Avoid overhead watering, as this can lead to fungal diseases.
What kind of soil should I use for my lettuce bowl?
Lettuce prefers well-draining soil that is rich in organic matter. A good potting mix specifically formulated for vegetables is ideal. You can also create your own potting mix by combining equal parts of compost, peat moss (or coconut coir), and perlite or vermiculite. Compost provides essential nutrients, peat moss (or coconut coir) helps retain moisture, and perlite or vermiculite improves drainage. Avoid using garden soil in your lettuce bowl, as it can be too heavy and compacted, which can hinder root growth.
How much sunlight does my lettuce bowl need?
Lettuce needs at least six hours of sunlight per day to grow well. However, in hot climates, lettuce can benefit from some afternoon shade to prevent it from bolting (going to seed). If you’re growing your lettuce bowl indoors, place it near a sunny window or use grow lights to provide adequate light.
How do I harvest lettuce from my lettuce bowl?
The best way to harvest lettuce from your lettuce bowl is to use the “cut-and-come-again” method. This involves snipping off the outer leaves of the lettuce plant as needed, leaving the inner leaves to continue growing. Use a sharp knife or scissors to cut the leaves about an inch above the soil line. Avoid pulling the entire plant out of the soil, as this will prevent it from producing more leaves. Harvest your lettuce in the morning, when the leaves are crisp and cool.
How do I prevent my lettuce from bolting?
Bolting is when lettuce plants prematurely send up a flower stalk and produce seeds. This can happen when the weather gets too hot or when the plants are stressed. To prevent bolting, choose heat-tolerant lettuce varieties, provide afternoon shade, and water your lettuce bowl regularly. You can also mulch around the base of the plants to help keep the soil cool and moist. If your lettuce does start to bolt, you can still harvest the leaves, but they may taste bitter.
Can I grow lettuce in a bowl indoors?
Yes, you can definitely grow lettuce in a bowl indoors! Choose a sunny location near a window that receives at least six hours of sunlight per day. If you don’t have enough natural light, you can use grow lights to supplement. Use a well-draining potting mix and water your lettuce bowl regularly, keeping the soil moist but not waterlogged. Indoor lettuce may require more frequent fertilization than outdoor lettuce, as the nutrients in the soil can be depleted more quickly.
How do I fertilize my lettuce bowl?
Lettuce is a relatively light feeder, but it still benefits from regular fertilization. You can use a balanced liquid fertilizer diluted to half strength every two to three weeks. Alternatively, you can incorporate slow-release fertilizer granules into the potting mix at planting time. Avoid over-fertilizing, as this can lead to leggy growth and bitter-tasting leaves.
What pests and diseases affect lettuce?
Common pests that affect lettuce include aphids, slugs, and snails. Aphids can be controlled with insecticidal soap or by introducing beneficial insects like ladybugs. Slugs and snails can be handpicked or trapped using beer traps. Common diseases that affect lettuce include downy mildew and powdery mildew. These diseases can be prevented by providing good air circulation, avoiding overhead watering, and using disease-resistant lettuce varieties.
How long will my lettuce bowl last?
With proper care, your lettuce bowl can last for several weeks or even months. The lifespan of your lettuce bowl will depend on factors such as the variety of lettuce you’re growing, the growing conditions, and how frequently you harvest the leaves. As long as you continue to harvest the outer leaves and provide adequate water, sunlight, and nutrients, your lettuce bowl should continue to produce fresh lettuce for a considerable amount of time.


Leave a Comment