

Pillow Whitening DIY: Are your once-pristine pillows looking a little… dingy? Don’t despair! Before you rush out to buy new ones, I’m going to share some amazing and easy DIY tricks to restore them to their former glory. You’ll be amazed at how simple it is to brighten those pillows and give your bedroom a fresh, clean feel.
Throughout history, clean bedding has been associated with comfort, health, and even status. Think of the elaborate, meticulously laundered linens of royalty! While we might not have a team of servants at our disposal, we can still achieve that level of cleanliness with these simple, effective methods. A bright, white pillow isn’t just aesthetically pleasing; it also contributes to a more hygienic sleep environment.
Let’s face it, pillows endure a lot. From absorbing sweat and oils to collecting dust mites, they can quickly become discolored and harbor allergens. That’s why mastering a good pillow whitening DIY routine is essential. Not only will it save you money in the long run by extending the life of your pillows, but it will also improve your sleep quality and overall well-being. So, grab your supplies, and let’s get started on these easy-to-follow steps to bring back the sparkle to your pillows!
DIY Pillow Whitening: Revive Your Dingy Pillows!
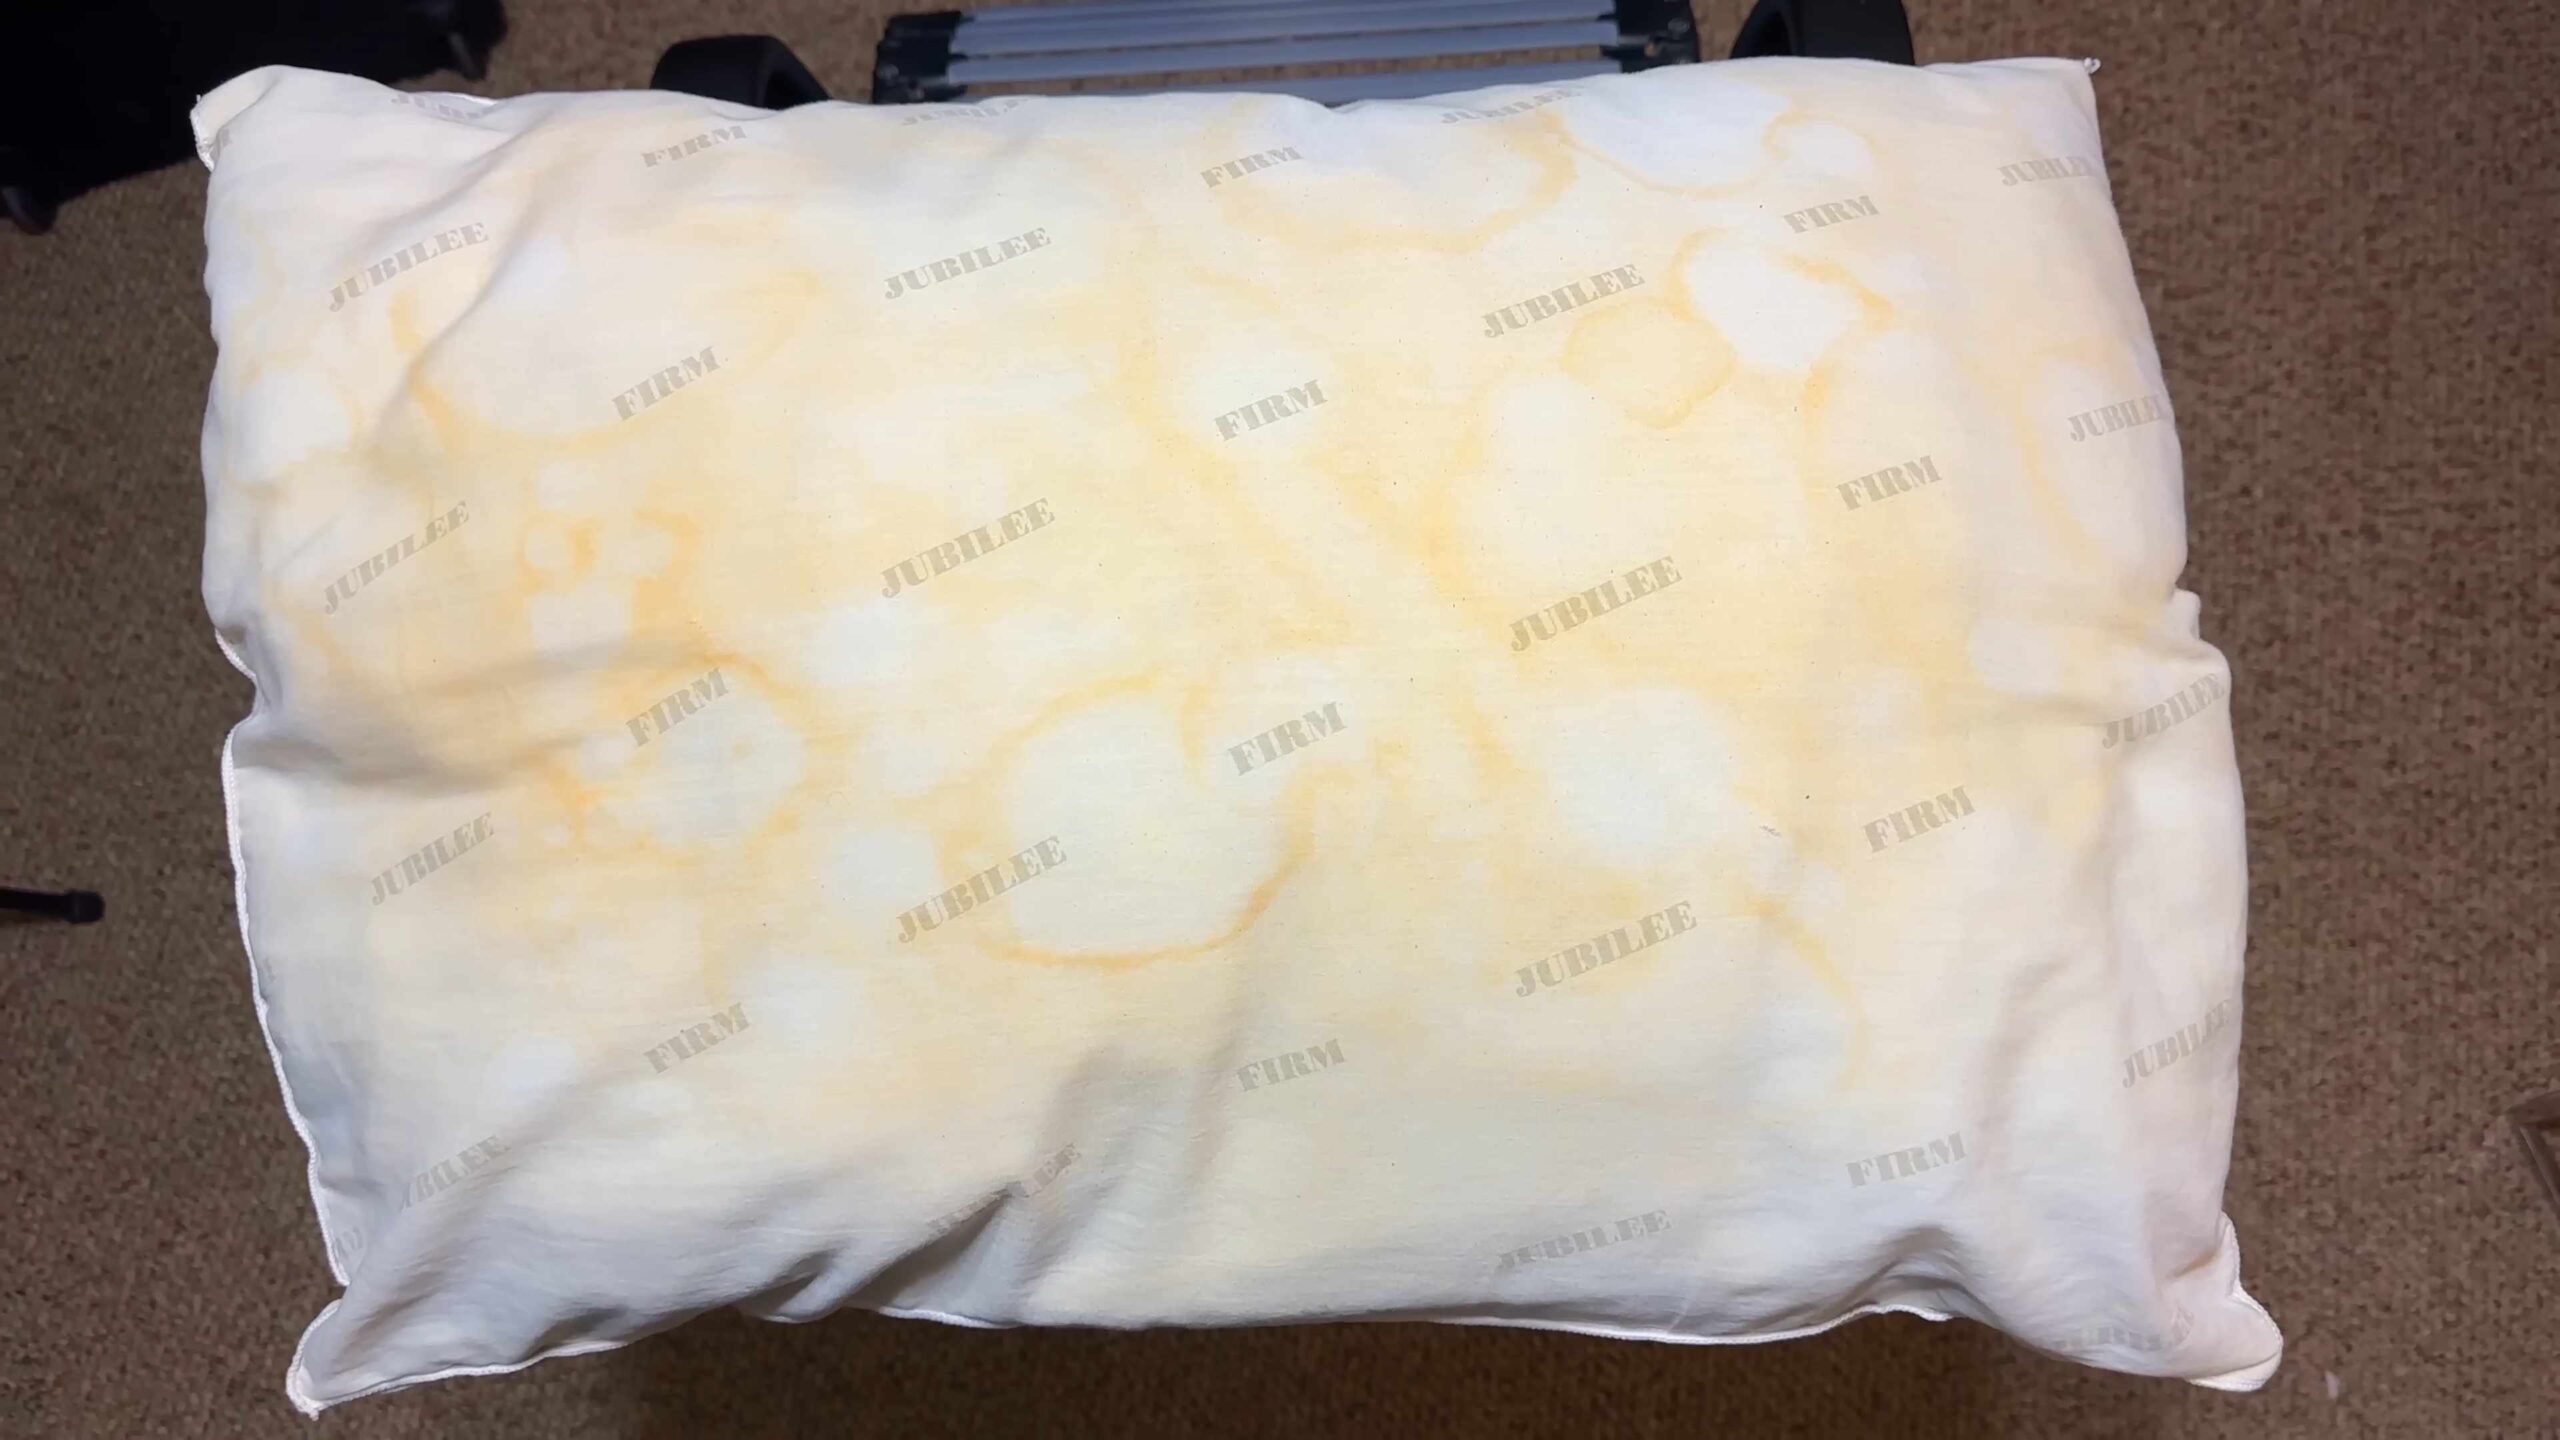
Okay, let’s face it, pillows get gross. No matter how diligent you are with pillowcases, sweat, drool (we’ve all been there!), and body oils eventually seep through, leaving them looking yellowed and dingy. Buying new pillows all the time is expensive, so I’m going to show you my favorite DIY method for whitening pillows and bringing them back to life! This method is surprisingly effective and uses ingredients you probably already have in your laundry room.
What You’ll Need: The Whitening Arsenal
Before we dive in, let’s gather our supplies. This is crucial for a smooth and efficient pillow-whitening operation!
* **Laundry Detergent:** Use your regular laundry detergent. I prefer a powder detergent for this project, but liquid will work too.
* **Borax:** This is a laundry booster that helps to remove stains and brighten fabrics. You can find it in the laundry aisle of most grocery stores.
* **Washing Soda (Sodium Carbonate):** Washing soda is different from baking soda! It’s a stronger cleaner and helps to cut through grease and grime. Look for it in the laundry aisle, often near the Borax.
* **White Vinegar:** A natural brightener and deodorizer. It also helps to soften fabrics.
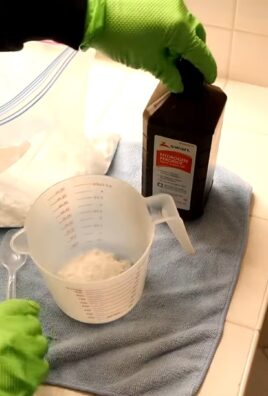
* **Hydrogen Peroxide:** This is a powerful bleaching agent. Be careful when using it and avoid getting it on your skin or clothes.
* **Hot Water:** Hot water is essential for activating the cleaning power of the ingredients.
* **Washing Machine:** A top-loading washing machine is ideal, but a front-loader can work too (with a slight adjustment to the process, which I’ll explain later).
* **Dryer:** For fluffing and drying your freshly whitened pillows.
* **Sunshine (Optional, but Recommended):** Air-drying in the sun is a natural way to further brighten and disinfect your pillows.
* **Measuring Cups and Spoons:** For accurate ingredient measurements.
* **Gloves (Optional):** If you have sensitive skin, you might want to wear gloves when handling the cleaning solutions.
Step-by-Step Pillow Whitening Guide
Alright, let’s get started! Follow these steps carefully for the best results.
1. **Pillow Inspection and Preparation:**
* Remove Pillowcases: Obviously, the first step is to remove the pillowcases. Wash them separately as usual.
* Check Care Labels: Before proceeding, check the care labels on your pillows. This method is generally safe for most synthetic-filled pillows (polyester, down alternative), but it’s always best to be cautious. If your pillows are filled with down or feathers, you might want to consider a more delicate cleaning method or professional cleaning.
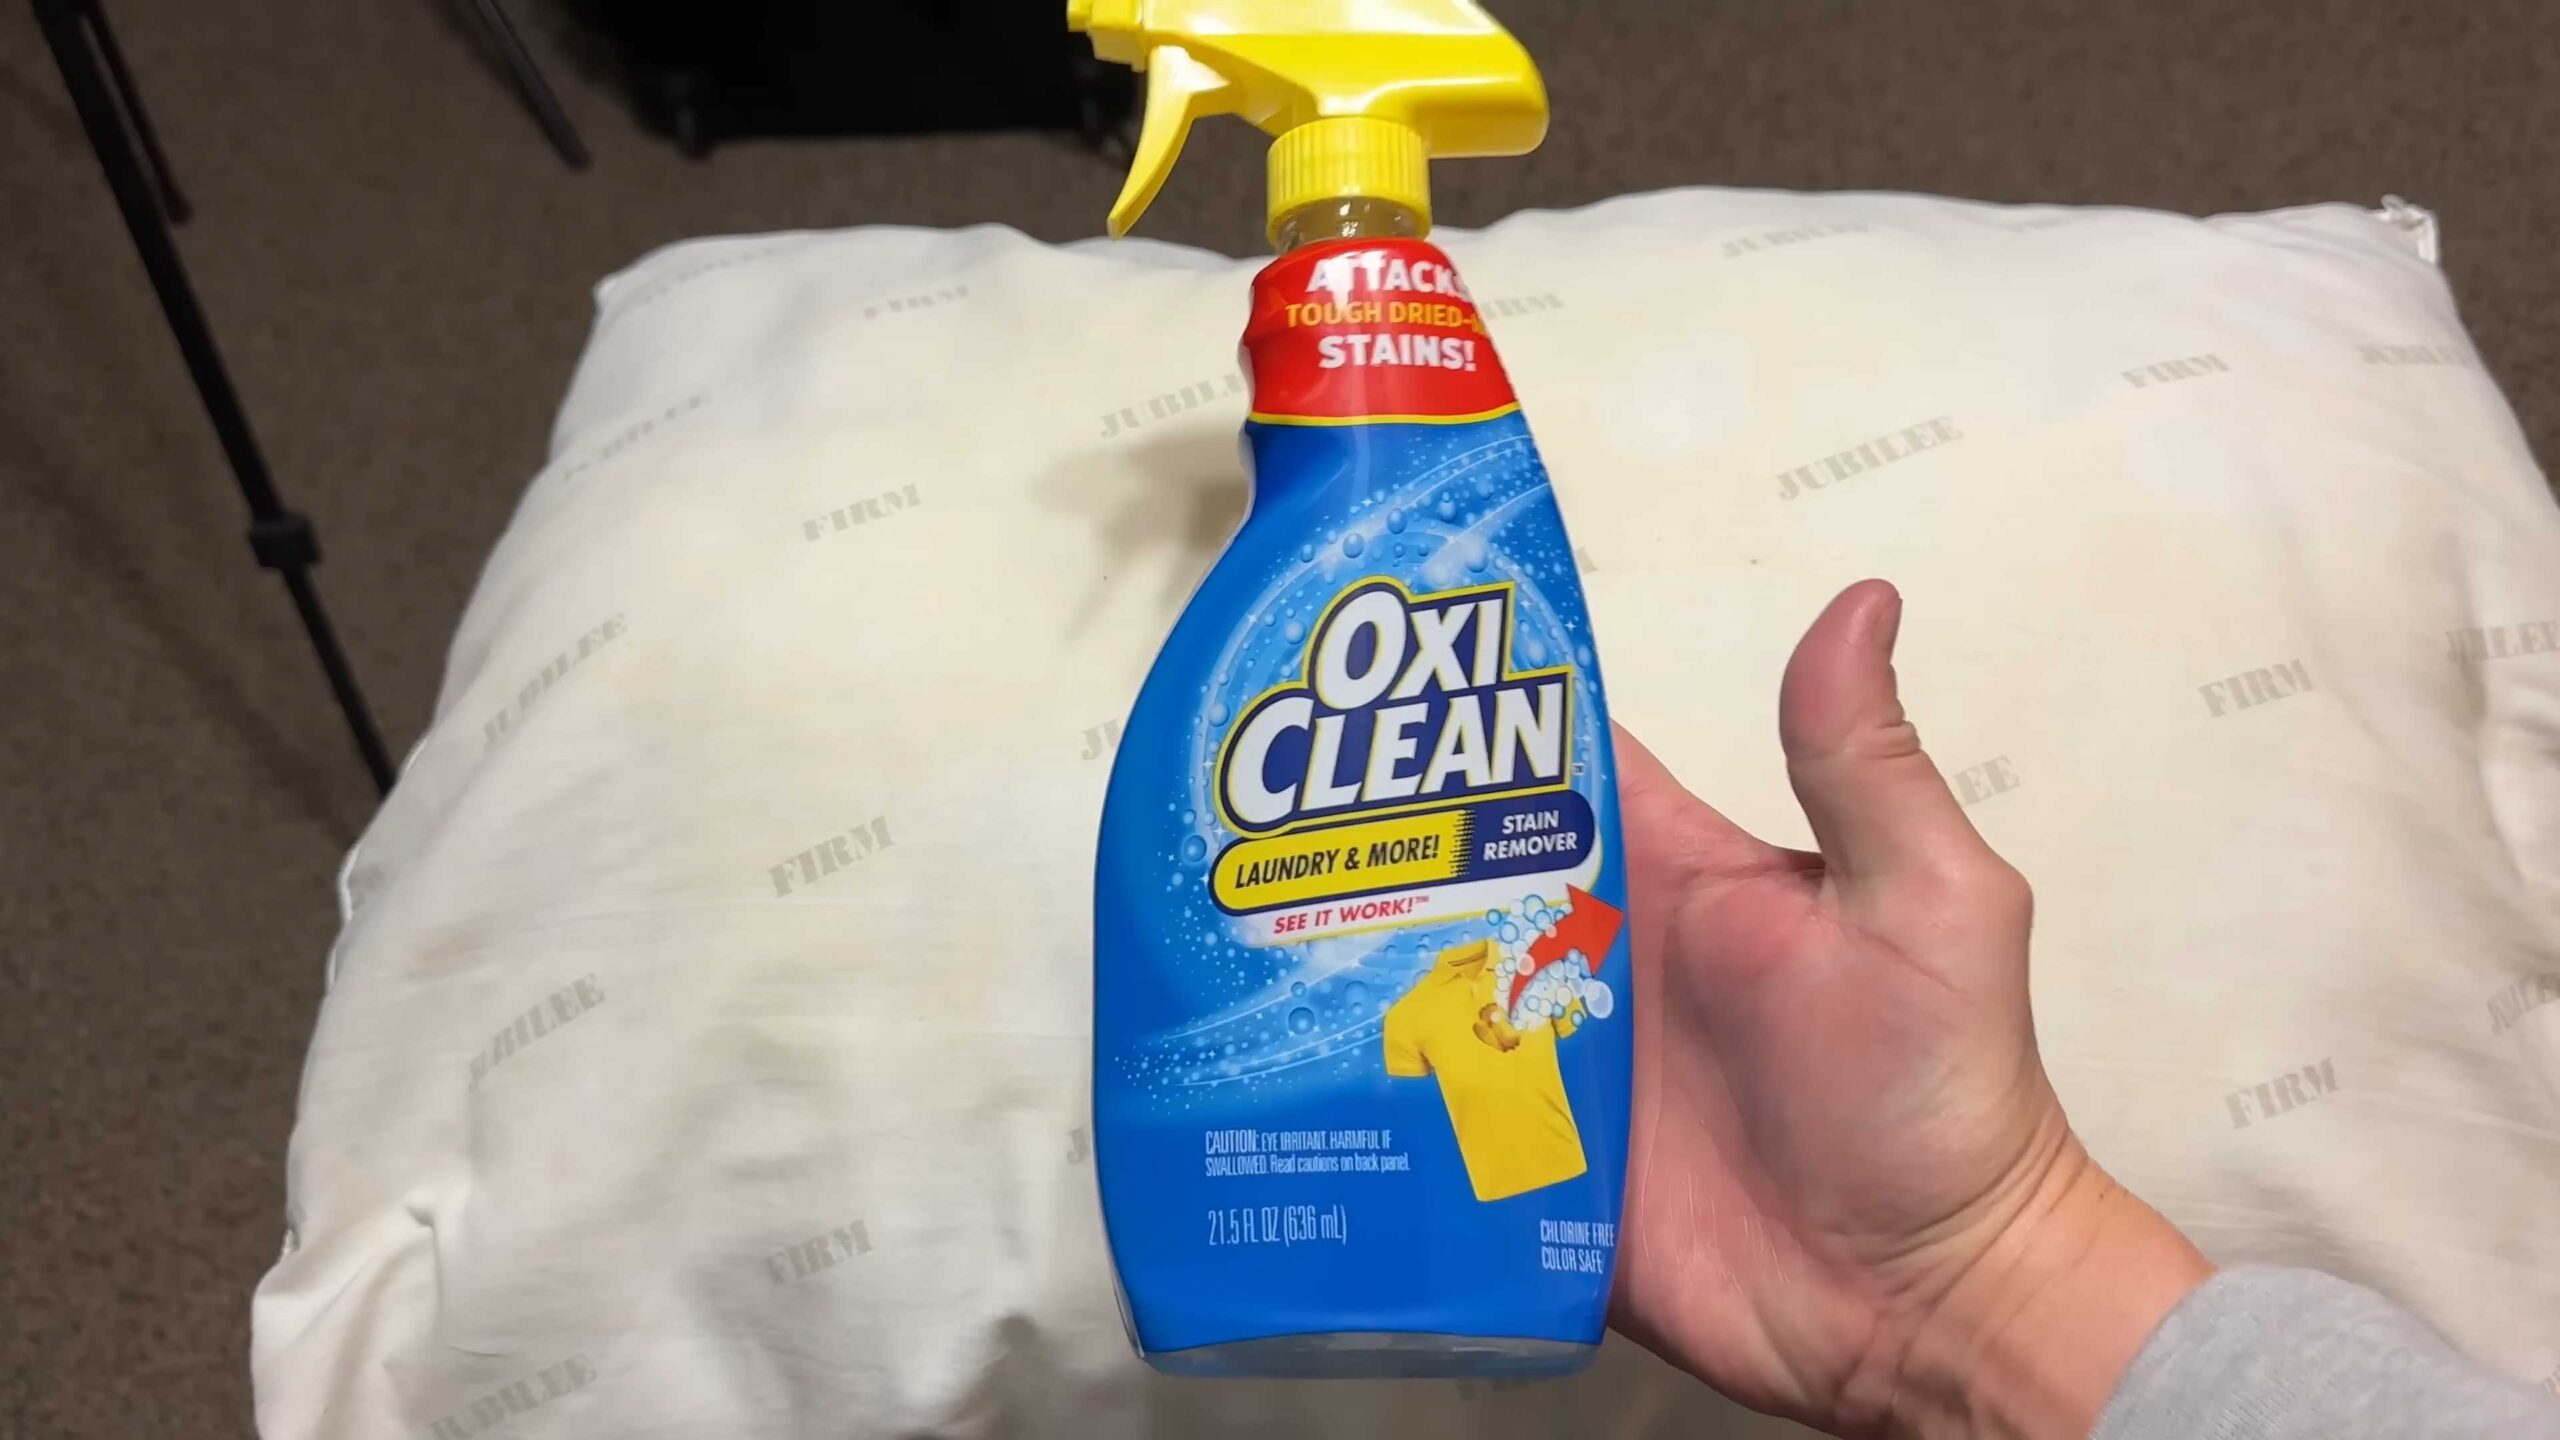
* Pre-Treat Stains (If Necessary): If your pillows have any particularly stubborn stains, pre-treat them with a stain remover before washing. You can use a commercial stain remover or make your own paste of baking soda and water. Apply the paste to the stain, let it sit for about 30 minutes, and then rinse it off.
2. **The Whitening Wash (Top-Loading Machine):**
* Fill the Washing Machine:** Fill your top-loading washing machine with hot water. Make sure the water level is high enough to fully submerge the pillows.
* Add the Cleaning Agents:** This is where the magic happens! Add the following ingredients to the hot water:
* 1 cup Laundry Detergent
* 1 cup Borax
* 1 cup Washing Soda
* 1 cup White Vinegar
* 1 cup Hydrogen Peroxide
* Dissolve the Ingredients:** Turn on the washing machine and let it agitate for a few minutes to dissolve all the cleaning agents.
* Add the Pillows:** Add your pillows to the washing machine. I recommend washing two pillows at a time to maintain balance.
* Wash Cycle:** Set the washing machine to a normal or heavy-duty wash cycle with hot water. Let it run through the entire cycle, including the rinse cycle.
* Extra Rinse (Optional): If you’re concerned about residue, you can run an extra rinse cycle to ensure all the cleaning agents are completely removed.
3. **The Whitening Wash (Front-Loading Machine):**
* Pre-Dissolve the Powders: Front-loading machines use less water, so it’s important to pre-dissolve the powdered ingredients (Borax and Washing Soda) in a separate container with hot water. This will prevent them from clumping and ensure they dissolve properly in the wash.
* Add Detergent and Dissolved Powders: Add your regular laundry detergent to the detergent dispenser. Then, pour the dissolved Borax and Washing Soda mixture into the drum of the washing machine.
* Add Vinegar and Hydrogen Peroxide: Pour the white vinegar and hydrogen peroxide into the fabric softener dispenser (if your machine has one) or directly into the drum.
* Add the Pillows:** Add your pillows to the washing machine. Again, I recommend washing two pillows at a time for balance.
* Wash Cycle:** Set the washing machine to a normal or heavy-duty wash cycle with hot water.
* Extra Rinse (Highly Recommended): Front-loading machines are notorious for leaving residue, so I *highly* recommend running an extra rinse cycle to ensure all the cleaning agents are completely removed.
4. **Drying Your Pillows:**
* Check for Soap Residue: Before putting your pillows in the dryer, give them a good squeeze to check for any remaining soap residue. If you feel any, run them through another rinse cycle.
* Fluff and Dry:** Place the pillows in the dryer along with a few clean tennis balls or dryer balls. This will help to fluff the pillows and prevent them from clumping.
* Low Heat Setting:** Dry the pillows on a low heat setting. High heat can damage the filling and cause the pillows to shrink.
* Multiple Drying Cycles:** It may take several drying cycles to completely dry the pillows, especially if they are thick or heavily filled. Check them periodically and fluff them up between cycles.
* Air Drying (Optional, but Recommended): If possible, finish drying the pillows by air-drying them outside in the sun. The sun’s UV rays are a natural disinfectant and can further brighten the pillows. Just make sure to turn them regularly to ensure they dry evenly.
Important Considerations and Tips
* Pillow Type: As mentioned earlier, this method is best suited for synthetic-filled pillows. Down or feather pillows require special care and may be better off being professionally cleaned.
* Water Temperature: Hot water is crucial for this method to work effectively. However, always check the care label on your pillows to ensure they can withstand hot water.
* Ingredient Amounts: The ingredient amounts listed above are a general guideline. You may need to adjust them depending on the size and condition of your pillows.
* Safety Precautions: Hydrogen peroxide is a bleaching agent, so be careful when using it. Avoid getting it on your skin or clothes. If you have sensitive skin, wear gloves when handling the cleaning solutions.
* Frequency: How often you should wash your pillows depends on how often you use them and how much you sweat or drool. As a general rule, I recommend washing your pillows every 3-6 months.
* Preventative Measures: To keep your pillows cleaner for longer, use pillow protectors under your pillowcases. Pillow protectors are zippered covers that provide an extra layer of protection against dirt, oil, and moisture.
* Smell Test: After drying, give your pillows a good sniff. If they still smell musty or mildewy, repeat the washing and drying process. Sometimes, stubborn odors require a second treatment.
* Don’t Overload the Machine: Overloading the washing machine can prevent the pillows from getting properly cleaned and can also damage the machine. Stick to washing two pillows at a time.
* Check Your Dryer Vent: A clogged dryer vent can significantly increase drying time and can also be a fire hazard. Make sure your dryer vent is clean before drying your pillows.
* Patience is Key: Whitening pillows can be a time-consuming process, but the results are worth it! Don’t get discouraged if your pillows don’t look perfectly white after the first wash. You may need to repeat the process or try a different method.
Troubleshooting
* **Pillows Still Yellow:** If your pillows are still yellow after washing, you can try repeating the process with slightly more hydrogen peroxide. You can also try soaking the pillows in a solution of hydrogen peroxide and water before washing them.
* **Pillows Smell Musty:** If your pillows smell musty after washing, it’s likely that they weren’t completely dry. Make sure to dry them thoroughly, and consider using a dehumidifier in the room where you’re drying them.
* **Pillows are Lumpy:** If
Conclusion
So, there you have it! This simple, yet incredibly effective pillow whitening DIY is a game-changer for anyone tired of dingy, yellowed pillows. We’ve all been there, tossing and turning on pillows that, despite regular washing, just don’t seem to stay fresh and bright. This isn’t just about aesthetics; it’s about creating a healthier and more inviting sleep environment. Think about it: you spend a significant portion of your life with your face pressed against your pillow. Removing built-up sweat, oils, and drool (yes, we all do it!) is crucial for hygiene and can even improve your skin.
This method isn’t just a quick fix; it’s a deep clean that penetrates the fibers of your pillow, lifting away stubborn stains and odors that regular washing often misses. The combination of readily available ingredients like baking soda, hydrogen peroxide, and laundry detergent creates a powerful cleaning solution that’s surprisingly gentle on your pillows. No harsh chemicals or expensive specialty products are required!
But the best part? It’s customizable! Feel free to experiment with variations to suit your specific needs and preferences. For instance, if you have particularly sensitive skin, you might consider using a hypoallergenic laundry detergent. Or, if you’re dealing with stubborn stains, pre-treating the affected areas with a paste of baking soda and water can work wonders. For an extra boost of freshness, add a few drops of your favorite essential oil (lavender is a classic choice for relaxation) to the washing machine during the rinse cycle. Just be sure to use essential oils sparingly, as some can be irritating to sensitive skin.
Another variation to consider is the drying method. While air-drying is generally recommended to prevent shrinkage and damage to the pillow filling, you can also use a dryer on a low heat setting. If you choose to use a dryer, be sure to add a few clean tennis balls or dryer balls to help fluff the pillows and prevent them from clumping together.
We understand that trying a new DIY method can sometimes feel daunting, but trust us, this one is worth it. The results speak for themselves: pillows that look and feel brand new, a cleaner and healthier sleep environment, and the satisfaction of knowing you’ve tackled a common household problem with a simple and effective solution.
So, ditch those dingy pillows and give this pillow whitening DIY a try! We’re confident you’ll be amazed by the difference it makes. And don’t forget to share your experience with us! We’d love to hear your tips, variations, and before-and-after photos. Let’s create a community of clean pillow enthusiasts! Share your results on social media using #PillowWhiteningDIY and tag us so we can see your amazing transformations. Sweet dreams!
Frequently Asked Questions (FAQ)
1. What type of pillows does this DIY whitening method work best on?
This pillow whitening DIY is generally safe and effective for most types of pillows, including those filled with down, feathers, cotton, polyester, and even memory foam. However, it’s always a good idea to check the care label on your pillow before proceeding. Some delicate materials may require special cleaning instructions. For memory foam pillows, it’s crucial to avoid excessive heat during the drying process, as this can damage the foam. If you’re unsure, test the solution on a small, inconspicuous area of the pillow first.
2. How often should I whiten my pillows using this method?
The frequency of whitening depends on how quickly your pillows become stained or discolored. As a general guideline, we recommend whitening your pillows every 3-6 months. However, if you notice significant staining or odors sooner than that, feel free to whiten them more frequently. Regular washing (every 1-2 months) in addition to whitening will help maintain their cleanliness and freshness.
3. Can I use bleach instead of hydrogen peroxide?
While bleach is a powerful whitening agent, we strongly advise against using it for this pillow whitening DIY. Bleach can be harsh on fabrics, causing them to weaken and break down over time. It can also leave behind a strong odor that’s difficult to remove, and it can be irritating to the skin and respiratory system. Hydrogen peroxide is a much gentler and safer alternative that still provides excellent whitening results.
4. What if I don’t have all the ingredients listed in the recipe?
The core ingredients for this pillow whitening DIY are baking soda, hydrogen peroxide, and laundry detergent. While you can technically try the method with just these three ingredients, the addition of borax (if you choose to use it) can enhance the cleaning power and help remove stubborn stains. If you don’t have borax on hand, don’t worry; the recipe will still work effectively.
5. My pillows are heavily stained. Will this method still work?
For heavily stained pillows, you may need to repeat the whitening process or pre-treat the stains before washing. To pre-treat, create a paste of baking soda and water and apply it directly to the stained areas. Let the paste sit for at least 30 minutes before washing the pillows according to the recipe instructions. You can also try soaking the pillows in a solution of warm water and oxygen bleach (a color-safe alternative to chlorine bleach) for a few hours before washing.
6. How long does it take for the pillows to dry completely?
The drying time will vary depending on the type of pillow filling, the humidity in your environment, and the drying method you choose. Air-drying can take anywhere from several hours to a full day or two. If you’re using a dryer, it will typically take 1-2 hours on a low heat setting. Make sure the pillows are completely dry before using them to prevent mold and mildew growth.
7. Can I use this method on colored pillows?
While this pillow whitening DIY is primarily designed for white pillows, it can potentially be used on light-colored pillows as well. However, it’s crucial to test the solution on a small, inconspicuous area of the pillow first to ensure that it doesn’t cause any fading or discoloration. If you’re concerned about color fading, you may want to consider using a color-safe bleach alternative or consulting a professional cleaner.
8. Is this method safe for people with allergies or sensitivities?
This method is generally safe for people with allergies or sensitivities, but it’s important to choose hypoallergenic laundry detergents and avoid using essential oils that may trigger allergic reactions. If you have sensitive skin, consider wearing gloves while handling the cleaning solution. After washing and drying the pillows, make sure to air them out thoroughly to remove any residual odors.
9. Can I use this method to clean pillow protectors as well?
Yes, this method can be used to clean pillow protectors as well. In fact, cleaning your pillow protectors regularly is a great way to extend the life of your pillows and keep them cleaner for longer. Simply follow the same instructions as you would for cleaning the pillows themselves.
10. What if my pillows still smell after washing?
If your pillows still have an odor after washing, it could be due to trapped moisture or lingering bacteria. Try re-washing the pillows with a cup of white vinegar added to the rinse cycle. Vinegar is a natural deodorizer that can help eliminate stubborn odors. Also, make sure the pillows are completely dry before using them, as moisture can contribute to odor buildup. If the odor persists, you may need to replace the pillows.
Leave a Comment