

Olive oil wood furniture polish: sounds too good to be true, right? I thought so too, until I tried it! Forget those expensive, chemical-laden furniture polishes. I’m going to show you a simple, all-natural DIY trick that will leave your wood furniture gleaming, nourished, and smelling subtly divine.
For centuries, natural oils have been used to protect and beautify wood. Think about it – our ancestors didn’t have access to the fancy products we do today. They relied on the earth’s bounty, and olive oil was a staple for everything from cooking to skincare to, yes, even furniture care! This tradition speaks to the enduring power of simple, natural solutions.
Why do you need this DIY olive oil wood furniture polish trick? Because commercial polishes often contain harsh chemicals that can dry out and damage your furniture over time. Plus, they can be expensive! This DIY alternative is not only cost-effective and eco-friendly, but it’s also incredibly easy to make. It’s a win-win for your furniture and your wallet. I’ll guide you through the simple steps to create your own polish, ensuring your beloved wooden pieces stay beautiful for years to come.
DIY Olive Oil Wood Furniture Polish: Revive Your Furniture Naturally!
Hey there, fellow DIY enthusiasts! Are your wooden furniture pieces looking a little dull and tired? Before you rush out to buy expensive commercial polishes filled with questionable chemicals, let me share a super simple, all-natural solution that I absolutely swear by: olive oil wood furniture polish! It’s incredibly easy to make, uses ingredients you probably already have in your kitchen, and leaves your furniture looking refreshed and gleaming. Plus, it’s eco-friendly and safe for your family and pets. What’s not to love?
This guide will walk you through everything you need to know to create your own olive oil wood polish. Let’s get started!
What You’ll Need
Before we dive into the process, let’s gather our supplies. The beauty of this DIY is that you likely have everything you need already!
* Olive Oil: This is the star of the show! It nourishes the wood, adds shine, and helps to protect it from drying out. I recommend using extra virgin olive oil, but any type will work in a pinch.
* Lemon Juice or White Vinegar: This acts as a mild cleaner and helps to cut through any grime or buildup on your furniture. Lemon juice also adds a lovely fresh scent!
* Soft Cloths: You’ll need at least two soft cloths – one for applying the polish and one for buffing. Microfiber cloths work great, but old t-shirts or flannel are also excellent options.
* Spray Bottle (Optional): While not essential, a spray bottle can make application a bit easier and more even.
* Essential Oil (Optional): If you want to add a pleasant fragrance to your polish, a few drops of your favorite essential oil can do the trick. Lavender, orange, or cedarwood are all great choices for wood furniture.
* Small Bowl or Jar: For mixing the ingredients.
The Perfect Recipe: Finding the Right Ratio
The key to a great olive oil wood polish is getting the ratio of olive oil to lemon juice (or vinegar) just right. Too much oil can leave your furniture feeling greasy, while too much lemon juice can be drying. I’ve experimented with different ratios over the years, and here’s what I’ve found works best:
* For General Cleaning and Polishing: 2 parts olive oil to 1 part lemon juice or white vinegar. This is my go-to recipe for regular maintenance.
* For Dry or Damaged Wood: 3 parts olive oil to 1 part lemon juice or white vinegar. The extra oil will help to deeply nourish and moisturize the wood.
* For Heavily Soiled Furniture: 1 part olive oil to 1 part lemon juice or white vinegar. The higher concentration of lemon juice will help to cut through stubborn dirt and grime.
Feel free to adjust these ratios slightly to suit your specific needs and preferences. Remember, it’s always best to test the polish on an inconspicuous area of your furniture first to make sure it doesn’t cause any discoloration or damage.
Step-by-Step Instructions: Polishing Like a Pro
Now that we have our ingredients and the perfect recipe, let’s get down to business! Here’s a step-by-step guide to polishing your wood furniture with olive oil:
1. Prepare Your Furniture: Before you start polishing, it’s important to remove any dust, dirt, or debris from the surface of your furniture. You can do this by simply wiping it down with a clean, dry cloth. For heavily soiled furniture, you may need to use a slightly damp cloth or a mild soap and water solution. Just be sure to dry the furniture thoroughly before proceeding.
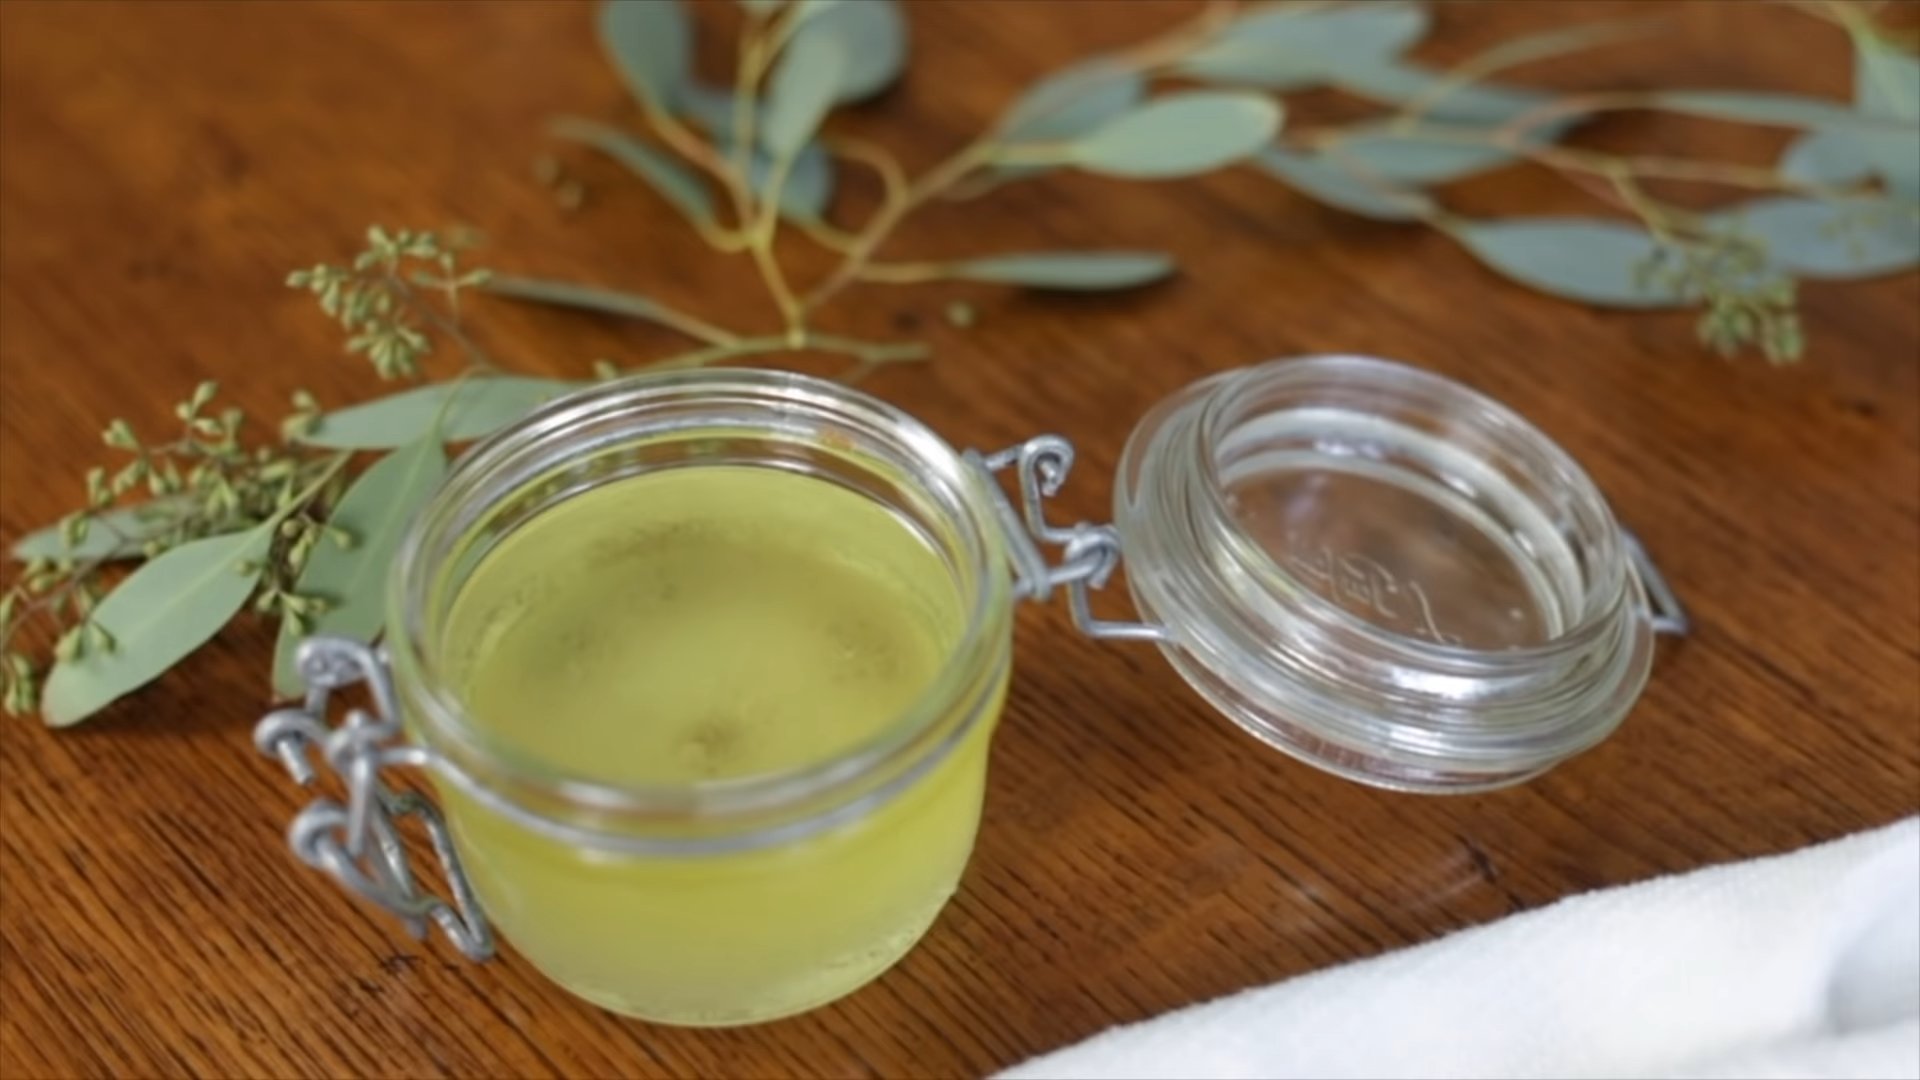
2. Mix the Polish: In your small bowl or jar, combine the olive oil and lemon juice (or vinegar) according to your chosen ratio. If you’re using essential oil, add a few drops at this stage. Stir the mixture well to ensure that all the ingredients are properly combined.
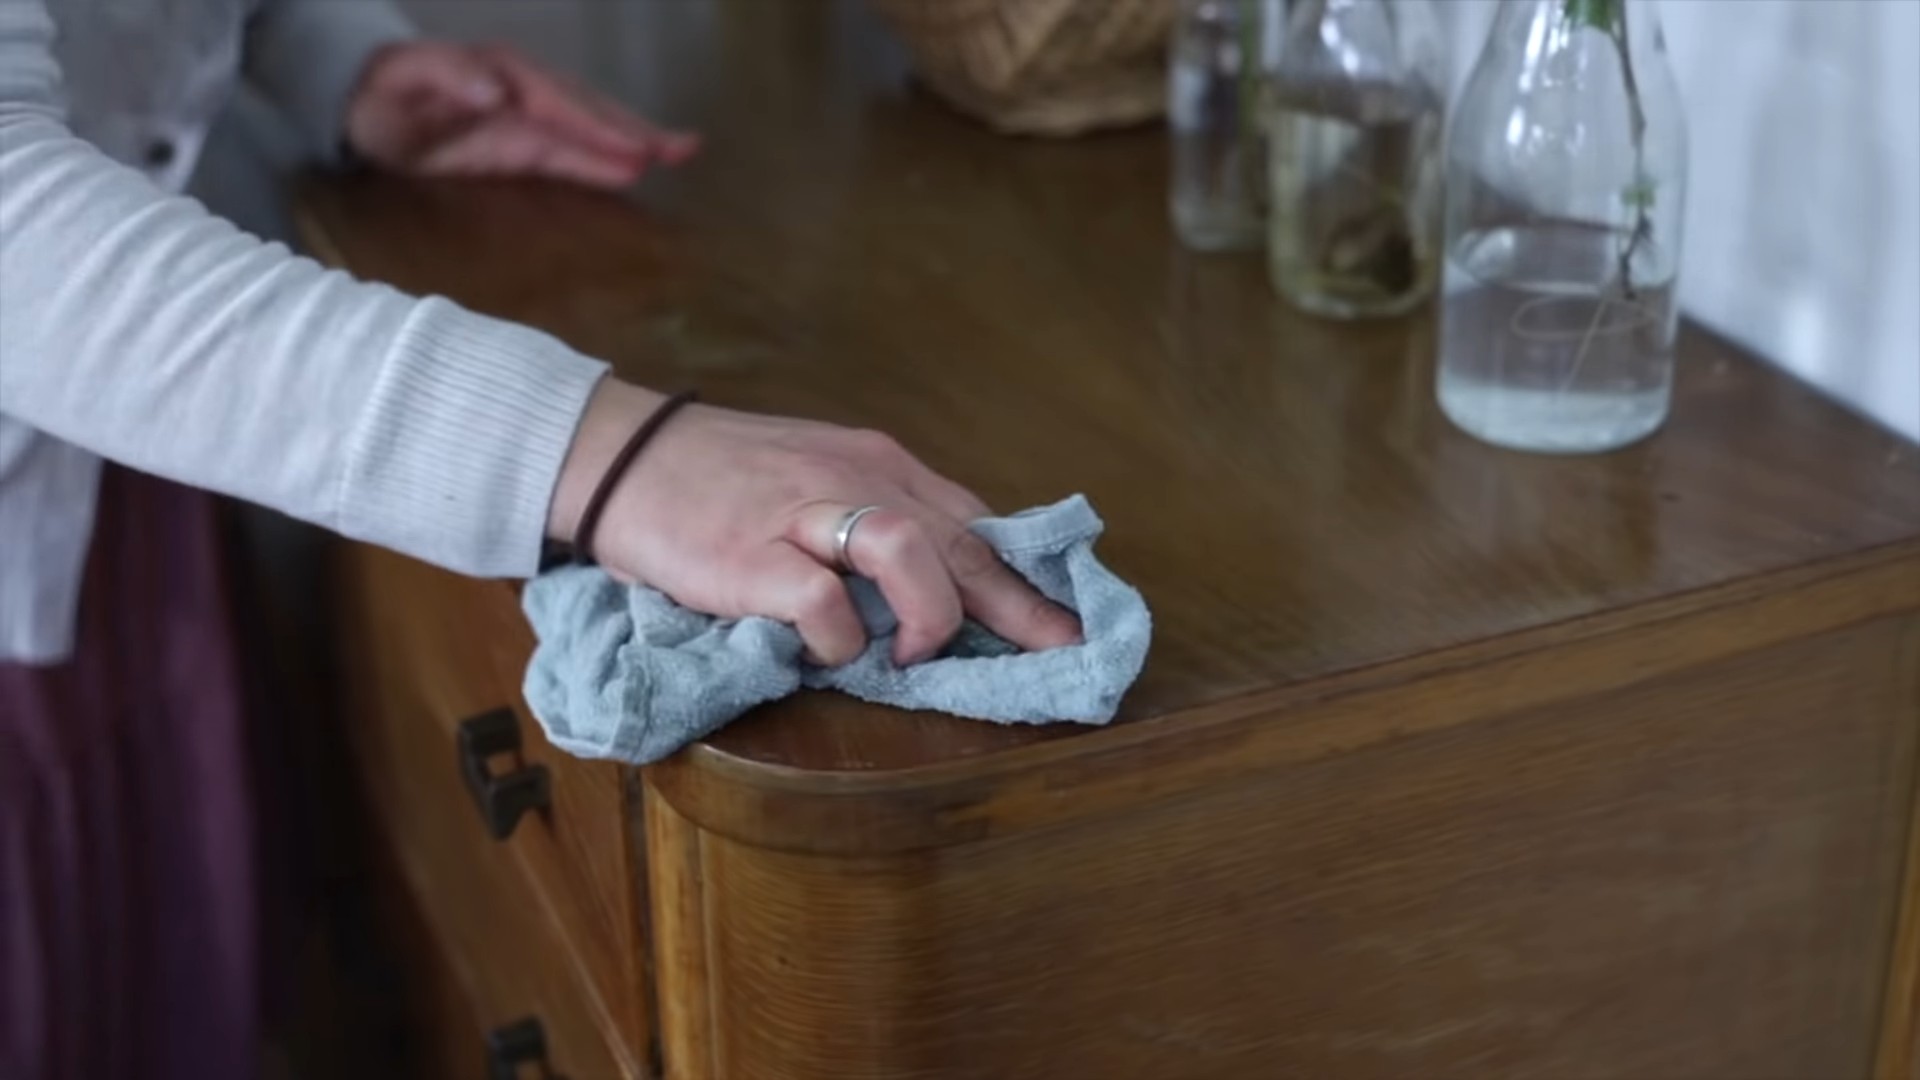
3. Apply the Polish: Dip a clean, soft cloth into the polish mixture, making sure to wring out any excess. You want the cloth to be damp, not dripping wet. Gently rub the polish onto the surface of your furniture, working in small sections and following the grain of the wood. If you’re using a spray bottle, lightly mist the polish onto the furniture and then spread it with a clean cloth.
4. Let it Sit: Allow the polish to sit on the furniture for a few minutes (around 5-10 minutes) to allow the oil to penetrate the wood. This will help to nourish and moisturize the wood from within.
5. Buff to a Shine: Using a clean, dry cloth, buff the furniture in a circular motion until it shines. This will remove any excess polish and leave your furniture looking smooth and glossy. Be sure to buff thoroughly to avoid any sticky residue.
6. Repeat as Needed: For heavily soiled or damaged furniture, you may need to repeat the polishing process a few times to achieve the desired results.
Tips and Tricks for the Best Results
Here are a few extra tips and tricks to help you get the most out of your olive oil wood polish:
* Test First: Always test the polish on an inconspicuous area of your furniture before applying it to the entire piece. This will help to ensure that it doesn’t cause any discoloration or damage.
* Use Sparingly: A little bit of polish goes a long way! Avoid using too much polish, as this can leave your furniture feeling greasy.
* Buff Thoroughly: Buffing is key to achieving a beautiful, streak-free shine. Be sure to buff the furniture thoroughly after applying the polish.
* Clean Your Cloths: Wash your polishing cloths regularly to prevent the buildup of dirt and grime.
* Avoid Direct Sunlight: Avoid polishing your furniture in direct sunlight, as this can cause the polish to dry too quickly and leave streaks.
* Frequency: How often you polish your furniture will depend on how often it’s used and how much wear and tear it’s exposed to. In general, I recommend polishing your furniture every few months to keep it looking its best.
* Don’t Use on All Surfaces: This polish is best for finished wood surfaces. Avoid using it on unfinished wood, as it may not absorb properly. Also, avoid using it on antique furniture without consulting a professional, as some antique finishes can be delicate.
Troubleshooting Common Issues
Even with the best instructions, you might encounter a few minor issues along the way. Here’s how to troubleshoot some common problems:
* Greasy Residue: If your furniture feels greasy after polishing, you’ve probably used too much polish. Simply buff the furniture again with a clean, dry cloth to remove the excess oil.
* Streaks: Streaks can be caused by using too much polish or not buffing thoroughly enough. Try buffing the furniture again with a clean, dry cloth, using a circular motion.
* Dull Finish: If your furniture still looks dull after polishing, it may be due to a buildup of old polish or wax. Try cleaning the furniture with a mild soap and water solution before polishing again.
* Discoloration: If you notice any discoloration after polishing, stop immediately and consult a professional. This could be a sign that the polish is reacting with the finish on your furniture.
Storing Your Homemade Polish
Once you’ve made your olive oil wood polish, you’ll want to store it properly to keep it fresh and effective. Here’s what I recommend:
* Airtight Container: Store your polish in an airtight container, such as a glass jar or a plastic bottle with a tight-fitting lid. This will help to prevent the polish from drying out or becoming contaminated.
* Cool, Dark Place: Store the container in a cool, dark place, away from direct sunlight and heat. This will help to preserve the quality of the ingredients.
* Shelf Life: Your homemade olive oil wood polish should last for several months if stored properly. However, it’s always a good idea to check the polish for any signs of spoilage before using it. If it smells rancid or looks discolored, discard it.
Why I Love This DIY Polish
I’ve been using this DIY olive oil wood furniture polish for years, and I absolutely love it! Here’s why:
* It’s Natural and Safe: I love knowing that I’m using a polish that’s made with natural ingredients and free from harsh chemicals. It’s safe for my family, my pets, and the environment.
* It’s Effective: This polish really works! It leaves my furniture looking clean, shiny, and revitalized.
* It’s Affordable: Making my own polish is much cheaper than buying commercial products.
* It’s Easy: This DIY is so simple and quick to make. I can whip up a batch in just a few minutes.
* It Smells Great: The lemon juice (or vinegar) and optional essential oils add a lovely fresh scent
Conclusion
So, there you have it! This simple, yet incredibly effective, olive oil wood furniture polish is a game-changer for anyone looking to revitalize their wooden furniture without resorting to harsh chemicals or expensive store-bought products. We’ve walked you through the easy steps, highlighting the benefits of using natural ingredients that you likely already have in your pantry.
Why is this a must-try? Because it’s more than just a polish; it’s a nourishing treatment for your wood. The olive oil deeply penetrates the wood grain, hydrating it and preventing it from drying out and cracking. The lemon juice acts as a gentle cleaner, cutting through grime and leaving behind a beautiful, natural shine. And the best part? You’re avoiding the potentially harmful chemicals found in many commercial polishes, making it a safer option for your family and the environment.
But the beauty of this DIY trick lies in its adaptability. Feel free to experiment with variations to suit your specific needs and preferences. For instance, if you’re dealing with particularly stubborn stains or buildup, you can add a teaspoon of white vinegar to the mixture for extra cleaning power. If you prefer a different scent, you can substitute the lemon juice with a few drops of your favorite essential oil, such as lavender, cedarwood, or orange. Just be sure to test the polish on an inconspicuous area first to ensure it doesn’t react negatively with the wood finish.
For darker woods, some people prefer to add a small amount of brewed black tea to the mixture. The tannins in the tea can help to enhance the natural color and richness of the wood. Again, always test in a hidden area before applying to the entire piece of furniture.
This olive oil wood furniture polish is not just a quick fix; it’s a long-term solution for maintaining the beauty and integrity of your wooden furniture. It’s a cost-effective, eco-friendly, and surprisingly simple way to keep your furniture looking its best for years to come.
We wholeheartedly encourage you to give this DIY trick a try. You’ll be amazed at the results! And once you’ve experienced the magic of this homemade polish, we’d love to hear about your experience. Share your before-and-after photos, your favorite variations, and any tips or tricks you’ve discovered along the way in the comments below. Let’s build a community of DIY enthusiasts who are passionate about keeping their wooden furniture looking beautiful and healthy! We are confident that you will love this **olive oil wood furniture polish** as much as we do.
Frequently Asked Questions
Q: What type of olive oil should I use?
A: Extra virgin olive oil is generally recommended for this DIY polish. It’s readily available, affordable, and provides excellent moisturizing properties for the wood. However, you can also use regular olive oil if that’s what you have on hand. Avoid using flavored olive oils, as they may leave an unwanted residue or scent on your furniture.
Q: Can I use this polish on all types of wood furniture?
A: While this polish is generally safe for most types of wood furniture, it’s always a good idea to test it on an inconspicuous area first, especially if you’re unsure about the type of finish on your furniture. Avoid using it on unfinished wood, as the oil may soak in unevenly and leave stains. Also, be cautious when using it on antique furniture, as some finishes may be delicate and require specialized care. If you’re unsure, consult with a professional furniture restorer.
Q: How often should I use this polish?
A: The frequency of polishing depends on the type of wood, the finish, and how often the furniture is used. Generally, polishing every one to three months is sufficient for most furniture. However, if your furniture is exposed to direct sunlight or heavy use, you may need to polish it more frequently. Observe your furniture for signs of dryness or dullness, and polish it as needed.
Q: How should I store the leftover polish?
A: Store any leftover polish in an airtight container in a cool, dark place. It’s best to use it within a few weeks, as the lemon juice may lose its potency over time. You can also store it in the refrigerator to extend its shelf life. Before each use, give the polish a good shake to ensure the ingredients are properly mixed.
Q: My furniture has a lot of buildup. Will this polish be effective?
A: This polish can help remove some buildup, but for heavily soiled furniture, you may need to pre-clean it first. You can use a mild soap and water solution to gently clean the surface before applying the polish. Be sure to dry the furniture thoroughly before polishing. For stubborn buildup, you might consider using a specialized furniture cleaner designed for your specific type of wood finish.
Q: Can I use this polish on leather furniture?
A: No, this polish is specifically formulated for wood furniture and should not be used on leather. Leather requires different types of conditioners and cleaners to maintain its suppleness and prevent cracking. Using olive oil on leather could clog the pores and damage the material.
Q: What if my furniture becomes sticky after applying the polish?
A: If your furniture becomes sticky after applying the polish, it’s likely that you’ve used too much oil. Use a clean, dry cloth to buff the surface thoroughly, removing any excess oil. You can also try wiping the surface with a slightly damp cloth followed by a dry cloth. In the future, use a smaller amount of polish and apply it sparingly.
Q: Can I add other ingredients to the polish, such as beeswax?
A: Yes, you can add other ingredients to the polish to customize it to your liking. Beeswax, for example, can add extra protection and shine. However, be sure to melt the beeswax properly and incorporate it evenly into the mixture. Start with a small amount and adjust as needed. Always test the polish on an inconspicuous area first to ensure it doesn’t react negatively with the wood finish.
Q: Is this polish safe for children and pets?
A: This polish is generally safe for children and pets, as it’s made with natural ingredients. However, it’s always a good idea to keep the polish out of reach of children and pets to prevent accidental ingestion. If your child or pet ingests the polish, contact your doctor or veterinarian immediately.
Q: My furniture has a varnish finish. Will this polish work?
A: Yes, this polish can generally be used on furniture with a varnish finish. However, it’s always a good idea to test it on an inconspicuous area first to ensure it doesn’t damage the varnish. Apply the polish sparingly and buff the surface thoroughly to avoid leaving a sticky residue. If you’re unsure, consult with a professional furniture restorer.

Leave a Comment