

DIY home scent cleaners: Who doesn’t love walking into a home that smells absolutely divine? I know I do! But let’s be honest, those store-bought air fresheners can be packed with chemicals we can barely pronounce, and they often come with a hefty price tag. That’s where the magic of DIY comes in!
For centuries, cultures around the world have used natural ingredients to scent their homes, from simmering spices on the stove to hanging fragrant herbs. Think of the ancient Egyptians using incense or the Victorian era’s potpourri bowls – creating a pleasant aroma has always been a way to enhance our living spaces and well-being.
In today’s busy world, taking a few moments to create your own DIY home scent cleaners is not only a cost-effective alternative, but it’s also a fantastic way to connect with nature and personalize your environment. Imagine crafting a citrusy spray to banish kitchen odors or a lavender-infused cleaner to create a calming atmosphere in your bedroom. This article is packed with simple, effective, and all-natural recipes that will transform your cleaning routine into an aromatherapy session. Get ready to ditch those harsh chemicals and embrace the power of homemade freshness!
DIY Home Scent Cleaners: Freshen Up Your Space Naturally!
Hey there, fellow DIY enthusiasts! I’m so excited to share some of my favorite homemade cleaning recipes that not only get your house sparkling clean but also leave it smelling absolutely divine. Forget those harsh chemicals and artificial fragrances – we’re going natural, budget-friendly, and totally customizable!
All-Purpose Citrus Cleaner
This cleaner is my go-to for countertops, sinks, and even light floor cleaning. The citrus scent is so uplifting and refreshing!
What You’ll Need:
* Citrus peels (lemon, orange, grapefruit – any combination works!)
* White vinegar
* Spray bottle
* Water (optional)
Step-by-Step Instructions:
1. Gather Your Citrus Peels: After enjoying your favorite citrus fruits, don’t toss those peels! I usually collect them in a container in the freezer until I have a good amount. The more peels you use, the stronger the citrus scent will be.
2. Prepare the Infusion: Place the citrus peels in a clean glass jar. I prefer using a mason jar.
3. Pour in the Vinegar: Cover the peels completely with white vinegar. Make sure all the peels are submerged to prevent mold growth.
4. Infuse for Two Weeks: Seal the jar tightly and store it in a cool, dark place for at least two weeks. This allows the vinegar to extract the essential oils from the peels. I usually give it a gentle shake every few days.
5. Strain the Vinegar: After two weeks, strain the vinegar through a fine-mesh sieve or cheesecloth into a clean container. Discard the peels.
6. Dilute (Optional): If the vinegar scent is too strong for you, you can dilute it with water in a spray bottle. I usually start with a 1:1 ratio (equal parts vinegar and water) and adjust to my preference.
7. Pour into Spray Bottle: Transfer the strained vinegar into a spray bottle.
8. Start Cleaning!: Spray the cleaner onto surfaces and wipe clean with a cloth.
Important Notes:
* Test on a Small Area First: Before using the cleaner on delicate surfaces like marble or granite, test it on a small, inconspicuous area to ensure it doesn’t cause any damage.
* Avoid Using on Wood: Vinegar can damage wood finishes, so avoid using this cleaner on wooden furniture or floors.
* Storage: Store the cleaner in a cool, dark place. It should last for several months.
Lavender Linen Spray
This spray is perfect for freshening up linens, curtains, and even the air! The lavender scent is so calming and relaxing.
What You’ll Need:
* Distilled water
* Witch hazel or rubbing alcohol (optional, acts as a preservative and helps the scent linger)
* Lavender essential oil
* Spray bottle
Step-by-Step Instructions:
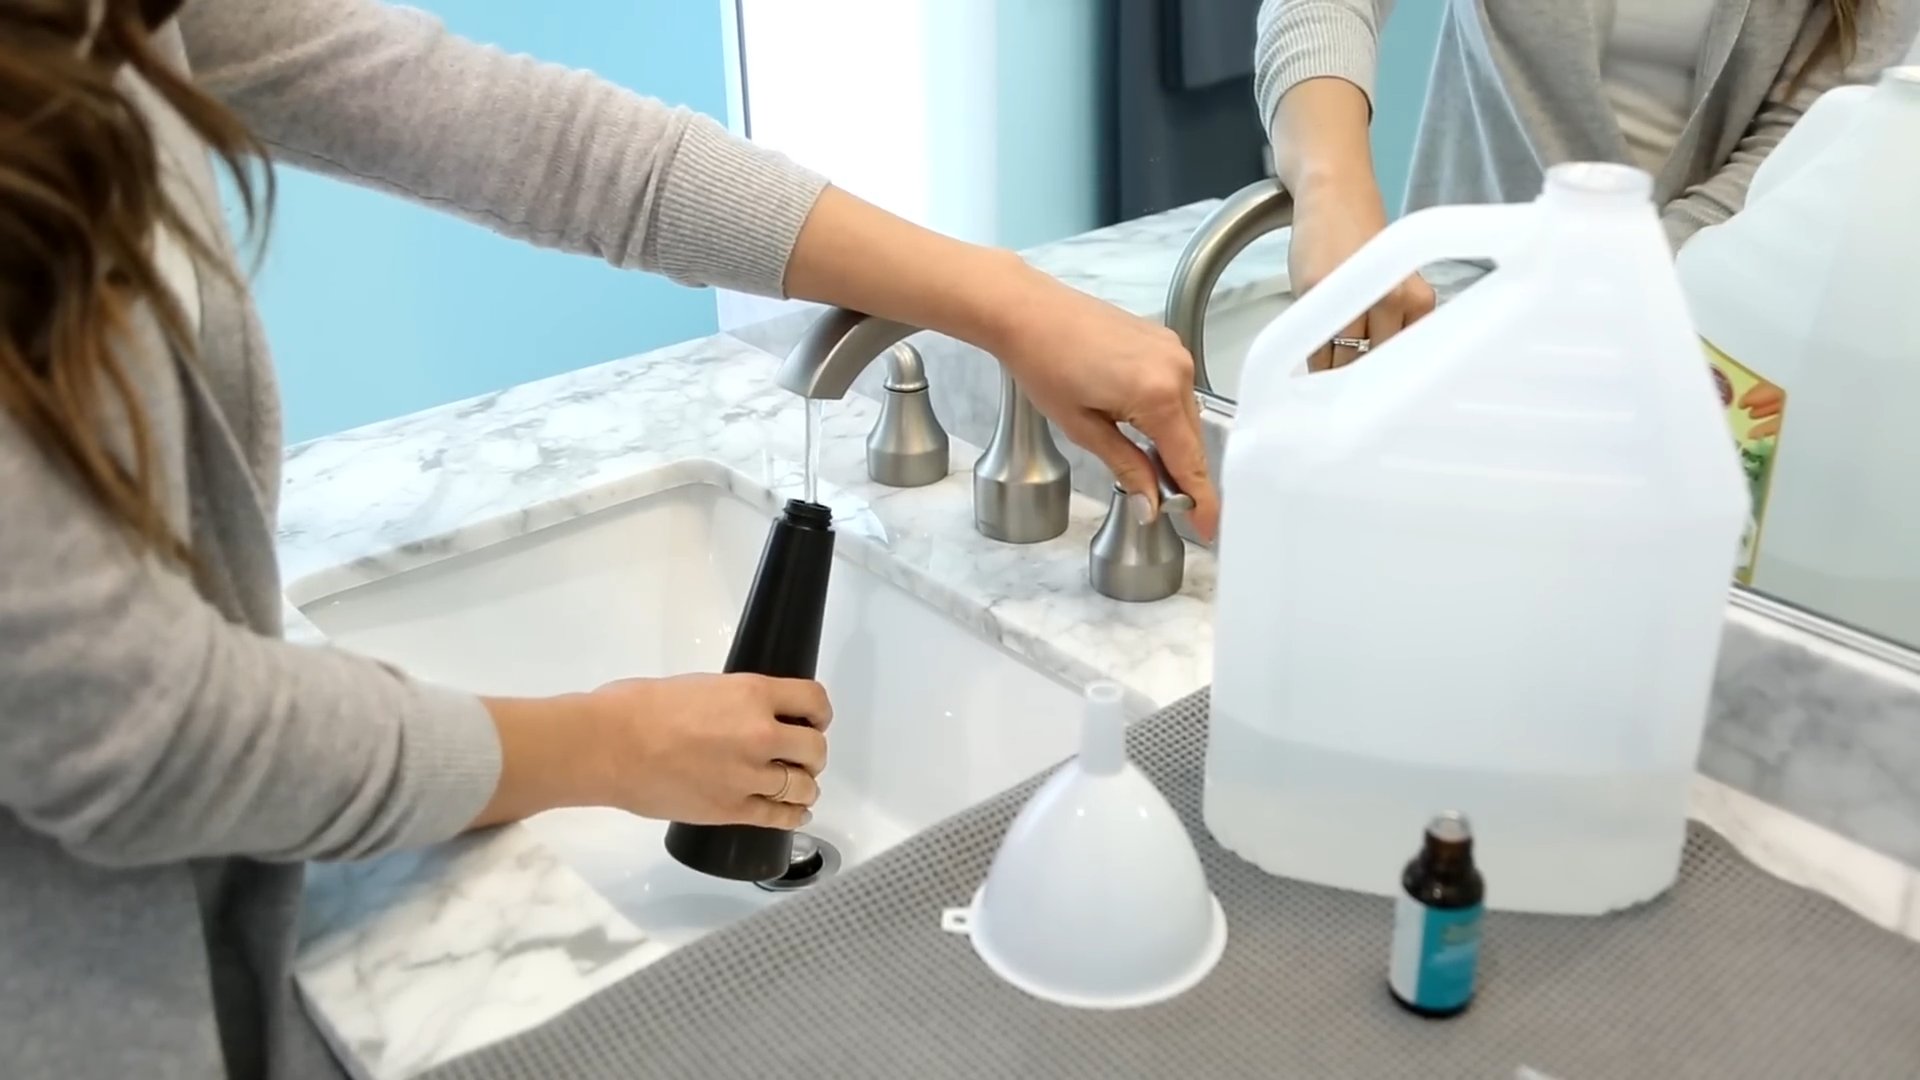
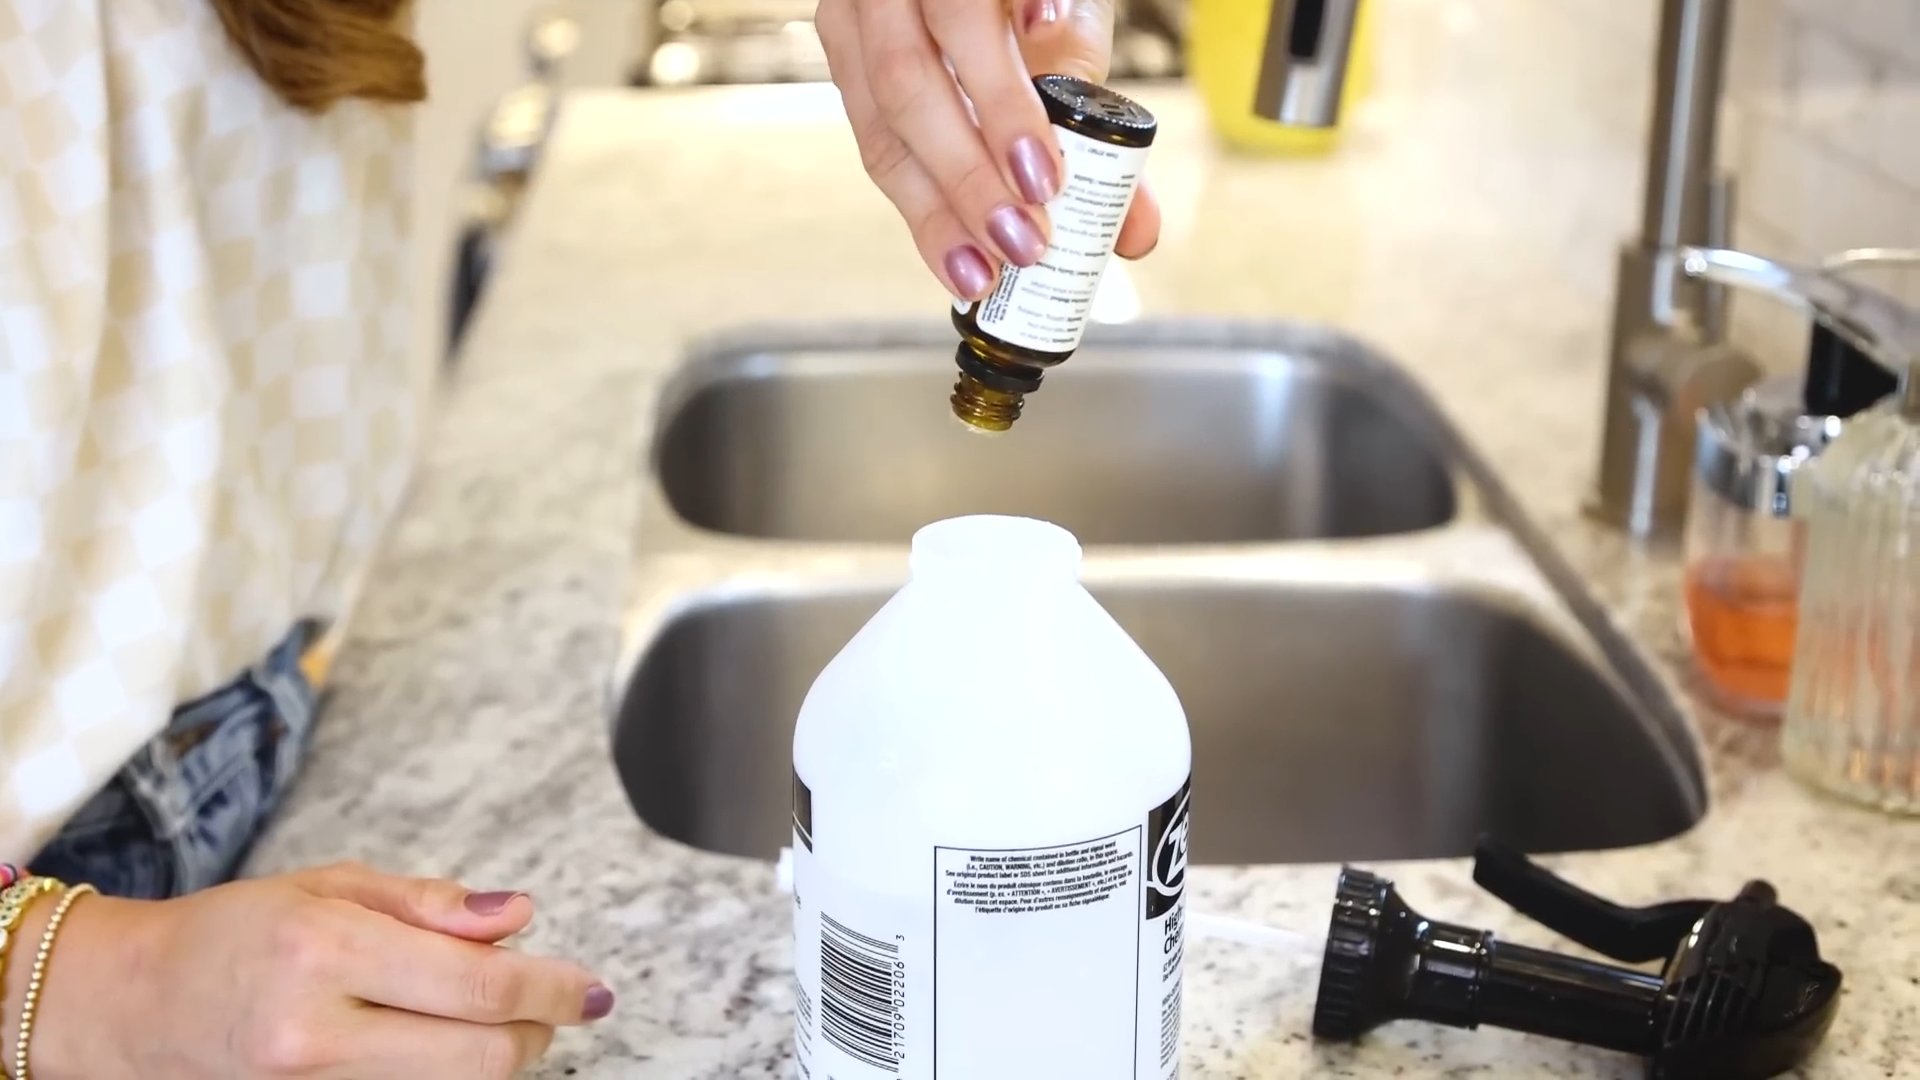
1. Choose Your Base: In a clean spray bottle, pour in distilled water. If you want to add a preservative and help the scent last longer, add a tablespoon or two of witch hazel or rubbing alcohol.
2. Add the Essential Oil: Add 15-20 drops of lavender essential oil to the spray bottle. You can adjust the amount to your preference. I usually start with 15 drops and add more if I want a stronger scent.
3. Shake Well: Close the spray bottle tightly and shake well to combine the ingredients.
4. Spray Away!: Spray the linen spray onto linens, curtains, or into the air to freshen up your space.
Important Notes:
* Shake Before Each Use: Essential oils can separate from the water, so shake the bottle well before each use.
* Avoid Spraying Directly on Silk: Essential oils can stain silk, so avoid spraying this linen spray directly on silk fabrics.
* Storage: Store the linen spray in a cool, dark place. It should last for several months.
Rosemary and Mint Glass Cleaner
This glass cleaner is not only effective at removing streaks and smudges but also leaves your windows and mirrors smelling fresh and clean.
What You’ll Need:
* White vinegar
* Water
* Fresh rosemary sprigs
* Fresh mint leaves
* Spray bottle
Step-by-Step Instructions:
1. Prepare the Infusion: In a clean glass jar, combine equal parts white vinegar and water.
2. Add the Herbs: Add a few sprigs of fresh rosemary and a handful of fresh mint leaves to the jar.
3. Infuse for One Week: Seal the jar tightly and store it in a cool, dark place for one week. This allows the vinegar to extract the essential oils from the herbs.
4. Strain the Cleaner: After one week, strain the cleaner through a fine-mesh sieve or cheesecloth into a clean spray bottle. Discard the herbs.
5. Spray and Wipe: Spray the cleaner onto glass surfaces and wipe clean with a microfiber cloth.
Important Notes:
* Use a Microfiber Cloth: Microfiber cloths are the best for cleaning glass because they don’t leave streaks or lint.
* Avoid Using in Direct Sunlight: Cleaning glass in direct sunlight can cause the cleaner to dry too quickly, leaving streaks.
* Storage: Store the cleaner in a cool, dark place. It should last for several months.
DIY Scented Toilet Bowl Cleaner
This is a great way to keep your toilet bowl clean and fresh without harsh chemicals.
What You’ll Need:
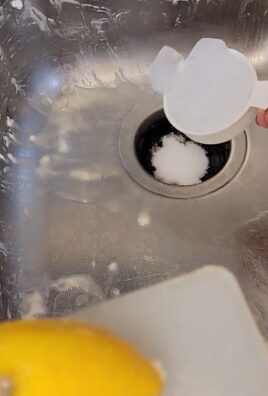
* Baking soda
* Citric acid
* Essential oil (tea tree, eucalyptus, or lemon are great choices)
* Water (in a spray bottle)
* Silicone mold (optional, for making tablets)
Step-by-Step Instructions:
1. Combine Dry Ingredients: In a bowl, mix together 1 cup of baking soda and 1/4 cup of citric acid.
2. Add Essential Oil: Add 15-20 drops of your chosen essential oil to the dry ingredients.
3. Mix Well: Use your hands or a spoon to thoroughly mix the ingredients, breaking up any clumps.
4. Slightly Moisten: Lightly spray the mixture with water from a spray bottle. You want the mixture to be slightly damp, but not wet. It should clump together when you squeeze it in your hand.
5. Mold (Optional): If you’re using a silicone mold, press the mixture firmly into the mold cavities.
6. Dry: Let the mixture dry completely. This may take several hours or overnight.
7. Store: Once dry, remove the tablets from the mold (if using) and store them in an airtight container. If not using a mold, store the powder in an airtight container.
8. Use: To use, drop a tablet (or a few tablespoons of the powder) into the toilet bowl. Let it fizz for a few minutes, then scrub with a toilet brush and flush.
Important Notes:
* Citric Acid Safety: Citric acid can be irritating to the skin, so wear gloves when handling it.
* Water Amount: Be careful not to add too much water, as this will cause the mixture to fizz prematurely.
* Storage: Store the tablets or powder in a cool, dry place.
DIY Carpet Refresher
This is a simple way to freshen up your carpets and eliminate odors.
What You’ll Need:
* Baking soda
* Essential oil (lavender, eucalyptus, or lemon are great choices)
* Jar with a shaker lid (or a sieve)
Step-by-Step Instructions:
1. Combine Ingredients: In a jar, combine 1 cup of baking soda with 10-15 drops of your chosen essential oil.
2. Mix Well: Close the jar tightly and shake well to distribute the essential oil evenly throughout the baking soda.
3. Let it Sit: Let the mixture sit for at least 30 minutes (or even overnight) to allow the baking soda to absorb the essential oil.
4. Sprinkle: Sprinkle the mixture evenly over your carpets.
5. Wait: Let the mixture sit on the carpet for at least 15-30 minutes. The longer it sits, the more odors it will absorb.
6. Vacuum: Vacuum the carpet thoroughly to remove the baking soda.
Important Notes:
* Test on a Small Area First: Before using the carpet refresher on your entire carpet, test it on a small, inconspicuous area to ensure it doesn’t cause any discoloration.
* Vacuum Thoroughly: Make sure to vacuum the carpet thoroughly to remove all of the baking soda.
* Frequency: You
Conclusion
Forget those expensive, chemical-laden air fresheners and embrace the power of natural, homemade freshness! This DIY home scent cleaner trick isn’t just about saving money; it’s about creating a healthier, more inviting atmosphere in your home, customized to your personal preferences. We’ve shown you how simple it is to transform everyday ingredients into powerful odor eliminators and delightful fragrances.
Why is this a must-try? Because it’s effective, affordable, and completely customizable. You control exactly what goes into your cleaner, avoiding harsh chemicals and artificial scents that can trigger allergies or sensitivities. Plus, the satisfaction of creating something yourself that makes your home smell amazing is truly rewarding.
Think beyond the basic recipe! Experiment with different essential oil blends to create unique signature scents for each room. For a calming bedroom spray, try lavender and chamomile. For an energizing kitchen cleaner, opt for lemon and rosemary. A few drops of tea tree oil can add antibacterial properties, perfect for bathrooms. You can even infuse your vinegar with citrus peels or herbs for an extra boost of fragrance and cleaning power. Consider adding a tablespoon of baking soda to your spray bottle for extra odor absorption.
Don’t limit yourself to just spraying! Use your DIY home scent cleaner to freshen up carpets (test in an inconspicuous area first!), upholstery, or even your car. A quick spritz on curtains or linens can instantly revitalize a room. You can also soak cotton balls in your favorite scent blend and place them in drawers, closets, or even your vacuum cleaner bag for a subtle, long-lasting fragrance.
We are confident that once you try this DIY home scent cleaner trick, you’ll never go back to store-bought alternatives. It’s a game-changer for creating a fresh, clean, and inviting home environment.
So, what are you waiting for? Gather your ingredients, unleash your creativity, and transform your home into a fragrant oasis. We encourage you to try this simple yet effective method and share your experiences with us! Let us know your favorite scent combinations, any variations you’ve tried, and how this DIY home scent cleaner has improved your home environment. Share your tips and tricks in the comments below – we can all learn from each other! We can’t wait to hear about your fragrant creations!
Frequently Asked Questions (FAQ)
What exactly are the benefits of making my own home scent cleaner versus buying one from the store?
There are several compelling reasons to choose a DIY approach. Firstly, you have complete control over the ingredients. Store-bought air fresheners often contain harsh chemicals, synthetic fragrances, and volatile organic compounds (VOCs) that can be harmful to your health, especially for individuals with allergies, asthma, or sensitivities. By making your own, you can use natural ingredients like essential oils, vinegar, and water, avoiding these potentially harmful substances. Secondly, it’s significantly more cost-effective. The ingredients for DIY cleaners are typically inexpensive and readily available. Thirdly, you can customize the scent to your exact preferences. No more settling for generic fragrances – you can create unique blends that perfectly match your taste and the ambiance you want to create in your home. Finally, it’s an environmentally friendly option, reducing plastic waste from disposable air fresheners.
Can I use any type of essential oil in my DIY home scent cleaner?
While you can use a wide variety of essential oils, it’s important to choose high-quality, pure essential oils for the best results and to avoid potential skin irritation or allergic reactions. Research the properties of each oil before using it, as some oils are better suited for certain purposes or environments. For example, citrus oils like lemon and orange are uplifting and energizing, making them great for kitchens and living rooms, while lavender and chamomile are calming and relaxing, ideal for bedrooms. Be mindful of pets and children, as some essential oils can be toxic to them. Always dilute essential oils properly before use. If you are pregnant or have any underlying health conditions, consult with a healthcare professional before using essential oils.
What type of vinegar should I use for my DIY home scent cleaner?
White distilled vinegar is the best choice for DIY cleaning solutions. It’s inexpensive, readily available, and has a strong cleaning and deodorizing power. The vinegar smell dissipates quickly, leaving behind only the scent of the essential oils. Avoid using other types of vinegar, such as apple cider vinegar or balsamic vinegar, as they may leave a lingering odor or stain surfaces.
How long does a DIY home scent cleaner last?
The shelf life of your DIY home scent cleaner depends on the ingredients you use. A simple mixture of vinegar, water, and essential oils will typically last for several weeks to a few months when stored in a cool, dark place. To prolong its shelf life, use distilled water instead of tap water, as tap water can contain impurities that can cause the mixture to spoil more quickly. If you notice any changes in color, odor, or consistency, discard the cleaner.
Will the vinegar smell linger after I spray the cleaner?
No, the vinegar smell will dissipate quickly after spraying. The essential oils will mask the vinegar scent and leave behind a pleasant fragrance. If you are particularly sensitive to the smell of vinegar, you can start with a smaller amount and gradually increase it until you achieve the desired cleaning and deodorizing effect.
Can I use this DIY home scent cleaner on all surfaces?
While this cleaner is generally safe for most surfaces, it’s always a good idea to test it in an inconspicuous area first, especially on delicate or porous materials like wood, leather, or painted surfaces. Avoid using it on marble or granite, as the vinegar can etch these surfaces.
How often should I use my DIY home scent cleaner?
The frequency of use depends on your personal preferences and the needs of your home. You can use it daily to freshen up rooms, eliminate odors, or simply create a pleasant atmosphere. For areas with strong odors, such as bathrooms or kitchens, you may need to use it more frequently.
Can I add other ingredients to my DIY home scent cleaner?
Yes, you can experiment with other ingredients to enhance the cleaning and scenting properties of your cleaner. For example, you can add a tablespoon of baking soda to help absorb odors, or infuse your vinegar with citrus peels or herbs for an extra boost of fragrance. You can also add a small amount of rubbing alcohol to help the cleaner dry faster.
Is this DIY home scent cleaner safe for pets and children?
While the ingredients in this cleaner are generally safe, it’s important to exercise caution when using it around pets and children. Some essential oils can be toxic to pets, so research the safety of each oil before using it. Keep the cleaner out of reach of children and pets, and avoid spraying it directly on them. If you are concerned about potential sensitivities or allergies, consult with a veterinarian or pediatrician before using the cleaner.
My DIY home scent cleaner seems cloudy. Is that normal?
Cloudiness in your DIY cleaner is usually due to the essential oils not fully dissolving in the water. This is perfectly normal and doesn’t affect the effectiveness of the cleaner. Simply shake the bottle well before each use to redistribute the oils. Using warm water can also help the oils dissolve more easily.


Leave a Comment