

Cleaning shortcuts that work are like hidden treasures in the world of household chores, aren’t they? I mean, who doesn’t dream of spending less time scrubbing and more time enjoying life? For generations, resourceful homemakers have passed down clever cleaning hacks, often born out of necessity and a desire to simplify daily life. Think about it – our grandmothers probably didn’t have a plethora of fancy cleaning products, so they relied on ingenuity and readily available ingredients like vinegar and baking soda. These weren’t just random experiments; they were time-tested solutions that actually worked!
Today, with our busy schedules, the need for effective cleaning shortcuts that work is greater than ever. We’re constantly juggling work, family, and personal commitments, leaving little room for hours of tedious cleaning. That’s where this article comes in! I’m going to share some of my favorite DIY cleaning tricks that will save you time, money, and a whole lot of elbow grease. These aren’t just quick fixes; they’re practical solutions that will help you maintain a clean and comfortable home without sacrificing your precious free time. Get ready to discover some game-changing cleaning hacks that will transform your cleaning routine!
DIY Oven Cleaning Hack: Sparkling Clean with Baking Soda and Vinegar
Okay, let’s be honest, cleaning the oven is the absolute WORST chore. But it doesn’t have to be a toxic, fume-filled nightmare! I’m going to show you my favorite DIY oven cleaning hack using just baking soda and vinegar. It’s cheap, effective, and way better for your health and the environment. Trust me, once you try this, you’ll never go back to harsh chemical cleaners.
What You’ll Need:
* Baking Soda
* White Vinegar
* Water
* Spray Bottle
* Spatula or Scraper
* Rubber Gloves (optional, but recommended!)
* Sponge or Cloth
* Old Towels or Rags
Getting Started: Preparing Your Oven
Before we dive into the cleaning process, let’s get the oven ready. This is a crucial step to ensure the baking soda paste adheres properly and works its magic.
1. Remove Oven Racks and Accessories: Take out everything from your oven – racks, baking stones, pizza pans, thermometers, anything that’s in there. We’ll clean the racks separately (more on that later!).
2. Wipe Up Loose Debris: Use a damp cloth or sponge to wipe up any loose crumbs, spills, or burnt bits from the bottom of the oven. This will help the baking soda paste work more effectively.
3. Optional: Lightly Dampen the Oven Interior: I sometimes lightly dampen the interior of the oven with a spray bottle filled with water. This helps the baking soda paste stick better, but it’s not absolutely necessary.
Making and Applying the Baking Soda Paste
This is where the magic happens! The baking soda paste is our main cleaning agent, and it’s surprisingly powerful.
1. Mix the Baking Soda Paste: In a bowl, mix 1/2 cup of baking soda with a few tablespoons of water. Add water gradually until you form a thick, spreadable paste. You want it to be like a thick frosting consistency. If you add too much water, just add more baking soda to thicken it up.
2. Coat the Oven Interior: Using your hands (with gloves, if you prefer), a spatula, or a sponge, spread the baking soda paste all over the inside of your oven. This includes the bottom, sides, top, and even the door. Avoid the heating elements!
3. Focus on Problem Areas: Pay extra attention to areas with baked-on grease or food splatters. Apply a thicker layer of paste to these spots.
4. Let it Sit (and Work its Magic!): This is the most important part! Let the baking soda paste sit in your oven for at least 12 hours, or even overnight. The longer it sits, the better it will work at loosening the grime. I usually do this before I go to bed so it has all night to work.
Cleaning the Oven Racks
While the baking soda paste is working its magic inside the oven, let’s tackle those greasy oven racks.
1. Choose Your Method: There are a couple of ways to clean oven racks. I’ll share my two favorite methods:
* Method 1: The Bathtub Soak: This is my go-to method for really dirty racks.
* Line your bathtub with old towels to protect the surface.
* Place the oven racks in the bathtub.
* Sprinkle a generous amount of baking soda over the racks.
* Slowly pour in hot water until the racks are completely submerged.
* Add about 1/2 cup of dish soap to the water.
* Let the racks soak for at least 4 hours, or even overnight.
* Method 2: The Trash Bag Method: This is a good option if you don’t want to use your bathtub.
* Place the oven racks inside a large, heavy-duty trash bag.
* Pour in about 1/2 cup of ammonia (be careful with ammonia – use gloves and work in a well-ventilated area!).
* Seal the trash bag tightly.
* Let the racks sit in the bag for at least 12 hours, or overnight.
2. Scrub and Rinse: After soaking, use a scrub brush or sponge to scrub the racks clean. The grime should come off easily.
3. Rinse Thoroughly: Rinse the racks thoroughly with clean water to remove any remaining soap or ammonia (if you used that method).
4. Dry Completely: Dry the racks completely with a clean towel before putting them back in the oven.
Removing the Baking Soda Paste and Final Touches
Okay, the baking soda has been working hard all night (or all day!), and now it’s time to remove it and reveal a sparkling clean oven.
1. Vinegar Power: Fill a spray bottle with white vinegar. Spray the entire interior of the oven, focusing on the areas where you applied the baking soda paste. The vinegar will react with the baking soda, creating a fizzing action that helps to loosen the remaining grime.
2. Wipe Away the Grime: Using a damp sponge or cloth, wipe away the baking soda and vinegar mixture. You might need to use a little elbow grease for stubborn spots. A plastic scraper can also be helpful for removing baked-on residue.
3. Rinse and Repeat: Rinse your sponge or cloth frequently with clean water. You might need to wipe down the oven several times to remove all traces of baking soda and vinegar.
4. Dry the Oven: Once you’ve removed all the baking soda and vinegar, dry the oven interior with a clean towel.
5. Reassemble: Put the clean oven racks back into the oven.
6. Optional: Bake it Out: To get rid of any lingering vinegar smell, you can turn on your oven to a low temperature (around 200°F) for about 15-20 minutes. This will help to evaporate any remaining moisture and odor.
Dealing with Stubborn Stains
Sometimes, even with the baking soda and vinegar magic, you might encounter some stubborn stains that just won’t budge. Don’t worry, I’ve got a few tricks up my sleeve!
* Baking Soda and Salt Scrub: For really tough stains, make a paste of baking soda, salt, and a little bit of water. Apply the paste to the stain and let it sit for a few minutes before scrubbing.
* Lemon Juice: Lemon juice is a natural degreaser and can help to loosen stubborn stains. Cut a lemon in half and rub it directly onto the stain. Let it sit for a few minutes before wiping it away.
* Steel Wool (Use with Caution!): If all else fails, you can try using steel wool to scrub the stain. However, be very careful when using steel wool, as it can scratch the oven surface. Test it in an inconspicuous area first to make sure it doesn’t damage the finish.
Preventative Measures: Keeping Your Oven Clean
Now that your oven is sparkling clean, let’s talk about how to keep it that way! A little prevention goes a long way in avoiding future oven-cleaning nightmares.
* Wipe Up Spills Immediately: The best way to prevent baked-on messes is to wipe up spills as soon as they happen.
* Use Oven Liners: Oven liners can catch drips and spills, preventing them from baking onto the bottom of your oven.
* Self-Cleaning Cycle (Use Sparingly): If your oven has a self-cleaning cycle, use it sparingly. Self-cleaning cycles can generate extremely high temperatures, which can damage your oven and release harmful fumes.
* Regular Cleaning: Even if you’re diligent about wiping up spills, it’s still a good idea to give your oven a thorough cleaning every few months.
Cleaning the Oven Door Glass
Don’t forget about the oven door glass! This is often the dirtiest part of the oven, and it can be difficult to clean.
1. Baking Soda Paste: Apply the same baking soda paste that you used inside the oven to the oven door glass.
2. Let it Sit: Let the paste sit on the glass for at least 30 minutes.
3. Wipe and Scrub: Wipe away the paste with a damp sponge or cloth. You might need to use a little elbow grease to remove stubborn stains. A plastic scraper can also be helpful.
4. Vinegar Rinse: Spray the glass with white vinegar and wipe it clean.
5. Dry: Dry the glass with a clean towel.
Important Safety Tips
* Unplug Your Oven: Before you start cleaning, unplug your oven to prevent any accidental shocks.
* Wear Gloves: Rubber gloves will protect your hands from the baking soda and vinegar, as well as any harsh chemicals you might use.
* Ventilation: Work in a well-
Conclusion
So, there you have it! This simple cleaning shortcut that works is more than just a time-saver; it’s a game-changer for maintaining a sparkling home without sacrificing your precious free time. We’ve all been there, staring down a mountain of cleaning tasks and feeling overwhelmed. But with this easy-to-implement trick, you can tackle those chores with confidence and efficiency.
The beauty of this method lies in its adaptability. Feel free to experiment with different essential oils to create a scent that invigorates you and complements your home. Lavender for relaxation, citrus for energy, or eucalyptus for a refreshing clean – the possibilities are endless! You can also adjust the concentration of the cleaning solution to suit your specific needs. For tougher stains or grimy surfaces, a slightly stronger solution might be necessary. Conversely, for delicate surfaces, a more diluted mixture is recommended.
Beyond the basic recipe, consider adding a tablespoon of white vinegar for extra degreasing power, especially in the kitchen. Or, if you’re dealing with hard water stains, a squeeze of lemon juice can work wonders. The key is to find what works best for your home and your cleaning style.
This cleaning shortcut that works is not just about speed; it’s about sustainability. By using readily available ingredients and reducing your reliance on harsh chemical cleaners, you’re making a conscious choice to protect your health and the environment. Plus, it’s incredibly cost-effective! You’ll be amazed at how much money you can save by making your own cleaning solutions.
We genuinely believe that this cleaning shortcut that works will revolutionize your cleaning routine. It’s simple, effective, and customizable to your individual needs. But don’t just take our word for it – try it out for yourself! We’re confident that you’ll be thrilled with the results.
We encourage you to give this DIY cleaning trick a try and share your experience with us. Let us know what variations you’ve discovered, what scents you love, and how it’s transformed your cleaning routine. Your feedback is invaluable and helps us refine and improve our recommendations. Share your tips and tricks in the comments below, and let’s create a community of happy, efficient cleaners! We can’t wait to hear your success stories!
Frequently Asked Questions
Is this cleaning shortcut that works safe for all surfaces?
That’s a great question! While the basic recipe is generally safe for most surfaces, it’s always a good idea to test it in an inconspicuous area first, especially on delicate materials like wood, marble, or painted surfaces. Observe the area for any discoloration, etching, or other adverse reactions. If you’re unsure, consult the manufacturer’s instructions for the specific surface you’re cleaning. For example, some natural stone surfaces are sensitive to acidic cleaners like vinegar or lemon juice. If you’re concerned, stick to a mild soap and water solution or a cleaner specifically designed for that type of surface.
Can I use different essential oils?
Absolutely! The beauty of this DIY cleaning shortcut that works is its versatility. Feel free to experiment with different essential oils to create a scent that you enjoy and that suits the purpose of your cleaning. Lavender is known for its calming properties and is great for bedrooms and bathrooms. Citrus oils like lemon, orange, and grapefruit are invigorating and perfect for kitchens and living areas. Tea tree oil has antibacterial properties and is ideal for cleaning surfaces that come into contact with food. Eucalyptus oil is refreshing and can help clear sinuses, making it a good choice for bathrooms. Just be sure to use pure, high-quality essential oils for the best results and avoid using oils that you are allergic to.
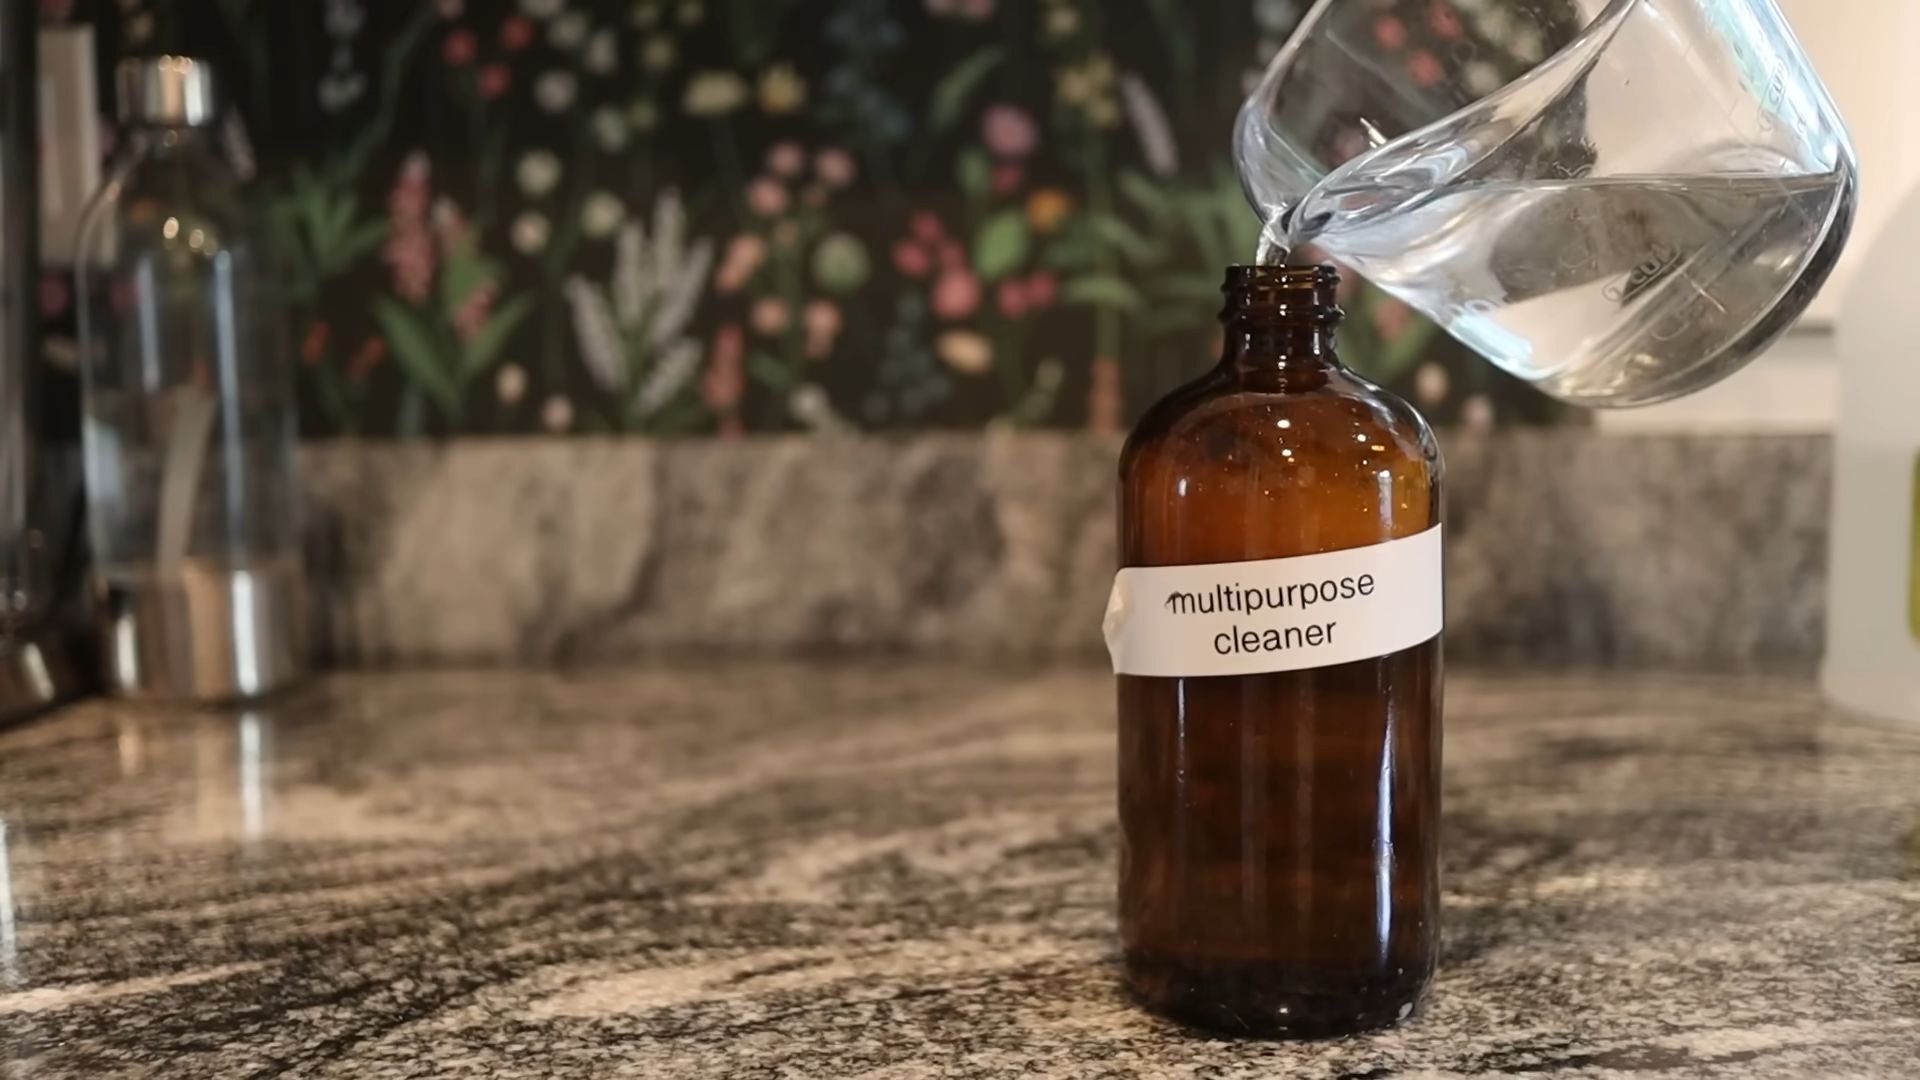
How long does the cleaning solution last?
The shelf life of your homemade cleaning solution will depend on the ingredients you use. Generally, a solution made with distilled water and essential oils will last for several weeks to a month when stored in a cool, dark place. The essential oils act as natural preservatives, helping to prevent bacterial growth. However, if you add fresh ingredients like lemon juice or vinegar, the solution may not last as long. It’s best to use these solutions within a week or two. To ensure the longevity of your cleaning solution, store it in an airtight container, preferably a dark glass bottle, to protect it from light and air. If you notice any changes in color, odor, or consistency, it’s best to discard the solution and make a fresh batch.
Can I use this cleaning shortcut that works on my floors?
Yes, you can use this cleaning shortcut that works on most types of floors, but it’s important to consider the material of your flooring. For hardwood floors, use a diluted solution and avoid excessive moisture, as water can damage the wood. Mop the floor with a damp mop, not a soaking wet one, and dry it immediately with a clean towel. For tile floors, you can use a slightly stronger solution. For laminate floors, follow the manufacturer’s instructions, as some cleaners can damage the finish. Always test the solution in an inconspicuous area first to ensure it doesn’t damage or discolor the flooring. Avoid using abrasive cleaners or scrub brushes, as these can scratch the surface.
Is this cleaning shortcut that works safe for pets and children?
While this cleaning shortcut that works is generally safer than harsh chemical cleaners, it’s still important to take precautions when using it around pets and children. Essential oils can be toxic to pets if ingested, so keep the cleaning solution out of their reach. When cleaning surfaces that pets or children may come into contact with, rinse the area thoroughly with water after cleaning to remove any residue. Avoid using essential oils that are known to be toxic to pets, such as tea tree oil, pennyroyal, and wintergreen. If you’re concerned about allergies or sensitivities, consult with your veterinarian or pediatrician before using this cleaning solution. Always store cleaning solutions in a safe place, out of reach of children and pets, and label them clearly to avoid accidental ingestion.
What if I don’t have essential oils? Can I still use this cleaning shortcut that works?
Yes, you can still use this cleaning shortcut that works even if you don’t have essential oils. While essential oils add a pleasant scent and can provide additional cleaning benefits, they are not essential for the effectiveness of the solution. You can simply omit the essential oils and use a mixture of water and soap or vinegar. For example, a solution of water and dish soap can be used to clean most surfaces. Or, a solution of water and vinegar can be used to disinfect and deodorize. The key is to find a combination of ingredients that works for your specific cleaning needs and that is safe for the surfaces you are cleaning.
How does this cleaning shortcut that works compare to store-bought cleaners?
This cleaning shortcut that works offers several advantages over store-bought cleaners. First, it’s more environmentally friendly, as it reduces your reliance on harsh chemicals and plastic packaging. Second, it’s more cost-effective, as you can make a large batch of cleaning solution for a fraction of the cost of store-bought cleaners. Third, it’s customizable, allowing you to tailor the scent and strength of the solution to your specific needs. However, store-bought cleaners may be more convenient, as they are readily available and often formulated for specific cleaning tasks. Ultimately, the best choice depends on your individual preferences and priorities. If you’re looking for a sustainable, cost-effective, and customizable cleaning solution, this DIY trick is a great option. If you prioritize convenience and specialized cleaning formulas, store-bought cleaners may be a better choice.

Leave a Comment