

Deep Cleaning Hacks for Home – that’s what we’re diving into today! Are you tired of that lingering dust, the grime that just won’t budge, or the feeling that your home isn’t as sparkling as it could be? I know I am! We’ve all been there, staring at a messy space, feeling overwhelmed and unsure where to even begin. But fear not, because I’m about to share some game-changing DIY deep cleaning secrets that will transform your living space from drab to fab!
The desire for a clean and organized home isn’t new. Throughout history, different cultures have placed immense value on cleanliness, often associating it with spiritual purity and well-being. Think of the elaborate cleaning rituals in ancient civilizations or the meticulous housekeeping practices passed down through generations. While our methods have evolved, the underlying desire for a fresh and healthy living environment remains constant.
In today’s busy world, finding the time and energy for a thorough deep clean can feel like a monumental task. That’s where these deep cleaning hacks for home come in! I’m going to show you simple, effective, and often inexpensive ways to tackle those tough cleaning challenges. From banishing stubborn stains to decluttering like a pro, these DIY tricks will not only save you time and money but also leave you with a home you can truly be proud of. Get ready to roll up your sleeves and discover the joy of a sparkling clean home!
Deep Cleaning Hacks for Home: My Ultimate DIY Guide
Okay, friends, let’s talk deep cleaning! We all love a sparkling clean home, but the thought of actually *doing* the deep cleaning? Not so much. But trust me, with these DIY hacks, you can tackle even the grimiest corners and make your house shine without breaking the bank or spending a whole weekend scrubbing. I’ve tried and tested these methods myself, and they’ve seriously transformed my cleaning routine. So, grab your gloves, put on some upbeat music, and let’s get started!
Tackling the Kitchen: Grease Be Gone!
The kitchen is often the heart of the home, but it’s also a magnet for grease, spills, and general mess. Here’s how I conquer the kitchen grime:
Cleaning the Oven Like a Pro
Oven cleaning is my least favorite chore, but this method makes it surprisingly manageable.
1. Gather Your Supplies: You’ll need baking soda, white vinegar, water, a spray bottle, a sponge, and a scraper (optional, but helpful for stubborn spots).
2. Empty the Oven: Remove all racks, baking sheets, and anything else inside the oven.
3. Make a Baking Soda Paste: In a bowl, mix 1/2 cup of baking soda with enough water to form a spreadable paste.
4. Coat the Oven: Spread the baking soda paste all over the interior surfaces of the oven, avoiding the heating elements. I usually wear gloves for this step, as the baking soda can be a bit drying.
5. Let it Sit Overnight: This is the key! Let the baking soda paste sit for at least 12 hours, or even better, overnight. This gives it time to loosen the baked-on grime.
6. Scrub and Scrape: The next day, use a damp sponge to scrub the oven. The baking soda paste should have softened the grime, making it easier to remove. For stubborn spots, use a scraper.
7. Vinegar Power: Fill a spray bottle with white vinegar. Spray the inside of the oven with vinegar. The vinegar will react with the remaining baking soda, creating a foamy mixture.
8. Wipe Clean: Wipe the oven clean with a damp sponge or cloth. You may need to rinse and repeat a few times to remove all traces of baking soda and vinegar.
9. Replace the Racks: Once the oven is completely clean and dry, replace the racks.
Degreasing the Stovetop
A greasy stovetop is a common kitchen woe. Here’s my go-to solution:
1. Gather Your Supplies: You’ll need baking soda, dish soap, white vinegar (optional), a sponge, and a microfiber cloth.
2. Remove Grates and Burner Caps: Take off the stovetop grates and burner caps.
3. Soak the Grates: Fill your sink or a large tub with hot, soapy water. Add the grates and let them soak for at least 30 minutes. For extra degreasing power, add 1/2 cup of baking soda to the water.
4. Clean the Stovetop: Sprinkle baking soda generously over the stovetop surface.
5. Add Dish Soap: Squirt a few drops of dish soap onto the baking soda.
6. Scrub Gently: Use a damp sponge to scrub the stovetop. The baking soda acts as a gentle abrasive, helping to lift grease and grime.
7. Rinse and Wipe: Rinse the stovetop with clean water and wipe it dry with a microfiber cloth.
8. Clean the Burner Caps: While the grates are soaking, clean the burner caps with a sponge and soapy water. Rinse and dry them thoroughly.
9. Tackle Stubborn Grease: For stubborn grease stains, make a paste of baking soda and water. Apply the paste to the stains, let it sit for a few minutes, and then scrub. You can also try spraying the stains with white vinegar before scrubbing.
10. Reassemble: Once everything is clean and dry, replace the grates and burner caps.
Cleaning the Microwave: Steam Power!
This is the easiest microwave cleaning hack ever!
1. Gather Your Supplies: You’ll need a microwave-safe bowl, water, white vinegar or lemon juice.
2. Fill the Bowl: Fill the bowl with 1 cup of water and 2 tablespoons of white vinegar or lemon juice.
3. Microwave: Place the bowl in the microwave and heat it on high for 5-10 minutes, or until the water boils and the microwave is filled with steam.
4. Let it Sit: Leave the microwave door closed for another 5-10 minutes to allow the steam to loosen the grime.
5. Wipe Clean: Carefully remove the bowl (it will be hot!). Use a damp sponge or cloth to wipe the inside of the microwave clean. The steam should have loosened the grime, making it easy to remove.
Bathroom Bliss: Sparkling Clean Surfaces
The bathroom can quickly become a breeding ground for mold, mildew, and soap scum. Here’s how I keep my bathroom sparkling:
Cleaning Showerheads: Vinegar Soak
A clogged showerhead can reduce water pressure and make showering less enjoyable. This vinegar soak will dissolve mineral deposits and restore your showerhead to its former glory.
1. Gather Your Supplies: You’ll need white vinegar, a plastic bag, a rubber band or twist tie.
2. Fill the Bag: Fill the plastic bag with white vinegar.
3. Attach the Bag: Place the bag over the showerhead, ensuring that the showerhead is completely submerged in the vinegar. Secure the bag with a rubber band or twist tie.
4. Soak Overnight: Let the showerhead soak in the vinegar overnight.
5. Remove and Rinse: The next day, remove the bag and rinse the showerhead thoroughly with water.
6. Scrub if Needed: If there are still any mineral deposits remaining, use an old toothbrush to scrub them away.
Tackling Toilet Stains
Toilet stains can be unsightly and difficult to remove. Here’s my secret weapon:
1. Gather Your Supplies: You’ll need baking soda, white vinegar, a toilet brush.
2. Sprinkle Baking Soda: Sprinkle 1 cup of baking soda into the toilet bowl.
3. Add Vinegar: Pour 1 cup of white vinegar into the toilet bowl. The mixture will fizz.
4. Let it Sit: Let the mixture sit for at least 30 minutes, or even better, overnight.
5. Scrub and Flush: Scrub the toilet bowl with a toilet brush and then flush.
Cleaning Grout: Baking Soda and Vinegar Magic
Dirty grout can make even the cleanest bathroom look grimy. This baking soda and vinegar paste will brighten your grout and remove stains.
1. Gather Your Supplies: You’ll need baking soda, white vinegar, an old toothbrush or grout brush.
2. Make a Paste: Mix baking soda and white vinegar to form a thick paste.
3. Apply the Paste: Apply the paste to the grout lines.
4. Let it Sit: Let the paste sit for 15-20 minutes.
5. Scrub: Scrub the grout lines with an old toothbrush or grout brush.
6. Rinse: Rinse the grout lines with water.
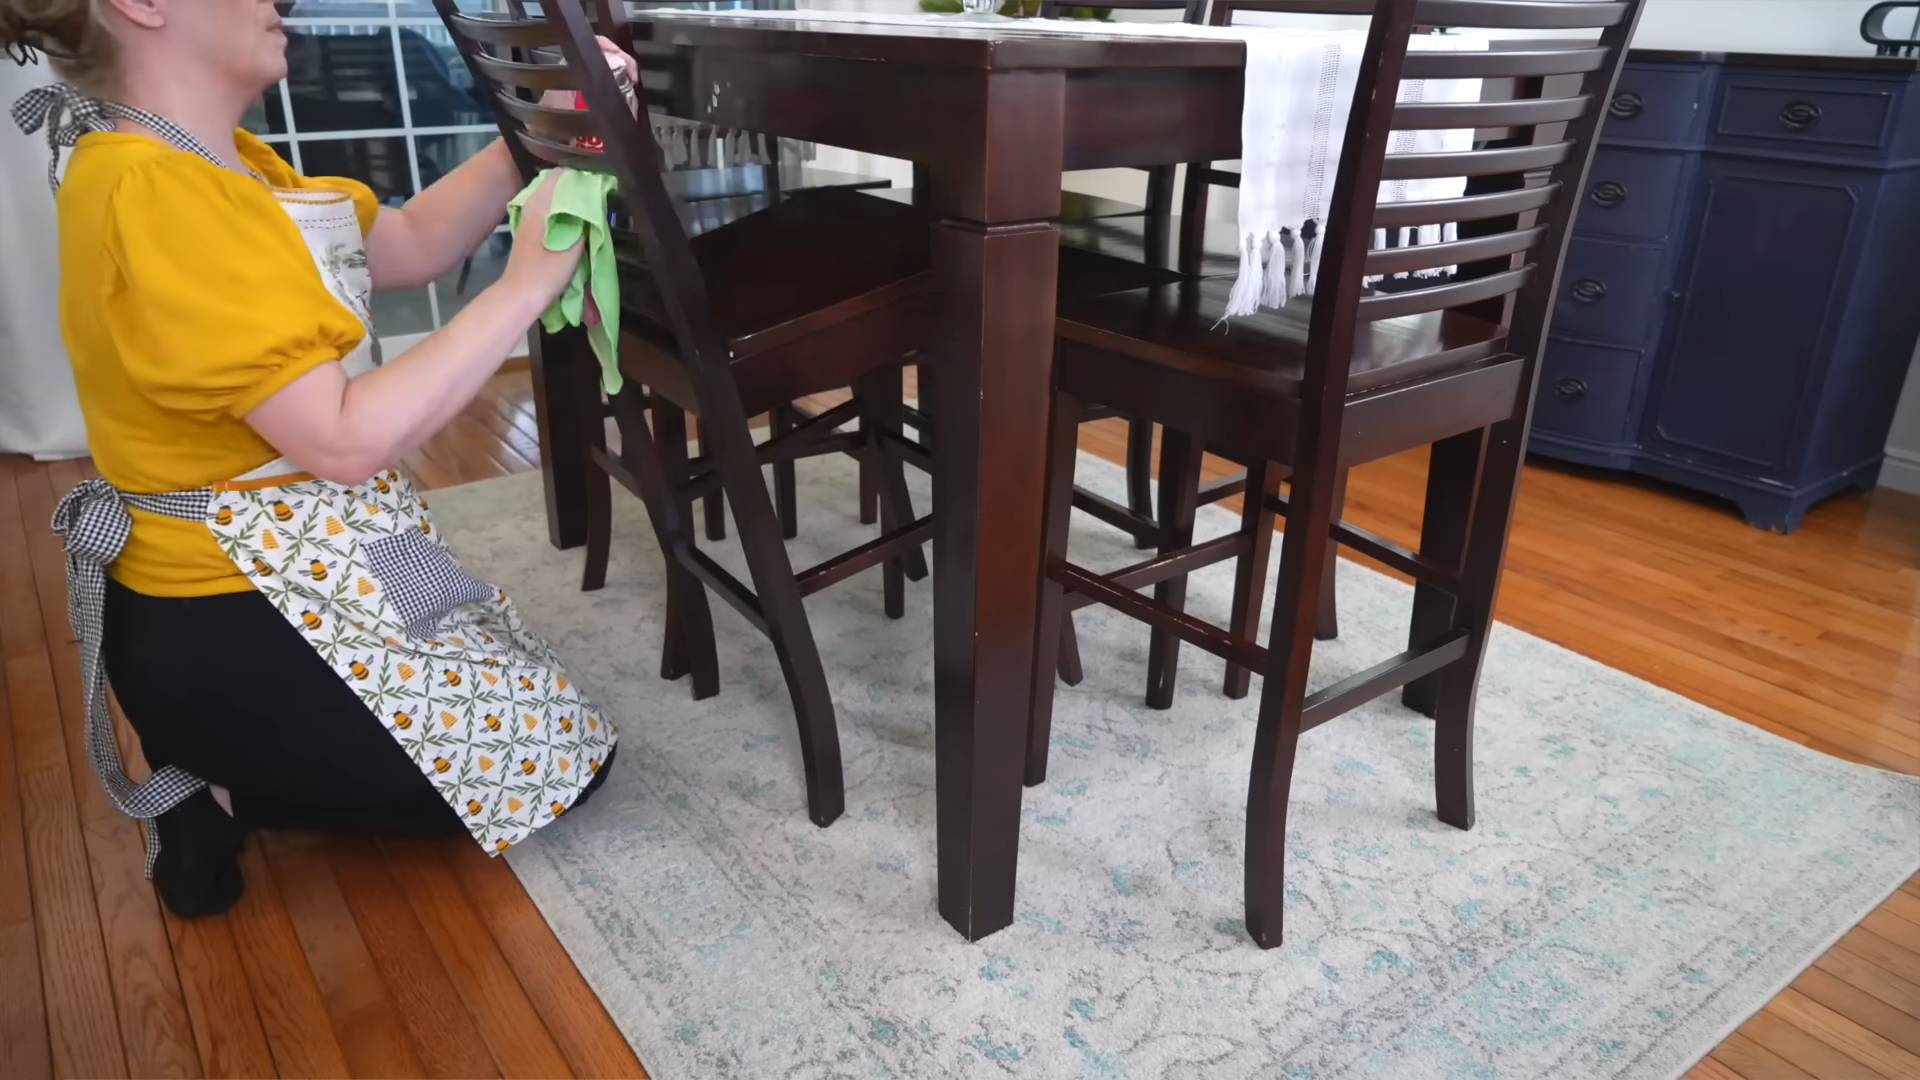
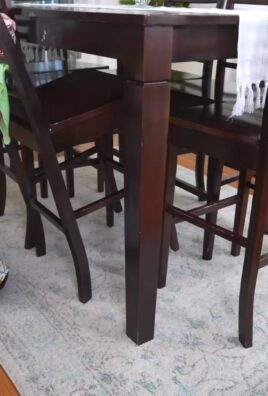
Living Room Refresh: Dust-Free and Fabulous
The living room is where we relax and entertain, so it’s important to keep it clean and inviting.
Dusting Like a Pro
Dusting is a never-ending battle, but these tips will help you win the war.
1. Gather Your Supplies: You’ll need microfiber cloths, a duster with an extendable handle, a vacuum cleaner with a brush attachment.
2. Dust High to Low: Start by dusting high surfaces, such as ceiling fans and light fixtures, and work your way down. This prevents dust from falling onto already cleaned surfaces.
3. Use Microfiber Cloths: Microfiber cloths are excellent for trapping dust and preventing it from spreading.
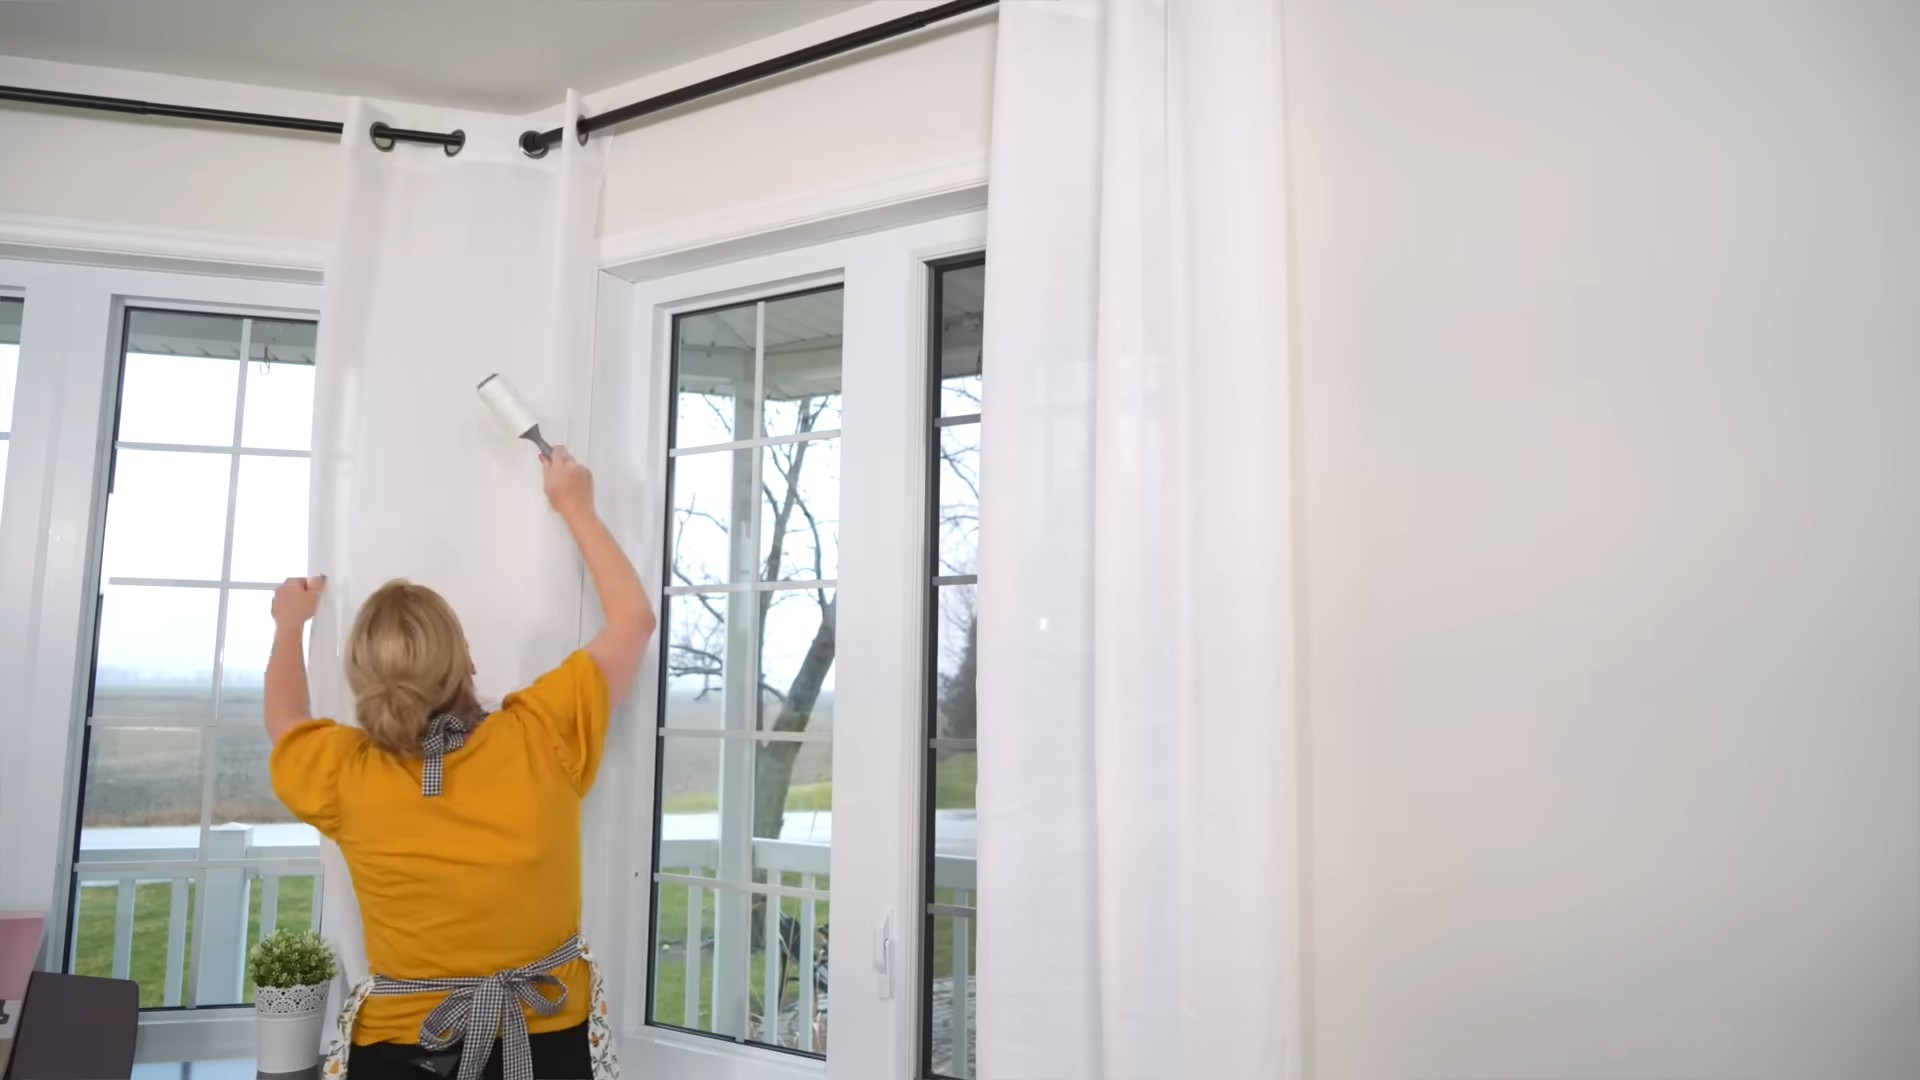
4. Vacuum Upholstery: Use the brush attachment on your vacuum cleaner to vacuum upholstery, including sofas, chairs, and curtains.
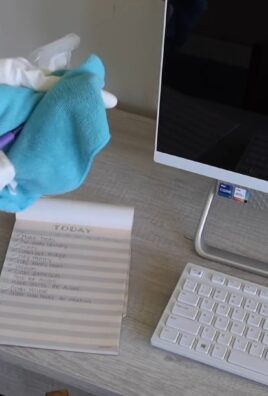
5. Don’t Forget Electronics: Use a dry microfiber cloth to dust electronic devices, such as TVs and computers. Avoid using water or cleaning solutions on electronics.
Cleaning Windows: Streak-Free Shine
Streaky windows can be frustrating. Here’s how to achieve a streak-free shine:
1. Gather Your Supplies: You’ll need white vinegar, water, a spray bottle, a microfiber cloth, and a squeegee (optional).
2. Make a Cleaning Solution: Mix equal parts white vinegar and water in a
Conclusion
So, there you have it! These deep cleaning hacks are more than just tips; they’re a pathway to a fresher, healthier, and more enjoyable home. We’ve explored simple yet incredibly effective methods to tackle those often-overlooked areas, from banishing grime in your microwave with just lemon and water to revitalizing your showerhead with vinegar. These aren’t just quick fixes; they’re sustainable solutions that empower you to maintain a consistently clean and inviting living space.
Why is this a must-try? Because a truly clean home goes beyond surface-level tidiness. It’s about eliminating hidden bacteria, allergens, and odors that can impact your well-being. It’s about creating an environment where you can relax, recharge, and feel truly comfortable. And the best part? You don’t need expensive cleaning products or specialized equipment to achieve it. These deep cleaning hacks utilize common household items and straightforward techniques, making them accessible to everyone.
Consider these variations to personalize your deep cleaning routine:
* **Essential Oil Infusion:** Add a few drops of your favorite essential oil (like lavender, eucalyptus, or tea tree) to your vinegar solution for an extra boost of freshness and aromatherapy benefits.
* **Baking Soda Power:** For stubborn stains or odors, create a paste of baking soda and water. Apply it to the affected area, let it sit for a few minutes, and then scrub gently.
* **Citrus Zest Boost:** Infuse your cleaning solutions with citrus zest (lemon, orange, or grapefruit) for a natural degreaser and a delightful fragrance.
* **Microfiber Magic:** Invest in high-quality microfiber cloths. They’re incredibly effective at trapping dirt and dust, and they’re reusable, making them an eco-friendly choice.
* **Schedule it Out:** Don’t try to tackle everything at once! Break down your deep cleaning tasks into smaller, manageable chunks and schedule them throughout the week or month. This will prevent overwhelm and ensure that you maintain a consistent cleaning routine.
We firmly believe that these **deep cleaning hacks** will transform your approach to home maintenance. They’re not just about cleaning; they’re about creating a healthier, happier, and more inviting living space for you and your loved ones.
Now, it’s your turn! We encourage you to try these deep cleaning hacks and experience the difference for yourself. Don’t be afraid to experiment with variations and find what works best for your home and lifestyle. And most importantly, share your experience with us! We’d love to hear your success stories, tips, and any other deep cleaning hacks you’ve discovered along the way. Let’s create a community of clean home enthusiasts and inspire each other to maintain a sparkling and healthy living environment. Share your thoughts in the comments below!
Frequently Asked Questions (FAQ)
What exactly is considered “deep cleaning”? How is it different from regular cleaning?
Deep cleaning goes beyond the surface-level tasks of regular cleaning, such as wiping counters and sweeping floors. It involves tackling the less frequent, more intensive cleaning tasks that often get overlooked. This includes cleaning appliances (like ovens and refrigerators), scrubbing grout, washing windows, dusting hard-to-reach areas, and sanitizing surfaces. The goal of deep cleaning is to remove built-up dirt, grime, and bacteria, creating a healthier and more hygienic living environment. Regular cleaning maintains cleanliness, while deep cleaning restores it.
How often should I deep clean my home?
The frequency of deep cleaning depends on several factors, including your lifestyle, the size of your home, and the number of occupants. However, a good rule of thumb is to deep clean your home at least twice a year – typically in the spring and fall. If you have pets, children, or allergies, you may want to deep clean more frequently, perhaps quarterly. You can also break down the deep cleaning tasks into smaller chunks and tackle one or two areas each month.
Are these deep cleaning hacks safe for all surfaces?
While most of these deep cleaning hacks are safe for a variety of surfaces, it’s always a good idea to test them in an inconspicuous area first, especially on delicate or sensitive materials. For example, vinegar can be too acidic for some natural stone surfaces like marble or granite. Always read the manufacturer’s instructions for your cleaning products and appliances before using any new cleaning method. When in doubt, consult a professional cleaner.
Can I use these deep cleaning hacks if I have allergies or sensitivities?
If you have allergies or sensitivities, it’s important to choose cleaning products and methods that won’t trigger a reaction. Opt for natural cleaning solutions like vinegar, baking soda, and lemon juice, which are generally less irritating than harsh chemicals. Wear gloves and a mask while cleaning to protect your skin and respiratory system. Ensure proper ventilation by opening windows and doors. If you’re highly sensitive, consider hiring a professional cleaning service that uses hypoallergenic products.
What are some essential tools for deep cleaning?
Having the right tools can make deep cleaning much easier and more efficient. Some essential tools include:
* Microfiber cloths: These are excellent for trapping dirt and dust without scratching surfaces.
* Scrub brushes: Use these for scrubbing grout, tiles, and other hard-to-clean areas.
* Sponges: Opt for non-scratch sponges to avoid damaging surfaces.
* Vacuum cleaner: A vacuum cleaner with various attachments is essential for cleaning carpets, upholstery, and hard-to-reach areas.
* Mop and bucket: Choose a mop that’s suitable for your floor type.
* Spray bottles: These are handy for dispensing cleaning solutions.
* Rubber gloves: Protect your hands from harsh chemicals and bacteria.
* Dust mask: Protect your respiratory system from dust and allergens.
* Squeegee: Use this for cleaning windows and mirrors.
* Old toothbrush: Perfect for cleaning tight spaces and grout lines.
How can I make deep cleaning less overwhelming?
Deep cleaning can seem like a daunting task, but there are several ways to make it less overwhelming:
* Create a checklist: Break down the deep cleaning tasks into smaller, manageable steps and create a checklist to stay organized.
* Prioritize: Focus on the areas that need the most attention first.
* Set a timer: Work in short bursts of time (e.g., 30 minutes) and take breaks in between.
* Enlist help: Ask family members or friends to help you with the cleaning tasks.
* Reward yourself: Treat yourself to something you enjoy after completing a deep cleaning task.
* Don’t strive for perfection: Remember that deep cleaning is about improving cleanliness, not achieving perfection.
What’s the best way to clean grout?
Grout can be notoriously difficult to clean, but here are a few effective methods:
* Baking soda and vinegar paste: Mix baking soda and vinegar to form a paste. Apply the paste to the grout lines, let it sit for a few minutes, and then scrub with a brush.
* Hydrogen peroxide: Spray hydrogen peroxide on the grout lines, let it sit for a few minutes, and then scrub with a brush.
* Commercial grout cleaner: Use a commercial grout cleaner according to the manufacturer’s instructions.
* Steam cleaner: A steam cleaner can effectively loosen dirt and grime from grout lines.
How do I get rid of stubborn odors in my home?
Stubborn odors can be caused by various factors, such as pets, cooking, or mold. Here are a few ways to eliminate them:
* Ventilate your home: Open windows and doors to air out your home.
* Baking soda: Place bowls of baking soda around your home to absorb odors.
* Vinegar: Simmer a pot of vinegar on the stove to neutralize odors.
* Essential oil diffuser: Use an essential oil diffuser to freshen the air.
* Clean carpets and upholstery: Deep clean your carpets and upholstery to remove trapped odors.
* Address the source: Identify and eliminate the source of the odor.
Can I use these deep cleaning hacks to clean my car?
Many of these deep cleaning hacks can be adapted for cleaning your car. For example, you can use vinegar to clean windows and mirrors, baking soda to deodorize carpets and upholstery, and microfiber cloths to dust surfaces. However, be sure to test any cleaning solution in an inconspicuous area first to ensure that it doesn’t damage the car’s interior.
Where can I find more deep cleaning tips and resources?
There are many online resources available for deep cleaning tips and advice. You can search for articles, videos, and blog posts on websites like Pinterest, YouTube, and home improvement blogs. You can also consult with professional cleaning services for personalized recommendations.
Leave a Comment