

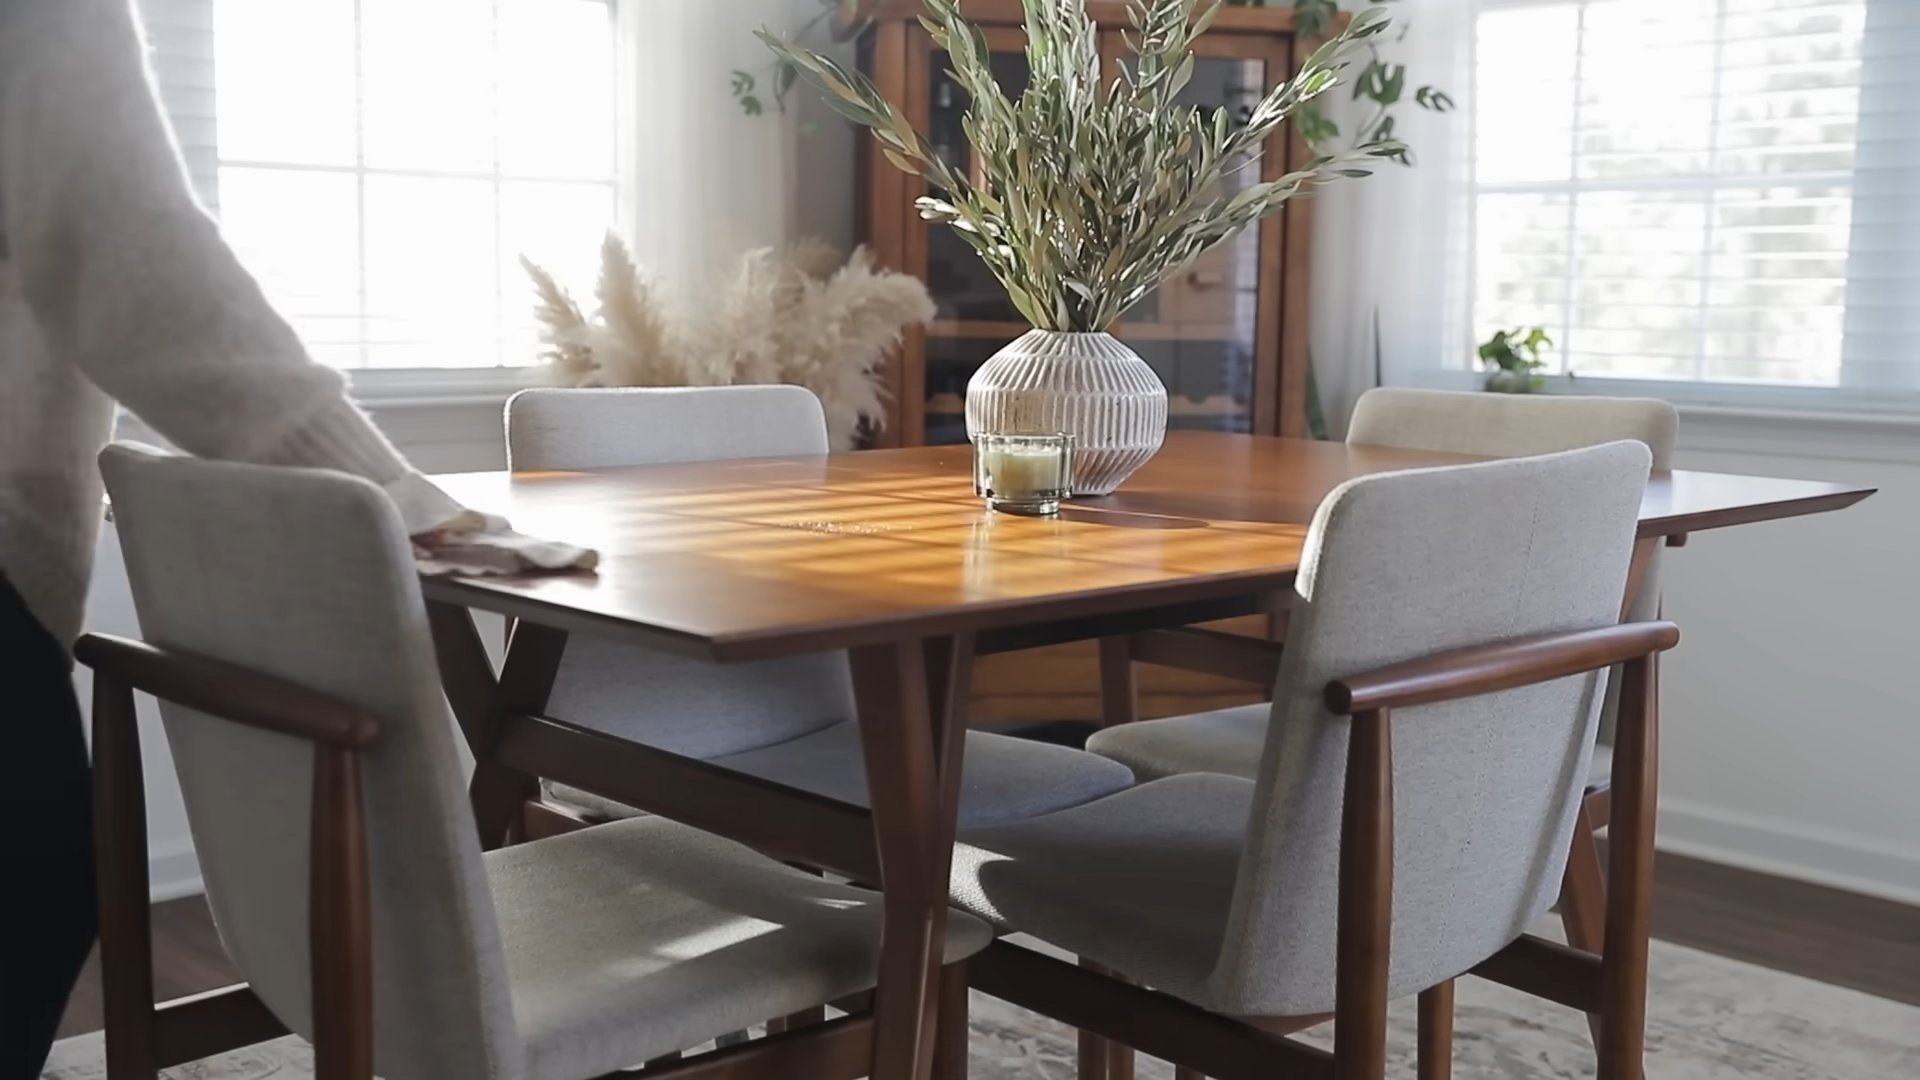
Cleaning habits organized home – doesn’t that just sound like a dream come true? I know I’ve certainly chased that dream for years! We all crave that feeling of walking into a space that’s both sparkling clean and perfectly organized, a sanctuary where we can relax and recharge. But let’s be honest, maintaining that ideal can feel like a never-ending battle, especially with busy schedules and, well, life in general getting in the way.
Throughout history, cultures around the world have recognized the importance of a clean and orderly home. From ancient rituals of purification to modern minimalist movements, the desire for a tidy living space is deeply ingrained in the human psyche. It’s not just about aesthetics; it’s about creating an environment that promotes well-being, reduces stress, and fosters a sense of calm.
That’s why I’m so excited to share these DIY tricks and hacks with you! This isn’t about achieving some unattainable standard of perfection. It’s about finding simple, sustainable strategies that fit into *your* life and help you develop cleaning habits organized home that actually stick. We’ll explore clever storage solutions, time-saving cleaning techniques, and easy DIY projects that will transform your space from chaotic to calm. Get ready to say goodbye to clutter and hello to a home that truly supports your well-being!
“`html
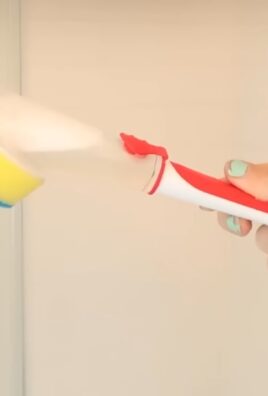
DIY: Transforming Old T-Shirts into Reusable Cleaning Rags
Hey there, fellow DIY enthusiasts! Are you drowning in old t-shirts that are too worn to wear but too sentimental to toss? Well, I’ve got the perfect solution for you: turn them into super absorbent, eco-friendly cleaning rags! Not only will you be decluttering your closet, but you’ll also be saving money and reducing your reliance on disposable paper towels. It’s a win-win-win!
This project is incredibly simple, even if you’re a complete beginner. Trust me, if I can do it, you can too! Let’s dive in.
Materials You’ll Need
Before we get started, let’s gather our supplies. You probably already have most of these lying around:
- Old T-Shirts: The more, the merrier! Cotton t-shirts work best because they’re absorbent and durable. Avoid t-shirts with thick graphics or embellishments, as they can make the rags less effective.
- Sharp Scissors or Rotary Cutter: A good pair of scissors is essential for clean cuts. A rotary cutter and cutting mat will speed things up if you’re making a large batch.
- Ruler or Measuring Tape (Optional): If you want perfectly uniform rags, a ruler or measuring tape will come in handy.
- Sewing Machine (Optional): While not strictly necessary, a sewing machine can be used to hem the edges of the rags for added durability and a more polished look.
- Thread (Optional): If you’re using a sewing machine, you’ll need thread that matches your t-shirts.
- Cutting Mat (Optional): Protect your work surface when using a rotary cutter.
Preparing Your T-Shirts
This is where the magic begins! We’re going to transform those old tees into cleaning powerhouses.
- Wash and Dry Your T-Shirts: This is crucial! Washing the t-shirts removes any dirt, grime, or sizing that might interfere with their absorbency. Plus, it pre-shrinks them, so your rags won’t shrink after their first wash.
- Lay the T-Shirt Flat: Find a clean, flat surface to work on. A table or countertop works perfectly. Smooth out any wrinkles or creases in the t-shirt.
- Cut Off the Sleeves and Neckline: Using your scissors, carefully cut off the sleeves and neckline of the t-shirt. You can discard these pieces or save them for another DIY project (like stuffing for pillows or pet beds!). I usually try to cut as straight as possible, but don’t stress too much about perfection.
- Cut Off the Bottom Hem: Similarly, cut off the bottom hem of the t-shirt. This will give you a clean edge to work with.
- Open the T-Shirt: Cut along one of the side seams to open the t-shirt into a single layer of fabric. Now you have a large rectangle of usable material!
Cutting the Rags
Now for the fun part: cutting the fabric into individual rags!
- Decide on Your Rag Size: This is entirely up to you! I usually aim for rags that are around 12×12 inches, but you can adjust the size to suit your needs. Smaller rags are great for dusting and wiping up small spills, while larger rags are better for cleaning floors or larger surfaces.
- Cut the Fabric into Strips: Using your scissors or rotary cutter and ruler (if desired), cut the t-shirt fabric into strips that are the width you want your rags to be. For example, if you want 12-inch rags, cut the fabric into 12-inch wide strips.
- Cut the Strips into Squares: Now, cut the strips into squares that are the same length as the width. This will give you perfectly square rags. If you’re not too concerned about perfect squares, you can simply eyeball it.
- Repeat: Continue cutting the fabric until you’ve used up the entire t-shirt. You’ll be surprised how many rags you can get from just one t-shirt!
Optional: Hemming the Edges
Hemming the edges of your rags isn’t essential, but it will make them more durable and prevent them from fraying in the wash. If you have a sewing machine, it’s a quick and easy process.
- Prepare Your Sewing Machine: Thread your sewing machine with thread that matches your t-shirts. Set the stitch length to a short, tight stitch.
- Fold Over the Edge: Fold over one edge of a rag by about 1/4 inch. Press the fold with your fingers to create a crease.
- Fold Over Again: Fold over the edge again by another 1/4 inch. This will create a double-folded hem that is more durable.
- Sew the Hem: Place the folded edge under the presser foot of your sewing machine and begin sewing along the edge, keeping the needle close to the folded edge.
- Repeat for All Edges: Repeat steps 2-4 for all four edges of the rag.
- Repeat for All Rags: Continue hemming the edges of all your rags.
If you don’t have a sewing machine, don’t worry! You can still hem the edges by hand using a simple running stitch or blanket stitch. It will take a bit longer, but it’s a great way to add a personal touch to your rags. You can also use a serger if you have one for a professional finish.
Caring for Your Reusable Cleaning Rags
To keep your reusable cleaning rags in tip-top shape, follow these simple care instructions:
- Wash After Each Use: Wash your rags after each use to prevent the buildup of dirt and bacteria.
- Use Hot Water: Wash your rags in hot water with a good quality detergent.
- Avoid Fabric Softener: Fabric softener can reduce the absorbency of your rags, so it’s best to avoid using it.
- Tumble Dry on Low: Tumble dry your rags on low heat or hang them to dry.
- Don’t Bleach (Unless Necessary): Bleach can weaken the fibers of your rags, so only use it if absolutely necessary.
- Store Properly: Store your clean rags in a dry, well-ventilated area.
Using Your New Cleaning Rags
Now that you have a stack of beautiful, reusable cleaning rags, it’s time to put them to work! Here are just a few of the ways you can use them:
- Dusting: These rags are perfect for dusting furniture, shelves, and other surfaces.
- Wiping Up Spills: They’re super absorbent, making them ideal for cleaning up spills of all kinds.
- Cleaning Counters and Appliances: Use them to wipe down kitchen counters, appliances, and other surfaces.
- Washing Windows and Mirrors: They’re great for streak-free cleaning of windows and mirrors.
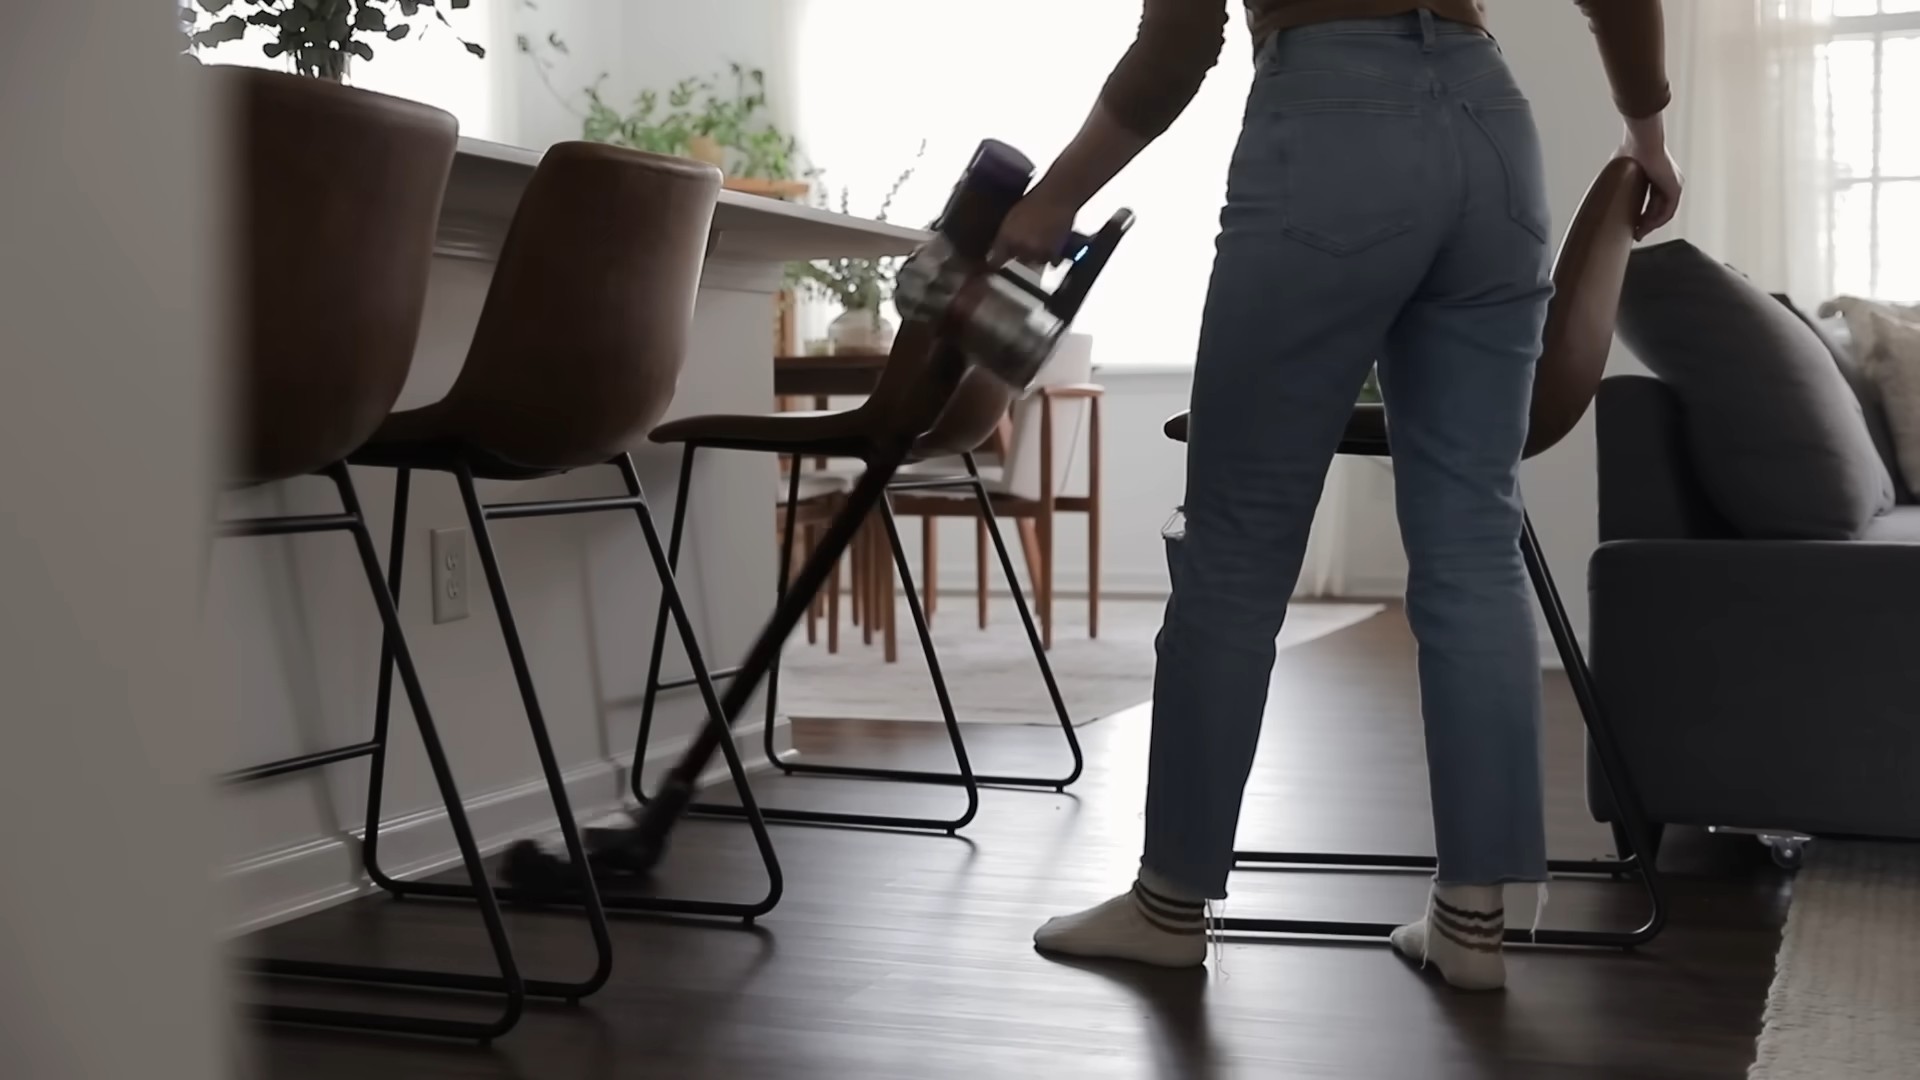
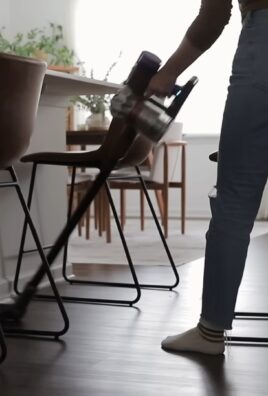
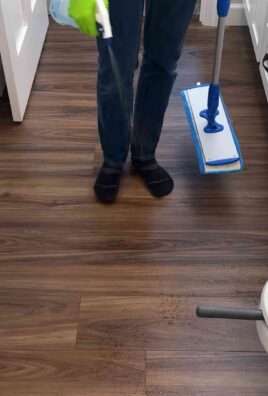
- Cleaning Floors: Use them with your favorite floor cleaner to mop up messes.
- Cleaning Bathrooms: They’re perfect for cleaning sinks, toilets, and showers.
- Car Cleaning: Use them to clean the interior and exterior of your car.
Why This DIY Project Rocks
I’m seriously obsessed with this DIY project, and here’s why:
- Eco-Friendly: By reusing old t-shirts, you’re reducing waste and helping the environment.
- Cost-Effective: You’re saving money by not having to buy disposable paper towels.
- Super Absorbent: Cotton t-shirts are incredibly absorbent, making these rags perfect for cleaning up messes.
- Durable: These rags are much more durable than paper towels, so they’ll last longer.
- Easy to Make: This project is so simple, anyone can do it!
- Customizable: You can customize the size and shape of your rags to suit your needs.
So, what are you waiting for? Gather up those old t-shirts and get crafting! You’ll be amazed at how easy it is to transform them into useful and eco-friendly cleaning rags. Happy cleaning!
“`
Conclusion
So, there you have it! This simple yet incredibly effective DIY trick for maintaining cleaning habits and an organized home is more than just a quick fix; it’s a lifestyle shift. It’s about reclaiming your space, reducing stress, and creating a haven you truly enjoy being in. We’ve explored how breaking down overwhelming tasks into manageable, bite-sized pieces can transform your approach to cleaning, making it less of a chore and more of a consistent, achievable routine.
Why is this a must-try? Because it addresses the root cause of clutter and disorganization: the feeling of being overwhelmed. By implementing this DIY strategy, you’re not just cleaning; you’re building sustainable habits that prevent the build-up of mess in the first place. You’re investing in your mental well-being and creating a more peaceful and productive environment.
But don’t just take our word for it! The beauty of this DIY approach is its adaptability. Feel free to experiment with variations to suit your specific needs and preferences.
Here are a few ideas to get you started:
* **Themed Cleaning Days:** Dedicate specific days to particular areas or tasks. For example, “Bathroom Tuesdays” or “Laundry Wednesdays.” This adds structure and predictability to your cleaning schedule.
* **Power Hour Blitz:** Set a timer for one hour and focus solely on cleaning and organizing. You’ll be amazed at how much you can accomplish in a concentrated burst of effort.
* **Family Involvement:** Make cleaning a collaborative effort by assigning age-appropriate tasks to family members. This not only lightens your load but also teaches valuable life skills.
* **Reward System:** Treat yourself to something you enjoy after completing your cleaning tasks. This could be anything from a relaxing bath to watching your favorite show.
* **Decluttering Challenge:** Incorporate a decluttering element into your routine. Each week, focus on decluttering one specific area, such as a drawer, shelf, or closet.
Remember, the key is to find what works best for you and your lifestyle. Don’t be afraid to tweak and adjust the strategy until it becomes a seamless part of your daily or weekly routine.
We are confident that this DIY trick will revolutionize your approach to cleaning and organization. It’s a simple, effective, and sustainable way to create a cleaner, more organized, and more enjoyable home.
Now, it’s your turn! We encourage you to try this DIY trick and experience the transformative power of consistent cleaning habits firsthand. Share your experiences, tips, and variations in the comments below. We’d love to hear how this strategy has helped you create a more organized home and a more peaceful life. Let’s build a community of clean and organized individuals, one DIY trick at a time!
Frequently Asked Questions (FAQs)
Q: How often should I implement this DIY cleaning habit strategy?
A: The frequency depends on your lifestyle and the level of organization you desire. However, we recommend starting with small, consistent efforts. Aim for at least 15-30 minutes of focused cleaning and organizing each day. You can adjust the duration and frequency as you become more comfortable and see the positive results. Some people prefer daily mini-sessions, while others opt for longer, less frequent sessions a few times a week. The key is to find a rhythm that fits seamlessly into your routine and prevents clutter from accumulating.
Q: What if I miss a day or two? Will it ruin my progress?
A: Absolutely not! Life happens, and it’s perfectly normal to miss a day or two. The important thing is to get back on track as soon as possible. Don’t beat yourself up about it; simply acknowledge it and resume your cleaning routine. Consistency is key, but flexibility is also important. Remember, this is about building sustainable habits, not achieving perfection. A missed day or two won’t undo all your hard work. Just pick up where you left off and keep moving forward.
Q: I have a very busy schedule. How can I possibly find time for this?
A: We understand that finding time can be a challenge, but that’s precisely why this DIY trick is so effective. It’s designed to be broken down into small, manageable chunks. Even 15 minutes a day can make a significant difference. Look for pockets of time throughout your day that you can dedicate to cleaning and organizing. This could be during your lunch break, while waiting for something to cook, or before you settle down for the evening. You can also try multitasking by listening to a podcast or audiobook while you clean. The key is to be creative and find ways to integrate cleaning into your existing routine.
Q: What if I have a large family and a lot of clutter? Will this DIY trick still work?
A: Yes, this DIY trick can be adapted to suit any household size and level of clutter. The key is to involve everyone in the process. Assign age-appropriate tasks to family members and make cleaning a collaborative effort. You can also break down the decluttering process into smaller, more manageable steps. Focus on one area at a time and celebrate small victories along the way. Remember, it’s a marathon, not a sprint. With consistent effort and family involvement, you can conquer even the most daunting clutter.
Q: What are some good decluttering strategies to use in conjunction with this DIY cleaning habit?
A: Great question! Decluttering is an essential component of maintaining an organized home. Here are a few effective strategies:
* **The KonMari Method:** This method involves decluttering by category (e.g., clothes, books, papers, sentimental items) and asking yourself if each item “sparks joy.” If it doesn’t, let it go.
* **The One-In, One-Out Rule:** For every new item you bring into your home, get rid of one similar item. This helps prevent clutter from accumulating.
* **The 20-Minute Declutter:** Set a timer for 20 minutes and focus solely on decluttering one specific area. You’ll be amazed at how much you can accomplish in a short amount of time.
* **The Four-Box Method:** Label four boxes: “Keep,” “Donate,” “Sell,” and “Trash.” Go through your belongings and sort them into the appropriate boxes.
* **The Visual Inventory:** Take photos of the contents of your drawers, cabinets, and closets. This can help you identify duplicates and items you no longer need.
Q: How can I stay motivated to maintain these cleaning habits long-term?
A: Staying motivated requires a combination of strategies:
* **Set Realistic Goals:** Don’t try to do too much too soon. Start with small, achievable goals and gradually increase the challenge as you become more comfortable.
* **Track Your Progress:** Keep a record of your cleaning and organizing efforts. This will help you see how far you’ve come and stay motivated to continue.
* **Reward Yourself:** Treat yourself to something you enjoy after completing your cleaning tasks. This could be anything from a relaxing bath to watching your favorite show.
* **Find an Accountability Partner:** Enlist a friend or family member to help you stay on track. Share your goals and progress with them and ask for their support.
* **Focus on the Benefits:** Remind yourself of the positive benefits of a clean and organized home, such as reduced stress, increased productivity, and a more enjoyable living environment.
* **Make it Fun:** Turn cleaning into a game or listen to music or podcasts while you work. The more enjoyable you make it, the more likely you are to stick with it.
Q: What if I have pets? How does this DIY cleaning habit apply?
A: Having pets adds a unique dimension to cleaning. Here’s how to adapt this DIY cleaning habit:
* **Regular Grooming:** Brush your pets regularly to minimize shedding.
* **Vacuum Frequently:** Vacuum carpets, rugs, and upholstery frequently to remove pet hair and dander.
* **Clean Up Accidents Immediately:** Clean up any accidents promptly to prevent stains and odors.
* **Wash Pet Bedding Regularly:** Wash pet bedding regularly to remove dirt, hair, and odors.
* **Use Pet-Friendly Cleaning Products:** Choose cleaning products that are safe for pets.
* **Designate Pet Zones:** Create designated areas for your pets to eat, sleep, and play. This will help contain the mess.
* **Air Purifier:** Consider using an air purifier to remove pet dander and odors from the air.
By incorporating these pet-specific cleaning tasks into your DIY cleaning habit, you can maintain a clean and organized home even with furry friends.
Leave a Comment