

Grow Radishes at Home with ease! Have you ever dreamt of plucking crisp, peppery radishes straight from your own backyard? Imagine adding that fresh, vibrant crunch to your salads, tacos, or even enjoying them as a simple, healthy snack. It’s easier than you think, and this DIY guide will show you how to make it happen, even if you have limited space or gardening experience.
Radishes have a surprisingly rich history, dating back to ancient times. They were cultivated in Egypt before the pyramids were built and were even valued by the Greeks and Romans for their medicinal properties. Today, while we might not be using them for healing as much, their quick growth and delicious flavor make them a popular choice for home gardeners worldwide.
But why should you learn to grow radishes at home? Well, store-bought radishes often lack the intense flavor and crispness of homegrown varieties. Plus, growing your own food is incredibly rewarding! It connects you to nature, reduces your carbon footprint, and gives you control over what you’re eating. This DIY trick will save you money, provide you with fresh, healthy produce, and give you a fun and fulfilling hobby. Let’s get started and unlock the secrets to a bountiful radish harvest!
Grow Radishes at Home: A Beginner’s Guide to Crunchy Success
Hey there, fellow gardening enthusiasts! Ever dreamt of plucking crisp, peppery radishes straight from your own backyard? Well, dream no more! Growing radishes is surprisingly easy and incredibly rewarding, even if you’re a complete newbie. They’re fast growers, making them perfect for impatient gardeners like myself, and they add a delightful zing to salads, sandwiches, and even just enjoyed raw with a sprinkle of salt. Let’s dive into how you can cultivate your own radish patch!
Choosing Your Radish Varieties
Before we get our hands dirty, let’s talk about radish varieties. There’s more to radishes than just the classic red globe!
* Globe Radishes: These are your typical round, red radishes. They mature quickly (around 22-30 days) and are a great starting point. ‘Cherry Belle’ and ‘Champion’ are popular choices.
* French Breakfast Radishes: These are elongated, red radishes with a white tip. They have a milder flavor than globe radishes and mature in about 20-25 days.
* Daikon Radishes: These are large, white radishes commonly used in Asian cuisine. They take longer to mature (45-60 days) and have a milder, slightly sweet flavor.
* Black Spanish Radishes: These are round, black-skinned radishes with a pungent flavor. They take longer to mature (55-60 days) and are best grown in cooler weather.
I personally love growing ‘Cherry Belle’ for their quick turnaround and classic radish flavor, and I always make sure to include some ‘French Breakfast’ for a milder option. Consider your taste preferences and growing season when making your selection.
Preparing Your Radish Bed
Radishes are pretty forgiving, but they’ll thrive in well-prepared soil. Here’s what you need to do:
* Sunlight: Radishes need at least 6 hours of sunlight per day. Choose a sunny spot in your garden.
* Soil: Radishes prefer loose, well-drained soil. Compacted soil can lead to misshapen roots.
* Soil Amendment: Amend your soil with compost or well-rotted manure to improve drainage and fertility. This is especially important if you have heavy clay soil.
* pH Level: Radishes prefer a soil pH between 6.0 and 7.0. You can test your soil pH with a soil testing kit.
Planting Your Radish Seeds
Now for the fun part – planting!
1. Timing is Key: Radishes are cool-season crops, meaning they grow best in spring and fall. Plant your seeds 4-6 weeks before the last expected frost in spring, or 4-6 weeks before the first expected frost in fall. You can also do succession planting, sowing a new batch of seeds every 1-2 weeks for a continuous harvest.
2. Sowing the Seeds: Sow radish seeds directly into the ground, about ½ inch deep and 1 inch apart.
3. Row Spacing: Space your rows about 6 inches apart.
4. Watering: Gently water the soil after planting. Keep the soil consistently moist, but not waterlogged, until the seeds germinate.
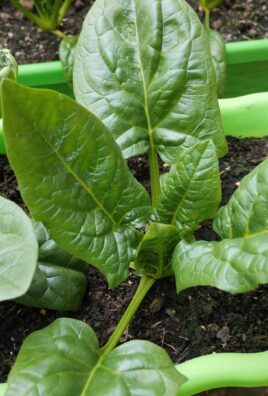
5. Thinning: Once the seedlings emerge (usually within 4-7 days), thin them to about 2 inches apart. This will give the radishes enough room to grow. Don’t just yank them out! Gently loosen the soil around the unwanted seedlings and carefully pull them out. You can even transplant these thinned seedlings to another area if you like, though they might not grow as well as the ones left in place.
Caring for Your Radishes
Radishes are relatively low-maintenance, but here are a few things to keep in mind:
* Watering: Consistent watering is crucial for radish growth. Dry soil can lead to tough, woody radishes. Aim for about 1 inch of water per week.
* Weeding: Keep your radish bed free of weeds, which can compete for nutrients and water. Gently hand-pull weeds to avoid disturbing the radish roots.
* Fertilizing: Radishes don’t need a lot of fertilizer, but you can side-dress them with a balanced fertilizer a few weeks after planting. Follow the instructions on the fertilizer package. I usually use a diluted fish emulsion for a gentle boost.
* Pest Control: Radishes are generally pest-resistant, but they can be susceptible to flea beetles and root maggots. Flea beetles chew small holes in the leaves, while root maggots feed on the roots.
* Flea Beetles: Cover your radish bed with row covers to prevent flea beetles from reaching the plants. You can also spray the plants with insecticidal soap.
* Root Maggots: Rotate your crops to prevent root maggots from building up in the soil. You can also sprinkle diatomaceous earth around the base of the plants.
Harvesting Your Radishes
The best part! Radishes are ready to harvest when they reach the size of a marble or a golf ball, depending on the variety.
1. Check for Size: Gently brush away the soil around the base of the radish to check its size.
2. Pulling: Grasp the radish leaves near the base and gently pull the radish out of the ground. If the soil is dry, water it beforehand to make pulling easier.
3. Cleaning: Wash the radishes thoroughly to remove any dirt.
4. Storage: Store radishes in the refrigerator in a plastic bag or container. They will keep for about a week. Cut off the greens before storing, as they can draw moisture from the roots.
Troubleshooting Common Radish Problems
Even with the best care, you might encounter a few problems. Here’s how to deal with them:
* Radishes are too small: This could be due to overcrowding, lack of sunlight, or poor soil. Thin your radishes, make sure they’re getting enough sunlight, and amend your soil with compost.
* Radishes are tough and woody: This is usually caused by inconsistent watering or letting the radishes grow too large. Water your radishes regularly and harvest them when they’re the right size.
* Radishes are cracked: This can be caused by inconsistent watering or heavy rain after a dry spell. Water your radishes regularly and provide good drainage.
* Radishes are bolting (going to seed): This is usually caused by hot weather. Plant your radishes in the spring or fall when the weather is cooler.
Radish Recipes and Uses
Now that you’ve harvested your radishes, it’s time to enjoy them! Here are a few ideas:
* Salads: Slice or dice radishes and add them to your favorite salads. They add a peppery crunch and a vibrant color.
* Sandwiches: Add thinly sliced radishes to sandwiches for a bit of zing. They pair well with cream cheese, avocado, and sprouts.
* Raw with Dip: Serve radishes raw with a creamy dip, such as hummus or ranch dressing.
* Roasted Radishes: Roasting radishes mellows their flavor and brings out their sweetness. Toss them with olive oil, salt, and pepper, and roast them at 400°F (200°C) for 20-25 minutes.
* Radish Greens: Don’t throw away the radish greens! They’re edible and nutritious. You can sauté them, add them to soups, or use them in salads. They have a slightly peppery flavor, similar to arugula.
* Radish Butter: Finely chop radishes and mix them with softened butter, salt, and pepper. Spread on bread or crackers.
* Pickled Radishes: Pickle radishes for a tangy and crunchy treat. There are tons of recipes online!
Succession Planting for Continuous Harvest
I mentioned this earlier, but it’s worth emphasizing: succession planting is your secret weapon for a steady supply of radishes. Plant a new batch of seeds every 1-2 weeks. This ensures that you’ll have radishes ready to harvest throughout the growing season, instead of a huge glut all at once. I usually mark my calendar to remind myself when to sow the next batch.
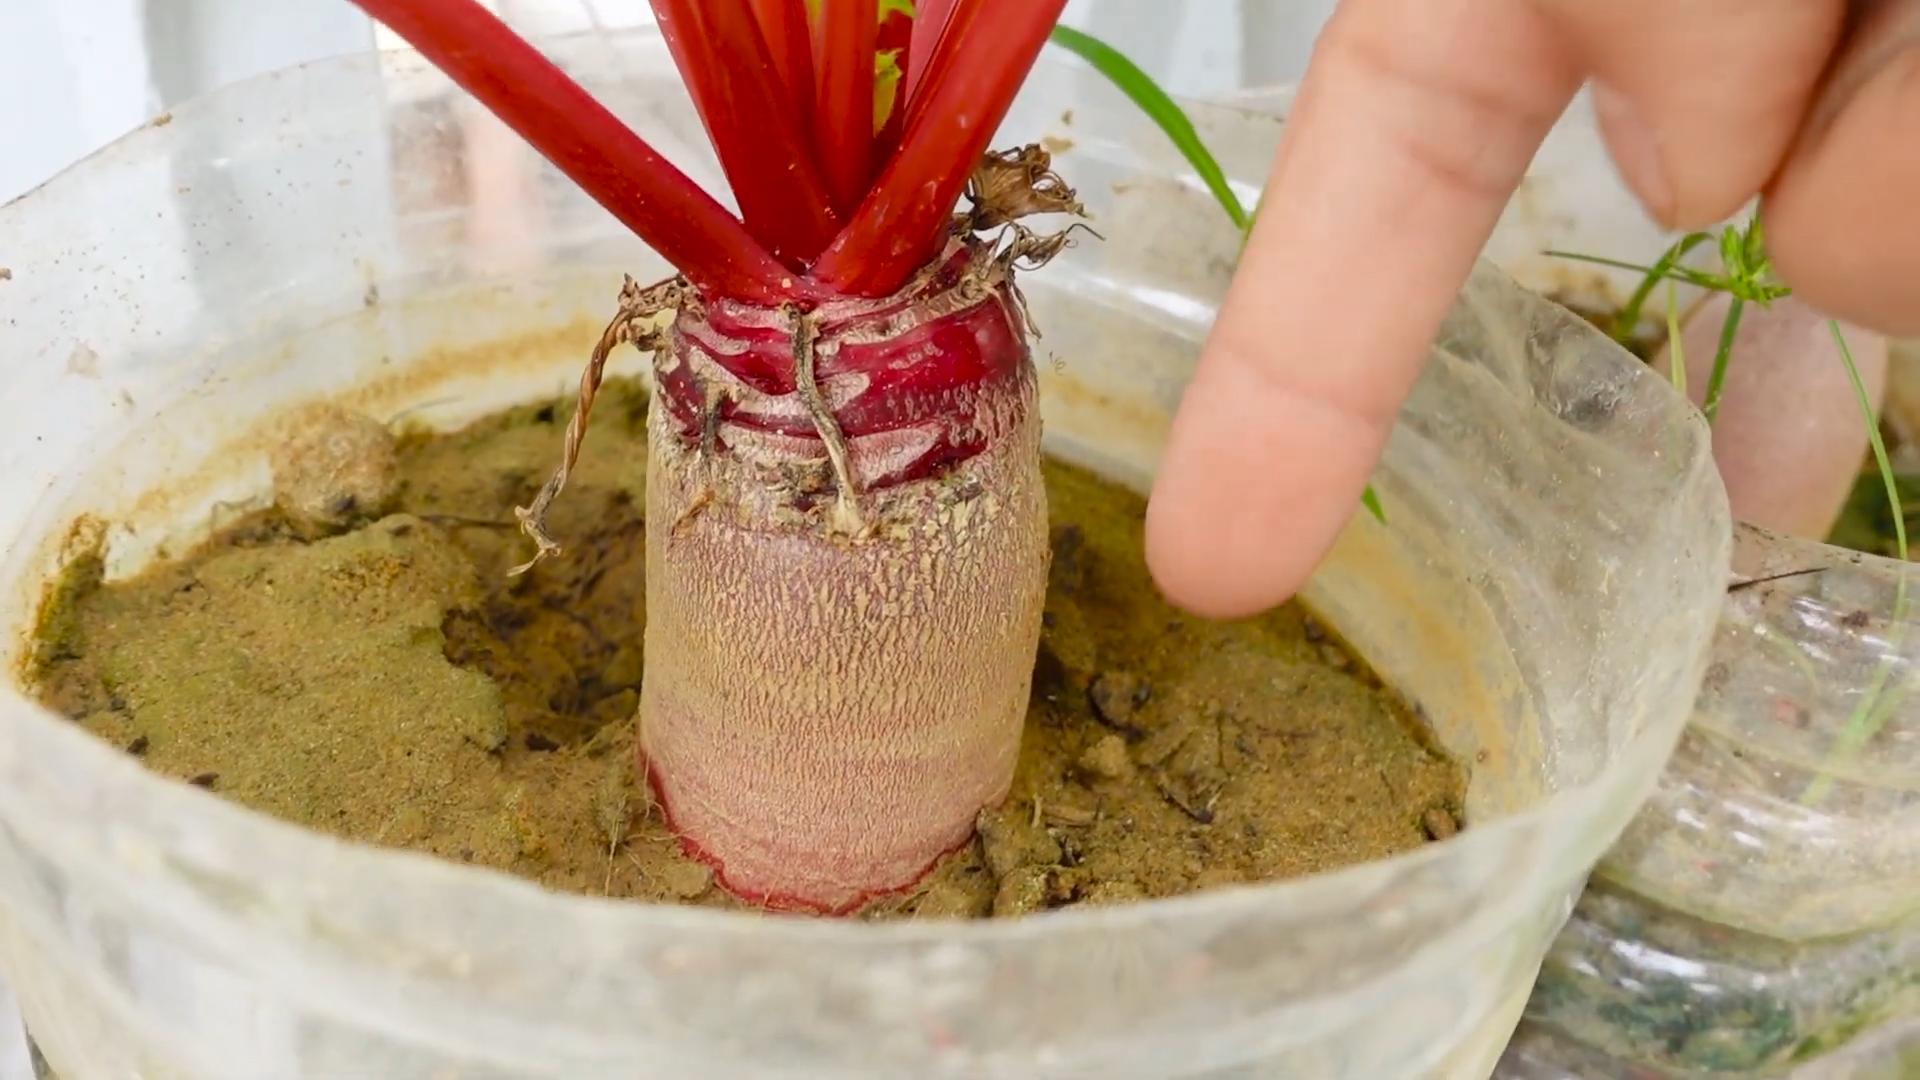
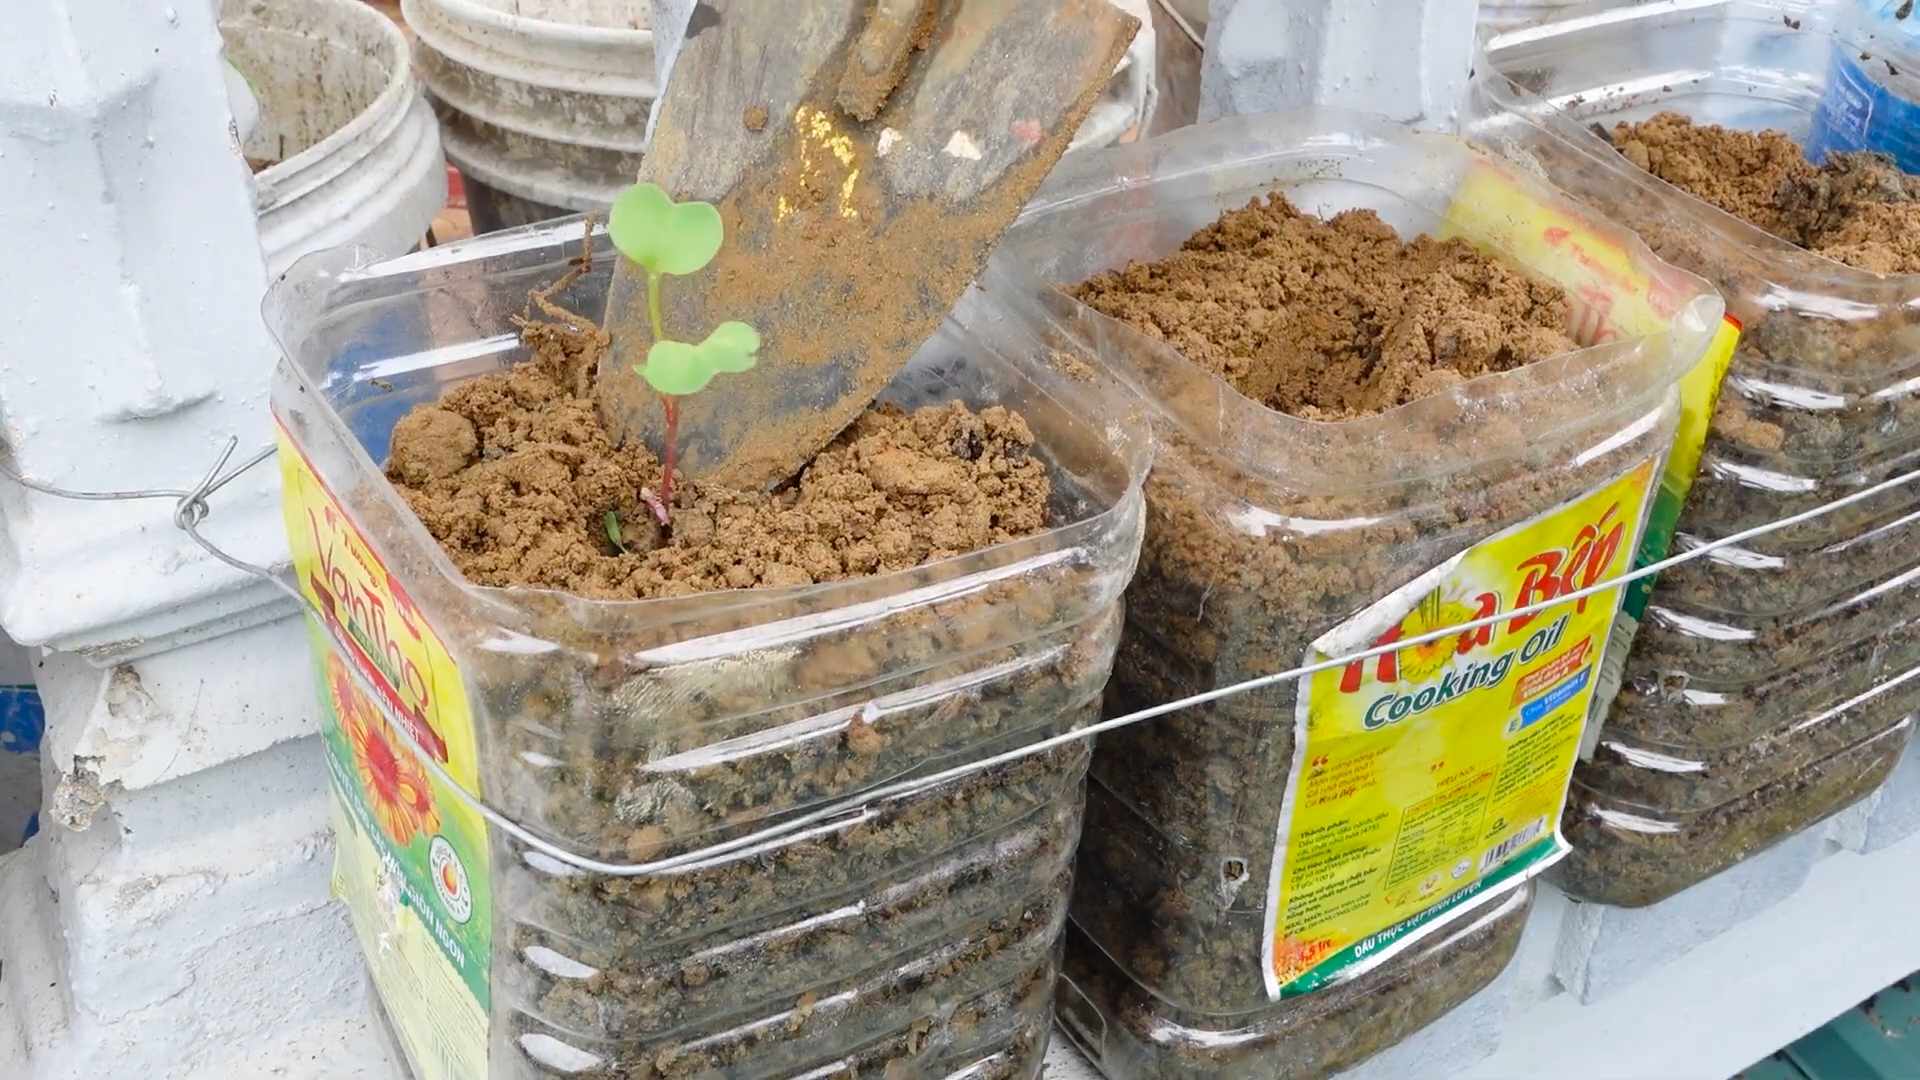
Growing Radishes in Containers
Don’t have a garden? No problem! Radishes grow beautifully in containers.
* Choose a Container: Select a container that is at least 6 inches deep and has drainage holes.
* Use Potting Mix: Fill the container with a good-quality potting mix.
* Planting: Sow the seeds as described above, spacing them about 1 inch apart.
* Care: Water and fertilize the radishes as needed. Make sure the container gets at least 6 hours of sunlight per day.
Growing radishes in containers is a great option for apartment dwellers
Conclusion
So, there you have it! Growing radishes at home is not only surprisingly simple, but it’s also incredibly rewarding. From seed to table in just a few short weeks, you’ll be enjoying the crisp, peppery bite of freshly harvested radishes, knowing exactly where they came from and what went into them. Forget those bland, store-bought radishes that have been sitting on shelves for days. The difference in flavor and texture is truly remarkable.
This DIY trick is a must-try for several reasons. First, it’s incredibly cost-effective. A single packet of radish seeds can yield multiple harvests, saving you money compared to buying them regularly at the grocery store. Second, it’s a fantastic way to connect with nature and learn about the growing process. Even if you don’t have a large garden, radishes thrive in containers, making them perfect for balconies, patios, or even a sunny windowsill. Third, and perhaps most importantly, it’s incredibly satisfying to nurture something from seed to harvest and then enjoy the fruits (or rather, roots!) of your labor.
But don’t stop there! Once you’ve mastered the basics of growing radishes, experiment with different varieties. Try French Breakfast radishes for their mild flavor and elongated shape, or Watermelon radishes for their stunning pink interior. You can also adjust your planting schedule to ensure a continuous harvest throughout the growing season. Consider companion planting radishes with carrots to deter pests, or using them as a quick-growing marker crop for slower-growing vegetables.
Ready to embark on your radish-growing adventure? We encourage you to give this DIY trick a try. It’s a fun, easy, and rewarding project that will add a touch of freshness to your meals and a touch of green to your space. And once you’ve harvested your first batch of homegrown radishes, be sure to share your experience with us! We’d love to hear about your successes, your challenges, and any tips or tricks you’ve discovered along the way. Post photos of your radishes on social media using #HomegrownRadishes and tag us so we can see your amazing results. Let’s spread the word about the joy of growing your own food!
Variations and Creative Uses
Beyond simply eating them raw in salads, there are countless ways to enjoy your homegrown radishes. Roast them with a drizzle of olive oil and a sprinkle of salt for a surprisingly sweet and savory side dish. Pickle them for a tangy and crunchy condiment. Add them to tacos or sandwiches for a burst of flavor and texture. Or, get creative and use the radish greens in salads, soups, or stir-fries. The possibilities are endless!
Final Thoughts
Growing radishes at home is more than just a gardening project; it’s a way to connect with nature, eat healthier, and save money. So, grab a packet of seeds, find a sunny spot, and get ready to enjoy the delicious rewards of your own homegrown radishes. Happy gardening!
Frequently Asked Questions (FAQ)
Q: How much sunlight do radishes need?
A: Radishes thrive in full sun, which means they need at least 6 hours of direct sunlight per day. However, they can also tolerate partial shade, especially in hotter climates. If you’re growing radishes indoors, place them near a sunny window or use a grow light to supplement natural light. Insufficient sunlight can result in leggy plants and small, underdeveloped radishes.
Q: What kind of soil is best for growing radishes?
A: Radishes prefer loose, well-drained soil that is rich in organic matter. Amend heavy clay soil with compost or other organic materials to improve drainage and aeration. Avoid soils that are compacted or waterlogged, as these can lead to root rot and other problems. A slightly acidic to neutral soil pH (around 6.0 to 7.0) is ideal.
Q: How often should I water my radishes?
A: Radishes need consistent moisture to grow quickly and develop plump, juicy roots. Water them regularly, especially during dry spells. Aim to keep the soil consistently moist but not waterlogged. Overwatering can lead to root rot, while underwatering can cause the radishes to become tough and bitter. Check the soil moisture regularly and water when the top inch feels dry to the touch.
Q: How long does it take for radishes to mature?
A: One of the great things about radishes is how quickly they mature. Most varieties are ready to harvest in just 3 to 4 weeks after planting. However, the exact time can vary depending on the variety, growing conditions, and weather. Check the seed packet for specific information on the maturity time for your chosen variety.
Q: How do I know when my radishes are ready to harvest?
A: The best way to determine if your radishes are ready to harvest is to check their size. Most varieties are ready to harvest when the roots are about 1 inch in diameter. You can also gently brush away some of the soil around the base of the plant to get a better look at the root. If the radishes are too small, they may not be fully developed. If they are too large, they may become tough and bitter.
Q: What are some common problems when growing radishes?
A: Some common problems when growing radishes include pests, diseases, and poor growing conditions. Pests such as flea beetles and root maggots can damage the leaves and roots of radishes. Diseases such as root rot and damping-off can also affect radishes. To prevent these problems, choose disease-resistant varieties, practice good sanitation, and provide proper growing conditions.
Q: Can I eat the radish greens?
A: Yes, absolutely! Radish greens are edible and nutritious. They have a peppery flavor similar to the roots, but milder. You can use them in salads, soups, stir-fries, or any other dish where you would use leafy greens. Be sure to wash the greens thoroughly before using them.
Q: How do I store radishes after harvesting?
A: To store radishes after harvesting, remove the greens and wash the roots thoroughly. Place the radishes in a plastic bag or container and store them in the refrigerator. They will typically last for about 1 to 2 weeks. You can also store radishes in a root cellar or other cool, dark place.
Q: Can I grow radishes in containers?
A: Yes, radishes are well-suited for container gardening. Choose a container that is at least 6 inches deep and has drainage holes. Fill the container with a well-draining potting mix and plant the radish seeds according to the instructions on the seed packet. Water regularly and fertilize as needed.
Q: What are some good companion plants for radishes?
A: Radishes are good companion plants for many other vegetables, including carrots, lettuce, spinach, and cucumbers. They can help to deter pests and improve soil conditions. Avoid planting radishes near hyssop, as it can inhibit their growth.
Leave a Comment