

DIY carpet stain remover: Let’s face it, accidents happen! Whether it’s a spilled glass of wine during a cozy movie night or a muddy paw print from your furry friend, carpet stains are an inevitable part of life. But before you resign yourself to living with unsightly blemishes or shelling out big bucks for professional cleaning, I’m here to tell you there’s a better way!
For generations, resourceful homeowners have relied on simple, homemade solutions to tackle household messes. Think about it – our grandmothers didn’t have a shelf full of specialized cleaning products! They used readily available ingredients like vinegar, baking soda, and lemon juice to keep their homes sparkling. This tradition of resourcefulness is not only cost-effective but also environmentally friendly.
That’s why I’m so excited to share my favorite DIY carpet stain remover recipes and tricks with you. Not only will these methods save you money, but they’re also incredibly effective and often gentler on your carpets than harsh chemical cleaners. Plus, knowing you can conquer those pesky stains with ingredients you probably already have in your pantry is incredibly empowering. So, ditch the expensive cleaners and let’s get started on creating a stain-free haven, one DIY solution at a time!
DIY Carpet Stain Remover: Banish Stains with Household Ingredients!
Hey there, fellow homeowners! Let’s face it, carpets are magnets for spills and stains. Whether it’s a rogue coffee cup, muddy paws, or a sneaky red wine incident, life happens, and carpets bear the brunt. But don’t despair! Before you reach for those expensive, chemical-laden store-bought cleaners, I’m going to show you how to whip up some incredibly effective carpet stain removers using ingredients you probably already have in your pantry. These DIY solutions are not only budget-friendly but also gentler on your carpets and the environment. Let’s get started!
Understanding the Stain: The Key to Success
Before we dive into the recipes, it’s crucial to understand that not all stains are created equal. Different types of stains require different approaches. Knowing what caused the stain will significantly increase your chances of removing it completely.
* Water-Based Stains: These include things like juice, soda, mud, and most food spills. They’re generally easier to remove than oil-based stains.
* Oil-Based Stains: Think grease, oil, butter, and some cosmetics. These require a solvent to break down the oily residue.
* Protein-Based Stains: These include blood, milk, and vomit. These stains can set quickly and require a specific enzyme-based approach.
* Tannin-Based Stains: Coffee, tea, wine, and berries fall into this category. They often leave a brownish discoloration.
General Stain Removal Tips (Before You Start!)
No matter what type of stain you’re dealing with, these general tips will help you achieve the best results:
* Act Fast! The sooner you address a stain, the easier it will be to remove. Fresh stains are much more forgiving than old, set-in ones.
* Blot, Don’t Rub! Rubbing a stain will only spread it and grind it deeper into the carpet fibers. Always blot gently with a clean cloth or paper towel, working from the outside of the stain towards the center.
* Test in an Inconspicuous Area: Before applying any cleaning solution to the stain, test it on a hidden area of your carpet (like inside a closet or under a piece of furniture) to ensure it doesn’t cause discoloration or damage.
* Use Clean Cloths: Always use clean, white cloths or paper towels to avoid transferring dye or other substances to your carpet.
* Be Patient: Stain removal can take time and multiple applications. Don’t get discouraged if the stain doesn’t disappear immediately.
DIY Stain Remover Recipes: My Go-To Solutions
Okay, now for the good stuff! Here are my favorite DIY carpet stain remover recipes, tailored to different types of stains:
Recipe 1: The All-Purpose Stain Fighter (Vinegar & Baking Soda)
This is my go-to solution for most everyday stains. It’s simple, effective, and uses ingredients you probably already have.
Ingredients:
* 1/2 cup white vinegar
* 1/4 cup baking soda
* 1/2 cup water
* Spray bottle
* Clean cloths
Instructions:
1. Prepare the Solution: In a spray bottle, combine the white vinegar, baking soda, and water. Be careful, as the mixture will fizz up. Let the fizzing subside before attaching the spray nozzle.
2. Apply to the Stain: Spray the solution liberally onto the stained area, making sure to saturate the carpet fibers.
3. Let it Sit: Allow the solution to sit on the stain for 5-10 minutes. This gives the vinegar and baking soda time to break down the stain.
4. Blot the Stain: Using a clean cloth, blot the stain gently, working from the outside towards the center.
5. Rinse with Water: Once you’ve removed as much of the stain as possible, rinse the area with clean water. You can do this by lightly spraying the area with water and then blotting it up with a clean cloth.
6. Dry Thoroughly: Place a clean, dry towel over the area and weigh it down with a heavy object (like a book) to absorb any remaining moisture. Leave it in place for several hours or overnight. You can also use a fan to speed up the drying process.
7. Vacuum: Once the area is completely dry, vacuum it to restore the carpet fibers.
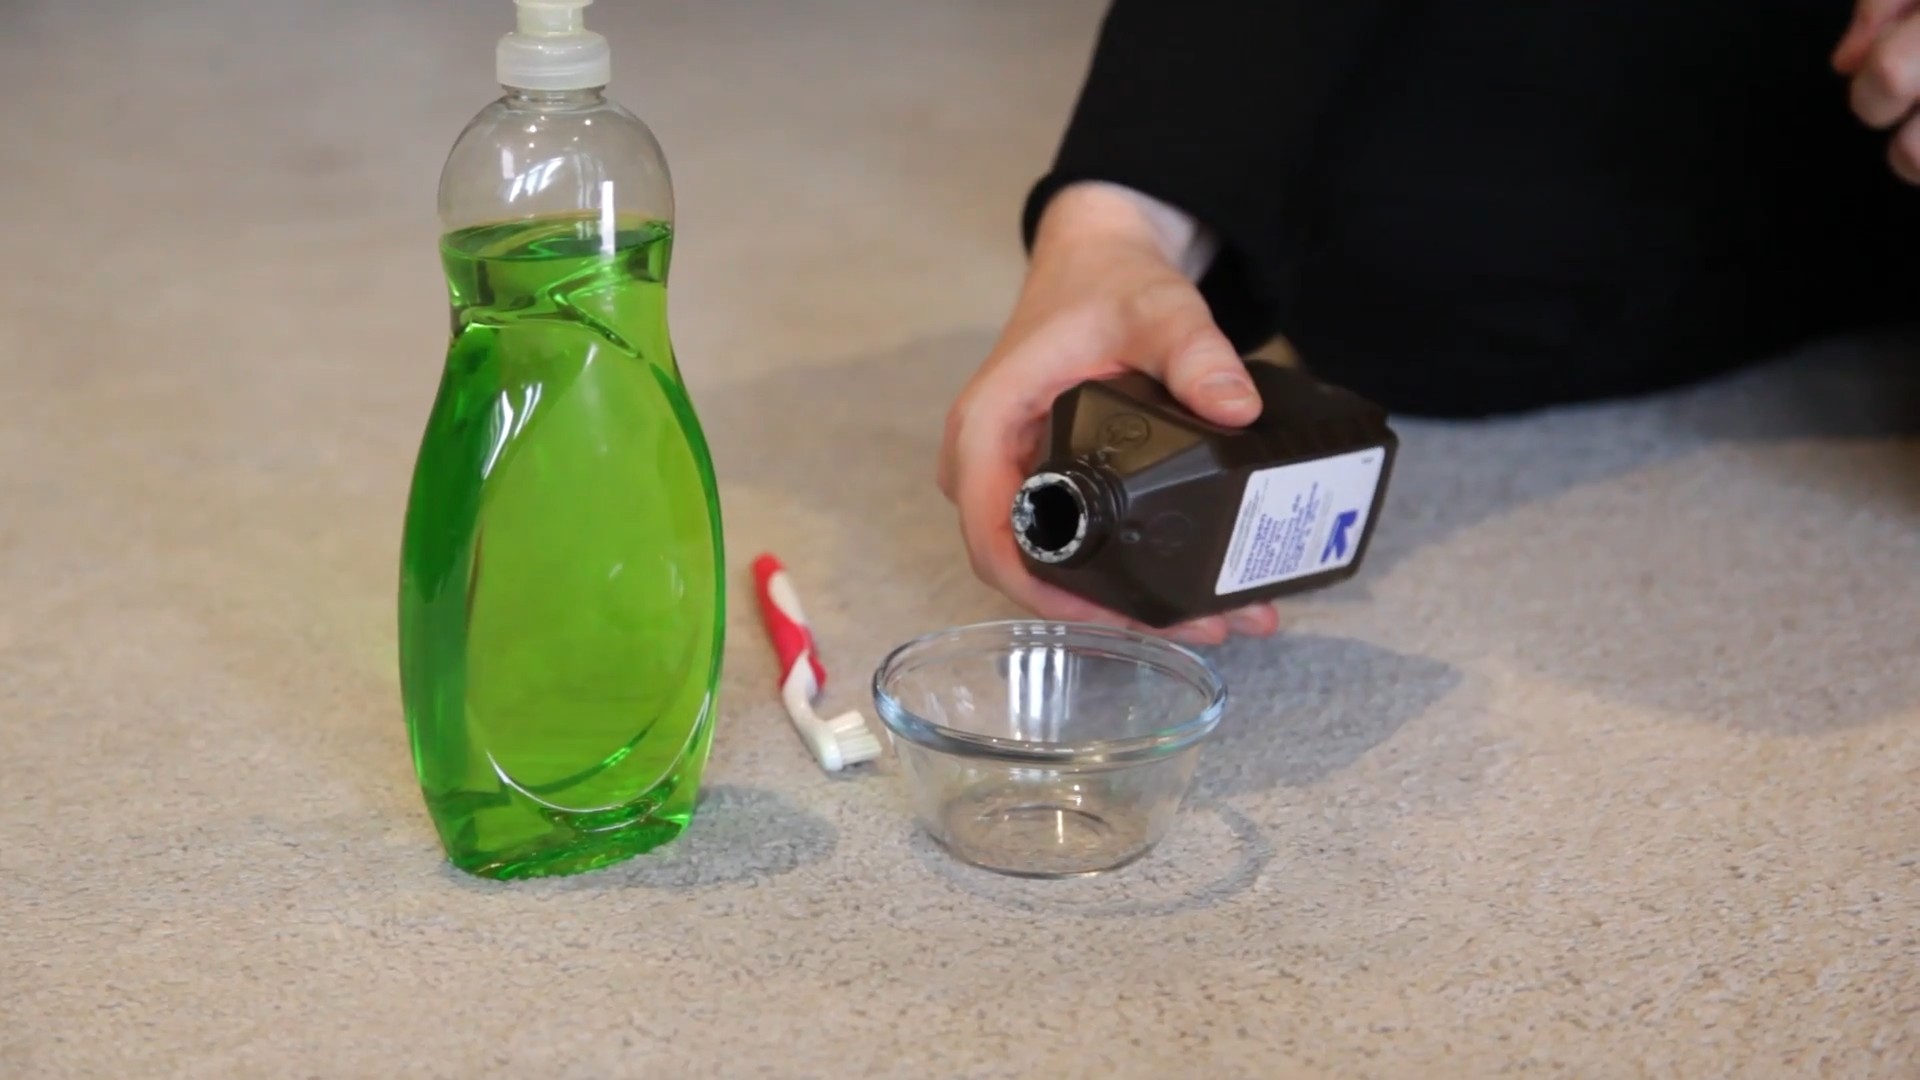
Recipe 2: The Grease Buster (Dish Soap & Vinegar)
For those pesky oil-based stains, this combination of dish soap and vinegar is a lifesaver.
Ingredients:
* 1 tablespoon dish soap (choose a grease-cutting formula)
* 1 tablespoon white vinegar
* 2 cups warm water
* Clean cloths
Instructions:
1. Mix the Solution: In a bowl, combine the dish soap, white vinegar, and warm water.
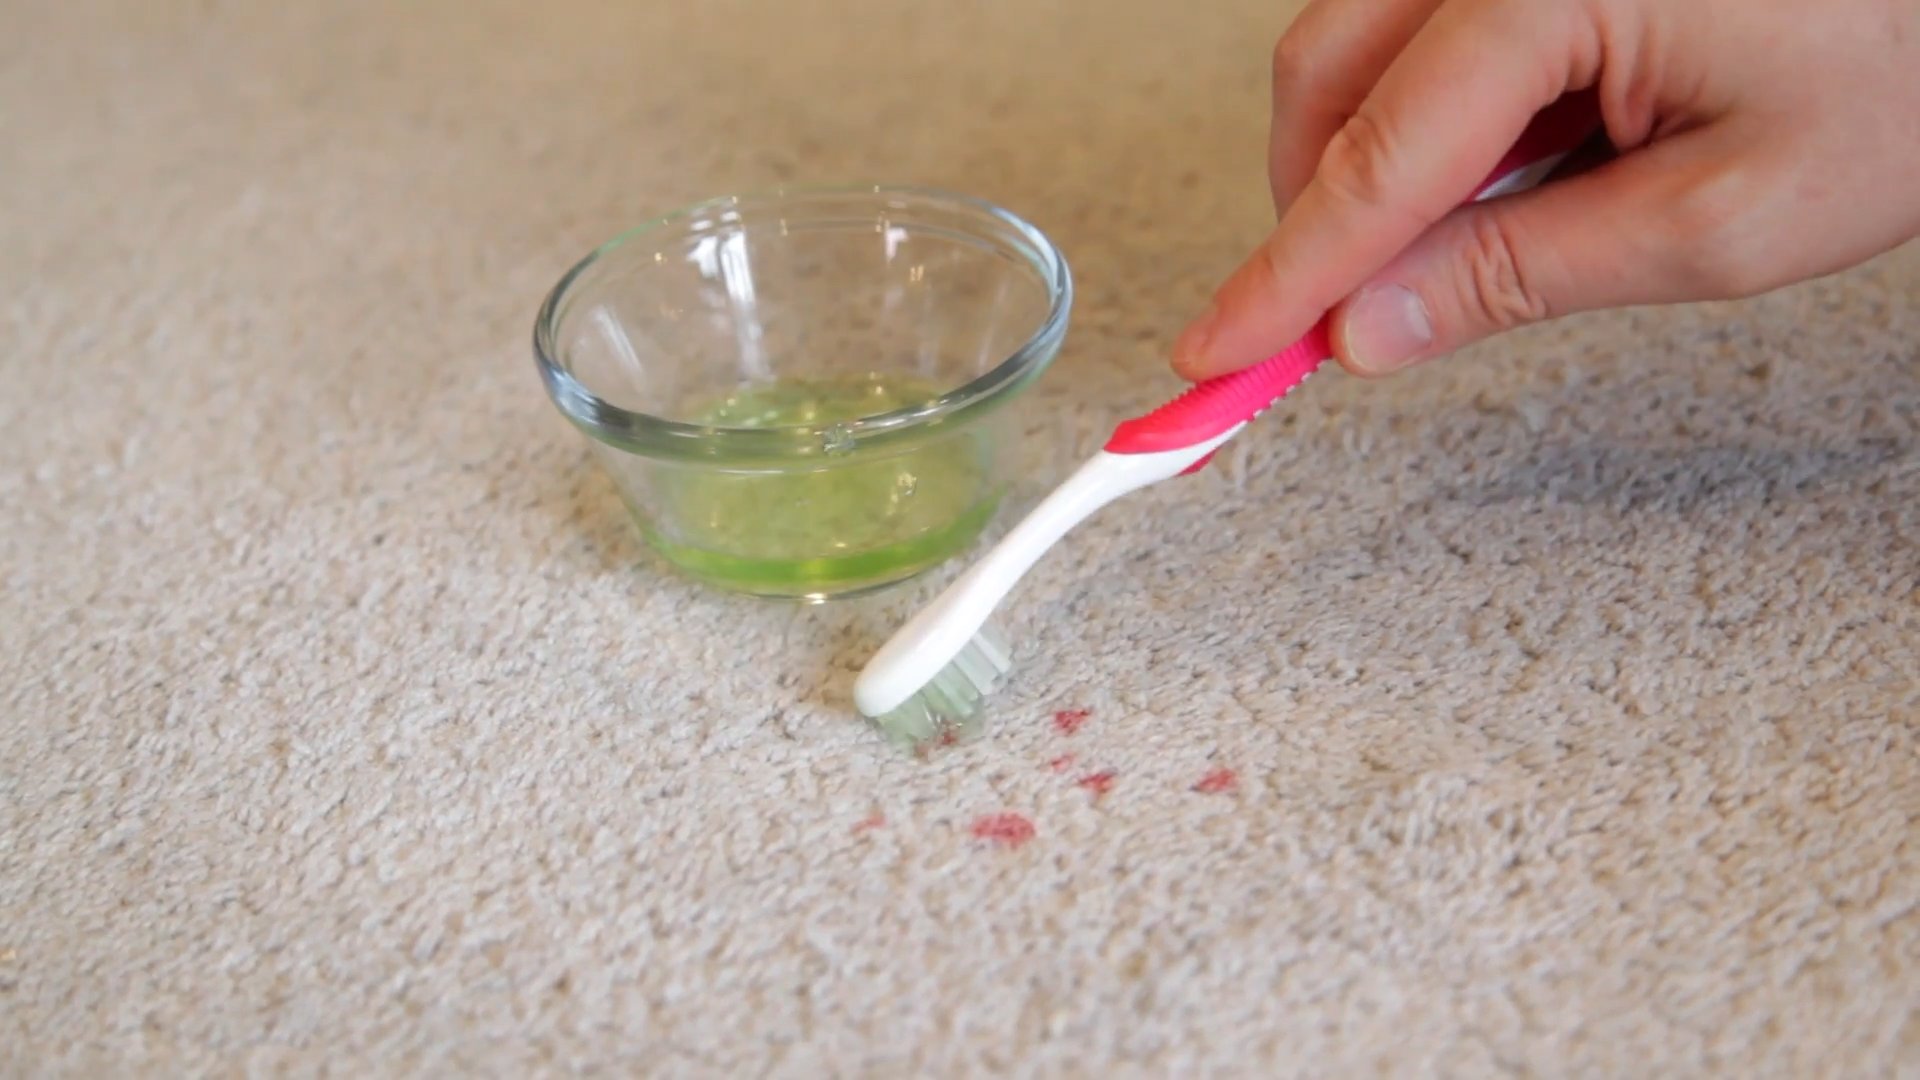
2. Apply to the Stain: Dip a clean cloth into the solution and gently blot the stain. Avoid rubbing.
3. Let it Sit: Allow the solution to sit on the stain for 5-10 minutes.
4. Blot Again: Continue blotting the stain with a clean cloth until you’ve removed as much of the oily residue as possible.
5. Rinse with Water: Rinse the area with clean water and blot dry with a clean cloth.
6. Dry Thoroughly: Place a clean, dry towel over the area and weigh it down to absorb any remaining moisture. Let it dry completely.
7. Vacuum: Vacuum the area to restore the carpet fibers.
Recipe 3: The Enzyme Powerhouse (Hydrogen Peroxide & Baking Soda)
For protein-based stains like blood, milk, or vomit, you need an enzyme-based cleaner to break down the proteins. This recipe uses hydrogen peroxide, which has mild bleaching properties, so be sure to test it in an inconspicuous area first, especially on dark carpets.
Ingredients:
* 3% hydrogen peroxide
* Baking soda
* Clean cloths
* Spray bottle (optional)
Instructions:
1. Apply Hydrogen Peroxide: You can either pour a small amount of hydrogen peroxide directly onto the stain or spray it on using a spray bottle.
2. Sprinkle with Baking Soda: Generously sprinkle baking soda over the hydrogen peroxide.
3. Let it Fizz: Allow the mixture to fizz and bubble for several hours or overnight. The baking soda will absorb the stain and the hydrogen peroxide will help to break it down.
4. Vacuum: Once the area is completely dry, vacuum up the baking soda.
5. Check for Remaining Stain: If the stain is still visible, repeat the process.
Recipe 4: The Tannin Tamer (Club Soda)
For tannin-based stains like coffee, tea, or wine, club soda can be surprisingly effective.
Ingredients:
* Club soda
* Clean cloths
Instructions:
1. Pour Club Soda: Immediately after the spill, pour club soda directly onto the stain, making sure to saturate the area.
2. Blot the Stain: Blot the stain gently with a clean cloth, working from the outside towards the center.
3. Repeat as Needed: Repeat the process of pouring club soda and blotting until the stain is gone.
4. Dry Thoroughly: Place a clean, dry towel over the area and weigh it down to absorb any remaining moisture. Let it dry completely.
5. Vacuum: Vacuum the area to restore the carpet fibers.
Extra Tips and Tricks for Stubborn Stains
Sometimes, even with the best DIY solutions, stubborn stains can linger. Here are a few extra tips and tricks to try:
* Ironing Method: For set-in stains, try this method. After applying your chosen cleaning solution, place a damp cloth over the stain and iron over the cloth on a low setting. The heat can help to lift the stain. Be careful not to scorch the carpet.
* Steam Cleaning: If you have a steam cleaner, it can be a powerful tool for removing stubborn stains. Use a carpet cleaning solution specifically designed for steam cleaners.
* Professional Help: If you’ve tried everything and the stain is still there, it might be time to call in a professional carpet cleaner. They have specialized equipment and cleaning solutions that can tackle even the toughest stains.
Preventing Future Stains: A Proactive Approach
The best way to deal with carpet stains is to prevent them from happening in the first place! Here are a few tips for keeping your carpets clean and stain-free:
* Use Rugs and Mats: Place rugs and mats in high-traffic areas to protect your carpets from dirt and wear.
* Take Off Your Shoes: Encourage family members and guests to remove their shoes before entering your home.
* Clean Up Spills Immediately: As I mentioned earlier, the
Conclusion
So, there you have it! This DIY carpet stain remover isn’t just another cleaning hack; it’s a game-changer for anyone who wants to keep their carpets looking fresh and vibrant without resorting to harsh chemicals or expensive professional services. We’ve all been there – that dreaded moment when a spill happens, and panic sets in. But with this simple, effective, and budget-friendly solution, you can tackle those stains head-on with confidence.
What makes this DIY carpet stain remover a must-try? First and foremost, it’s incredibly effective. The combination of readily available ingredients like vinegar, baking soda, and dish soap creates a powerful cleaning action that lifts stains from deep within the carpet fibers. Unlike some commercial stain removers that simply mask the problem, this DIY solution actually breaks down the stain molecules, leaving your carpet truly clean.
Secondly, it’s a cost-effective alternative to store-bought products. Think about how much you spend on stain removers each year. With this DIY recipe, you can save a significant amount of money while achieving comparable, if not superior, results. Plus, you likely already have most of the ingredients in your pantry!
Thirdly, it’s a safer and more environmentally friendly option. Many commercial carpet stain removers contain harsh chemicals that can be harmful to your health and the environment. This DIY solution uses natural ingredients that are gentle on your carpets, your family, and the planet.
But the benefits don’t stop there. This DIY carpet stain remover is also incredibly versatile. While the basic recipe is effective for a wide range of stains, you can easily customize it to suit your specific needs. For instance, for particularly stubborn stains like red wine or coffee, you can add a small amount of hydrogen peroxide to the mixture. Just be sure to test it on an inconspicuous area of your carpet first to ensure it doesn’t cause any discoloration.
Variations and Suggestions:
* For pet stains: Add a few drops of essential oil, such as lavender or eucalyptus, to help neutralize odors.
* For greasy stains: Sprinkle cornstarch on the stain before applying the DIY carpet stain remover to help absorb the grease.
* For old, set-in stains: Pre-treat the stain with a paste of baking soda and water, let it sit for several hours, and then vacuum before applying the DIY stain remover.
* For delicate carpets: Use a gentler dish soap and dilute the vinegar with more water.
We encourage you to give this DIY carpet stain remover a try. It’s a simple, effective, and affordable way to keep your carpets looking their best. Once you’ve tried it, we’d love to hear about your experience! Share your results, tips, and variations in the comments below. Let’s build a community of stain-fighting experts! Your insights could help others discover the power of this amazing DIY solution. Don’t let those pesky stains ruin your carpets any longer. Take control and reclaim your clean carpets today!
Frequently Asked Questions (FAQ)
Q: What types of stains does this DIY carpet stain remover work on?
A: This DIY carpet stain remover is effective on a wide range of common household stains, including food spills, pet accidents, dirt, mud, coffee, tea, juice, and some types of ink. However, its effectiveness may vary depending on the age and severity of the stain, as well as the type of carpet fiber. For particularly stubborn or set-in stains, you may need to repeat the treatment or try one of the variations suggested above.
Q: Is this DIY carpet stain remover safe for all types of carpets?
A: While this DIY carpet stain remover is generally safe for most types of carpets, it’s always a good idea to test it on an inconspicuous area first to ensure it doesn’t cause any discoloration or damage. This is especially important for delicate carpets, such as wool or silk. If you’re unsure about the suitability of this solution for your carpet, consult with a professional carpet cleaner.
Q: How much of the DIY carpet stain remover should I use?
A: The amount of stain remover you need will depend on the size and severity of the stain. Start with a small amount and gradually increase as needed. Avoid over-saturating the carpet, as this can lead to mold growth or damage to the backing.
Q: How long should I let the DIY carpet stain remover sit on the stain?
A: Allow the stain remover to sit on the stain for 5-10 minutes before blotting it up with a clean cloth. For stubborn stains, you may need to let it sit for longer, up to 30 minutes. Just be sure to keep an eye on the area and prevent it from drying out completely.
Q: Can I use this DIY carpet stain remover on upholstery?
A: Yes, this DIY carpet stain remover can also be used on upholstery, but it’s even more important to test it on an inconspicuous area first, as upholstery fabrics can be more delicate than carpet fibers. Follow the same steps as for carpet cleaning, but be extra careful not to over-saturate the fabric.
Q: What if the stain doesn’t come out completely after the first treatment?
A: If the stain is still visible after the first treatment, repeat the process. You may need to apply the stain remover several times to completely remove stubborn stains. You can also try using a soft-bristled brush to gently scrub the stain.
Q: How do I prevent future carpet stains?
A: Prevention is always better than cure! To prevent future carpet stains, consider using a carpet protector spray, which creates a barrier that repels liquids and dirt. Also, be sure to clean up spills immediately and avoid eating or drinking in carpeted areas. Regular vacuuming can also help prevent dirt and debris from becoming embedded in the carpet fibers.
Q: What kind of vinegar should I use?
A: White distilled vinegar is the best choice for this DIY carpet stain remover. It’s inexpensive, readily available, and effective at cleaning and disinfecting. Avoid using other types of vinegar, such as apple cider vinegar or balsamic vinegar, as they may contain pigments that could stain your carpet.
Q: Can I use a different type of dish soap?
A: Yes, you can use a different type of dish soap, but be sure to choose one that is gentle and free of harsh chemicals or dyes. A clear, unscented dish soap is generally the best option. Avoid using dish soaps that contain bleach or other whitening agents, as these could damage your carpet.
Q: How do I dry the carpet after using the DIY stain remover?
A: After blotting up the stain remover, use a clean, dry towel to absorb any remaining moisture. You can also use a fan or open a window to help speed up the drying process. Avoid walking on the carpet until it is completely dry.
Q: Will this DIY carpet stain remover remove odors as well as stains?
A: Yes, the vinegar and baking soda in this DIY carpet stain remover can help to neutralize odors. For particularly strong odors, such as pet urine, you can add a few drops of essential oil to the mixture or sprinkle baking soda on the affected area and let it sit overnight before vacuuming.
Q: Is it safe to use this DIY carpet stain remover around children and pets?
A: While the ingredients in this DIY carpet stain remover are generally safe, it’s always a good idea to keep children and pets away from the area while you’re cleaning. Avoid allowing them to ingest the solution or come into contact with wet carpets. Once the carpet is dry, it should be safe for them to return to the area.
Leave a Comment