

Summer herbs to grow – that’s what we’re diving into today! Are you dreaming of sun-drenched afternoons, the aroma of fresh herbs wafting through your kitchen, and the satisfaction of creating delicious meals with ingredients you’ve nurtured yourself? Well, you’re in the right place! For centuries, cultivating herbs has been a cornerstone of human civilization, from ancient medicinal practices to adding vibrant flavors to culinary creations. Think of the Egyptians using mint for embalming or the Romans spreading herbs throughout their vast empire – herbs have always been more than just pretty plants.
But let’s be honest, sometimes the idea of starting a garden, especially a herb garden, can feel a little daunting. Where do you even begin? What if you don’t have a green thumb? That’s where these simple, yet effective, DIY tricks and hacks come in. I’m going to share some of my favorite tips for successfully growing summer herbs to grow, even if you’re a complete beginner. Imagine being able to snip fresh basil for your pasta, or add homegrown rosemary to your roasted chicken. These aren’t just plants; they’re flavor enhancers, natural remedies, and a connection to something bigger than ourselves. So, let’s get our hands dirty and unlock the secrets to a thriving summer herb garden!
Grow Your Own Herb Garden This Summer!
Hey there, fellow plant enthusiasts! I’m so excited to share my guide to creating a thriving herb garden this summer. There’s nothing quite like stepping outside and snipping fresh herbs to elevate your cooking. Plus, it’s incredibly rewarding to nurture something from seed (or seedling!) to harvest. Let’s dive in!
Choosing Your Herbs
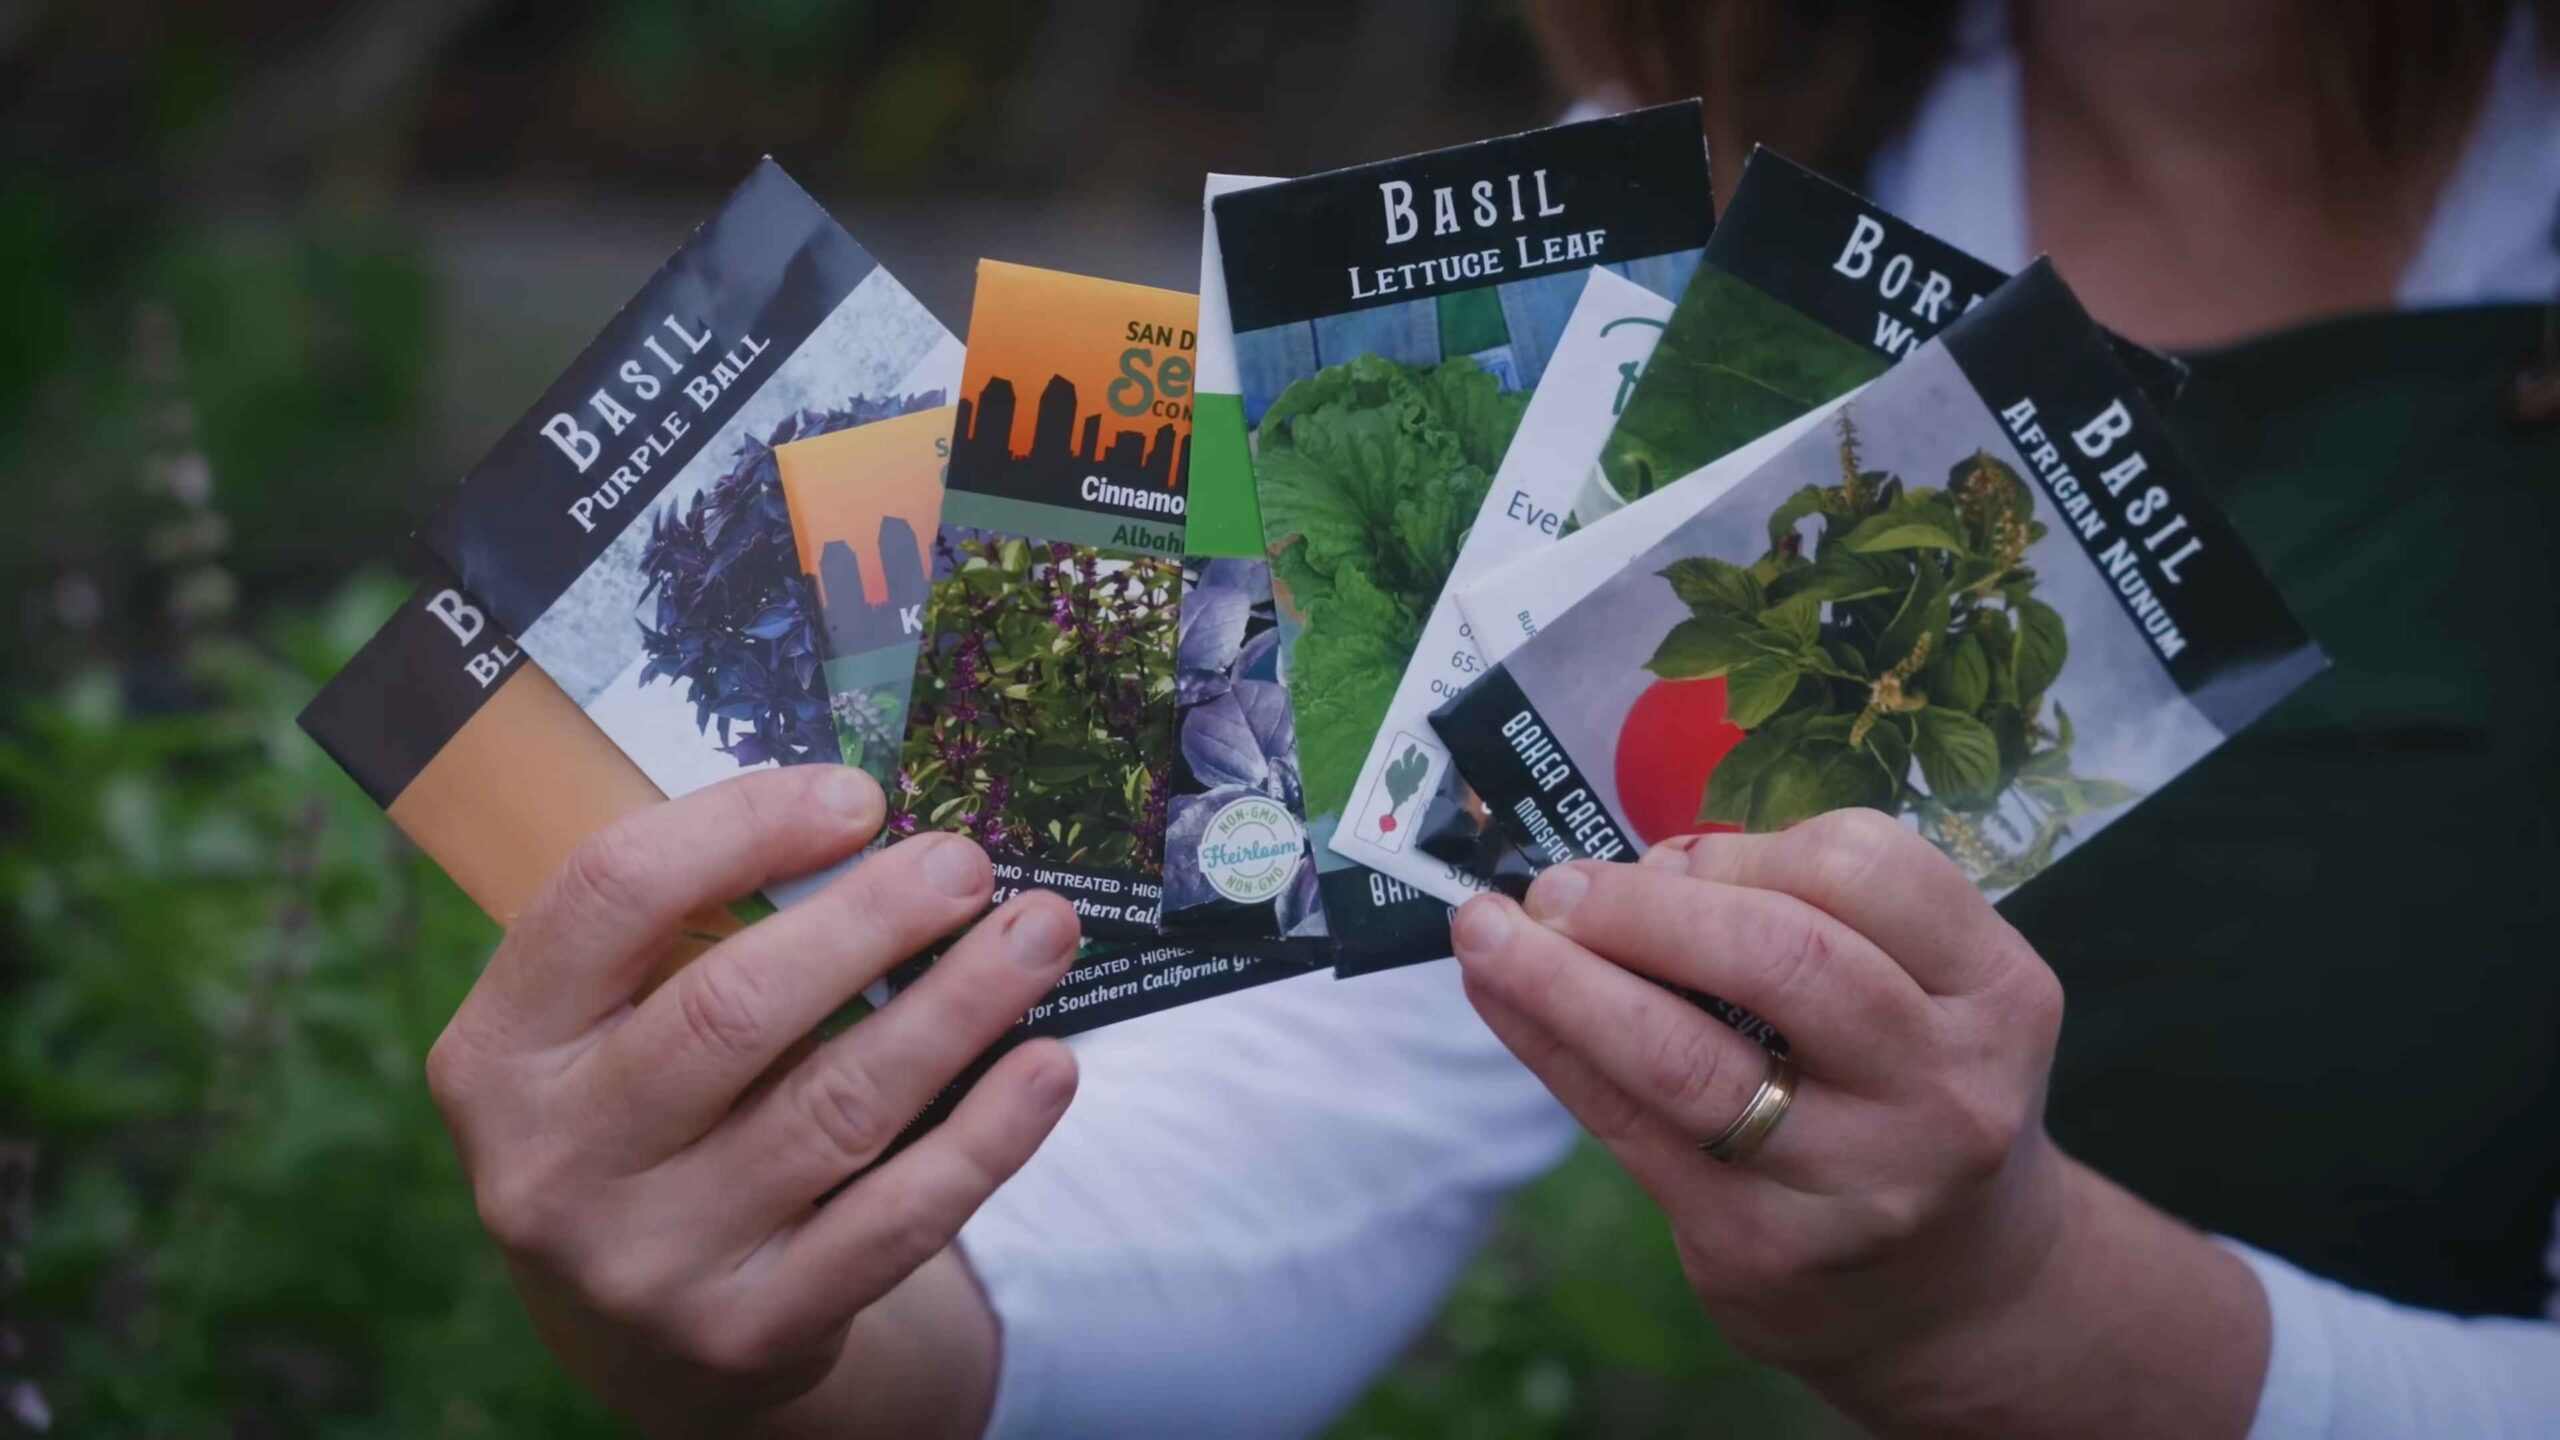
Before we get our hands dirty, let’s talk about which herbs will flourish in the summer heat. These are some of my favorites, and they’re relatively easy to grow, even for beginners:
* Basil: A summer staple! Perfect for pesto, salads, and adding a fresh touch to pasta dishes.
* Mint: Incredibly versatile and refreshing in drinks, desserts, and even savory dishes. Be warned: it spreads like crazy, so keep it contained in a pot!
* Rosemary: A woody herb that adds depth to roasted meats, vegetables, and breads. It’s also drought-tolerant, which is great for those hot summer days.
* Thyme: Another hardy herb that’s perfect for seasoning meats, soups, and stews. It comes in many varieties, so experiment and find your favorite!
* Oregano: Essential for Italian and Mediterranean cuisine. It’s also relatively low-maintenance.
* Chives: A mild onion flavor that’s great sprinkled on salads, baked potatoes, and dips.
* Parsley: A versatile herb that comes in flat-leaf (Italian) and curly varieties. Use it as a garnish or add it to sauces and soups.
* Cilantro: A must-have for Mexican and Southwestern dishes. Be aware that it tends to bolt (go to seed) quickly in hot weather, so plant it in succession every few weeks.
Gathering Your Supplies
Okay, now that we’ve chosen our herbs, let’s gather the necessary supplies. Here’s what you’ll need:
* Seeds or Seedlings: You can start your herbs from seed or buy seedlings from a local nursery. Seedlings will give you a head start, but starting from seed is more economical.
* Pots or a Garden Bed: Choose pots with drainage holes or prepare a garden bed with well-draining soil.
* Potting Soil or Garden Soil: Use a high-quality potting mix for containers and amend your garden soil with compost or other organic matter.
* Watering Can or Hose: Essential for keeping your herbs hydrated.
* Gardening Gloves: To protect your hands.
* Trowel or Small Shovel: For planting.
* Plant Markers: To label your herbs (trust me, you’ll forget what you planted where!).
* Optional: Fertilizer, pruning shears, mulch.
Planting Your Herbs
Alright, let’s get planting! This is the fun part.
Planting in Pots
1. Choose Your Pots: Select pots that are appropriately sized for the herbs you’re planting. Larger herbs like rosemary and basil will need bigger pots than smaller herbs like thyme and chives. Make sure the pots have drainage holes to prevent waterlogging.
2. Fill with Potting Mix: Fill the pots with a high-quality potting mix, leaving about an inch of space at the top.
3. Plant Your Seedlings: Gently remove the seedlings from their containers and loosen the roots slightly. Dig a hole in the potting mix that’s large enough to accommodate the root ball. Place the seedling in the hole and backfill with potting mix, gently firming the soil around the base of the plant.
4. Plant Your Seeds: If you’re starting from seed, follow the instructions on the seed packet for planting depth and spacing. Generally, you’ll want to sow the seeds thinly on the surface of the potting mix and then cover them with a thin layer of soil.
5. Water Thoroughly: Water the pots thoroughly after planting, until water drains out of the drainage holes.
6. Label Your Herbs: Use plant markers to label each pot with the name of the herb.
Planting in a Garden Bed
1. Prepare the Soil: Choose a sunny spot in your garden bed and prepare the soil by removing any weeds, rocks, or debris. Amend the soil with compost or other organic matter to improve drainage and fertility.
2. Dig Holes: Dig holes that are large enough to accommodate the root balls of your seedlings. Space the holes according to the mature size of the herbs you’re planting.
3. Plant Your Seedlings: Gently remove the seedlings from their containers and loosen the roots slightly. Place the seedling in the hole and backfill with soil, gently firming the soil around the base of the plant.
4. Plant Your Seeds: If you’re starting from seed, follow the instructions on the seed packet for planting depth and spacing. Generally, you’ll want to sow the seeds thinly on the surface of the soil and then cover them with a thin layer of soil.
5. Water Thoroughly: Water the garden bed thoroughly after planting, until the soil is moist but not waterlogged.
6. Label Your Herbs: Use plant markers to label each row or section of your garden bed with the name of the herb.
Caring for Your Herb Garden
Now that your herbs are planted, it’s important to provide them with the care they need to thrive.
* Watering: Water your herbs regularly, especially during hot, dry weather. Check the soil moisture by sticking your finger into the soil. If the top inch of soil is dry, it’s time to water. Avoid overwatering, as this can lead to root rot.
* Sunlight: Most herbs need at least 6 hours of sunlight per day. Place your pots in a sunny location or choose a sunny spot in your garden bed.
* Fertilizing: Fertilize your herbs every few weeks with a balanced fertilizer. Follow the instructions on the fertilizer package for application rates. You can also use organic fertilizers like compost tea or fish emulsion.
* Pruning: Prune your herbs regularly to encourage bushier growth and prevent them from becoming leggy. Pinch off the tips of the stems to promote branching. Remove any flowers that appear, as this will encourage the plant to focus its energy on producing leaves.
* Pest Control: Keep an eye out for pests like aphids, spider mites, and whiteflies. If you notice any pests, treat them with an insecticidal soap or neem oil. You can also attract beneficial insects to your garden by planting flowers that attract pollinators.
* Weeding: Keep your garden bed free of weeds, as they can compete with your herbs for nutrients and water. Hand-pull weeds regularly or use a hoe to cultivate the soil.
* Mulching: Apply a layer of mulch around your herbs to help retain moisture, suppress weeds, and regulate soil temperature. Use organic mulches like straw, wood chips, or shredded leaves.
Harvesting Your Herbs
The best part of growing your own herb garden is harvesting your fresh herbs!
* When to Harvest: You can start harvesting your herbs as soon as they have enough leaves to spare. Generally, you’ll want to harvest herbs in the morning, after the dew has dried but before the sun gets too hot. This is when the herbs will have the highest concentration of essential oils.
* How to Harvest: Use pruning shears or scissors to snip off the stems of the herbs. Avoid cutting more than one-third of the plant at a time, as this can stress the plant.
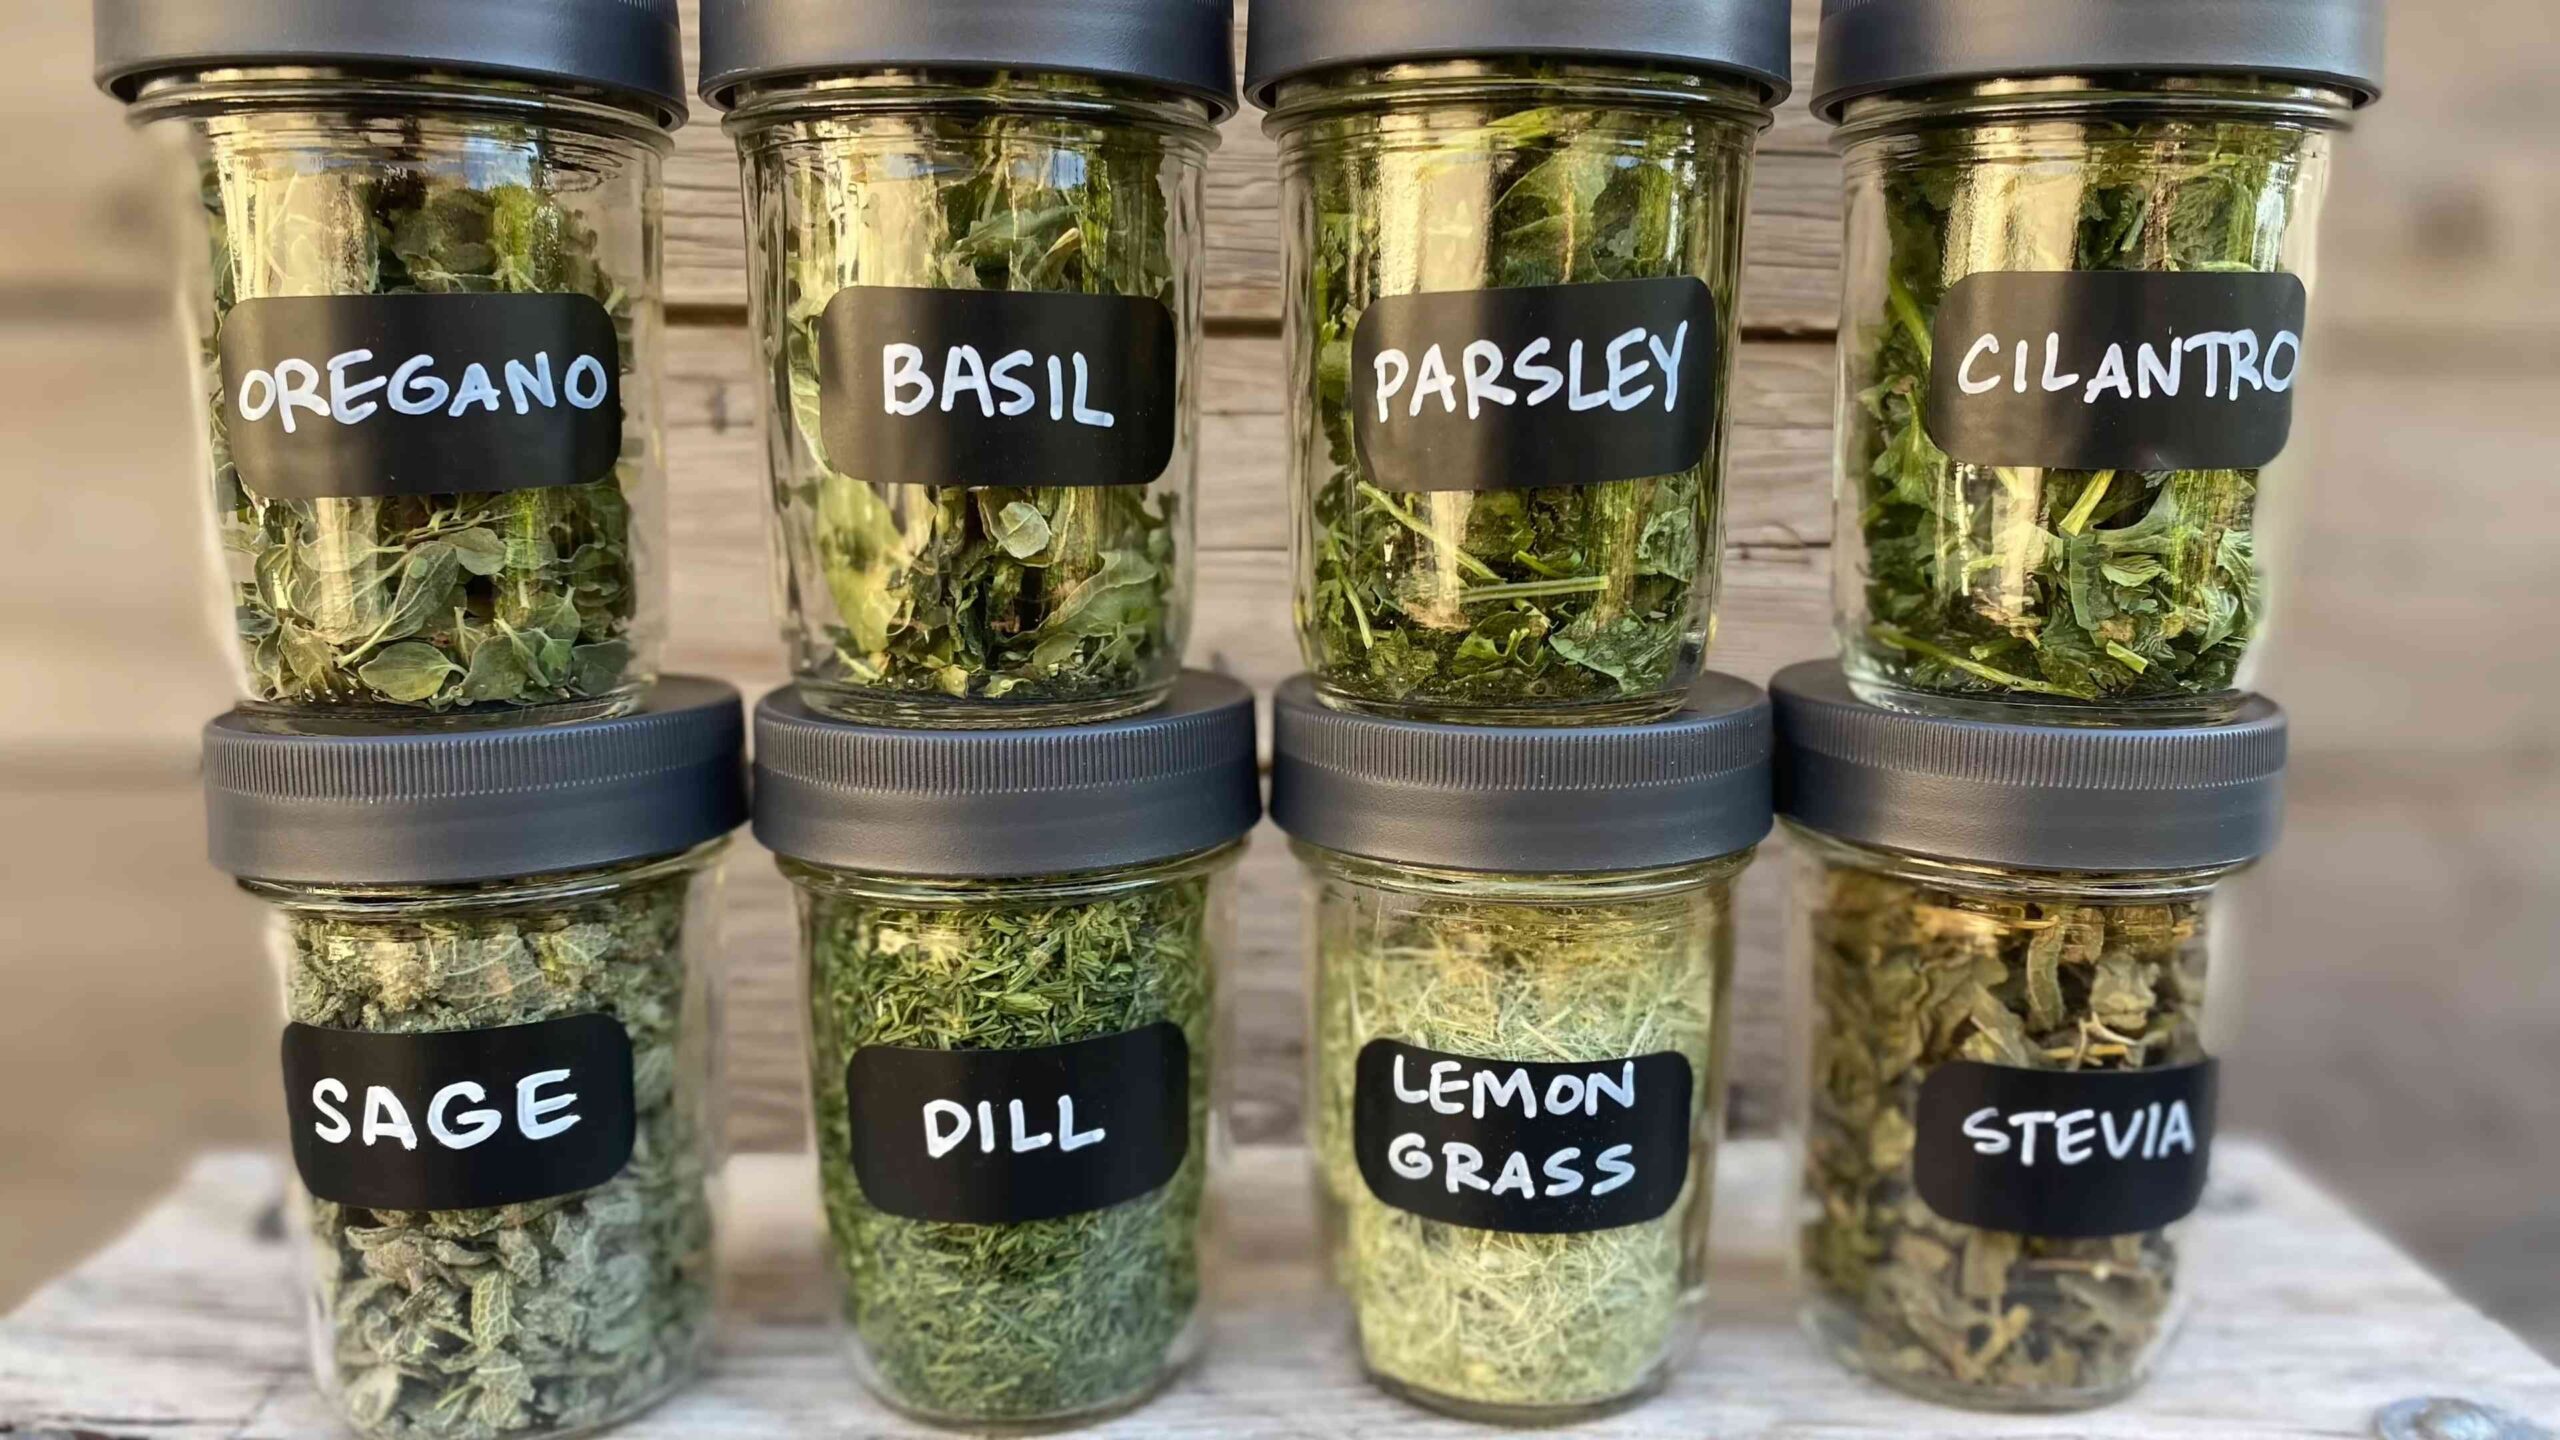
* Storing Your Herbs: You can use your fresh herbs immediately or store them for later use. To store fresh herbs, wrap them in a damp paper towel and place them in a plastic bag in the refrigerator. They should last for several days. You can also dry your herbs by hanging them upside down in a cool, dry place or using a dehydrator. Once the herbs are completely dry, store them in an airtight container in a cool, dark place. You can also freeze herbs by chopping them up and placing them in ice cube trays filled with water or olive oil. Once the cubes are frozen, transfer them to a freezer bag.
Troubleshooting
Even with the best care, you might encounter some problems with your herb garden. Here are some common issues and how to address them:
* Yellowing Leaves: This can be caused by overwatering, underwatering, nutrient deficiencies, or pests. Check the soil moisture and adjust your watering schedule accordingly. Fertilize your herbs with a balanced fertilizer. Inspect the plants for pests and treat them as needed.
* Leggy Growth: This is often caused by insufficient sunlight. Move your pots to a sunnier location or prune your herbs regularly to encourage bushier growth.
* Bolting: This is when the plant starts to produce flowers and seeds prematurely. It’s often caused by hot weather or stress. To prevent bolting, plant your herbs in succession every few weeks and provide them with plenty of
Conclusion
So, there you have it! This simple yet effective DIY trick for propagating your summer herbs is a game-changer for any gardener, regardless of experience level. Forget spending a fortune at the garden center every year; with a little patience and this easy method, you can have an endless supply of your favorite summer herbs, all grown from your own garden.
Why is this a must-try? Because it’s economical, sustainable, and incredibly rewarding. Imagine the satisfaction of snipping fresh basil for your pasta, mint for your mojitos, or rosemary for your roasted chicken, all knowing you nurtured those plants from tiny cuttings. Plus, propagating your own herbs allows you to control the growing environment, ensuring they are free from harmful pesticides and chemicals.
But the benefits don’t stop there. This DIY propagation method is also a fantastic way to expand your herb garden without taking up more space. You can easily grow herbs in containers on your patio, balcony, or even indoors on a sunny windowsill. This makes it perfect for apartment dwellers or anyone with limited garden space.
Looking for variations? Absolutely! While we focused on common summer herbs like basil, mint, rosemary, thyme, oregano, and sage, this technique can be adapted for other plants as well. Experiment with different types of herbs and even some flowering plants. Just be sure to research the specific propagation requirements for each plant to ensure the best results.
Consider using different rooting mediums. While water propagation is a great starting point, you can also try rooting cuttings directly in soil or a soilless mix like perlite or vermiculite. Each method has its own advantages, so experiment to see what works best for you and your specific herbs.
Another variation is to use rooting hormone. While not strictly necessary, rooting hormone can help to speed up the rooting process and increase the success rate, especially for herbs that are more difficult to propagate. Simply dip the cut end of the stem in rooting hormone powder before placing it in water or soil.
Don’t be afraid to get creative with your containers! While a simple glass of water works perfectly fine, you can also use repurposed jars, bottles, or even decorative vases. Just make sure the container is clean and allows enough light to reach the cuttings.
Most importantly, don’t be discouraged if your first attempt isn’t perfect. Propagation can be a bit of a learning curve, so don’t give up if you don’t see roots right away. Just keep experimenting and adjusting your technique until you find what works best for you.
We are confident that this DIY trick will transform the way you grow your summer herbs. It’s a simple, effective, and rewarding way to expand your garden and enjoy fresh, flavorful herbs all season long. So, grab your scissors, gather your herbs, and get propagating!
We encourage you to try this DIY trick and share your experience with us. Let us know which herbs you propagated, what variations you tried, and any tips or tricks you discovered along the way. Share your photos and stories on social media using #SummerHerbPropagation and let’s inspire others to grow their own herbs! We can’t wait to see what you create. Happy gardening!
Frequently Asked Questions (FAQ)
What exactly is propagation, and why should I propagate my summer herbs?
Propagation is the process of creating new plants from existing ones. In this case, we’re using stem cuttings to grow new herb plants. You should propagate your summer herbs because it’s a cost-effective way to expand your herb garden without buying new plants. It’s also a sustainable practice, allowing you to make the most of your existing plants. Plus, it’s incredibly rewarding to watch new plants grow from cuttings you’ve taken yourself.
Which summer herbs are best suited for this DIY propagation method?
This method works well for many common summer herbs, including:
* Basil
* Mint
* Rosemary
* Thyme
* Oregano
* Sage
* Lemon Balm
* Chives
However, some herbs may be easier to propagate than others. Experiment to see what works best for you.
How long does it take for the cuttings to develop roots?
The time it takes for roots to develop can vary depending on the herb, the growing conditions, and the time of year. Generally, you can expect to see roots within 1-3 weeks. Be patient and keep the water fresh.
What kind of water should I use for propagation?
Tap water is generally fine, but it’s best to let it sit out for 24 hours to allow the chlorine to dissipate. You can also use filtered water or rainwater. Avoid using distilled water, as it lacks the minerals that plants need to grow.
How often should I change the water?
Change the water every 2-3 days to keep it fresh and prevent the growth of algae or bacteria. This will also help to ensure that the cuttings receive enough oxygen.
What if the cuttings start to rot or develop mold?
If you notice any signs of rot or mold, remove the affected leaves or stems immediately. Change the water more frequently and ensure that the cuttings are not overcrowded. You can also add a small amount of hydrogen peroxide to the water to help kill any bacteria or fungi.
When should I transplant the rooted cuttings into soil?
Once the roots are about 1-2 inches long, you can transplant the cuttings into soil. Choose a well-draining potting mix and a pot that is appropriately sized for the plant.
What kind of soil should I use for transplanting?
Use a well-draining potting mix that is specifically formulated for herbs. You can also add some perlite or vermiculite to improve drainage.
How do I care for the newly transplanted herbs?
Water the newly transplanted herbs regularly, keeping the soil moist but not soggy. Provide them with plenty of sunlight and protect them from extreme temperatures. You may also want to fertilize them with a balanced fertilizer every few weeks.
Can I propagate herbs indoors during the winter?
Yes, you can propagate herbs indoors during the winter, but you may need to provide them with supplemental light. A grow light can help to ensure that the cuttings receive enough light to develop roots.
Is it necessary to use rooting hormone?
No, rooting hormone is not strictly necessary, but it can help to speed up the rooting process and increase the success rate, especially for herbs that are more difficult to propagate.
Can I propagate herbs from seeds instead of cuttings?
Yes, you can propagate herbs from seeds, but it can be a more time-consuming process. Propagating from cuttings is a faster and easier way to get new plants.
What are some common mistakes to avoid when propagating herbs?
Some common mistakes to avoid include:
* Using dull or dirty scissors to take cuttings
* Taking cuttings that are too long or too short
* Overcrowding the cuttings in the water
* Not changing the water frequently enough
* Transplanting the cuttings into soil too soon
* Overwatering the newly transplanted herbs
Can I propagate herbs in soil instead of water?
Yes, you can propagate herbs directly in soil or a soilless mix like perlite or vermiculite. This method can be more challenging than water propagation, but it can also be more successful for some herbs.
What if my cuttings don’t develop roots?
If your cuttings don’t develop roots, don’t give up! Try again with fresh cuttings and make sure you are providing them with the right conditions. Experiment with different techniques and see what works best for you. Sometimes, it just takes a little patience and persistence.

Leave a Comment