

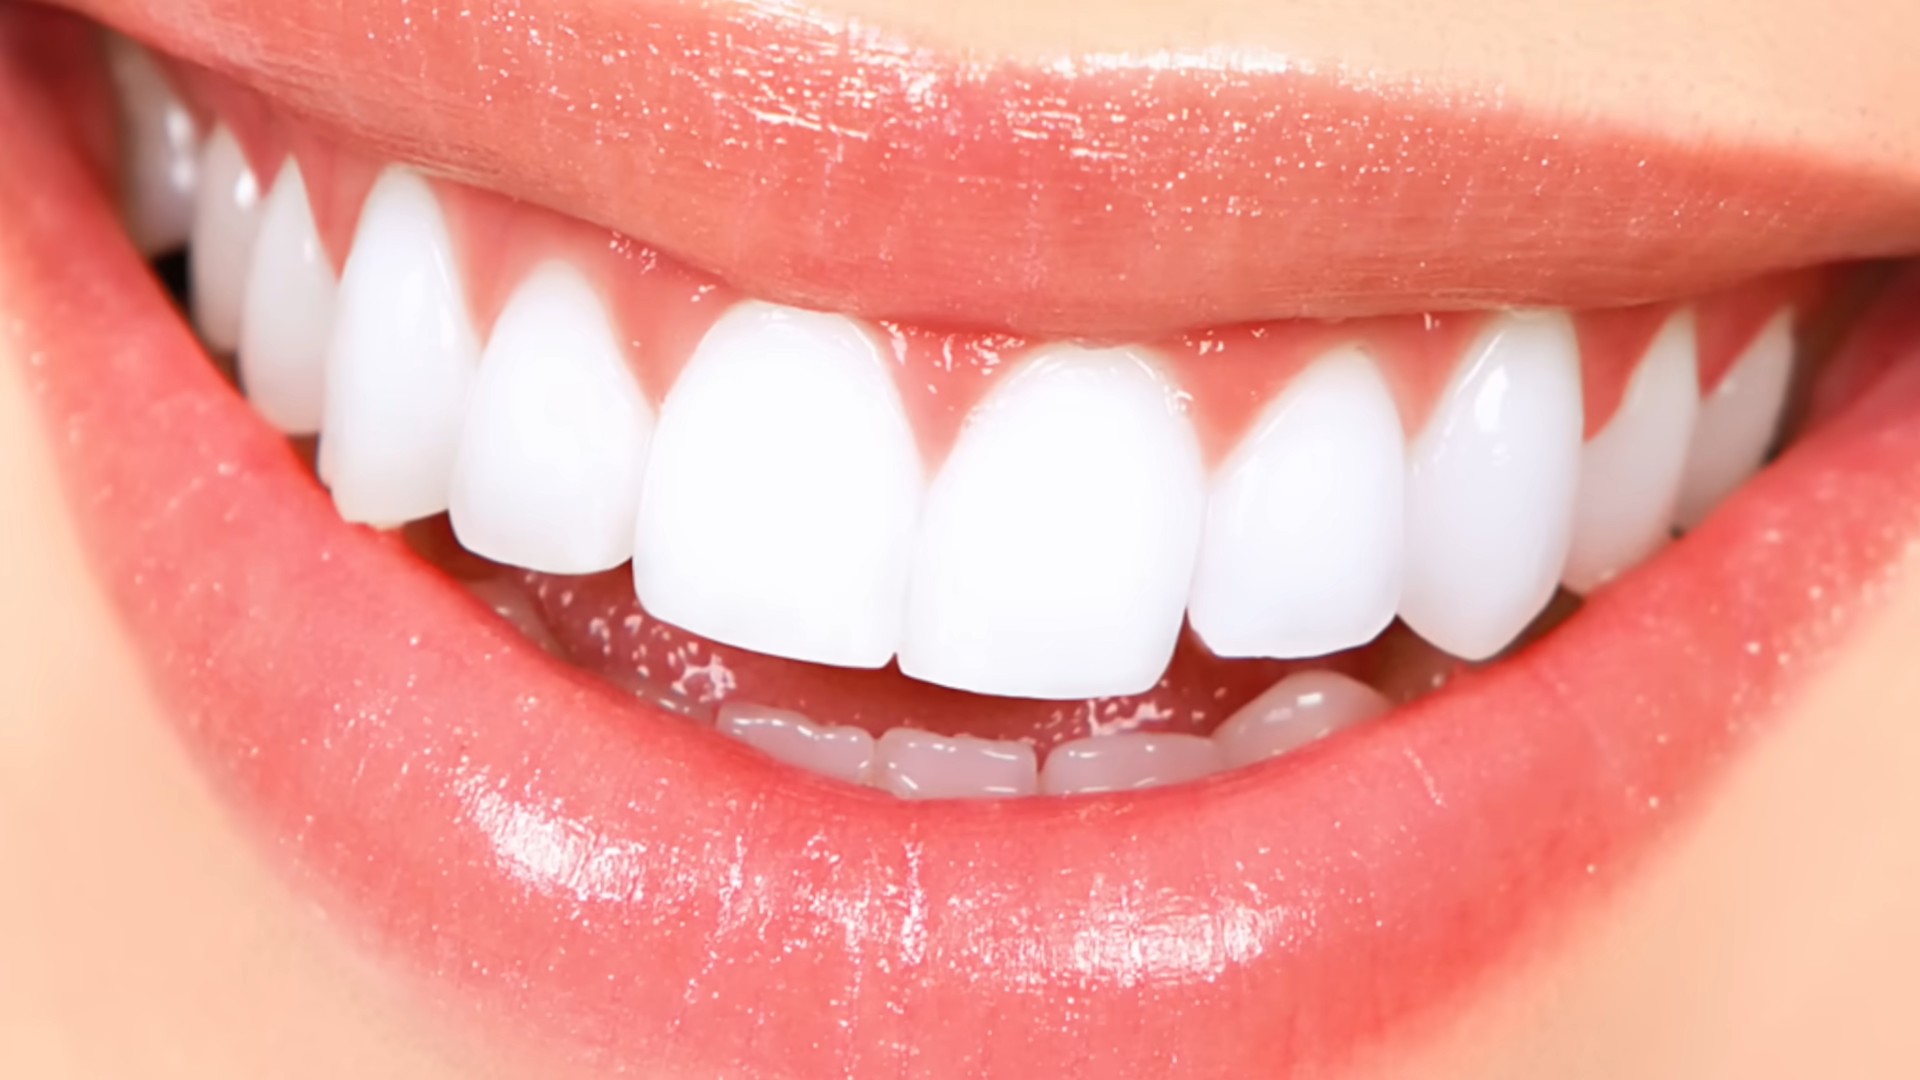
Baking Soda Teeth Whitening: Are you dreaming of a brighter, whiter smile without breaking the bank? I know I am! We’ve all seen those dazzling smiles on TV and in magazines, and while professional whitening treatments can be effective, they can also be incredibly expensive. But what if I told you there’s a simple, affordable, and surprisingly effective way to achieve a noticeably whiter smile right in your own bathroom?
The use of baking soda for oral hygiene isn’t new. In fact, it dates back centuries! Ancient Egyptians used a form of baking soda to clean their teeth, and its popularity has endured through generations. It’s a testament to the power of simple, natural solutions.
In today’s world, where image is often prioritized, having a confident smile is more important than ever. Stained teeth can make us feel self-conscious and hesitant to show off our pearly whites. That’s why I’m so excited to share this DIY baking soda teeth whitening trick with you. It’s a game-changer for anyone looking to brighten their smile naturally and affordably. Get ready to unlock a brighter, more confident you, one simple baking soda scrub at a time!
DIY Baking Soda Teeth Whitening: A Simple Guide to a Brighter Smile
Hey there! Want a whiter smile without breaking the bank? I’ve got you covered! This guide will walk you through using baking soda to naturally whiten your teeth at home. It’s a simple and effective method, but remember, consistency and moderation are key. Let’s get started!
What You’ll Need
Before we dive in, let’s gather our supplies. This is a pretty straightforward process, so you probably already have most of these items in your kitchen or bathroom.
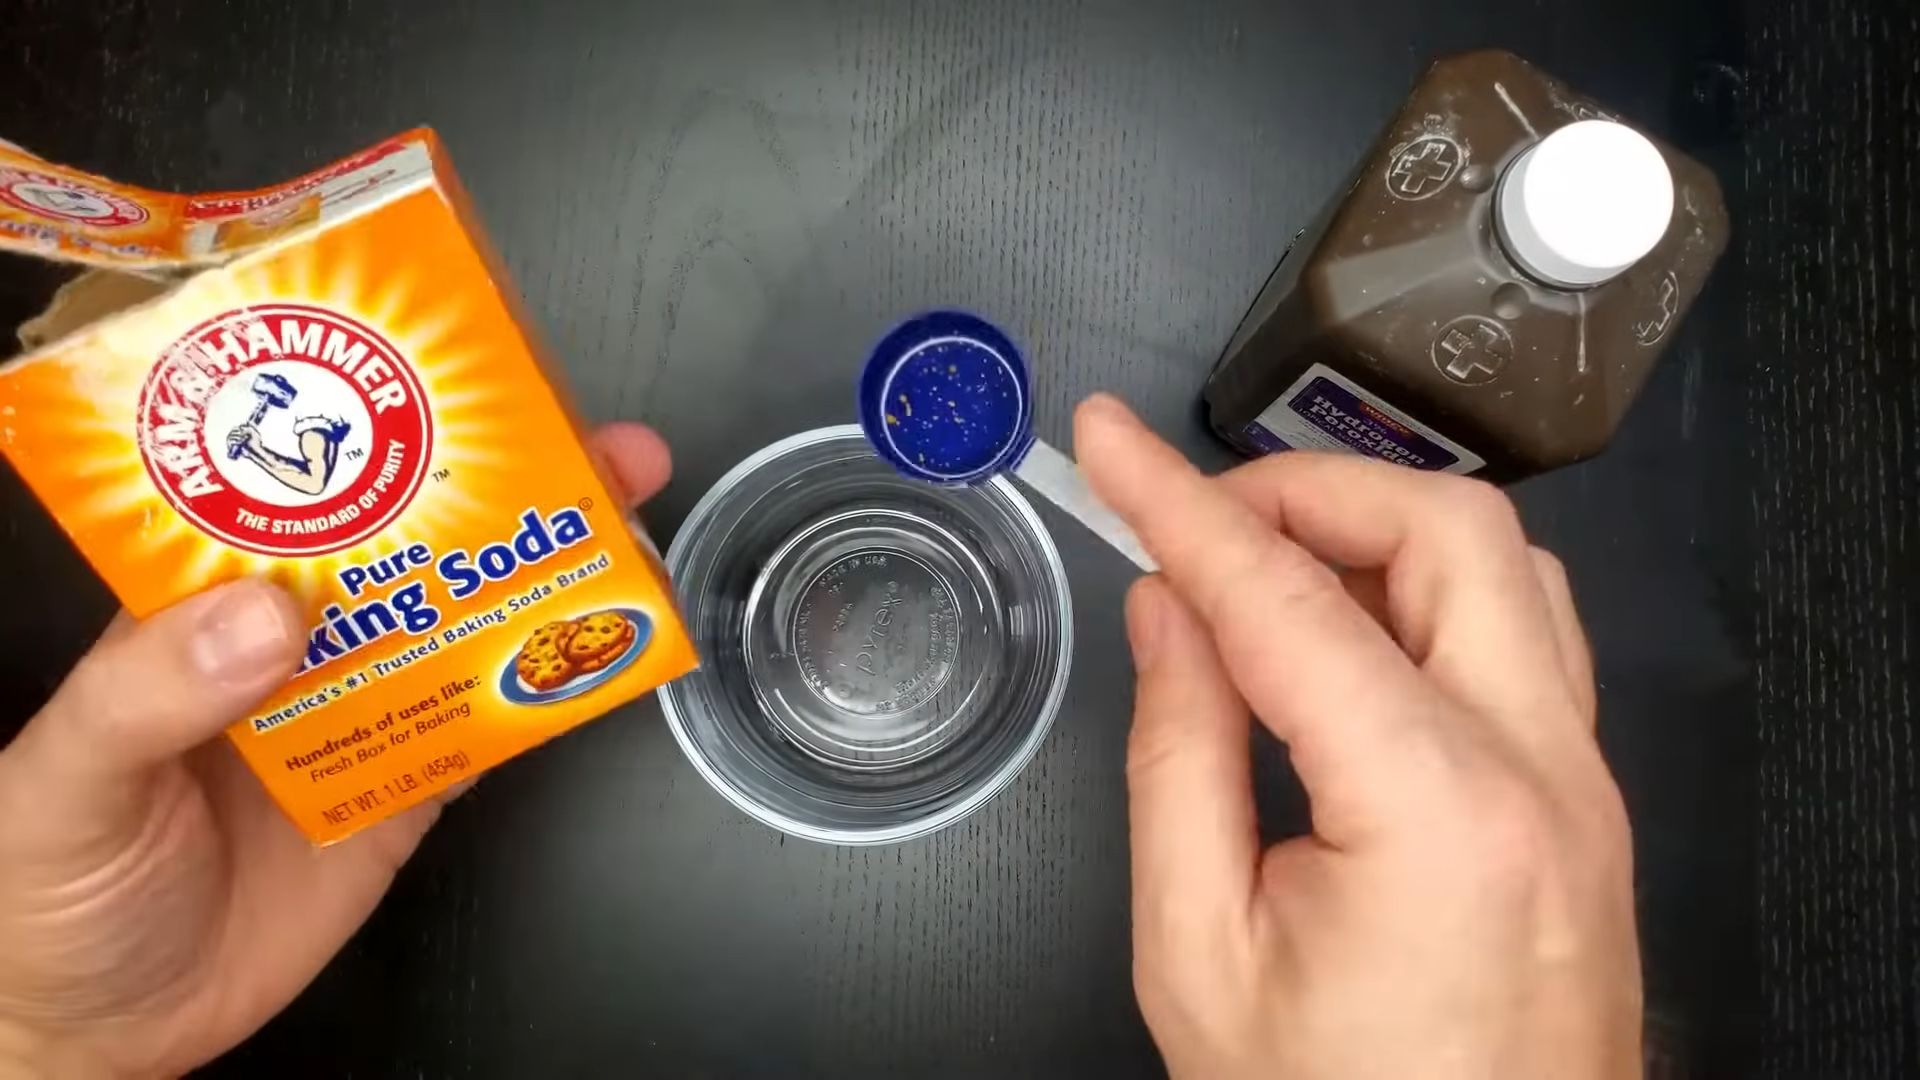
* Baking Soda: The star of the show! Make sure it’s fresh and from a reputable brand.
* Water: Tap water is fine, but distilled water is even better for a purer mixture.
* Toothbrush: Use a soft-bristled toothbrush to avoid damaging your enamel.
* Small Bowl or Dish: For mixing the baking soda paste.
* Mirror: To make sure you’re reaching all areas of your teeth.
* Optional: Hydrogen Peroxide (3%): This can boost the whitening power, but use it sparingly.
* Optional: Essential Oil (Peppermint or Spearmint): For a fresher taste.
Understanding the Science (A Little Bit!)
Baking soda, also known as sodium bicarbonate, is a mild abrasive. This means it gently scrubs away surface stains on your teeth caused by things like coffee, tea, wine, and smoking. It also helps neutralize acids in your mouth, which can contribute to tooth decay. While it’s effective, it’s important to use it correctly to avoid any potential damage to your enamel.
Making the Baking Soda Paste
This is where the magic happens! We’re going to create a paste that’s just the right consistency for whitening.
1. Measure the Baking Soda: Start with about a teaspoon of baking soda in your small bowl or dish. You can always add more if needed.
2. Add Water (Slowly!): Gradually add water, a few drops at a time, to the baking soda. Mix it with a spoon or your toothbrush until you form a smooth paste. You want it to be thick enough to stick to your toothbrush but not so thick that it’s difficult to spread.
3. Optional: Add Hydrogen Peroxide (With Caution!): If you’re using hydrogen peroxide, add just a few drops (no more than 1/4 teaspoon) to the paste. Be very careful not to swallow any of the mixture. Hydrogen peroxide can further enhance the whitening effect, but it can also irritate your gums if used excessively.
4. Optional: Add Essential Oil (For Freshness!): If you want to improve the taste, add a single drop of peppermint or spearmint essential oil. This will make the experience much more pleasant.
The Whitening Process: Step-by-Step
Now for the main event! Follow these steps carefully to whiten your teeth safely and effectively.
1. Prepare Your Toothbrush: Dip your soft-bristled toothbrush into the baking soda paste, making sure to coat the bristles evenly.
2. Brush Gently: Brush your teeth with the baking soda paste for about two minutes. Use gentle, circular motions, just like you would with regular toothpaste. Avoid pressing too hard, as this can damage your enamel. Pay special attention to areas with noticeable staining.
3. Rinse Thoroughly: After brushing, rinse your mouth thoroughly with water. Make sure to remove all traces of the baking soda paste. You don’t want to swallow any of it.
4. Brush with Regular Toothpaste: To remove any remaining baking soda residue and freshen your breath, brush your teeth with your regular fluoride toothpaste. This will also help protect your enamel.
5. Rinse Again: Rinse your mouth one last time with water to ensure everything is clean.
Important Considerations and Tips
To get the best results and avoid any potential problems, keep these points in mind:
* Frequency: Don’t use this method every day! I recommend using it no more than once or twice a week. Overuse can wear down your enamel, making your teeth more sensitive.
* Sensitivity: If you experience any tooth sensitivity, stop using the baking soda paste immediately. You might need to reduce the frequency or discontinue use altogether.
* Gum Irritation: If you notice any gum irritation, rinse your mouth with warm salt water. If the irritation persists, consult your dentist.
* Enamel Protection: Remember that baking soda is abrasive. Be gentle when brushing and avoid using it too frequently to protect your enamel.
* Not a Replacement for Regular Brushing: This method is for whitening purposes only. You still need to brush your teeth twice a day with fluoride toothpaste to maintain good oral hygiene.
* Consult Your Dentist: If you have any concerns about using baking soda to whiten your teeth, talk to your dentist. They can provide personalized advice based on your individual needs and dental health.
* Hydrogen Peroxide Precautions: If you choose to use hydrogen peroxide, be extremely careful not to swallow any of the mixture. It can cause stomach upset. Use only 3% hydrogen peroxide, and use it sparingly.
* Listen to Your Body: Pay attention to how your teeth and gums feel. If you experience any discomfort, stop using the baking soda paste.
Maintaining Your Brighter Smile
Once you’ve achieved your desired level of whiteness, you can maintain your results by following these tips:
* Limit Stain-Causing Foods and Drinks: Reduce your consumption of coffee, tea, red wine, and other foods and drinks that can stain your teeth.
* Rinse After Consuming Stain-Causing Substances: Rinse your mouth with water after consuming stain-causing foods and drinks to help prevent stains from setting in.
* Brush Regularly: Brush your teeth twice a day with fluoride toothpaste to remove plaque and prevent stains.
* Use a Whitening Toothpaste: Consider using a whitening toothpaste in between baking soda treatments to help maintain your results.
* Professional Cleanings: Schedule regular dental cleanings to remove plaque and tartar buildup, which can contribute to staining.
Troubleshooting
* Paste Too Runny: Add a little more baking soda to thicken the paste.
* Paste Too Thick: Add a few more drops of water to thin the paste.
* Sensitivity: Reduce the frequency of use or discontinue use altogether. Consider using a toothpaste designed for sensitive teeth.
* No Noticeable Results: Be patient! It may take several weeks of consistent use to see noticeable results. Also, keep in mind that baking soda primarily removes surface stains. For deeper stains, you may need to consider professional whitening treatments.
Alternative Baking Soda Mixtures
While the baking soda and water paste is the most common method, here are a couple of variations you can try:
* Baking Soda and Strawberry Paste: Mash a ripe strawberry and mix it with a teaspoon of baking soda. Strawberries contain malic acid, which can help whiten teeth. However, be aware that strawberries also contain sugar, so be sure to rinse your mouth thoroughly after using this mixture.
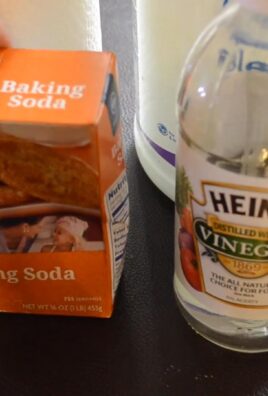
* Baking Soda and Lemon Juice Paste: Mix a teaspoon of baking soda with a few drops of lemon juice. Lemon juice is acidic and can help whiten teeth, but it can also erode enamel if used too frequently. Use this mixture sparingly and rinse your mouth thoroughly afterward. I personally don’t recommend this one because of the acidity.
Final Thoughts
Using baking soda to whiten your teeth is a simple and affordable way to brighten your smile at home. Just remember to be patient, consistent, and gentle. And always listen to your body and consult your dentist if you have any concerns. Good luck, and happy whitening! I hope you achieve the smile you’ve always wanted!
Conclusion
So, there you have it! Baking soda teeth whitening isn’t just a fleeting trend; it’s a time-tested, budget-friendly, and surprisingly effective way to brighten your smile. We’ve explored the science behind it, debunked common myths, and provided you with a simple, safe method to incorporate it into your oral hygiene routine.
Why is this DIY trick a must-try? Because it offers a natural alternative to harsh chemical whitening treatments that can often lead to sensitivity and enamel damage. It’s readily available in most homes, incredibly affordable, and allows you to control the intensity and frequency of your whitening efforts. Plus, the subtle abrasive action of baking soda helps remove surface stains caused by coffee, tea, wine, and other everyday culprits, revealing a brighter, more confident you.
But remember, consistency and moderation are key. Overdoing it can indeed lead to enamel erosion, so stick to the recommended frequency and be gentle with your brushing technique. Think of it as a gradual, sustainable approach to a whiter smile, rather than a quick fix.
Now, for some fun variations! Consider adding a drop of peppermint essential oil to your baking soda paste for a refreshing flavor and breath-freshening boost. You could also experiment with mixing baking soda with crushed strawberries (the malic acid in strawberries can help dissolve surface stains) or activated charcoal (known for its absorbent properties). However, always research these additions thoroughly and proceed with caution, as some may be more abrasive than others.
Ultimately, the best way to determine if baking soda teeth whitening is right for you is to give it a try! Start slowly, listen to your teeth, and adjust the frequency based on your individual needs and sensitivity levels. We’re confident that you’ll be pleasantly surprised by the results.
We’re eager to hear about your experiences! Did you notice a difference in the brightness of your smile? Did you try any of the variations we suggested? Share your tips, tricks, and before-and-after photos in the comments below. Let’s create a community of confident smiles, powered by the simple yet mighty baking soda! Your feedback will not only help others but also contribute to a better understanding of how to maximize the benefits of this natural whitening method. So go ahead, embrace the power of baking soda, and let your smile shine!
Frequently Asked Questions (FAQ)
Is baking soda teeth whitening safe for everyone?
While generally safe when used correctly and in moderation, baking soda teeth whitening isn’t suitable for everyone. Individuals with sensitive teeth, gum disease, or enamel erosion should exercise caution and consult with their dentist before trying this method. The abrasive nature of baking soda can exacerbate existing dental problems. Also, if you have braces or other dental appliances, check with your orthodontist before using baking soda, as it may damage the adhesive or materials used. Children should also avoid using baking soda for teeth whitening, as their enamel is still developing and more susceptible to damage.
How often should I use baking soda to whiten my teeth?
The recommended frequency for baking soda teeth whitening is typically 1-2 times per week. Using it more often than that can increase the risk of enamel erosion and tooth sensitivity. It’s crucial to listen to your teeth and adjust the frequency based on your individual needs and sensitivity levels. If you experience any discomfort or sensitivity, reduce the frequency or discontinue use altogether. Remember, consistency is more important than intensity when it comes to achieving gradual and sustainable whitening results.
Can baking soda replace my regular toothpaste?
No, baking soda should not replace your regular toothpaste. While it can help remove surface stains and brighten your smile, it doesn’t contain fluoride, which is essential for preventing cavities and strengthening enamel. Baking soda also lacks the other beneficial ingredients found in toothpaste, such as antibacterial agents and breath fresheners. It’s best to use baking soda as a supplemental whitening treatment alongside your regular brushing routine with fluoride toothpaste.
How long does it take to see results from baking soda teeth whitening?
The time it takes to see noticeable results from baking soda teeth whitening varies depending on individual factors such as the severity of staining, the frequency of use, and the natural shade of your teeth. Some people may notice a difference after just a few uses, while others may need to use it for several weeks to see a significant improvement. Be patient and consistent with your routine, and remember that baking soda primarily targets surface stains, so it may not be as effective for intrinsic stains that are deeper within the tooth structure.
What are the potential side effects of baking soda teeth whitening?
The most common side effect of baking soda teeth whitening is tooth sensitivity. This is because the abrasive nature of baking soda can wear away the enamel, exposing the underlying dentin, which is more sensitive to temperature changes and acidic foods. Other potential side effects include gum irritation and a salty taste. To minimize the risk of side effects, use baking soda sparingly, brush gently, and rinse your mouth thoroughly after each use. If you experience any persistent discomfort or irritation, discontinue use and consult with your dentist.
Can I mix baking soda with lemon juice for teeth whitening?
While some people advocate for mixing baking soda with lemon juice for teeth whitening, this combination is generally not recommended. Lemon juice is highly acidic and can significantly erode tooth enamel, making your teeth more susceptible to sensitivity and decay. The combination of baking soda and lemon juice can create a harsh and abrasive mixture that can cause irreversible damage to your teeth. It’s best to avoid using lemon juice as a teeth whitening agent and stick to safer, more gentle methods like using baking soda with water or toothpaste.
Will baking soda teeth whitening damage my enamel?
When used correctly and in moderation, baking soda teeth whitening is unlikely to cause significant enamel damage. However, overuse or aggressive brushing can indeed erode the enamel over time. Enamel is the protective outer layer of your teeth, and once it’s gone, it doesn’t grow back. Therefore, it’s crucial to use baking soda sparingly, brush gently with a soft-bristled toothbrush, and avoid using it more than 1-2 times per week. If you have any concerns about enamel erosion, consult with your dentist for personalized advice.
Is baking soda teeth whitening effective for all types of stains?
Baking soda teeth whitening is most effective for removing surface stains caused by coffee, tea, wine, smoking, and other everyday culprits. It works by gently scrubbing away these stains and revealing the brighter enamel underneath. However, it may not be as effective for intrinsic stains, which are deeper within the tooth structure and caused by factors such as medication, genetics, or aging. For intrinsic stains, professional teeth whitening treatments may be necessary to achieve significant results.

Leave a Comment