

DIY Cap Cleaning: Let’s face it, that favorite baseball cap of yours has probably seen better days. Stains, sweat, and general grime can turn your go-to headwear into a less-than-stylish accessory. But before you toss it in the trash, hold on! I’m here to tell you that you can revive your beloved caps with some simple, effective, and totally doable DIY cap cleaning tricks.
Caps have been a staple in wardrobes for centuries, evolving from practical sun protection to fashion statements and symbols of team loyalty. Think of the iconic newsboy caps of the early 20th century or the baseball caps that have become synonymous with American culture. These hats carry memories, represent our passions, and deserve a little TLC.
But why bother with DIY cap cleaning when you could just buy a new one? Well, for starters, it’s much more economical! Plus, it’s a sustainable choice that keeps your favorite items out of landfills. More importantly, some caps hold sentimental value. Maybe it’s a signed ball cap, a souvenir from a special trip, or simply the one that fits you just right. Whatever the reason, learning how to clean your caps yourself is a valuable skill. I’m going to show you some easy methods to get your caps looking fresh and clean again, without risking damage. So, grab your dirtiest cap, and let’s get started with these amazing DIY cap cleaning hacks!
DIY Cap Cleaning: Revive Your Favorite Headwear!
Okay, let’s face it, we all have that one favorite baseball cap. You know, the one that fits just right, has the perfect amount of wear, and goes with everything. But let’s be honest, it probably also has a healthy dose of sweat, dirt, and maybe even a little bit of mystery grime. Don’t worry, I’m here to help you bring that beloved cap back to life! This guide will walk you through several methods for cleaning your caps, from gentle hand-washing to using your dishwasher (yes, you read that right!).
Understanding Your Cap’s Material
Before we dive in, it’s super important to know what your cap is made of. This will determine the best cleaning method to use. Check the care label inside the cap. If it’s missing, here’s a general guide:
* Cotton: Generally safe for hand-washing and some machine-washing methods.
* Polyester: Usually quite durable and can handle more rigorous cleaning.
* Wool: Requires extra care and gentle hand-washing to avoid shrinking or damage.
* Leather: Needs specialized leather cleaning products and should never be submerged in water.
* Mesh: Can be delicate, so gentle hand-washing is recommended.
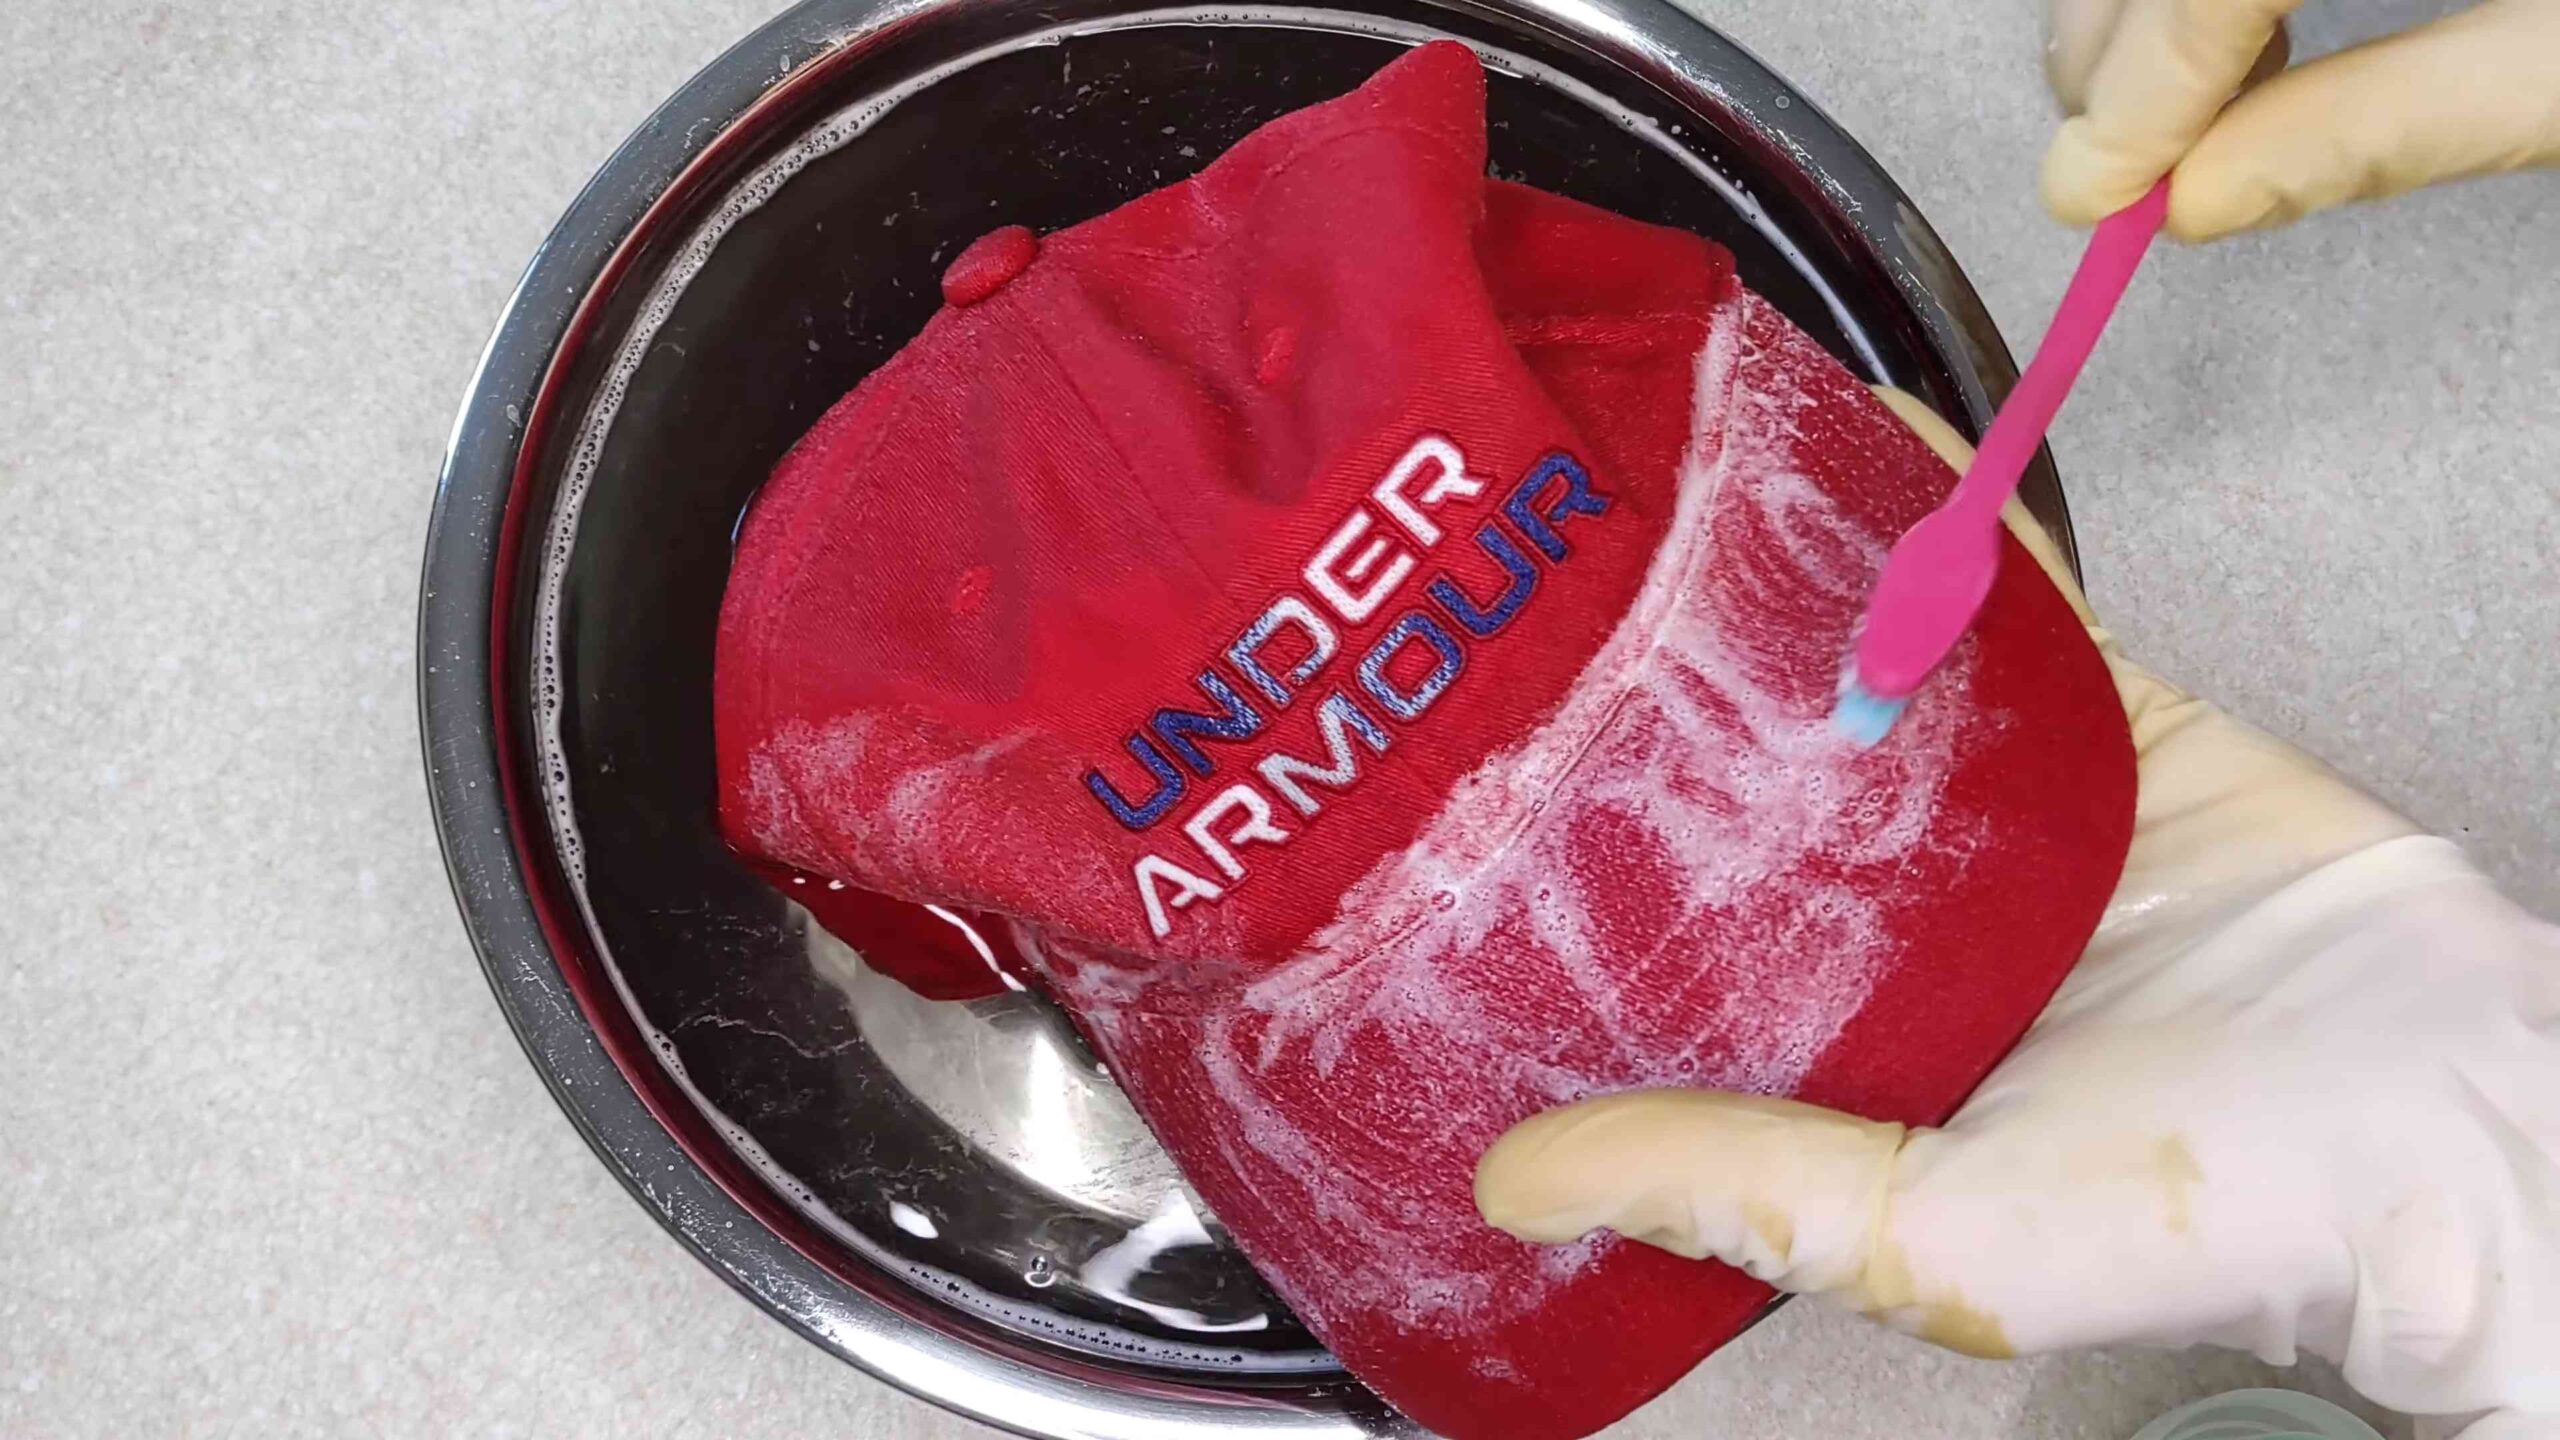
Method 1: The Gentle Hand-Washing Approach
This is my go-to method for most of my caps, especially the vintage ones or those made of delicate materials. It’s gentle, effective, and gives you the most control over the cleaning process.
What You’ll Need:
* A clean sink or basin
* Mild laundry detergent (something gentle, like baby shampoo or a detergent for delicates)
* A soft-bristled brush (an old toothbrush works great!)
* Cool water
* A clean towel
* A cap shaper or something to help the cap retain its shape while drying (a balloon, a bowl, or even a rolled-up towel will do)
Step-by-Step Instructions:
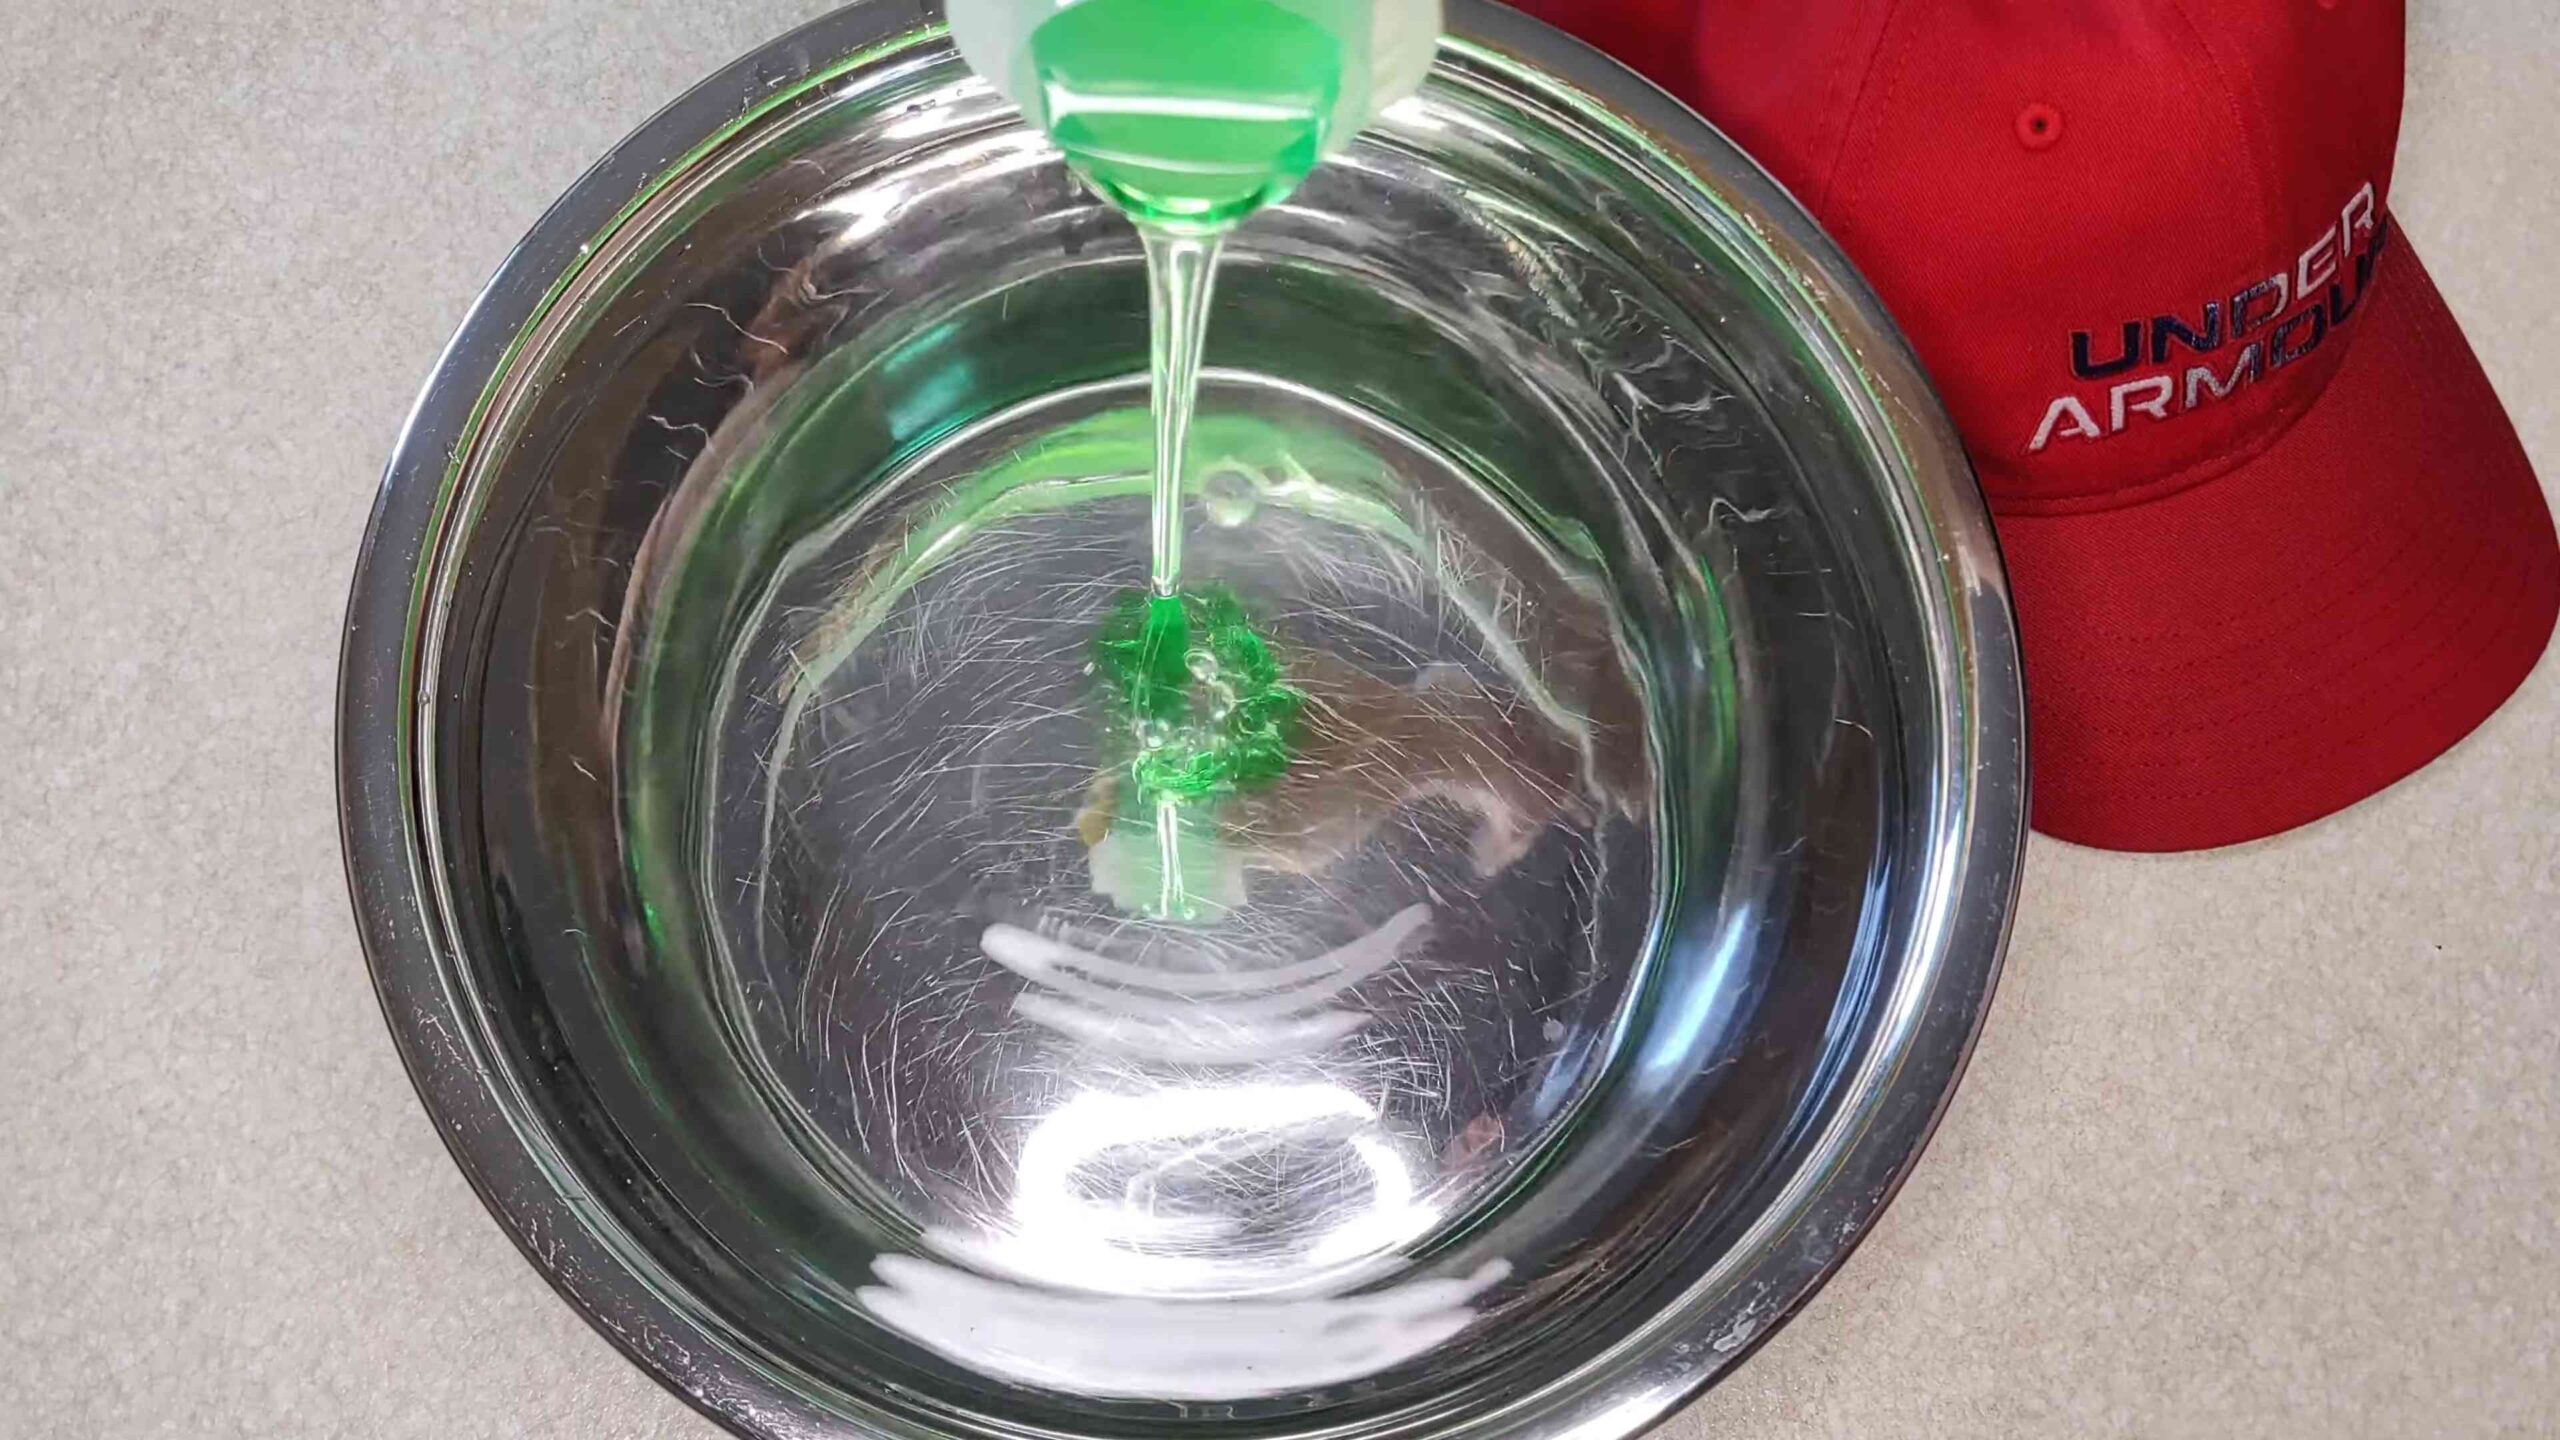
1. Prepare the Cleaning Solution: Fill your sink or basin with cool water. Add a small amount of mild detergent – about a teaspoon should be enough. Swirl the water to create a soapy solution.
2. Pre-Treat Stains: If your cap has any noticeable stains, now’s the time to tackle them. Dab a small amount of detergent directly onto the stain and gently rub it in with your fingers or the soft-bristled brush. Let it sit for about 10-15 minutes.
3. Submerge and Soak: Gently submerge your cap in the soapy water. Make sure it’s fully immersed. Let it soak for about 15-30 minutes. This will help loosen dirt and grime.
4. Gentle Scrubbing: Using the soft-bristled brush, gently scrub the cap, paying extra attention to areas that tend to get dirty, like the sweatband and the brim. Avoid scrubbing too hard, as this could damage the fabric.
5. Rinse Thoroughly: Drain the soapy water and rinse the cap thoroughly with cool, clean water. Keep rinsing until all the soap is gone. Squeeze gently to remove excess water, but don’t wring it out, as this can distort the shape.
6. Shape and Dry: This is crucial! Place the cap on a cap shaper, balloon, bowl, or rolled-up towel to help it retain its shape while drying. Pat it down with a clean towel to absorb excess moisture.
7. Air Dry: Let the cap air dry completely in a well-ventilated area, away from direct sunlight or heat. Direct sunlight can fade the colors, and heat can cause shrinkage. It may take a day or two for the cap to dry completely.
Method 2: The Dishwasher Dilemma (Use with Caution!)
Okay, I know this sounds a little crazy, but some people swear by cleaning their caps in the dishwasher. I’ve tried it a few times with success, but it’s definitely not for every cap. Use this method at your own risk, and only for durable caps made of cotton or polyester. Never put wool or leather caps in the dishwasher!
What You’ll Need:
* A dishwasher
* Mild dishwasher detergent (use a small amount)
* A cap shaper (essential for this method!)
* Cool water
Step-by-Step Instructions:
1. Prepare the Cap: Pre-treat any stains as described in the hand-washing method.
2. Secure the Cap: Place the cap on a cap shaper. This is absolutely essential to prevent the cap from losing its shape in the dishwasher.
3. Load the Dishwasher: Place the cap (on the shaper) on the top rack of the dishwasher. Make sure it’s not touching any heating elements.
4. Add Detergent: Add a very small amount of mild dishwasher detergent to the dispenser. Less is more! Too much detergent can leave residue on the cap.
5. Run a Gentle Cycle: Run the dishwasher on a gentle or delicate cycle with cool water. Do not use the heated dry cycle! The heat can shrink or damage the cap.
6. Remove and Air Dry: Once the cycle is complete, carefully remove the cap from the dishwasher. It will be wet, so be careful not to distort the shape.
7. Air Dry: Let the cap air dry completely on the cap shaper in a well-ventilated area, away from direct sunlight or heat.
Method 3: Spot Cleaning for Minor Grime
Sometimes, your cap just needs a little touch-up, not a full-blown cleaning. Spot cleaning is perfect for removing small stains or dirt marks.
What You’ll Need:
* A clean, damp cloth
* Mild detergent or stain remover
* A soft-bristled brush (optional)
Step-by-Step Instructions:
1. Identify the Spot: Locate the stain or dirt mark you want to remove.
2. Dampen the Cloth: Dampen a clean cloth with cool water.
3. Apply Detergent: Apply a small amount of mild detergent or stain remover to the damp cloth.
4. Gently Blot: Gently blot the stain with the damp cloth, working from the outside in. Avoid rubbing, as this can spread the stain.
5. Rinse: Use a clean, damp cloth to rinse away any detergent residue.
6. Air Dry: Let the area air dry completely.
Extra Tips and Tricks for Cap Cleaning Success
* Always test a small, inconspicuous area first: Before cleaning the entire cap, test your cleaning solution on a hidden area, like the inside of the sweatband, to make sure it doesn’t damage the fabric or cause discoloration.
* Don’t use bleach: Bleach can damage the fabric and fade the colors of your cap.
* Avoid using a washing machine: While some people have success with washing machines, it’s generally not recommended, as it can be too harsh on the cap and cause it to lose its shape.
* Be patient: Allow your cap to dry completely before wearing it again. Wearing a damp cap can cause it to stretch out of shape.
* Store your caps properly: When you’re not wearing your caps, store them in a cool, dry place, away from direct sunlight. This will help prevent them from fading and getting damaged.
* For stubborn stains, consider a professional: If you have a valuable or delicate cap with a stubborn stain, it’s best to take it to a professional cleaner who specializes in hat cleaning.
Dealing with Specific Issues
* Sweat Stains: Sweat stains are a common problem. For these, I often make a paste of baking soda and water and apply it to the stain. Let it sit for about 30 minutes before rinsing.
* Grease Stains: Grease stains can be tricky. Try using a degreasing dish soap or a specialized grease stain remover.
* Mold or Mildew: If your cap has mold or mildew, mix equal parts white vinegar and water and apply it to the affected area. Let it sit for about 30 minutes before rinsing. Make sure to dry the cap thoroughly to prevent the mold from returning.
By following these tips and tricks, you can keep your favorite caps looking their best for years to come! Happy cleaning!
Conclusion
So, there you have it! This simple, yet incredibly effective, DIY cap cleaning trick is a game-changer for anyone who wants to keep their favorite hats looking fresh and new. Forget about expensive cleaning services or the risk of ruining your caps in the washing machine. This method is gentle, affordable, and yields fantastic results.
Why is this a must-try? Because it’s not just about aesthetics; it’s about extending the life of your beloved caps. Think about it: your hats protect you from the sun, rain, and wind. They’re a part of your personal style, a statement piece that reflects your personality. By keeping them clean, you’re not only looking good but also preserving an investment.
But the best part? This DIY cap cleaning method is incredibly versatile. Feel free to experiment with different cleaning solutions. For instance, for particularly stubborn stains, you can try adding a small amount of baking soda to your cleaning mixture. If you’re dealing with a white cap, a touch of lemon juice can help brighten it up. Just be sure to test any new solution on a small, inconspicuous area of the cap first to ensure it doesn’t cause any discoloration.
Another variation you might consider is using a soft-bristled toothbrush for more targeted stain removal. This is especially helpful for getting into the nooks and crannies of embroidered logos or intricate designs. Remember to use gentle circular motions to avoid damaging the fabric.
For those of you with delicate or vintage caps, you might want to opt for an even gentler approach. Consider using a mild baby shampoo instead of dish soap. Baby shampoo is designed to be gentle on sensitive skin and fabrics, making it a great option for cleaning delicate materials.
Ultimately, the key to successful DIY cap cleaning is patience and a gentle touch. Don’t rush the process, and don’t be afraid to repeat the steps if necessary. With a little bit of effort, you can restore your caps to their former glory and keep them looking their best for years to come.
We are confident that once you try this DIY cap cleaning method, you’ll be amazed by the results. It’s a simple, effective, and affordable way to keep your hats looking their best. So, ditch the expensive cleaning services and give this trick a try.
We encourage you to try this DIY cap cleaning method and share your experience with us! Let us know what variations you tried, what worked best for you, and any tips you have to share. We’re always looking for new and innovative ways to keep our caps looking fresh and clean. Share your before and after photos, and let’s build a community of cap-cleaning enthusiasts! Your feedback will not only help others but also inspire us to continue creating helpful and informative content.
Frequently Asked Questions (FAQ)
Q: What type of caps can I clean using this method?
A: This DIY cap cleaning method is generally safe for most types of caps, including baseball caps, trucker hats, snapbacks, and fitted caps. However, it’s always a good idea to check the care label on your cap before proceeding. If the label specifically recommends professional cleaning, it’s best to follow those instructions. For delicate materials like wool or vintage caps, use extra caution and opt for a gentler cleaning solution like baby shampoo. Avoid using this method on caps with cardboard brims, as they may become damaged by water.
Q: What kind of cleaning solution should I use?
A: A mild dish soap diluted in warm water is generally the best option for most caps. However, you can also use a gentle laundry detergent or baby shampoo. Avoid using harsh chemicals or bleach, as these can damage the fabric and cause discoloration. For white caps, a small amount of lemon juice can be added to the cleaning solution to help brighten the fabric. Always test any new cleaning solution on a small, inconspicuous area of the cap first to ensure it doesn’t cause any adverse effects.
Q: How often should I clean my caps?
A: The frequency of cleaning depends on how often you wear your caps and how dirty they get. If you wear your caps frequently, you may need to clean them every few weeks. If you only wear them occasionally, you can clean them less often. It’s always a good idea to clean your caps as soon as you notice any stains or dirt buildup. Regular cleaning will help prevent stains from setting in and keep your caps looking their best.
Q: How do I dry my cap after cleaning?
A: The best way to dry your cap after cleaning is to air dry it. Avoid putting your cap in the dryer, as the heat can cause it to shrink or lose its shape. To air dry your cap, place it on a clean towel or a cap rack. You can also stuff the cap with a clean towel or newspaper to help it maintain its shape while it dries. Avoid placing your cap in direct sunlight, as this can cause the colors to fade. Allow your cap to dry completely before wearing it again.
Q: What if my cap has stubborn stains?
A: For stubborn stains, you can try pre-treating the stain with a stain remover before cleaning the entire cap. Apply a small amount of stain remover to the stain and let it sit for a few minutes before gently scrubbing it with a soft-bristled brush. You can also try using a paste of baking soda and water to remove stubborn stains. Apply the paste to the stain and let it dry before rinsing it off with water. If the stain persists, you may need to repeat the process or consult a professional cleaner.
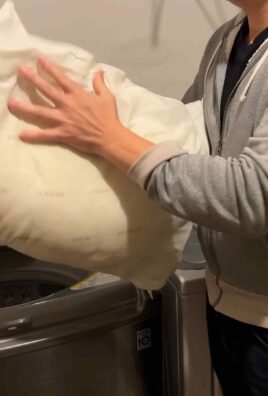
Q: Can I use a washing machine to clean my caps?
A: While it’s possible to clean some caps in a washing machine, it’s generally not recommended. The washing machine can be too harsh on caps, causing them to shrink, lose their shape, or become damaged. If you choose to wash your cap in a washing machine, use a gentle cycle and place the cap in a laundry bag to protect it. Avoid using hot water or harsh detergents. Always air dry your cap after washing it in a washing machine. Hand washing is always the safest and most effective way to clean your caps.
Q: How do I prevent my caps from getting dirty in the first place?
A: There are several things you can do to prevent your caps from getting dirty in the first place. Avoid wearing your caps in dirty or dusty environments. If you do wear your cap in a dirty environment, try to brush it off as soon as possible. You can also use a cap protector spray to help repel dirt and stains. Store your caps in a clean, dry place when you’re not wearing them. By taking these simple precautions, you can help keep your caps looking their best for longer.

Leave a Comment