

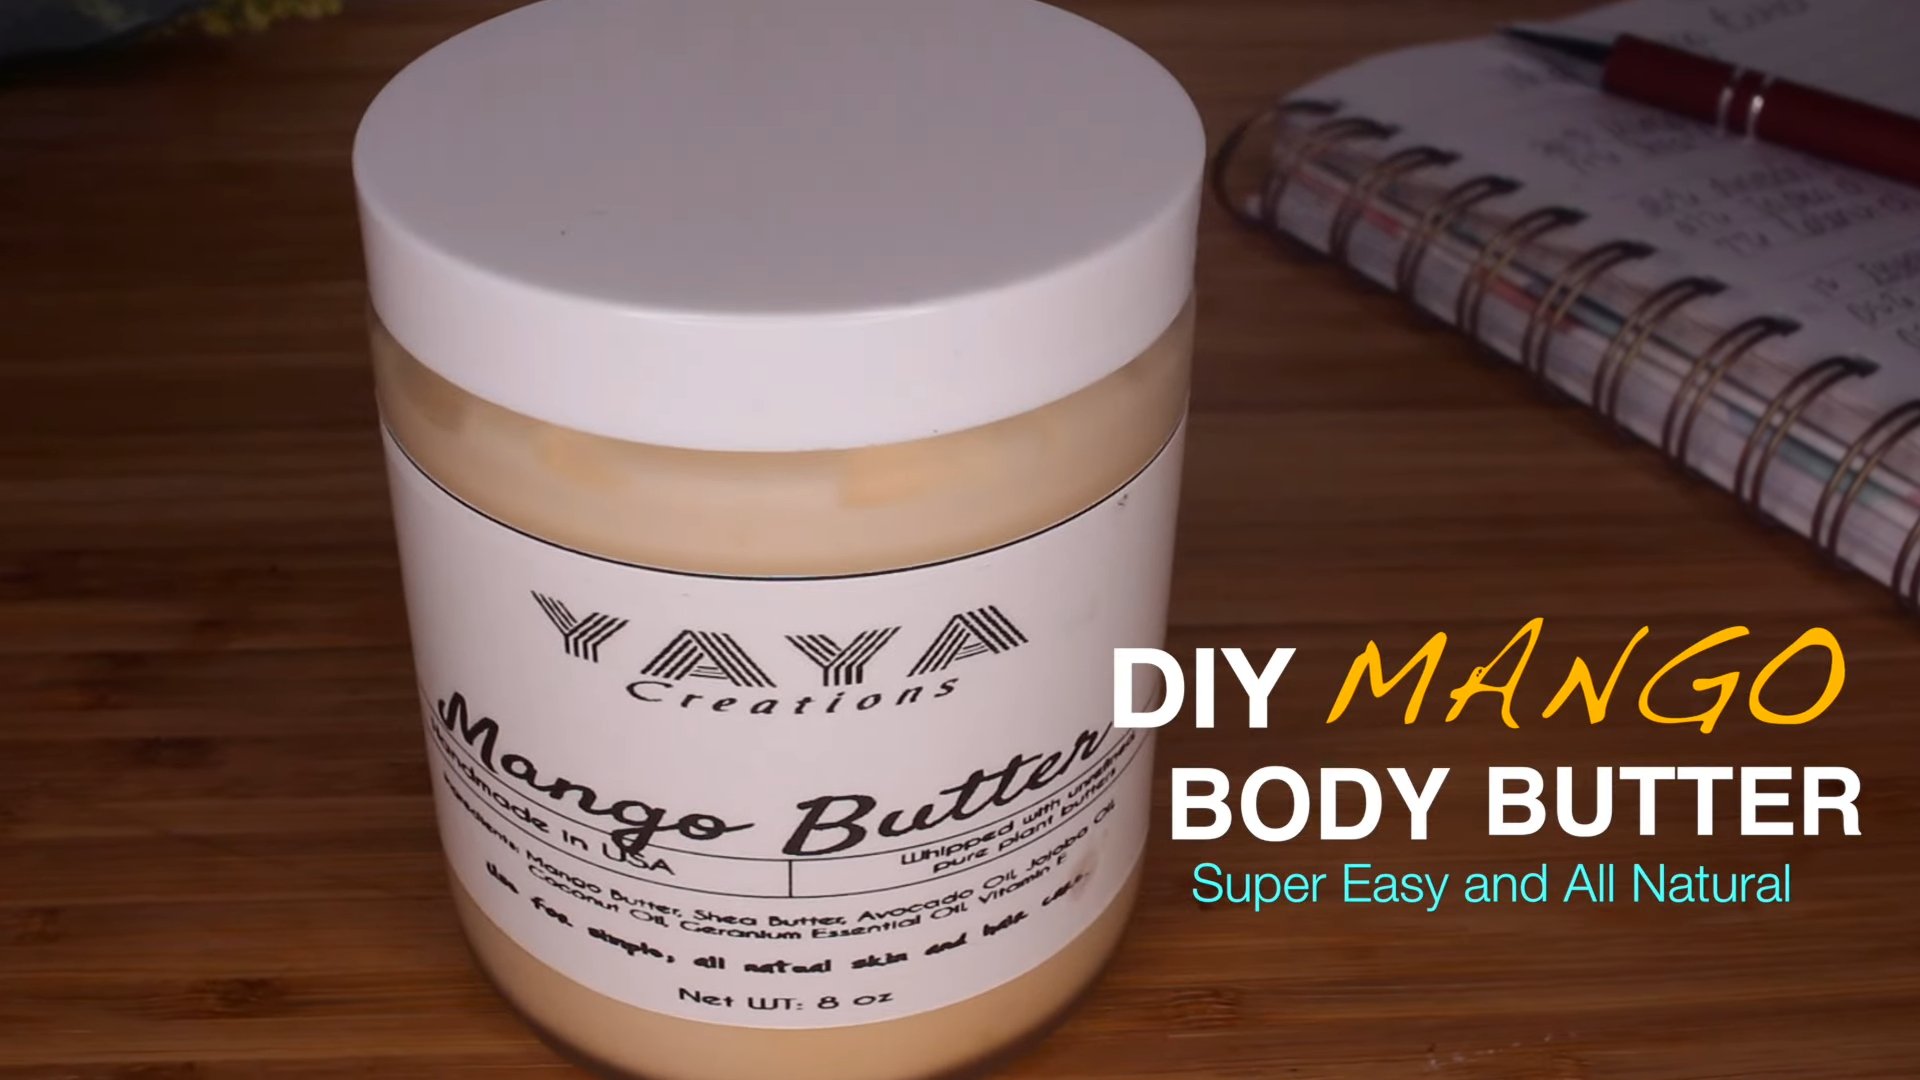
DIY Mango Body Butter Recipe: Who doesn’t dream of having luxuriously soft, glowing skin? I know I do! And what if I told you that achieving that dream could be as simple as whipping up something amazing in your own kitchen? Forget those expensive store-bought lotions filled with questionable ingredients. Today, we’re diving headfirst into the world of homemade skincare with a decadent and incredibly effective DIY Mango Body Butter Recipe.
The tradition of using natural butters and oils for skincare stretches back centuries. Think of Cleopatra, renowned for her beauty, who supposedly used shea butter and other natural emollients to maintain her radiant complexion. While mango butter might not have been her exact ingredient of choice, the principle remains the same: harnessing the power of nature for beautiful skin.
In our modern world, we’re constantly bombarded with chemicals and synthetic ingredients. Many commercial lotions contain harsh preservatives and artificial fragrances that can irritate sensitive skin. That’s why this DIY project is so important! This DIY Mango Body Butter Recipe allows you to control exactly what goes onto your skin, ensuring you’re using only the purest, most nourishing ingredients. Plus, it’s incredibly rewarding to create something so beneficial with your own two hands. So, are you ready to ditch the store-bought stuff and embrace the natural goodness of homemade body butter? Let’s get started!
DIY Luxurious Mango Body Butter: A Step-by-Step Guide
Hey there, fellow DIY enthusiasts! Get ready to pamper your skin with this incredibly nourishing and delightfully scented mango body butter. It’s surprisingly easy to make at home, and trust me, your skin will thank you. This recipe uses natural ingredients, so you know exactly what you’re putting on your body. Let’s dive in!
What You’ll Need: The Ingredient List
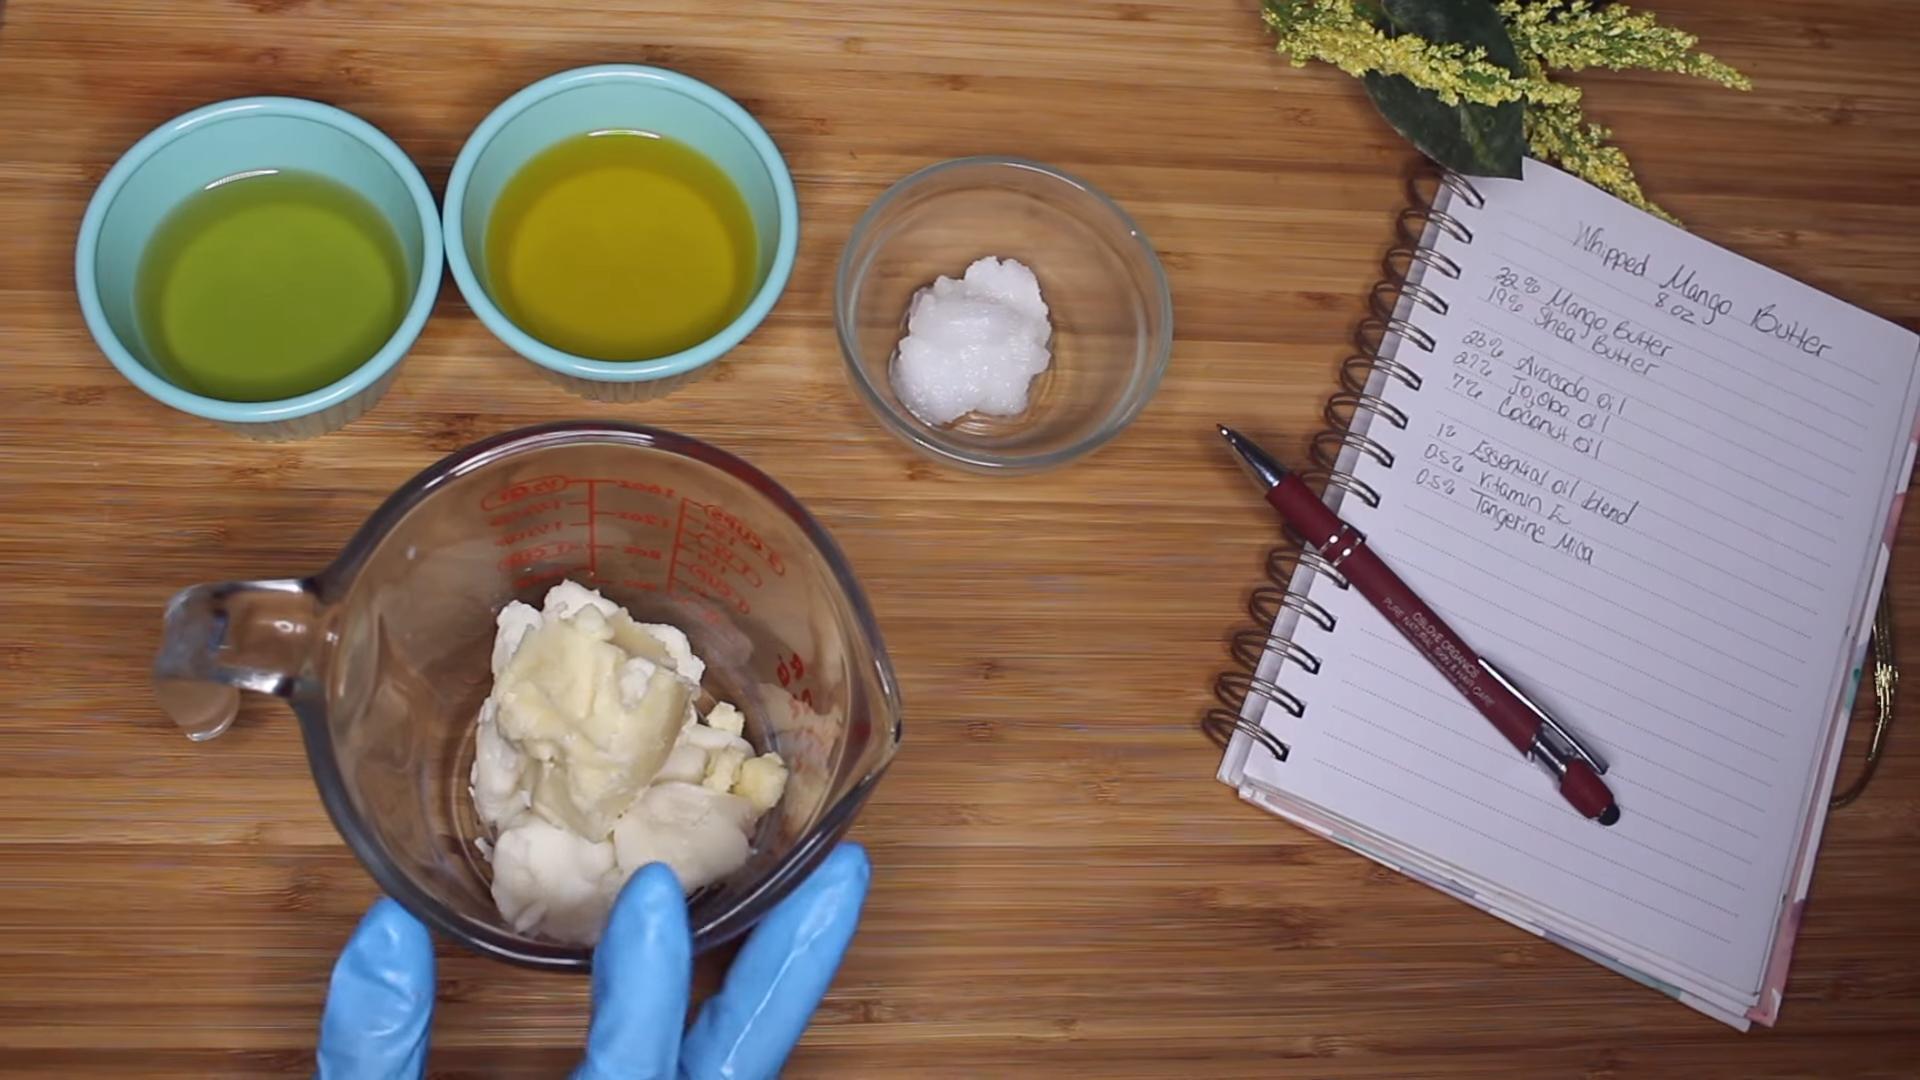
Before we get started, let’s gather all the necessary ingredients. Quality is key here, so try to source the best you can find.
* 1/2 cup (4 oz) Mango Butter: This is the star of the show! It’s incredibly moisturizing and gives the body butter a lovely, creamy texture.
* 1/4 cup (2 oz) Shea Butter: Shea butter adds extra richness and helps to soothe and protect the skin.
* 1/4 cup (2 oz) Coconut Oil: Coconut oil contributes to the body butter’s emollient properties and adds a subtle, tropical scent.
* 1/4 cup (2 oz) Sweet Almond Oil (or Jojoba Oil, or Avocado Oil): This lightweight oil helps to create a smooth and easily absorbed body butter. You can substitute with your favorite carrier oil.
* 1 teaspoon Vitamin E Oil: Vitamin E is a powerful antioxidant that helps to protect the skin and extend the shelf life of your body butter.
* Optional: 10-20 drops Mango Fragrance Oil or Essential Oil Blend: If you want to enhance the mango scent, feel free to add a fragrance oil or essential oil blend. Be sure to use skin-safe oils and test a small area first.
* Optional: 1/2 teaspoon Arrowroot Powder: This helps to reduce the greasiness of the body butter, especially if you live in a warmer climate.
Equipment You’ll Need
Having the right tools makes the process so much smoother. Here’s what I recommend:
* Double Boiler or Heat-Safe Bowl and Saucepan: This is essential for melting the butters and oils gently.
* Electric Mixer (Handheld or Stand Mixer): This is crucial for whipping the body butter to a light and fluffy consistency. A whisk will work, but it will take a lot of elbow grease!
* Spatula: For scraping down the sides of the bowl.
* Measuring Cups and Spoons: For accurate measurements.
* Clean Jars or Containers: For storing your finished body butter. Make sure they are clean and dry.
* Scale: For precise measurements, especially if you’re making a larger batch.
Phase 1: Melting the Butters and Oils
This is where we combine all the solid ingredients and melt them down into a liquid state.
1. **Combine the Butters and Oils:** In your double boiler or heat-safe bowl, combine the mango butter, shea butter, coconut oil, and sweet almond oil.
2. **Melt Over Low Heat:** If using a double boiler, fill the bottom pot with water and bring it to a simmer. Place the bowl with the butters and oils on top, making sure the bottom of the bowl doesn’t touch the water. If using a heat-safe bowl and saucepan, fill the saucepan with a small amount of water and bring it to a simmer. Place the bowl on top.
3. **Stir Occasionally:** Stir the mixture occasionally with a spatula until all the butters and oils are completely melted and smooth. This usually takes about 10-15 minutes.
4. **Remove from Heat:** Once melted, remove the bowl from the heat and let it cool slightly for about 5 minutes.
Phase 2: Adding the Extras and Cooling
Now, we’ll incorporate the remaining ingredients and prepare the mixture for whipping.
1. **Add Vitamin E Oil and Optional Ingredients:** Stir in the vitamin E oil and, if using, the mango fragrance oil or essential oil blend and arrowroot powder. Mix well to ensure everything is evenly distributed.
2. **Cool to a Semi-Solid State:** This is a crucial step! You need to cool the mixture until it’s partially solidified but still soft enough to whip. This usually takes about 1-2 hours in the refrigerator or 30-45 minutes in the freezer. The mixture should be opaque and have a slightly firm texture around the edges. It shouldn’t be completely solid, or it will be difficult to whip.
* Pro Tip: Check the consistency frequently. You want it to be like soft butter, not rock solid.
Phase 3: Whipping to Perfection
This is where the magic happens! Whipping the mixture incorporates air, creating a light and fluffy body butter.
1. **Whip with an Electric Mixer:** Using your electric mixer (handheld or stand mixer), whip the cooled mixture on medium speed for about 5-10 minutes.
2. **Scrape Down the Sides:** Stop the mixer periodically and scrape down the sides of the bowl with a spatula to ensure everything is evenly whipped.
3. **Increase Speed Gradually:** As the mixture starts to lighten and fluff up, gradually increase the speed of the mixer to high.
4. **Whip Until Light and Fluffy:** Continue whipping until the body butter is light, fluffy, and resembles whipped cream. This may take another 5-10 minutes. The exact time will depend on your mixer and the consistency of the mixture.
* Important Note: Be careful not to overwhip, as this can cause the body butter to become grainy.
5. **Optional: Second Cooling and Whipping:** For an even fluffier texture, you can place the whipped body butter back in the refrigerator for another 15-20 minutes to firm up slightly, then whip it again for a minute or two.
Phase 4: Storing Your Homemade Goodness
Now that your body butter is ready, it’s time to store it properly to maintain its quality and freshness.
1. **Transfer to Clean Jars or Containers:** Spoon or pipe the whipped body butter into clean, dry jars or containers. I like to use glass jars with airtight lids.
2. **Store in a Cool, Dark Place:** Store your body butter in a cool, dark place, away from direct sunlight and heat. This will help to prevent it from melting or going rancid.
3. **Shelf Life:** Properly stored, your homemade mango body butter should last for about 6-12 months.
* Tip: If you notice any changes in smell, texture, or color, it’s best to discard it.
Troubleshooting Tips
Sometimes things don’t go exactly as planned. Here are some common issues and how to fix them:
* **Body Butter is Too Greasy:** If your body butter feels too greasy, try adding a little more arrowroot powder next time. You can also try using a lighter carrier oil, such as grapeseed oil.
* **Body Butter is Too Hard:** If your body butter is too hard, it may not have been whipped enough, or it may have been cooled too much. Try letting it soften slightly at room temperature and then whipping it again. You can also add a little more carrier oil to soften it up.
* **Body Butter is Grainy:** Graininess can occur if the butters are not melted properly or if the mixture is overwhipped. To fix grainy body butter, you can try re-melting it and starting the process again, being careful not to overheat the butters and to whip it gently.
* **Body Butter Melts Easily:** If you live in a warm climate, your body butter may melt easily. To prevent this, store it in the refrigerator. You can also add a small amount of beeswax to the recipe to help it stay solid at higher temperatures.
Tips for Customization
The beauty of DIY is that you can customize the recipe to suit your preferences. Here are some ideas:
* **Essential Oil Blends:** Experiment with different essential oil blends to create your own unique scent. Some good options for body butter include lavender, chamomile, rose, and sandalwood.
* **Herbal Infusions:** Infuse your carrier oil with herbs like calendula or chamomile for added skin-soothing benefits.
* **Colorants:** Add a pinch of natural colorant, such as beetroot powder or turmeric powder, to give your body butter a subtle tint.
* **Exfoliants:** Add a small amount of finely ground oats or sugar to create a gentle exfoliating body butter.
Using Your Mango Body Butter
Now for the best part – enjoying your creation!
1. **Apply After Showering:** For best results, apply your mango body butter after showering or bathing, while your skin is still slightly damp. This will help to lock in moisture.
2. **Massage into Skin:** Massage a small amount of body butter into your skin, focusing on dry areas like elbows, knees, and feet.
3. **Enjoy the Softness:** Enjoy the feeling of soft, smooth, and hydrated skin!
I hope you enjoy making and using this luxurious mango body butter as much as I do! It’s a wonderful way to treat yourself to a little bit of pampering and nourish
Conclusion
So, there you have it! A simple, effective, and utterly luxurious DIY Mango Body Butter recipe that will transform your skincare routine. We’ve walked you through each step, highlighting the benefits of using natural ingredients and the sheer joy of creating something beautiful and beneficial with your own two hands. But why is this DIY trick a must-try?
Firstly, it’s about control. You know exactly what’s going into your body butter. No hidden chemicals, no questionable preservatives, just pure, nourishing ingredients that your skin will absolutely adore. Store-bought body butters, even the ones marketed as “natural,” often contain additives that can irritate sensitive skin or simply dilute the beneficial effects of the core ingredients. With this DIY recipe, you’re in charge of the formulation, ensuring it’s perfectly tailored to your skin’s needs.
Secondly, it’s about cost-effectiveness. High-quality body butters can be expensive. By making your own, you’re saving a significant amount of money without compromising on quality. In fact, you’re likely *improving* the quality by using fresh, potent ingredients. Think of all the other self-care treats you can afford with the money you save!
Thirdly, and perhaps most importantly, it’s about the experience. There’s something incredibly satisfying about creating your own skincare products. It’s a mindful activity that allows you to connect with the ingredients and appreciate the process of transforming simple components into something truly special. The aroma of mango butter melting, the smooth texture of the finished product – it’s a sensory delight from start to finish.
Ready to take your skincare to the next level?
But don’t stop there! This recipe is just a starting point. Feel free to experiment with different variations to create your perfect personalized body butter.
Here are a few suggestions:
* **Essential Oil Blends:** Add a few drops of your favorite essential oils for added therapeutic benefits and fragrance. Lavender for relaxation, tea tree for acne-prone skin, or rose for a luxurious floral scent are all excellent choices. Be sure to research the safety and appropriate dilution rates of essential oils before adding them to your body butter.
* **Infused Oils:** Infuse your carrier oil (like almond or jojoba oil) with herbs like calendula or chamomile for added soothing and anti-inflammatory properties. Simply steep the dried herbs in the oil for a few weeks, then strain before using.
* **Vitamin E Oil:** A few drops of vitamin E oil can act as a natural preservative and provide additional antioxidant benefits for your skin.
* **Shea Butter Boost:** For an even richer and more moisturizing body butter, increase the amount of shea butter in the recipe.
* **Cocoa Butter Indulgence:** Substitute a portion of the mango butter with cocoa butter for a decadent chocolatey scent and added skin-softening properties.
We are confident that you will love this DIY Mango Body Butter. It’s a simple, effective, and affordable way to nourish your skin and indulge in a little self-care.
So, go ahead, gather your ingredients, and get ready to create your own luxurious body butter. And don’t forget to share your experience with us! We’d love to hear about your variations, your favorite essential oil blends, and how this DIY trick has transformed your skincare routine. Share your photos and stories on social media using #DIYMangoBodyButter – we can’t wait to see what you create!
Frequently Asked Questions (FAQ)
Q: What is Mango Butter and why is it good for my skin?
Mango butter is a natural butter extracted from the kernel of the mango fruit. It’s rich in antioxidants, vitamins A, C, and E, and essential fatty acids. These properties make it incredibly moisturizing, nourishing, and protective for the skin. It helps to soothe dry skin, reduce inflammation, promote collagen production, and protect against environmental damage. It’s also non-comedogenic, meaning it won’t clog pores, making it suitable for most skin types.
Q: Can I use a different type of butter if I don’t have Mango Butter?
While mango butter is the star of this recipe, you can substitute it with other natural butters like shea butter or cocoa butter. However, keep in mind that the texture and scent of the final product will be different. Shea butter is a good alternative for its moisturizing properties, but it has a distinct nutty scent. Cocoa butter has a rich, chocolatey scent and is also very moisturizing, but it can be comedogenic for some people. If you substitute, start with a small batch to ensure you like the results.
Q: What kind of carrier oil should I use?
The best carrier oil for this recipe depends on your skin type and preferences. Some popular choices include:
* **Almond Oil:** A lightweight and easily absorbed oil that’s suitable for most skin types.
* **Jojoba Oil:** Closely resembles the skin’s natural sebum, making it a great choice for balancing oily or acne-prone skin.
* **Coconut Oil:** A very moisturizing oil with a pleasant scent, but it can be comedogenic for some people. Use fractionated coconut oil to reduce the risk of clogging pores.
* **Avocado Oil:** A rich and nourishing oil that’s particularly beneficial for dry or mature skin.
* **Grapeseed Oil:** A lightweight and non-greasy oil that’s rich in antioxidants.
Choose an oil that you know your skin tolerates well and that provides the level of moisture you desire.
Q: How long will this DIY Mango Body Butter last?
When stored properly in an airtight container in a cool, dark place, this DIY Mango Body Butter can last for up to 6 months. The shelf life depends on the freshness of your ingredients and the presence of any preservatives. Adding vitamin E oil can help to extend the shelf life. If you notice any changes in color, texture, or scent, it’s best to discard the body butter.
Q: My body butter is too greasy. What did I do wrong?
If your body butter feels too greasy, it could be due to a few factors:
* **Too much carrier oil:** Reduce the amount of carrier oil in your next batch.
* **Incorrect butter-to-oil ratio:** Ensure you’re using the correct proportions of butter and oil.
* **Skin type:** Some skin types naturally produce more oil. Try using a lighter carrier oil like grapeseed or jojoba oil.
* **Application:** You might be applying too much body butter. Start with a small amount and add more as needed.
Q: My body butter is too hard. How can I fix it?
If your body butter is too hard, it could be due to:
* **Too much butter:** Increase the amount of carrier oil in your next batch.
* **Temperature:** The body butter may have solidified too quickly. Try re-whipping it at room temperature.
* **Type of butter:** Some butters are naturally harder than others. Try using a softer butter like shea butter.
You can also try gently warming the body butter in a double boiler or microwave (in short intervals) until it softens, then re-whipping it.
Q: Can I use this body butter on my face?
While this DIY Mango Body Butter is generally safe for use on the body, it may be too rich for some facial skin types, especially those prone to acne. If you have dry or mature skin, you can try using a small amount on your face, but be sure to test it on a small area first to see how your skin reacts. Avoid using it on your face if you have oily or acne-prone skin.
Q: Can I add fragrance oils instead of essential oils?
While you can add fragrance oils, we recommend using essential oils for their therapeutic benefits and natural aroma. Fragrance oils are synthetic and may contain chemicals that can irritate sensitive skin. If you do choose to use fragrance oils, make sure they are skin-safe and use them sparingly.
Q: Where can I buy the ingredients for this recipe?
You can find the ingredients for this recipe at most health food stores, online retailers specializing in natural skincare ingredients, and some grocery stores. Look for high-quality, unrefined butters and cold-pressed carrier oils for the best results.


Leave a Comment