

Growing Cauliflower from Seed might seem intimidating, but trust me, it’s a rewarding journey that brings the freshest, most delicious cauliflower right to your table! Imagine biting into a crisp, homegrown cauliflower, knowing you nurtured it from a tiny seed. That’s the magic of home gardening, and I’m here to guide you through every step.
Cauliflower, a member of the Brassica family, has a rich history dating back to ancient times. Originating in the Mediterranean, it was cultivated for centuries before making its way to our modern gardens. For generations, gardeners have cherished cauliflower for its nutritional value and unique flavor, and now it’s your turn to join this legacy!
Why should you bother growing cauliflower from seed yourself? Well, for starters, you’ll have access to varieties you simply won’t find in stores. Plus, you’ll know exactly what went into your cauliflower – no mystery pesticides or questionable practices. In today’s world, where we’re all striving for healthier, more sustainable lifestyles, taking control of our food source is more important than ever. This DIY guide will empower you to bypass the grocery store and cultivate your own thriving cauliflower patch. Let’s get started!
Growing Cauliflower from Seed: A Complete DIY Guide
Okay, so you want to grow cauliflower from seed? Awesome! It’s totally doable, and honestly, there’s nothing quite like the satisfaction of harvesting your own homegrown cauliflower. It might seem a little intimidating at first, but trust me, with a little patience and these instructions, you’ll be enjoying delicious cauliflower in no time. I’m going to walk you through everything, step-by-step, from starting your seeds indoors to transplanting them and caring for your plants. Let’s get started!
Phase 1: Starting Your Cauliflower Seeds Indoors
Starting your cauliflower seeds indoors gives them a head start, especially if you live in an area with a shorter growing season. This is crucial because cauliflower needs a good amount of time to mature.
* Timing is Key: You’ll want to start your seeds about 4-6 weeks before the last expected frost in your area. Check your local weather forecasts or gardening resources to find out when that is.
* Choosing the Right Seeds: Select a cauliflower variety that’s well-suited to your climate. There are early, mid, and late-season varieties, so do your research!
* Gather Your Supplies: You’ll need seed starting trays or small pots, a good quality seed starting mix, a spray bottle, and a heat mat (optional, but helpful).
Step-by-Step Instructions:
1. Prepare Your Seed Starting Trays: Fill your seed starting trays or pots with seed starting mix. Gently press down the soil to remove any air pockets. Don’t pack it too tightly, though!
2. Sow the Seeds: Make a small indentation (about ¼ inch deep) in the center of each cell or pot. Place 2-3 cauliflower seeds in each indentation. This increases the chances of at least one seed germinating.
3. Cover the Seeds: Gently cover the seeds with a thin layer of seed starting mix.
4. Water Carefully: Use a spray bottle to thoroughly moisten the soil. Avoid overwatering, which can lead to damping off (a fungal disease that kills seedlings).
5. Provide Warmth: Place the trays on a heat mat (if using) and cover them with a humidity dome or plastic wrap to create a warm, humid environment. Cauliflower seeds germinate best at temperatures between 70-75°F (21-24°C).
6. Monitor Germination: Keep the soil consistently moist but not soggy. Check daily for germination, which usually takes 5-10 days.
7. Provide Light: Once the seedlings emerge, remove the humidity dome or plastic wrap and place the trays under grow lights or in a very sunny window. Seedlings need at least 12-14 hours of light per day to prevent them from becoming leggy.
8. Thin the Seedlings: Once the seedlings have their first true leaves (the second set of leaves that appear after the initial seed leaves), thin them to one seedling per cell or pot. Choose the strongest, healthiest-looking seedling and snip off the others at the soil line with scissors. Don’t pull them out, as this can disturb the roots of the remaining seedling.
Phase 2: Hardening Off Your Seedlings
Before you transplant your cauliflower seedlings outdoors, you need to “harden them off.” This process gradually acclimates them to the outdoor environment, making them less susceptible to shock.
* Why Harden Off? Seedlings grown indoors are used to consistent temperatures, humidity, and light levels. Suddenly exposing them to the harsh realities of the outdoors (sun, wind, temperature fluctuations) can stress them and even kill them.
* Timing: Start hardening off your seedlings about a week before you plan to transplant them.
Step-by-Step Instructions:
1. Day 1-2: Place the seedlings outdoors in a sheltered location (like a porch or patio) for just 1-2 hours per day. Make sure they’re protected from direct sunlight and strong winds.
2. Day 3-4: Gradually increase the amount of time the seedlings spend outdoors each day, adding an hour or two each time.
3. Day 5-6: Expose the seedlings to a little more direct sunlight each day.
4. Day 7: Leave the seedlings outdoors for the entire day, and even overnight if the temperatures are mild (above 50°F/10°C).
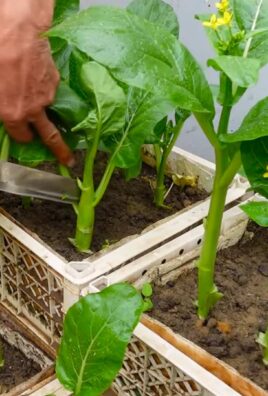
Phase 3: Transplanting Your Cauliflower Seedlings Outdoors
Now for the exciting part – getting your cauliflower plants into the garden!
* Choosing the Right Location: Cauliflower needs at least 6 hours of sunlight per day. Choose a location with well-drained soil.
* Soil Preparation: Amend the soil with compost or other organic matter to improve drainage and fertility. Cauliflower is a heavy feeder, so rich soil is essential.
* Spacing: Space your cauliflower plants about 18-24 inches apart. This gives them enough room to grow and prevents overcrowding.
Step-by-Step Instructions:
1. Prepare the Planting Holes: Dig holes that are slightly larger than the root balls of your seedlings.
2. Gently Remove the Seedlings: Carefully remove the seedlings from their trays or pots. Gently loosen the roots if they are tightly bound.
3. Plant the Seedlings: Place the seedlings in the holes, making sure the top of the root ball is level with the surrounding soil.
4. Backfill the Holes: Fill the holes with soil and gently firm it around the base of the plants.
5. Water Thoroughly: Water the newly transplanted seedlings thoroughly.
6. Mulch: Apply a layer of mulch around the plants to help retain moisture, suppress weeds, and regulate soil temperature. Straw, wood chips, or shredded leaves are all good options.
Phase 4: Caring for Your Cauliflower Plants
Once your cauliflower plants are in the ground, it’s important to provide them with the care they need to thrive.
* Watering: Cauliflower needs consistent moisture, especially during hot, dry weather. Water deeply and regularly, aiming for about 1-2 inches of water per week.
* Fertilizing: Fertilize your cauliflower plants every 2-3 weeks with a balanced fertilizer. You can also side-dress them with compost or aged manure.
* Weeding: Keep the area around your cauliflower plants free of weeds. Weeds compete with the plants for nutrients and water.
* Pest Control: Cauliflower is susceptible to several pests, including cabbage worms, aphids, and flea beetles. Inspect your plants regularly and take action if you see any signs of infestation. You can use organic pest control methods like insecticidal soap or neem oil.
* Blanching (Optional): Some cauliflower varieties require blanching to produce a pure white head. To blanch, when the head is about 2-3 inches in diameter, tie the outer leaves together over the head to protect it from sunlight. This prevents the head from turning yellow or brown.
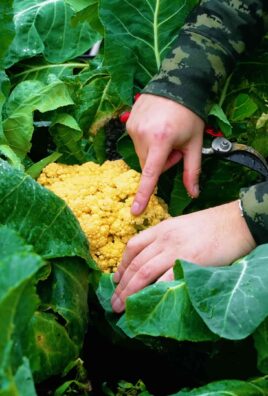
Phase 5: Harvesting Your Cauliflower
The moment you’ve been waiting for! Harvesting your own cauliflower is incredibly rewarding.
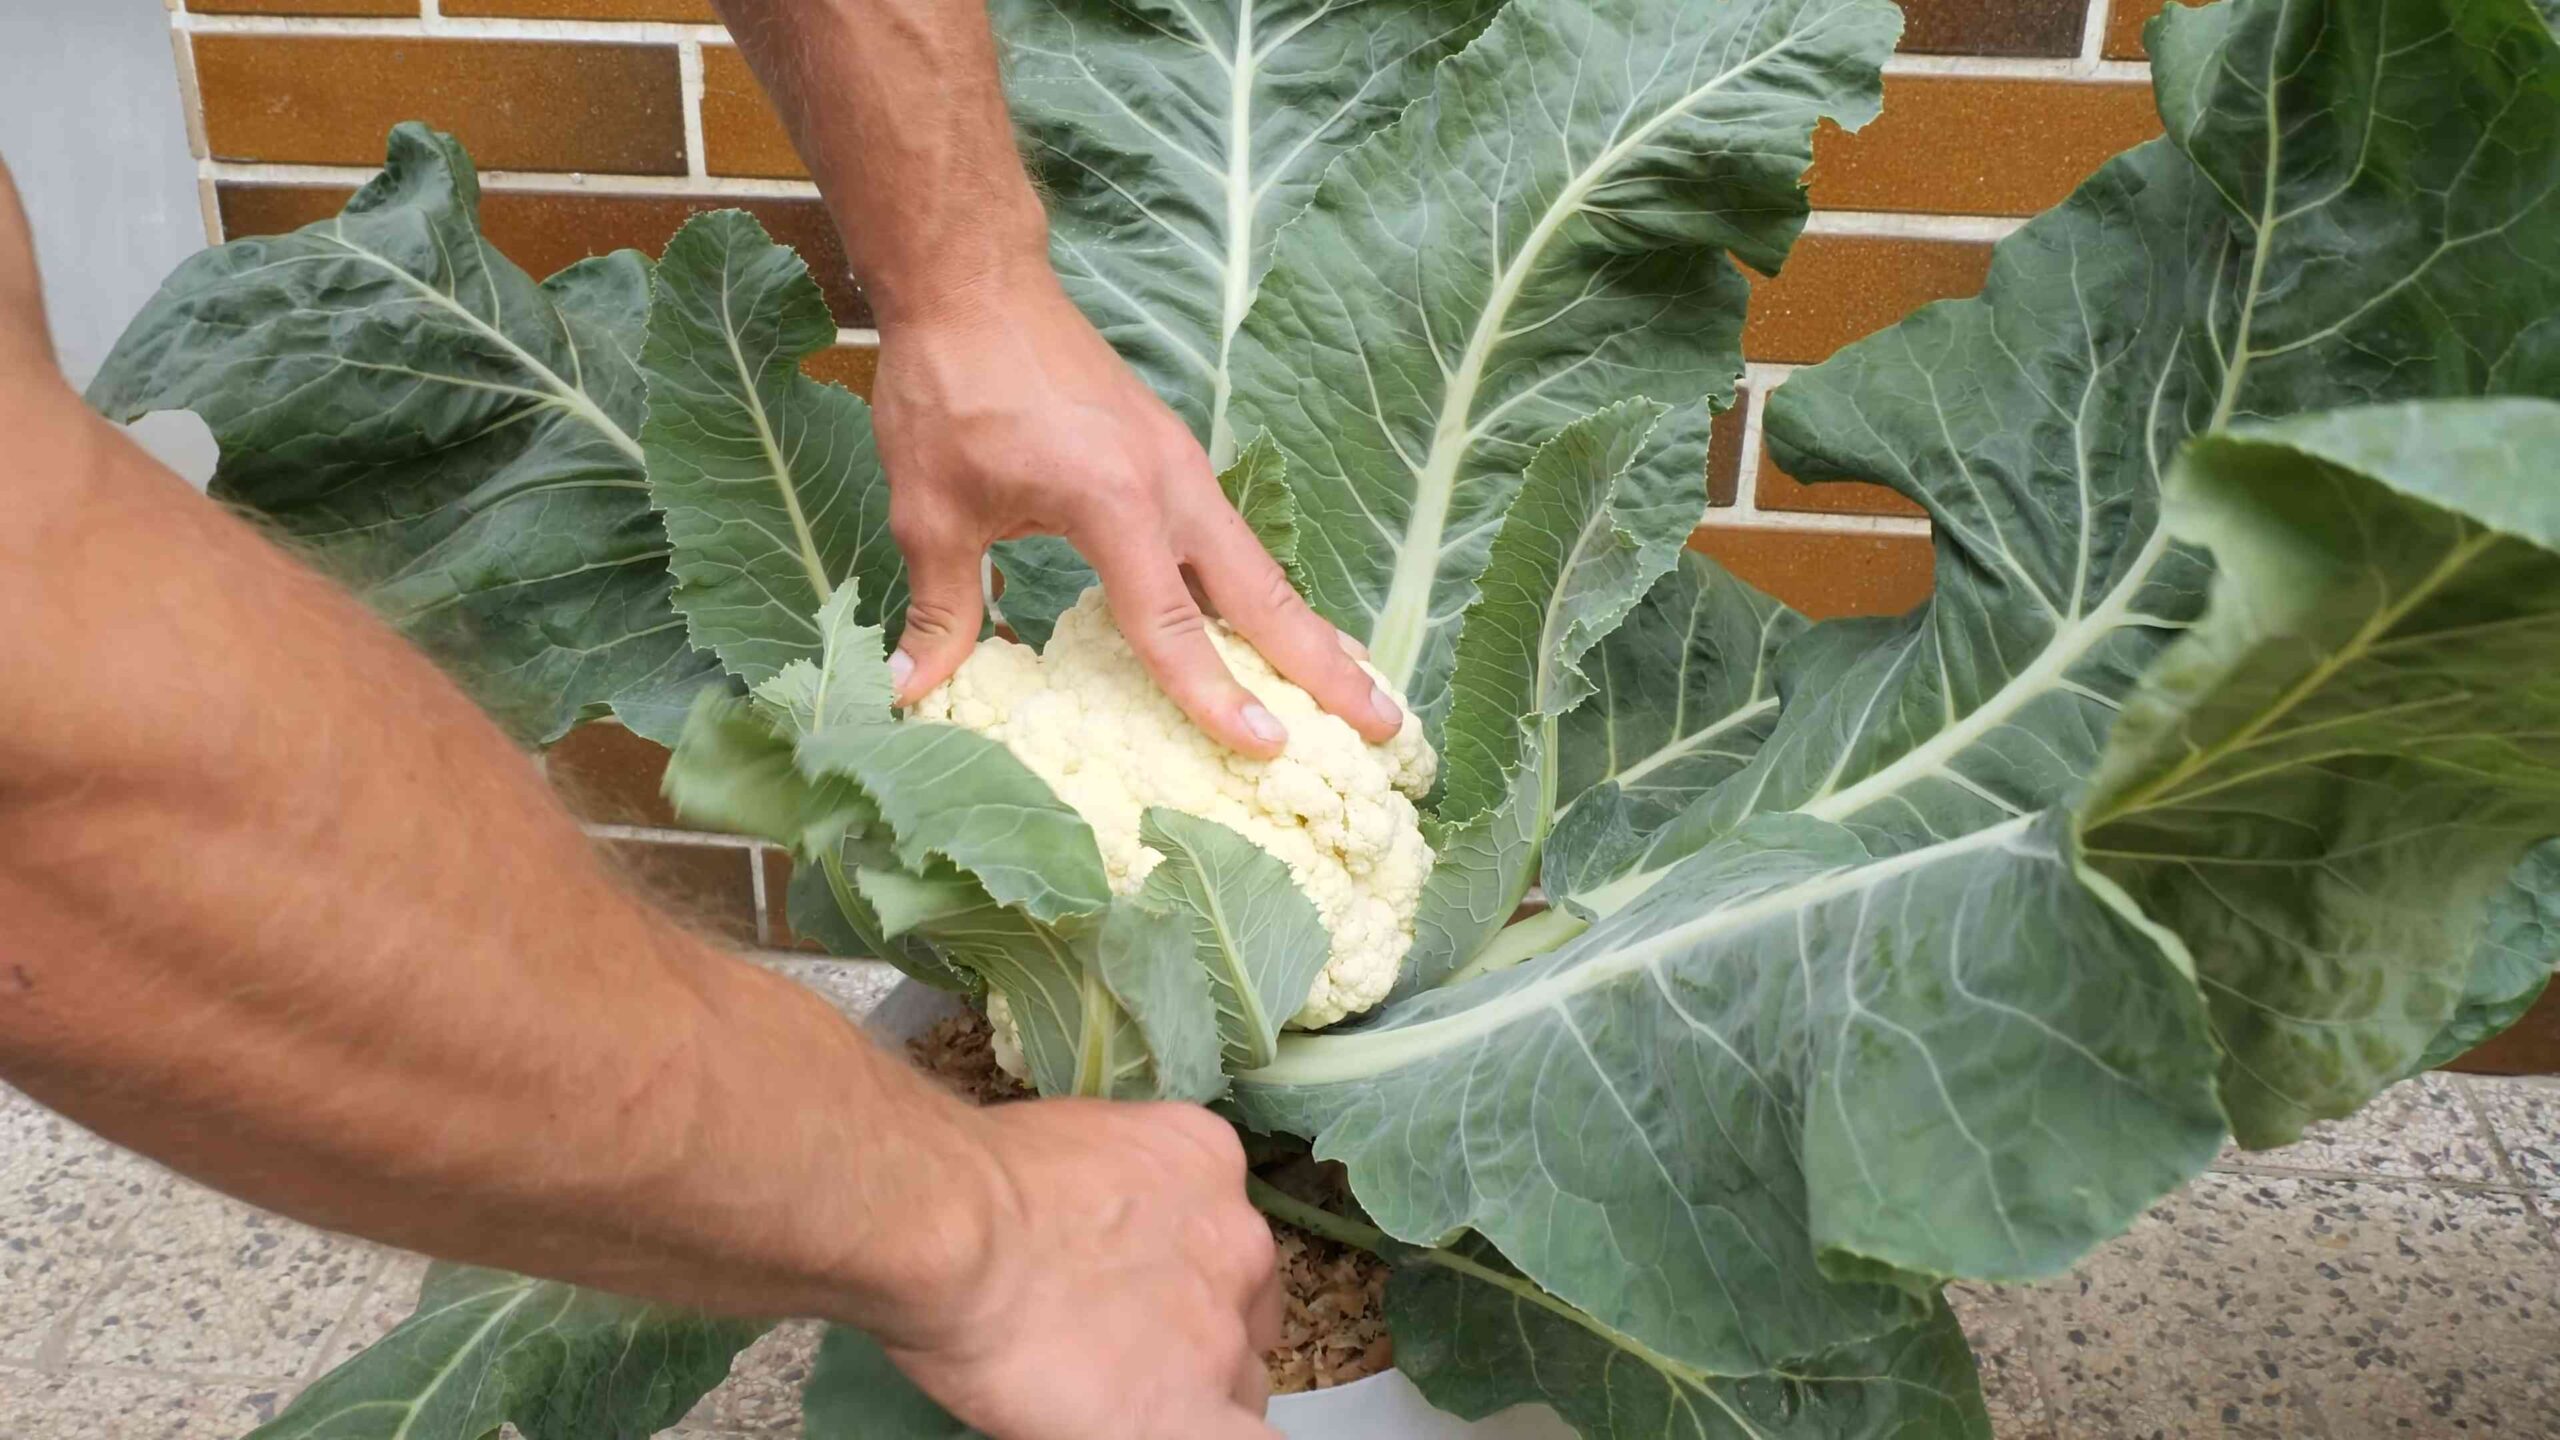
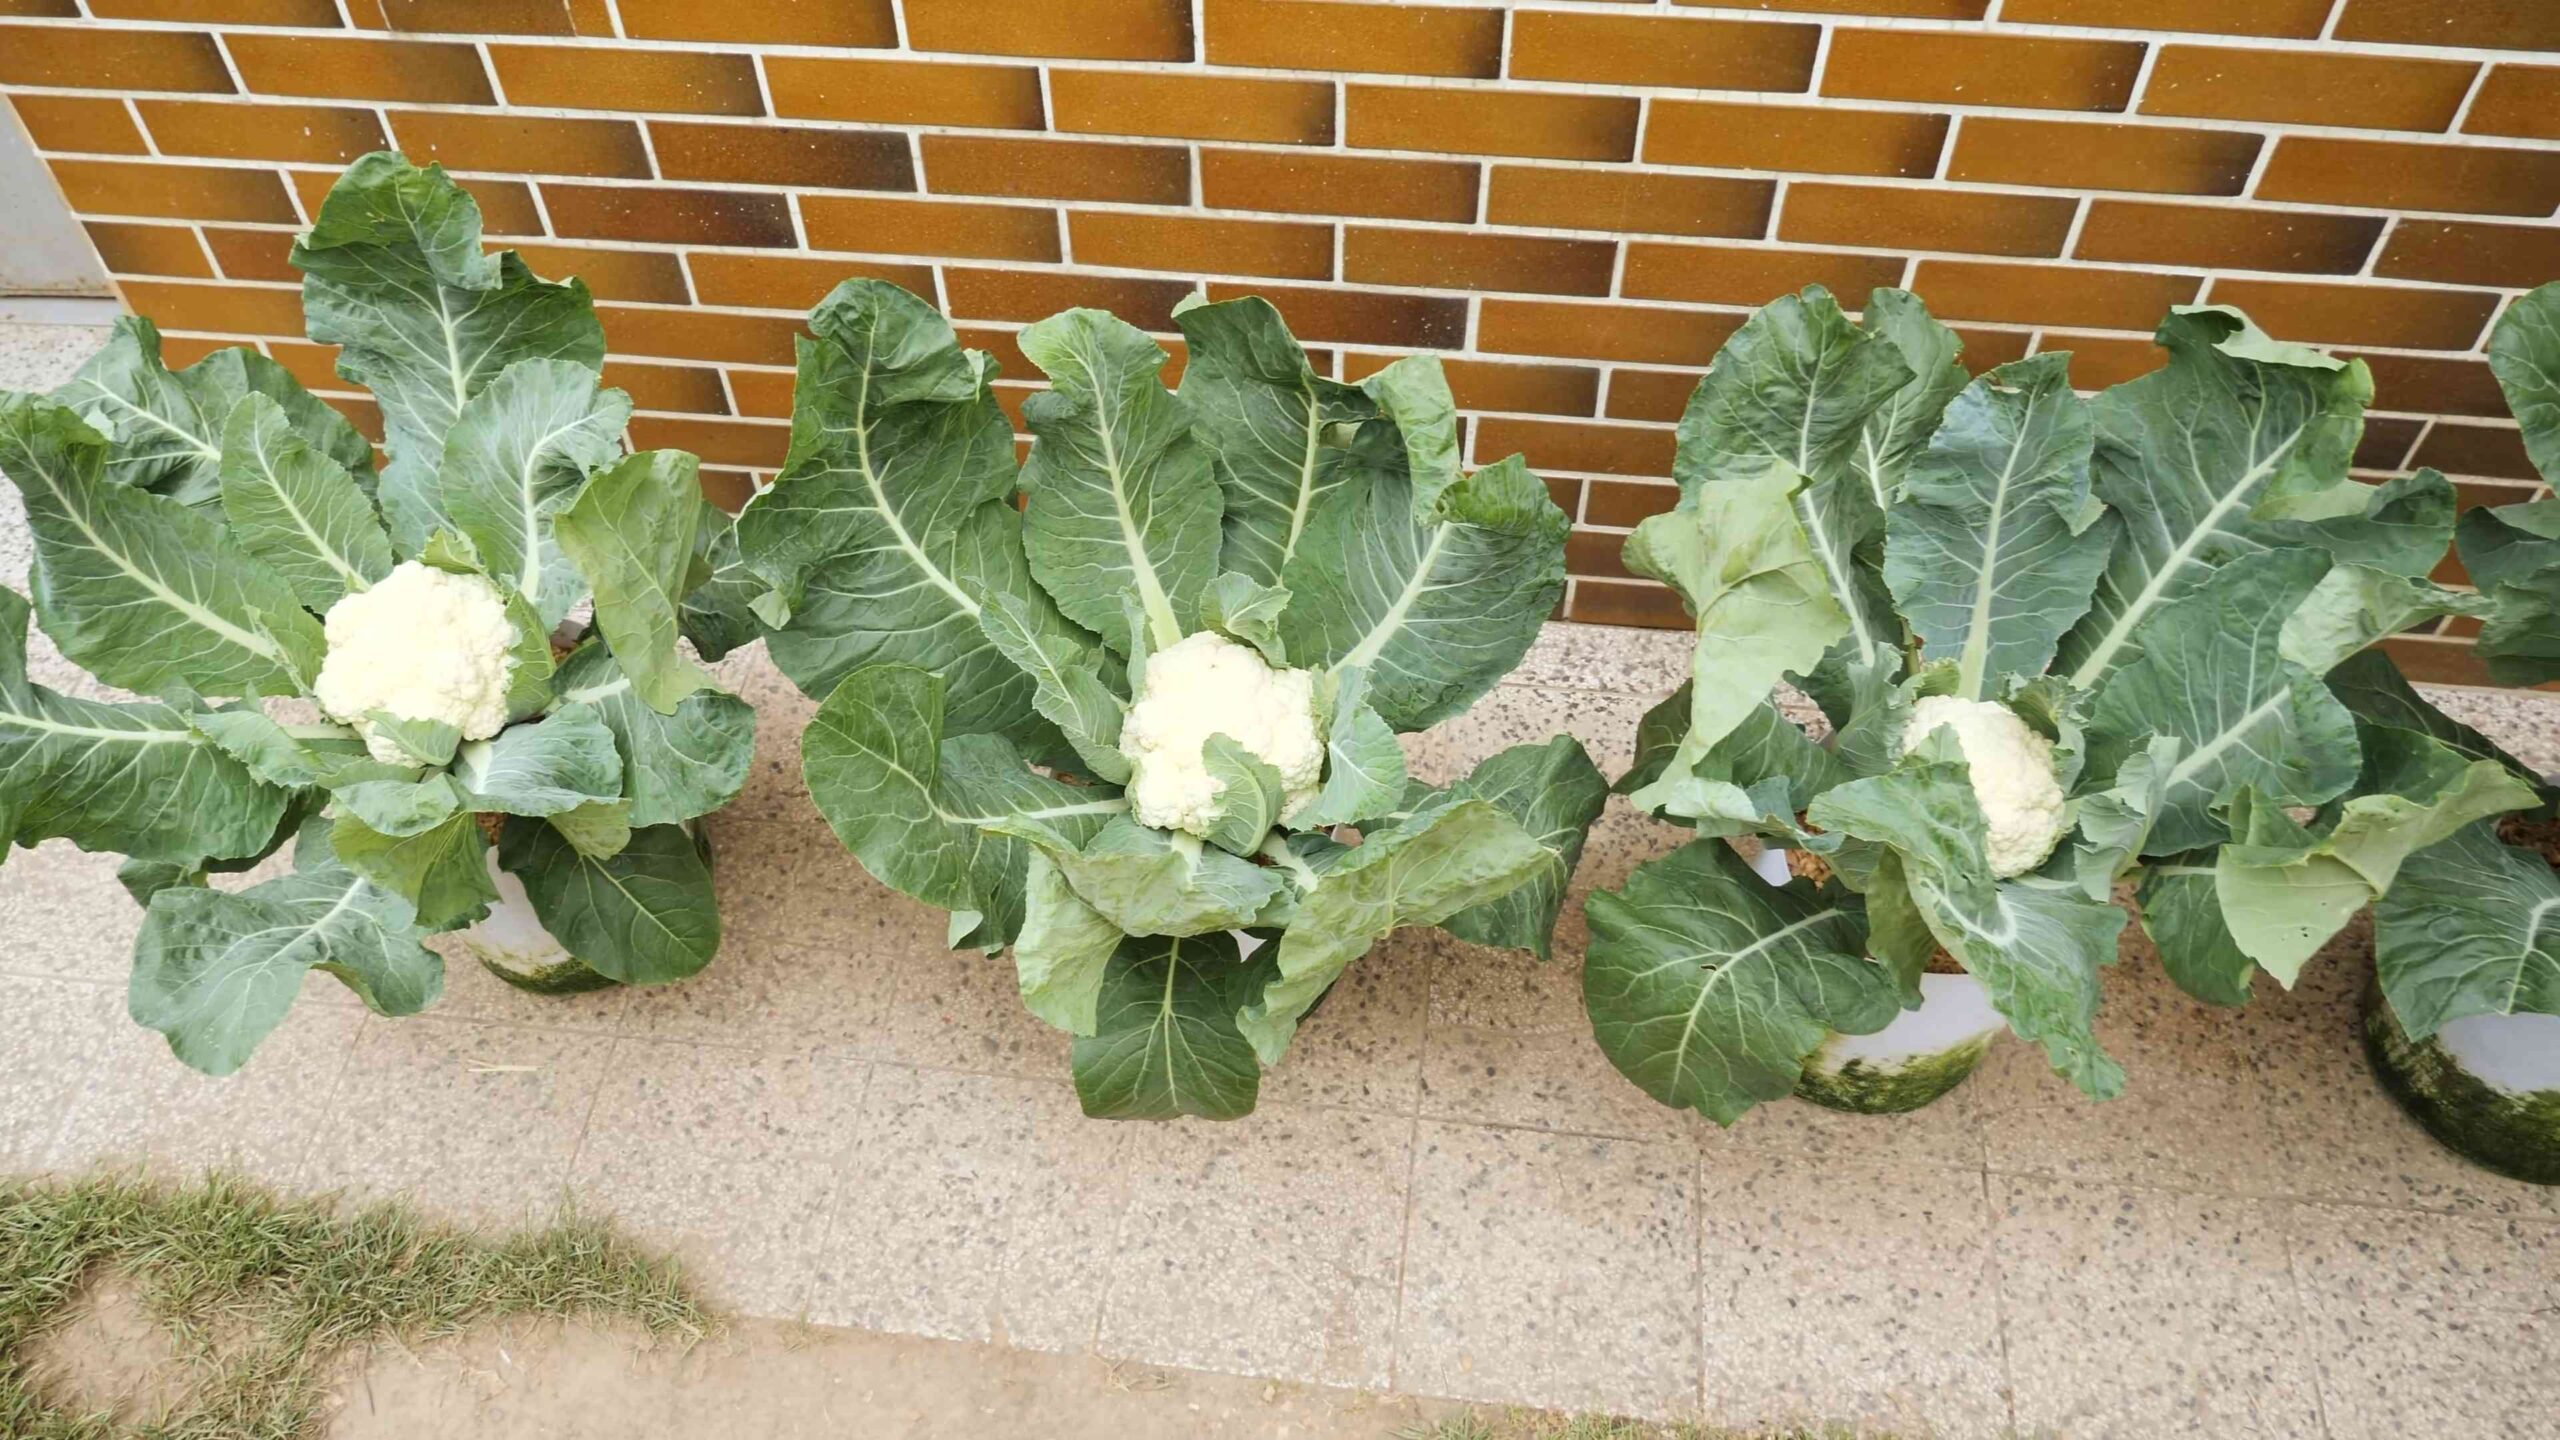
* When to Harvest: Harvest your cauliflower when the head is firm, compact, and about 6-8 inches in diameter. The exact size will depend on the variety.
* How to Harvest: Use a sharp knife to cut the head from the plant, leaving a few leaves attached to protect the head.
Step-by-Step Instructions:
1. Inspect the Head: Make sure the head is firm and compact. If it’s starting to separate or turn yellow, it’s time to harvest.
2. Cut the Stem: Use a sharp knife to cut the stem just below the head, leaving a few leaves attached.
3. Store Properly: Store your harvested cauliflower in the refrigerator for up to a week.
Troubleshooting Common Cauliflower Problems
Even with the best care, you might encounter some problems along the way. Here are a few common issues and how to address them:
* Buttoning: This is when the cauliflower head forms prematurely and remains small. It’s often caused by stress, such as cold temperatures, lack of water, or poor soil fertility. Make sure your plants are getting enough water and nutrients, and protect them from extreme weather.
* Yellowing Heads: This can be caused by too much sunlight. Blanching the heads (as described above) can help prevent this.
* Pest Infestations: As mentioned earlier, cauliflower is susceptible to several pests. Inspect your plants regularly and take action if you see any signs of infestation.
Growing cauliflower from seed takes a little effort, but it’s totally worth it. By following these steps, you’ll be well on your way to enjoying fresh, homegrown cauliflower in no time. Happy gardening!
Conclusion
So, there you have it! Growing cauliflower from seed might seem daunting at first, but as you’ve seen, it’s a rewarding and surprisingly accessible process. Ditching the store-bought seedlings and embracing this DIY approach unlocks a world of benefits, from cost savings and variety selection to the sheer satisfaction of nurturing your own food from the very beginning.
Why is this a must-try? Because you gain complete control over the entire growing process. You’re not limited to the varieties available at your local nursery; you can explore heirloom options, disease-resistant cultivars, and even colorful cauliflower varieties like purple or orange. Plus, starting from seed allows you to acclimate your plants to your specific climate and soil conditions, leading to healthier and more robust cauliflower heads.
Beyond the basic method outlined, there’s plenty of room for experimentation. Consider succession planting to ensure a continuous harvest throughout the growing season. Sow seeds every few weeks to stagger your cauliflower production. You can also try different soil amendments to optimize drainage and nutrient availability. Some gardeners swear by adding bone meal to the soil to promote strong root development, while others prefer a balanced organic fertilizer.
For those in warmer climates, selecting heat-tolerant cauliflower varieties is crucial. Look for cultivars specifically bred to withstand higher temperatures and avoid bolting (premature flowering). Conversely, gardeners in colder regions might benefit from starting seeds indoors earlier in the season to give their plants a head start.
Don’t be afraid to experiment with different container sizes and starting mediums. Some gardeners prefer peat pots, while others opt for reusable plastic trays. The key is to find what works best for you and your growing environment. Remember to keep a detailed gardening journal to track your progress, note any challenges you encounter, and refine your techniques for future seasons.
Ultimately, the success of growing cauliflower from seed hinges on consistent care and attention. Regular watering, proper fertilization, and diligent pest control are essential for healthy plant growth and abundant harvests. Keep a close eye on your seedlings and address any issues promptly to prevent them from escalating.
We wholeheartedly encourage you to embark on this rewarding journey of growing cauliflower from seed. It’s a fantastic way to connect with nature, learn new skills, and enjoy the unparalleled flavor of homegrown produce. And remember, even experienced gardeners face challenges along the way. Don’t be discouraged by setbacks; view them as learning opportunities and keep experimenting until you find what works best for you.
So, grab your seeds, prepare your soil, and get ready to witness the magic of cauliflower cultivation firsthand. We’re confident that you’ll be amazed by the results. And most importantly, we want to hear about your experience! Share your tips, tricks, and triumphs in the comments below. Let’s build a community of cauliflower enthusiasts and learn from each other’s successes and failures. Happy gardening! And remember, mastering the art of growing cauliflower from seed is a skill that will reward you for years to come.
FAQ
Frequently Asked Questions About Growing Cauliflower from Seed
1. How long does it take to grow cauliflower from seed to harvest?
The time from sowing cauliflower seeds to harvesting mature heads typically ranges from 75 to 100 days, depending on the variety and growing conditions. Some faster-maturing varieties may be ready in as little as 60 days, while others can take up to 120 days. It’s essential to check the seed packet for specific information on the variety you’re growing. Remember that environmental factors like temperature, sunlight, and soil fertility can also influence the growth rate. Consistent monitoring and proper care are key to ensuring a timely harvest.
2. What are the best conditions for germinating cauliflower seeds?
Cauliflower seeds germinate best in warm, moist conditions. The ideal soil temperature for germination is between 65°F and 75°F (18°C and 24°C). Sow seeds about ¼ to ½ inch deep in a well-draining seed-starting mix. Keep the soil consistently moist but not waterlogged. You can use a heat mat to maintain a consistent soil temperature, especially in cooler climates. Germination typically occurs within 5 to 10 days. Once the seedlings emerge, provide them with plenty of light to prevent them from becoming leggy.
3. How much sunlight does cauliflower need?
Cauliflower requires at least 6 hours of direct sunlight per day to thrive. Insufficient sunlight can result in small, poorly formed heads. Choose a planting location that receives full sun throughout the day. If you’re growing cauliflower indoors, use grow lights to supplement natural sunlight. Rotate the plants regularly to ensure even light exposure on all sides.
4. What type of soil is best for growing cauliflower?
Cauliflower prefers well-drained, fertile soil with a pH between 6.0 and 7.0. Amend the soil with compost or other organic matter to improve drainage and nutrient content. Cauliflower is a heavy feeder, so it’s important to provide adequate nutrients throughout the growing season. Conduct a soil test to determine any nutrient deficiencies and amend accordingly. Avoid planting cauliflower in compacted or poorly drained soil, as this can lead to root rot and other problems.
5. How often should I water cauliflower plants?
Cauliflower plants need consistent moisture, especially during head formation. Water deeply and regularly, aiming to keep the soil consistently moist but not waterlogged. The frequency of watering will depend on the weather conditions and soil type. Check the soil moisture regularly and water when the top inch feels dry to the touch. Avoid overhead watering, as this can increase the risk of fungal diseases. Use a soaker hose or drip irrigation to deliver water directly to the roots.
6. What are common pests and diseases that affect cauliflower?
Cauliflower is susceptible to several pests and diseases, including cabbage worms, aphids, flea beetles, clubroot, and black rot. Monitor your plants regularly for signs of infestation or disease. Use organic pest control methods, such as insecticidal soap or neem oil, to control pests. Practice crop rotation to prevent soilborne diseases. Ensure good air circulation around the plants to reduce humidity and prevent fungal diseases. Remove any infected leaves or plants promptly to prevent the spread of disease.
7. How do I prevent cauliflower heads from turning yellow?
Cauliflower heads can turn yellow if exposed to direct sunlight. To prevent this, blanch the heads by tying the outer leaves together over the developing head when it reaches about 2-3 inches in diameter. This will protect the head from the sun and keep it white. Check the heads regularly and harvest them when they reach the desired size.
8. When is the best time to harvest cauliflower?
Harvest cauliflower when the heads are firm, compact, and have reached the desired size. The ideal size will vary depending on the variety. Check the seed packet for specific information. Harvest before the florets begin to separate or the head becomes loose and grainy. Use a sharp knife to cut the head from the plant, leaving a few leaves attached.
9. Can I grow cauliflower in containers?
Yes, cauliflower can be grown in containers, but you’ll need a large container (at least 5 gallons) with good drainage. Choose a dwarf or compact variety that is well-suited for container growing. Use a high-quality potting mix and provide regular watering and fertilization. Place the container in a location that receives at least 6 hours of direct sunlight per day.
10. What are some good companion plants for cauliflower?
Good companion plants for cauliflower include herbs like rosemary, thyme, and sage, which can help repel pests. Other beneficial companions include marigolds, nasturtiums, and onions. Avoid planting cauliflower near other brassicas, such as broccoli, cabbage, or kale, as they can attract the same pests and diseases.
Leave a Comment