

DIY Recycled Glassware Project: Transform Trash into Treasure!
Ever look at a pile of empty wine bottles or jam jars and think, “There has to be something more I can do with these?” I know I have! For centuries, resourceful individuals have found creative ways to repurpose discarded items, and the art of transforming glass is no exception. From ancient Roman mosaics crafted from broken glass to Depression-era ingenuity turning bottles into building materials, the spirit of recycling and upcycling is deeply ingrained in our history.
Today, with a growing awareness of environmental issues, the need to reduce waste is more pressing than ever. That’s where this DIY Recycled Glassware Project comes in! Not only is it a fantastic way to give old glass a new lease on life, but it’s also incredibly rewarding to create something beautiful and functional from what would otherwise end up in the landfill. Plus, let’s be honest, who doesn’t love a unique, handmade piece that adds a personal touch to their home? Whether you’re looking to create stunning vases, quirky drinking glasses, or even decorative lanterns, this guide will provide you with the tips and tricks you need to turn your discarded glass into stunning works of art. Get ready to unleash your creativity and give those old bottles a dazzling makeover!
DIY Recycled Glassware: Turning Trash into Treasure
Hey there, fellow crafters! I’m so excited to share one of my favorite DIY projects with you: transforming old glass bottles and jars into beautiful, unique glassware. Not only is this project incredibly satisfying, but it’s also a fantastic way to reduce waste and add a personal touch to your home decor. Get ready to unleash your creativity and give those discarded glass items a new lease on life!
Materials You’ll Need
Before we dive in, let’s gather all the necessary supplies. Trust me, having everything organized beforehand will make the process much smoother.
* **Glass Bottles and Jars:** This is the star of the show! Collect various sizes and shapes of glass containers. Wine bottles, mason jars, pickle jars – anything goes! Just make sure they’re clean and free of labels.
* **Glass Cutter:** A good quality glass cutter is essential for scoring the glass. I recommend one with a carbide cutting wheel for clean, precise cuts.
* **Safety Glasses:** Safety first! Protect your eyes from glass shards.
* **Gloves:** Protect your hands from cuts and chemicals.
* **Sandpaper (Various Grits):** You’ll need coarse, medium, and fine-grit sandpaper to smooth the edges of the cut glass. I usually start with 120-grit, then move to 220-grit, and finish with 400-grit.
* **Water:** For thermal shock and lubrication during cutting.
* **Candle or Lighter:** To heat the score line.
* **Ice Cubes:** To quickly cool the score line.
* **Optional: Epoxy Resin:** If you want to create a sealed bottom for vases or planters.
* **Optional: Paint, Stencils, and Brushes:** For decorating your finished glassware.
* **Optional: Twine, Ribbon, or Wire:** For adding decorative accents.
* **Optional: Cleaning Supplies:** Dish soap, vinegar, and a scrub brush for cleaning the glass.
* **Optional: Cutting Oil:** Can help the glass cutter glide more smoothly.
* **Optional: Ruler or Measuring Tape:** For precise cuts.
* **Optional: Clamps or Jigs:** To hold the glass steady while cutting.
Preparing the Glass
This is a crucial step to ensure a clean and safe cut.
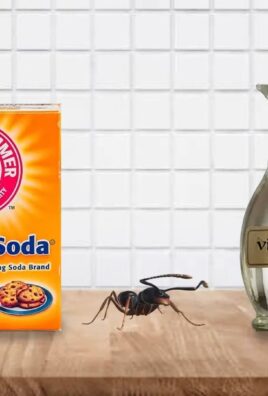
1. **Clean the Glass:** Thoroughly wash your glass bottles and jars with warm, soapy water. Remove any labels. You can soak them in hot water with baking soda or use a hairdryer to loosen stubborn adhesives. I find that a mixture of vinegar and water works wonders for removing sticky residue.
2. **Dry the Glass:** Make sure the glass is completely dry before proceeding. Any moisture can interfere with the cutting process.
3. **Mark the Cutting Line (Optional):** If you want a precise cut, use a ruler or measuring tape to mark the desired cutting line with a permanent marker. This will serve as a guide for your glass cutter.
Cutting the Glass
This is where the magic happens! Take your time and be patient.
1. **Prepare Your Workspace:** Set up your workspace on a flat, stable surface. Place a towel or mat underneath the glass to prevent it from slipping.
2. **Lubricate the Glass Cutter (Optional):** Apply a small amount of cutting oil to the cutting wheel of your glass cutter. This will help it glide smoothly across the glass.
3. **Score the Glass:** Hold the glass cutter firmly and apply even pressure as you roll the cutting wheel along the marked cutting line (or where you want to cut). You should hear a light scratching sound. Aim for a single, continuous score line. Avoid going over the same line multiple times, as this can weaken the glass and cause it to break unevenly.
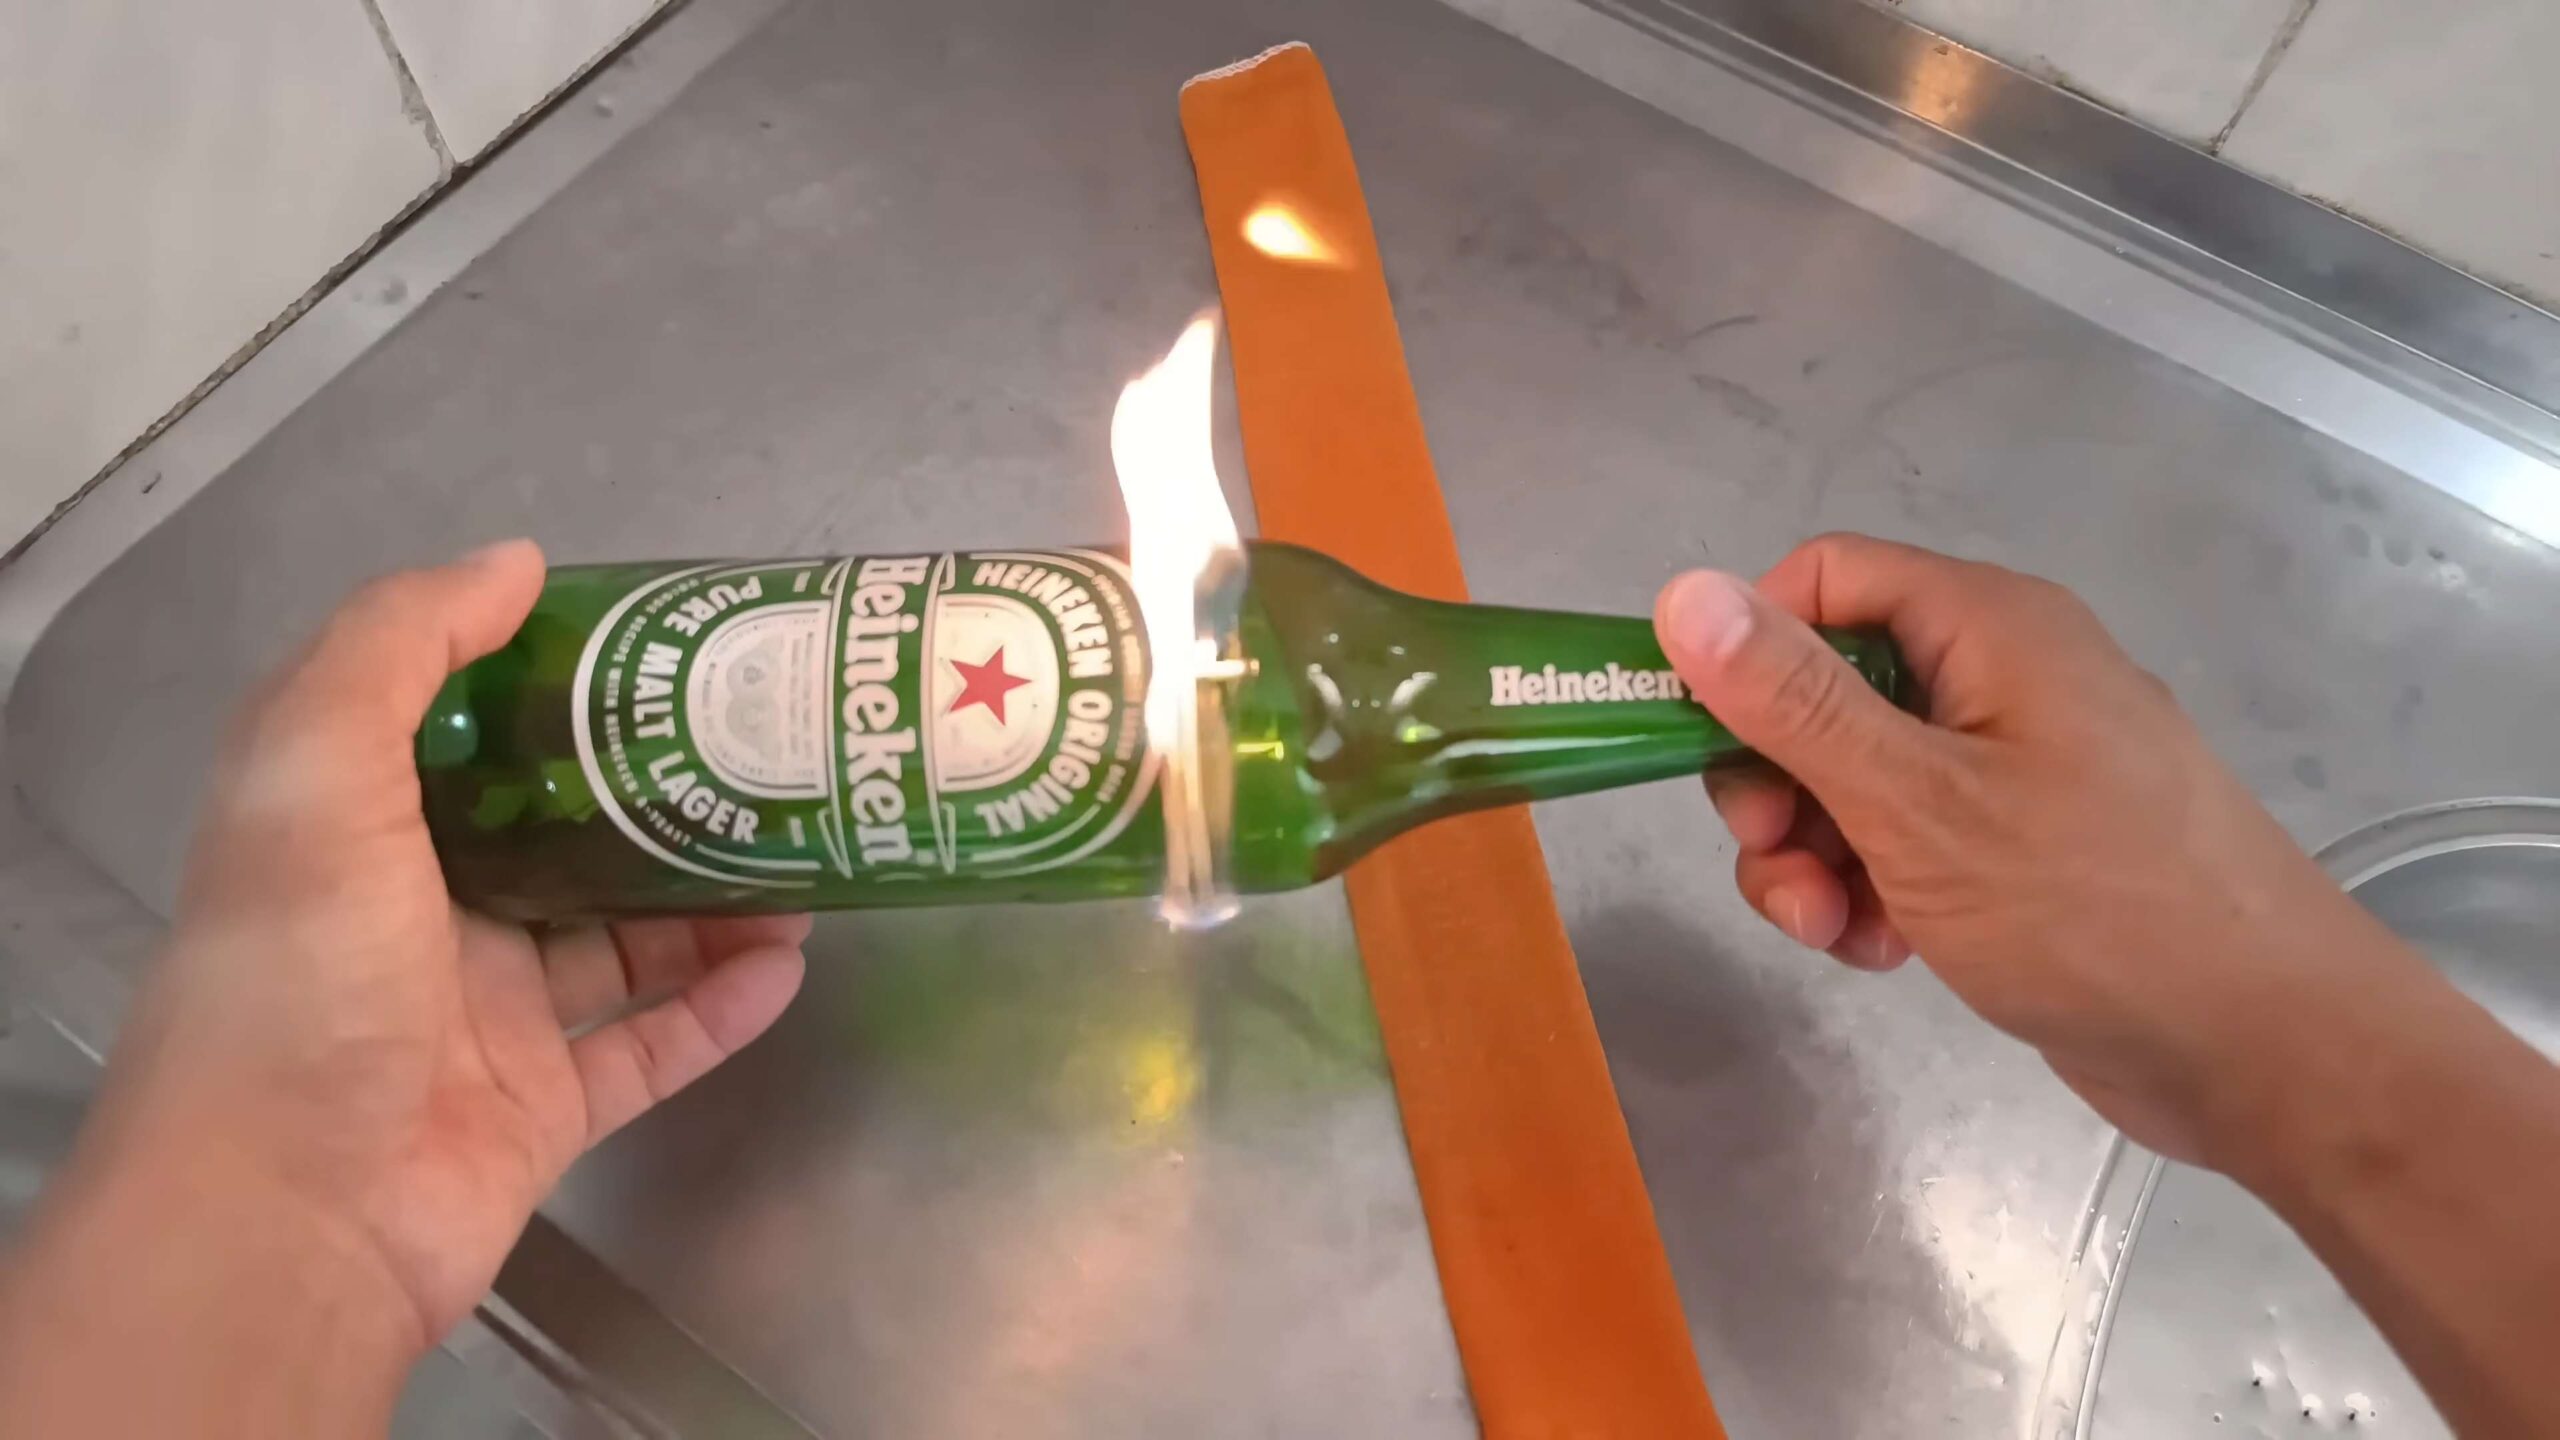
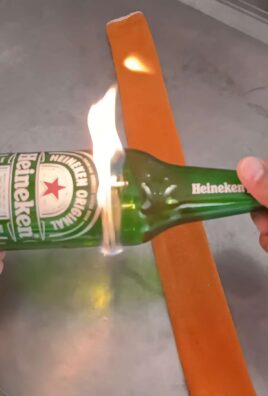
4. **Heat the Score Line:** Carefully heat the score line with a candle flame or lighter. Rotate the bottle slowly to ensure even heating. You’ll notice the glass starting to warm up. Be careful not to overheat the glass, as this can cause it to shatter.
5. **Cool the Score Line:** Immediately after heating, apply ice cubes to the score line. The sudden change in temperature (thermal shock) will cause the glass to separate along the score line. You might hear a cracking sound as the glass breaks.
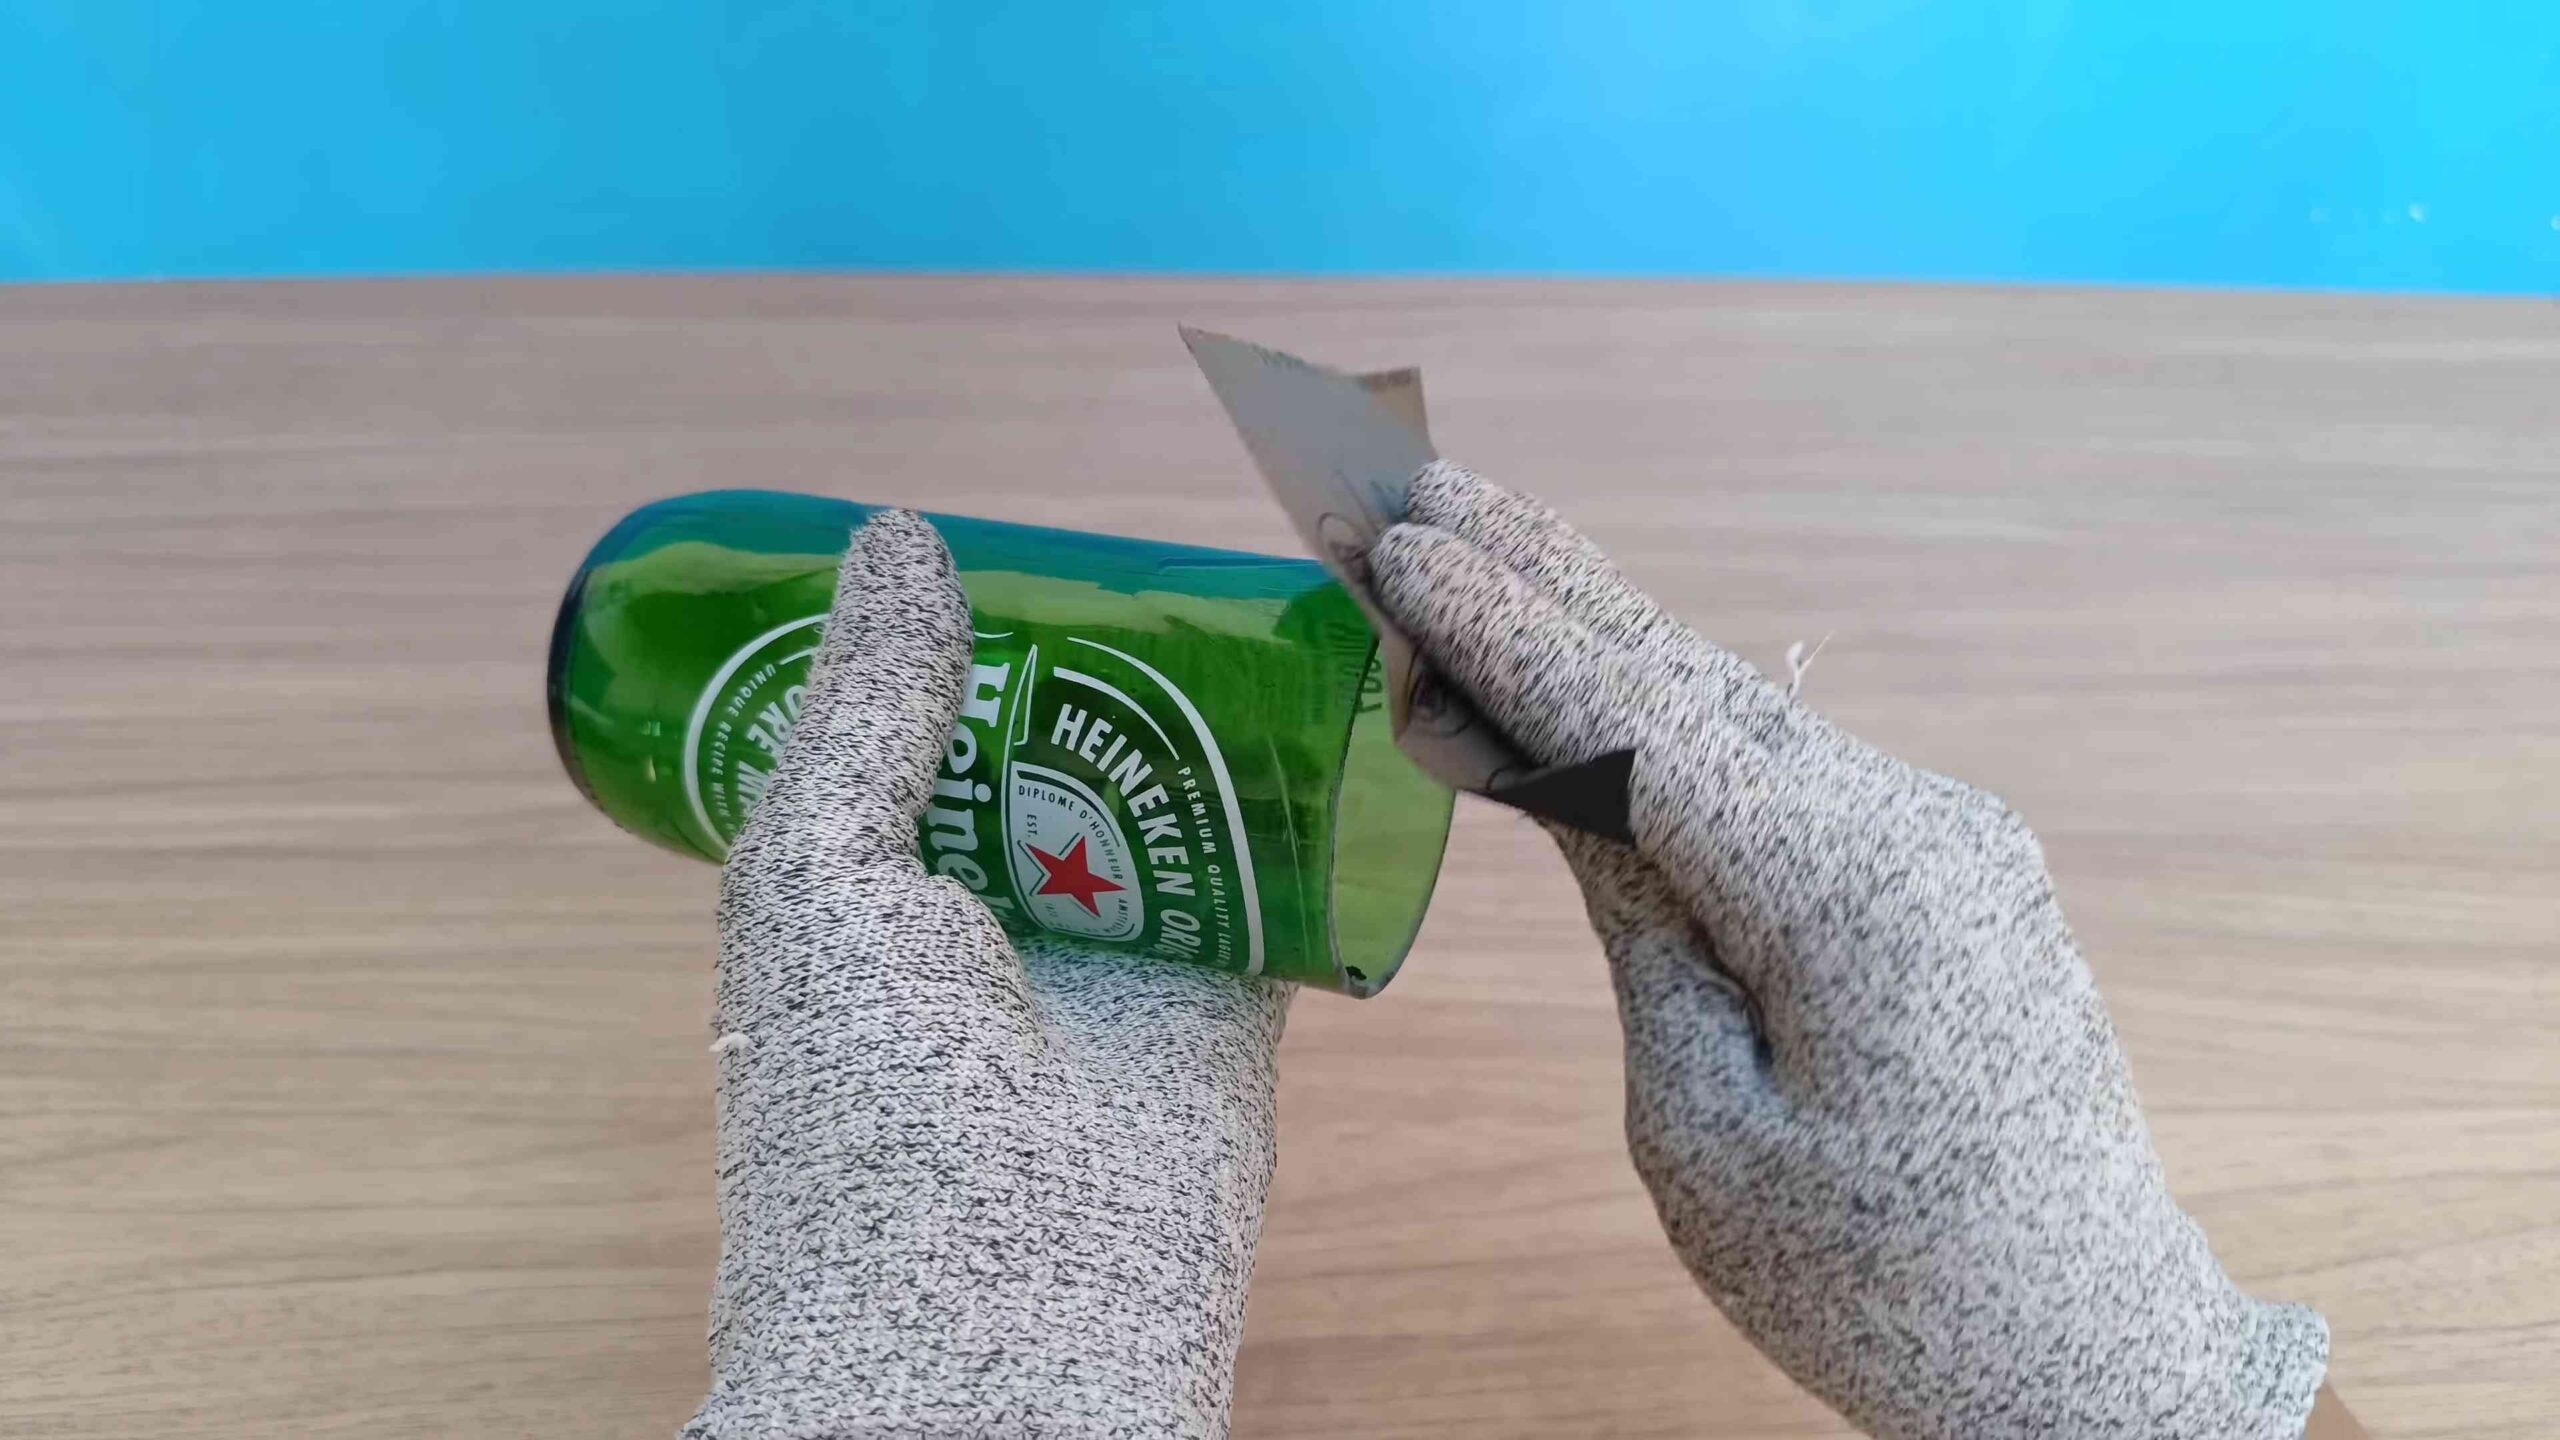
6. **Separate the Glass:** If the glass doesn’t separate completely, gently tap the score line with a blunt object (like the handle of a screwdriver) or repeat the heating and cooling process. Be patient and avoid forcing the glass apart, as this can result in jagged edges.
Smoothing the Edges
This is essential for safety and aesthetics.
1. **Wear Gloves:** Put on your gloves to protect your hands from cuts.
2. **Coarse Sanding:** Start with coarse-grit sandpaper (120-grit) to remove any sharp edges and smooth out any imperfections. Sand the inside and outside edges of the cut glass.
3. **Medium Sanding:** Switch to medium-grit sandpaper (220-grit) to further refine the edges. Continue sanding until the edges are smooth to the touch.
4. **Fine Sanding:** Finish with fine-grit sandpaper (400-grit) to create a polished, professional-looking edge.
5. **Rinse and Dry:** Rinse the glass thoroughly with water to remove any sanding dust. Dry it completely with a clean towel.
Decorating Your Glassware (Optional)
Now for the fun part! Let your creativity shine!
1. **Painting:** Use glass-specific paint to add color and designs to your glassware. You can use stencils, freehand designs, or even create ombre effects.
2. **Etching:** Use glass etching cream to create frosted designs on your glassware. Follow the instructions on the etching cream carefully.
3. **Adding Accents:** Wrap twine, ribbon, or wire around the glass to add a rustic or elegant touch. You can also glue on beads, buttons, or other embellishments.
4. **Sealing (Optional):** If you’re creating vases or planters, you can seal the bottom of the glass with epoxy resin to prevent leaks. Follow the instructions on the epoxy resin carefully.
Turning Bottles into Drinking Glasses
This is a popular way to recycle wine bottles.
1. **Follow the Cutting and Smoothing Steps:** Use the steps outlined above to cut and smooth the edges of the wine bottle.
2. **Consider the Height:** Decide how tall you want your drinking glasses to be. I usually aim for around 4-6 inches.
3. **Add a Design (Optional):** You can paint, etch, or add other decorative elements to your drinking glasses.
4. **Enjoy Your Upcycled Glasses:** Once the paint or etching cream has dried completely, your upcycled drinking glasses are ready to use! Hand wash them gently to preserve the design.
Creating Vases and Planters
Give your flowers and plants a stylish new home.
1. **Choose Your Glass Container:** Select a glass bottle or jar that is suitable for a vase or planter. Taller bottles work well for vases, while wider jars are ideal for planters.
2. **Cut the Glass (Optional):** You can cut the glass to create a shorter vase or planter, or leave it as is.
3. **Smooth the Edges:** Smooth the edges of the cut glass to prevent cuts.
4. **Add Drainage (For Planters):** If you’re creating a planter, you’ll need to add drainage holes to the bottom of the glass. You can use a diamond-tipped drill bit to drill holes in the glass. Be very careful when drilling glass, as it can easily crack. Wear safety glasses and gloves. Alternatively, you can add a layer of gravel or pebbles to the bottom of the planter to improve drainage.
5. **Add Soil and Plants:** Fill the vase or planter with soil and add your favorite flowers or plants.
6. **Decorate (Optional):** Decorate your vase or planter with paint, twine, or other embellishments.
Safety Tips
Working with glass can be dangerous, so it’s important to take precautions.
* **Always wear safety glasses and gloves.**
* **Work in a well-ventilated area.**
* **Be careful when handling sharp glass.**
* **Dispose of glass shards properly.**
* **If you’re using power tools, follow the manufacturer’s instructions carefully.**
* **If you’re unsure about any step, seek professional advice.**
Troubleshooting
Sometimes things don’t go as planned. Here are some common issues and how to fix them.
* **The glass won’t break along the score line:** Try heating and cooling the score line again. You can also gently tap the score line with a blunt object.
* **The glass breaks unevenly:** This can happen if the score line is not continuous or if the glass is not heated evenly. Try again with a new piece of glass, making sure to create a clean, continuous score line and heat the glass evenly.
* **The edges are still sharp after sanding:** Continue sanding with finer-grit sandpaper until the edges are smooth
Conclusion
So, there you have it! Transforming discarded glass bottles and jars into stunning, personalized glassware is not only incredibly satisfying but also a fantastic way to reduce waste and add a unique touch to your home décor. This DIY recycled glassware project is more than just a craft; it’s a statement about sustainability, creativity, and resourcefulness. It’s about seeing potential where others see trash and turning that potential into something beautiful and functional.
Why is this a must-try? Because it’s accessible to everyone, regardless of skill level. The basic techniques are simple to master, and the possibilities for customization are endless. Imagine serving your favorite cocktails in glasses you crafted yourself, or gifting a set of hand-painted jars filled with homemade treats. The pride and satisfaction you’ll feel are unmatched. Plus, you’ll be contributing to a greener planet by giving these materials a second life.
Don’t be afraid to experiment! Try different etching creams for varying levels of frostiness. Explore stencils with intricate designs, or freehand paint your own unique patterns. Consider using different types of glass – wine bottles, mason jars, even old vases – to create a diverse collection of glassware. You can also add embellishments like twine, ribbon, or beads for a more rustic or bohemian look. For a more modern aesthetic, consider using metallic paints or geometric designs. If you’re feeling adventurous, you can even try cutting the glass (with proper safety precautions and tools, of course!) to create entirely new shapes and sizes.
One variation we particularly love is creating a set of matching glasses and a pitcher from the same type of bottle. This makes for a cohesive and impressive serving set, perfect for entertaining. Another idea is to create personalized glasses as gifts, etching or painting the recipient’s name or initials onto the glass. This adds a thoughtful and personal touch that they’re sure to appreciate.
We encourage you to gather your discarded glass, unleash your inner artist, and give this DIY project a try. The results are truly rewarding, and you’ll be amazed at what you can create. We’re confident that you’ll find this project to be both enjoyable and fulfilling.
But the real magic happens when you share your creations and experiences with others. We’d love to see your finished projects! Share photos of your DIY recycled glassware on social media using [Your Hashtag Here] and tag us [Your Social Media Handle Here]. Let’s inspire each other to embrace creativity and sustainability. Tell us about your successes, your challenges, and any unique techniques you discovered along the way. Your insights could help others embark on their own upcycling journey.
So, what are you waiting for? Dive into your recycling bin, gather your supplies, and get ready to transform trash into treasure. Happy crafting! We can’t wait to see what you create. Remember, every little bit helps in creating a more sustainable future, and this project is a fun and stylish way to contribute.
Frequently Asked Questions (FAQ)
What kind of glass can I use for this DIY project?
You can use a wide variety of glass containers for this project, including wine bottles, beer bottles, mason jars, pickle jars, spaghetti sauce jars, and even old vases. The key is to ensure that the glass is clean and free of any labels or residue before you begin. Thicker glass is generally easier to work with, especially if you plan on etching or cutting the glass. Avoid using glass that is chipped or cracked, as this can be dangerous.
Is it safe to drink from recycled glassware?
Yes, it is generally safe to drink from recycled glassware, provided you use food-safe paints and sealants if you are decorating the inside of the glass. If you are etching the glass, the etching cream itself is not harmful once it has been rinsed off thoroughly. However, it’s always a good idea to err on the side of caution. Avoid using harsh chemicals or abrasive cleaners on your finished glassware, as these could potentially leach into your drinks. Hand washing is recommended to preserve the integrity of your decorations and ensure the longevity of your recycled glassware. If you are unsure about the safety of a particular material, it’s best to avoid using it for surfaces that will come into direct contact with food or beverages.
What kind of paint should I use for decorating recycled glassware?
For decorating the outside of recycled glassware, acrylic paints are a good option. They are readily available, come in a wide range of colors, and are relatively easy to work with. However, acrylic paints are not typically dishwasher safe, so hand washing is recommended. For a more durable finish, consider using glass-specific paints that are designed to be baked in the oven. These paints create a permanent bond with the glass and are often dishwasher safe. Always follow the manufacturer’s instructions for baking times and temperatures. If you are decorating the inside of the glass, be sure to use food-safe paints specifically designed for this purpose.
How do I remove labels from glass bottles and jars?
Removing labels from glass bottles and jars can sometimes be tricky, but there are several effective methods you can try. One common method is to soak the bottles in warm, soapy water for about 30 minutes. This will often loosen the adhesive enough to peel the label off easily. If the label is particularly stubborn, you can try using a mixture of baking soda and oil (such as olive oil or vegetable oil) to scrub away the adhesive residue. Another option is to use a hairdryer to heat the label, which will soften the adhesive and make it easier to peel off. For any remaining sticky residue, you can use rubbing alcohol, Goo Gone, or even nail polish remover. Always wash the bottles thoroughly after removing the labels to ensure that all traces of adhesive are gone.
Can I cut glass bottles at home? Is it safe?
Yes, you can cut glass bottles at home, but it’s important to take proper safety precautions. You’ll need a glass cutting tool, such as a glass scoring tool or a bottle cutter. These tools create a score line around the bottle, which you can then use to separate the glass. There are several methods for separating the glass, including using hot and cold water or a candle flame. Always wear safety glasses and gloves when cutting glass to protect yourself from shards. It’s also a good idea to work in a well-ventilated area. Practice on a few scrap bottles before attempting to cut your good bottles. Be aware that the edges of cut glass can be sharp, so you’ll need to sand them down using sandpaper or a glass grinder to create a smooth, safe edge. Cutting glass requires patience and precision, so take your time and be careful. If you’re not comfortable cutting glass yourself, you can always take your bottles to a professional glass cutter.
What are some other creative ideas for using DIY recycled glassware?
Beyond drinking glasses, your DIY recycled glassware can be transformed into a multitude of useful and decorative items. Consider turning jars into candle holders, vases for flowers, or storage containers for small items like cotton balls or jewelry. Larger bottles can be repurposed as soap dispensers or even lamps. You can also use recycled glass to create mosaic art or decorative tiles. The possibilities are truly endless, limited only by your imagination. Don’t be afraid to experiment and try new techniques to create unique and personalized items for your home or to give as gifts.

Leave a Comment