

DIY Gift Bag Wall Art: Transform trash into treasure and add a personal touch to your home decor! Have you ever received a beautifully designed gift bag and felt guilty about throwing it away? I know I have! Those vibrant colors, intricate patterns, and sturdy materials seem too good to simply discard. Well, now you don’t have to! This DIY project offers a creative and sustainable way to repurpose those lovely gift bags into stunning wall art.
The concept of repurposing materials for art isn’t new. Throughout history, cultures have found innovative ways to create beauty from everyday objects. Think of mosaics made from broken tiles or quilts crafted from scraps of fabric. This DIY Gift Bag Wall Art project taps into that same resourceful spirit, giving you the chance to express your creativity while reducing waste.
In today’s world, where sustainability is more important than ever, finding ways to reduce our environmental footprint is crucial. Plus, let’s be honest, store-bought wall art can be expensive and often lacks that personal touch. This DIY trick allows you to create unique, eye-catching pieces that reflect your individual style and personality, all while saving money and contributing to a greener planet. I’m excited to show you how easy and rewarding it is to turn those forgotten gift bags into stunning works of art that will brighten up any room!
DIY Gift Bag Wall Art: Turning Trash into Treasure
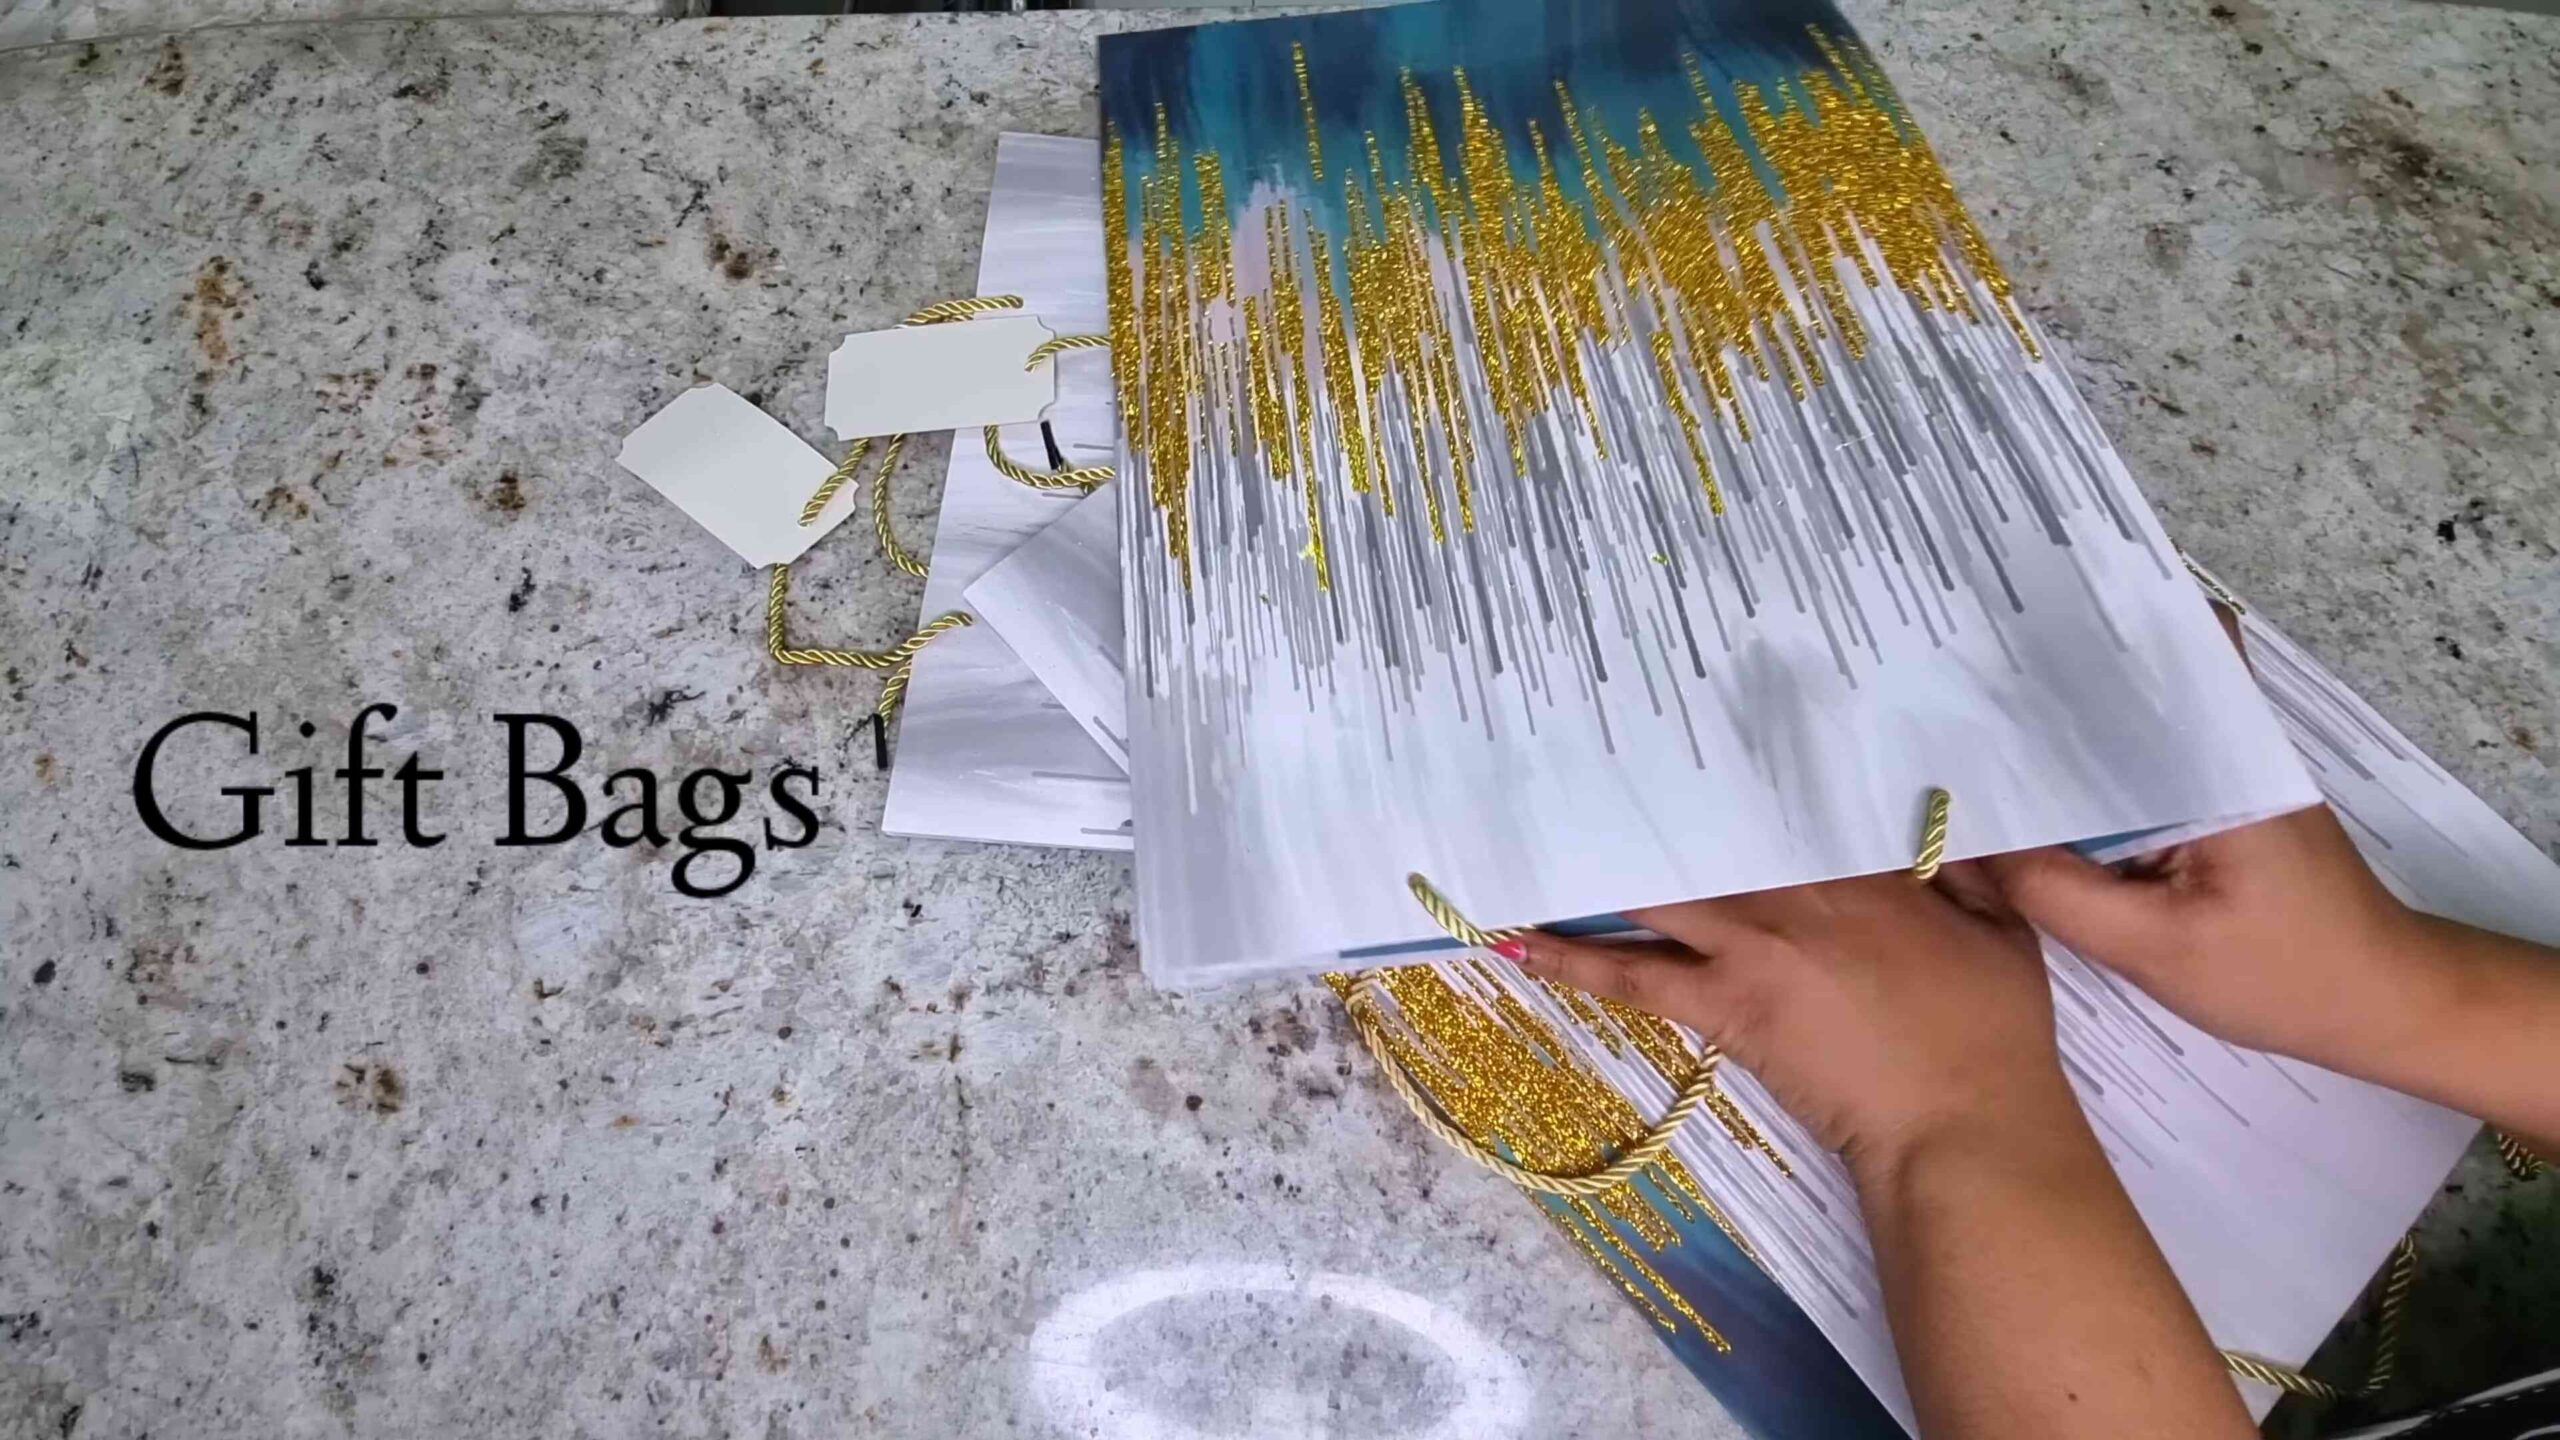
Okay, let’s be honest. We all have a mountain of gift bags stashed away somewhere. They’re too pretty to throw away, right? But they just sit there, taking up space. Well, I’ve got the perfect solution: turn those beautiful bags into stunning wall art! This project is super budget-friendly, eco-conscious, and allows you to create personalized décor that truly reflects your style. Plus, it’s a fantastic way to showcase those gorgeous designs you’ve been hoarding. So, grab your stash of gift bags, and let’s get crafting!
Materials You’ll Need
Before we dive in, let’s gather our supplies. Don’t worry, you probably already have most of these lying around:
* **Gift Bags:** The star of the show! Choose bags with designs, colors, and textures you love. Consider different sizes and paper types for variety.
* **Canvas Panels or Stretched Canvases:** These will be our base. You can find these at any craft store in various sizes. I recommend starting with a few different sizes to create a gallery wall effect.
* **Scissors or a Craft Knife:** For precise cutting. A craft knife and cutting mat are ideal for intricate designs.
* **Mod Podge or Decoupage Glue:** This will adhere the gift bag paper to the canvas. Matte or gloss finish is up to you – it depends on the look you’re going for.
* **Foam Brush or Paintbrush:** For applying the Mod Podge smoothly.
* **Ruler or Straight Edge:** To ensure straight cuts and accurate measurements.
* **Pencil:** For marking and tracing.
* **Cutting Mat (Optional but Recommended):** Protects your work surface when using a craft knife.
* **Sandpaper (Optional):** For smoothing any rough edges after gluing.
* **Acrylic Paint (Optional):** To paint the edges of the canvas for a more finished look.
* **Clear Acrylic Sealer (Optional):** To protect your finished artwork and add a layer of durability.
Preparing Your Gift Bags
This is a crucial step, so take your time and be precise!
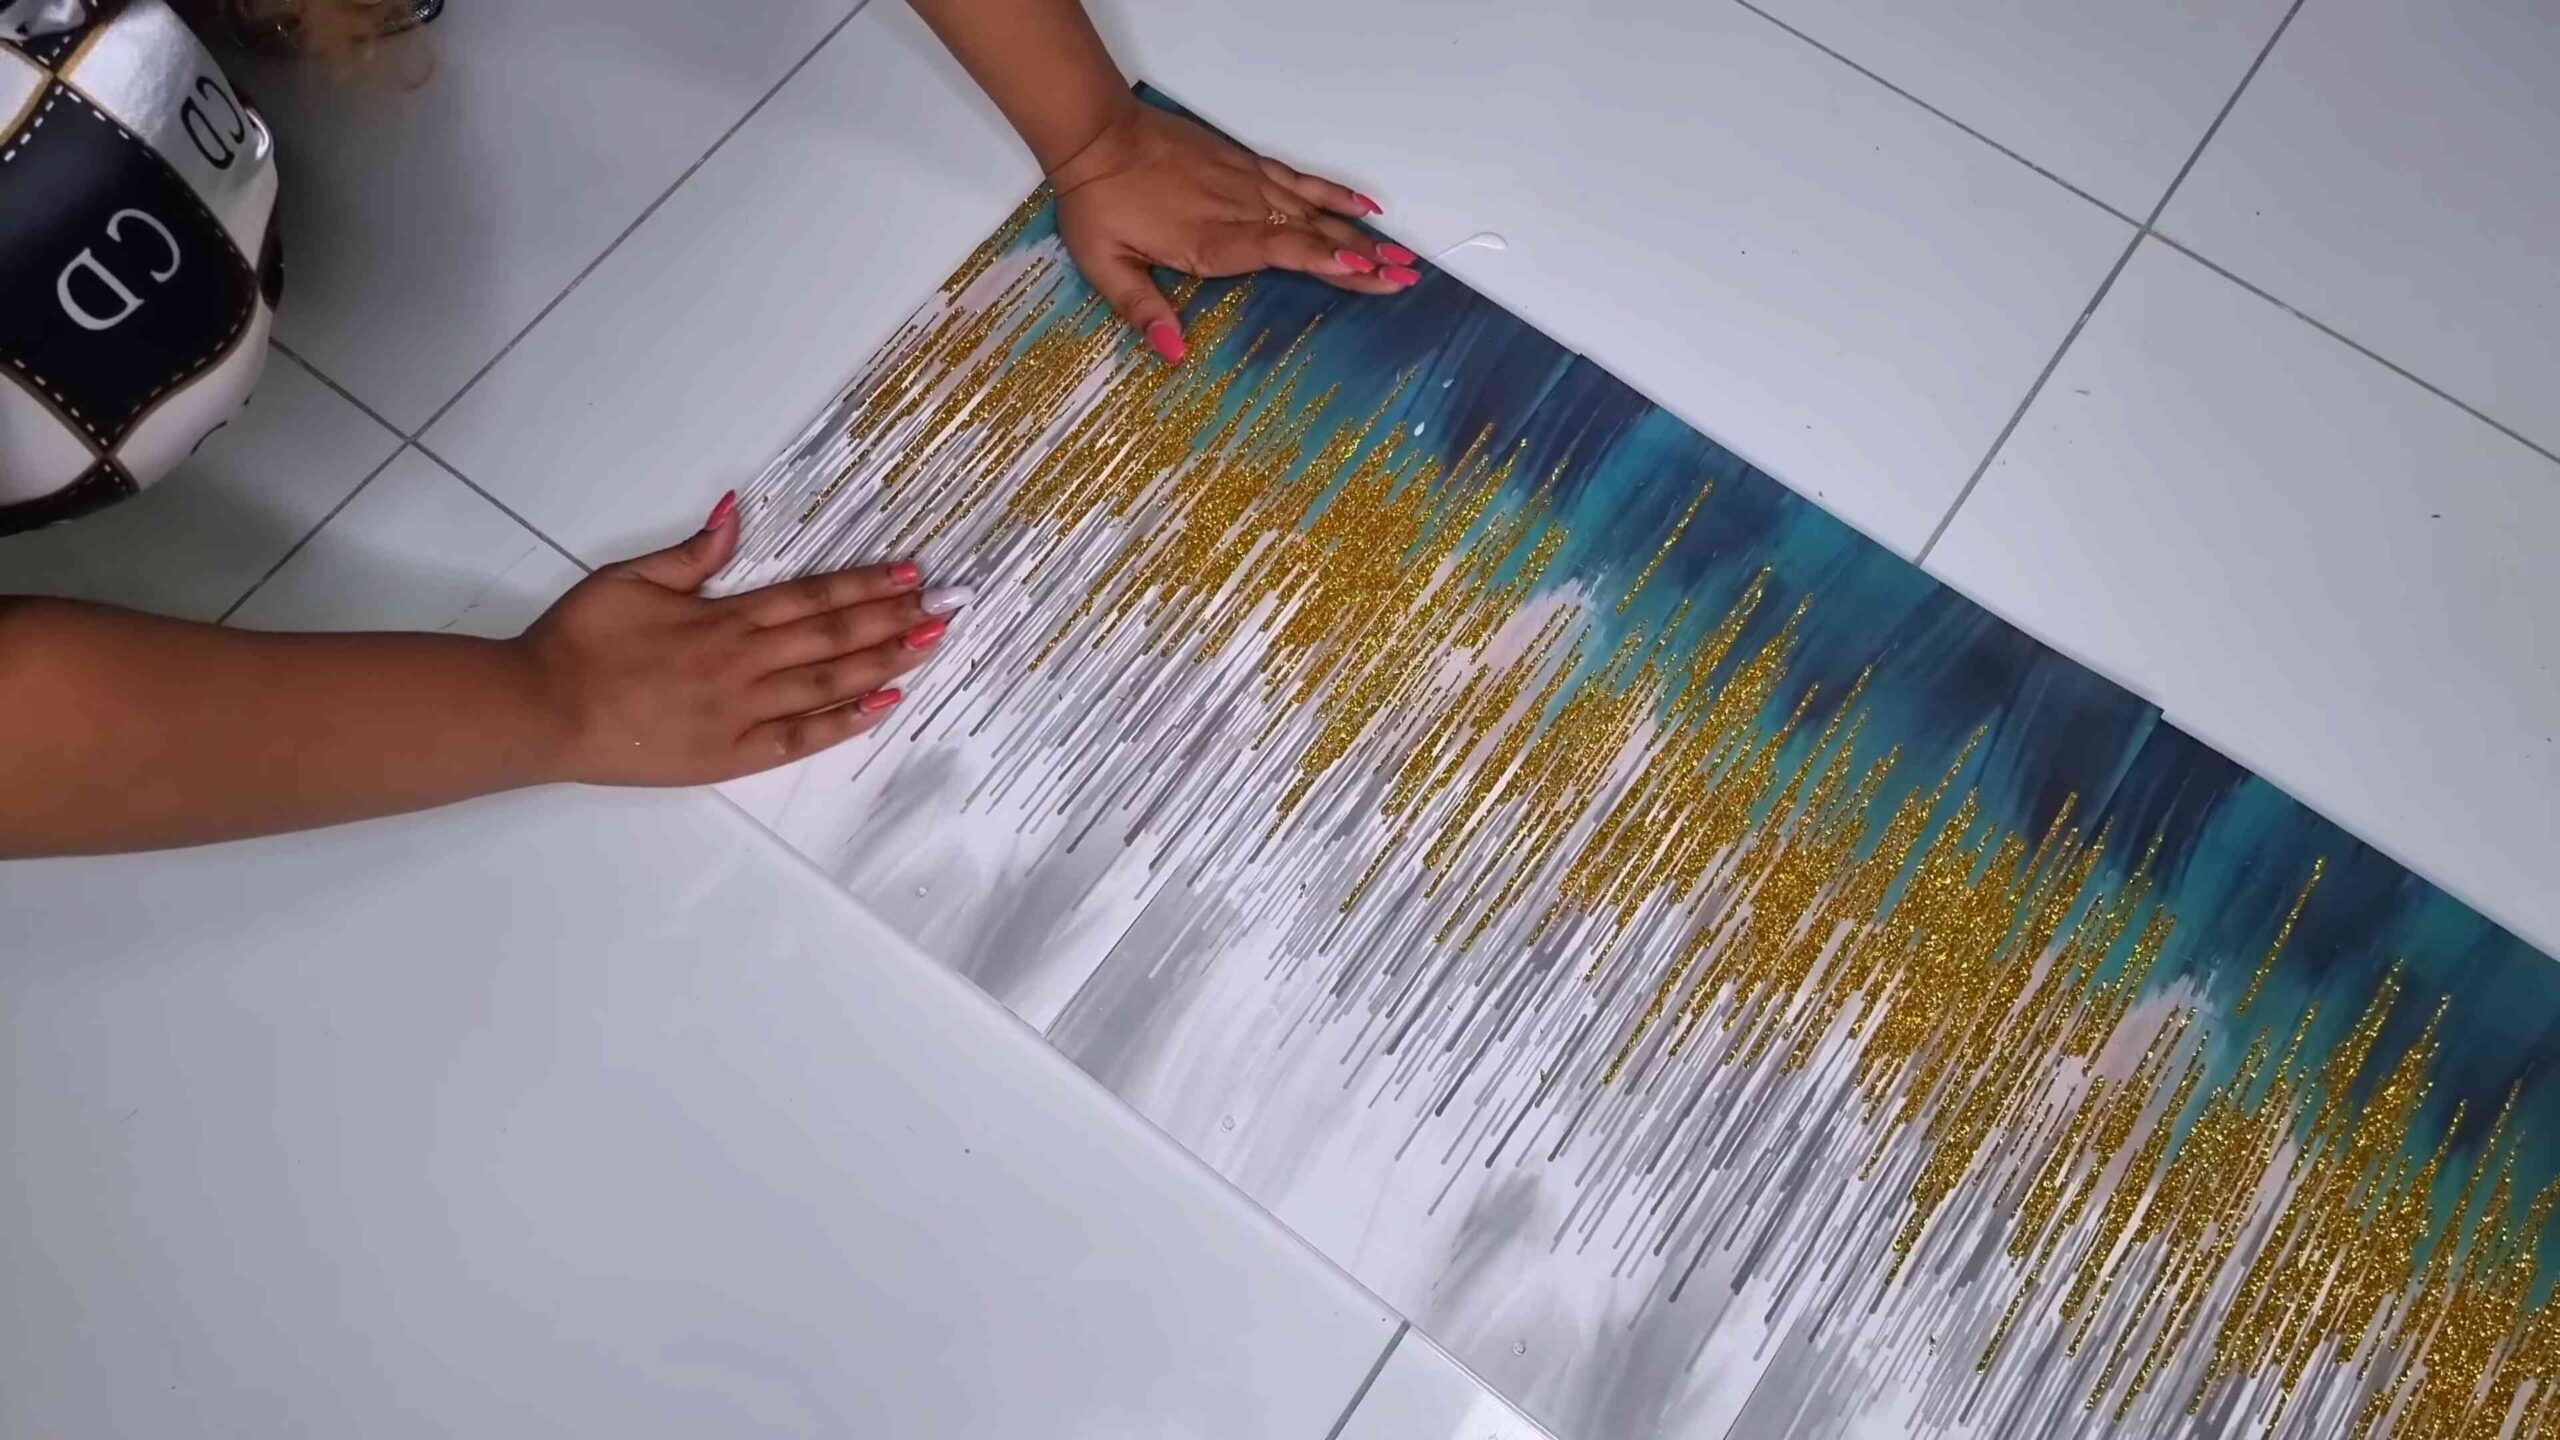
1. **Flatten the Bags:** Carefully unfold each gift bag and flatten it as much as possible. You might need to use a heavy book to weigh them down for a bit. This will make cutting and gluing much easier.
2. **Cut Out the Desired Sections:** Now comes the fun part! Examine each bag and decide which sections you want to use for your artwork. Maybe it’s a specific pattern, a logo, a character, or just a beautiful color combination. Use your scissors or craft knife to carefully cut out these sections.
* **Tip:** Don’t be afraid to mix and match! You can cut out small pieces from different bags and create a collage effect.
3. **Consider the Composition:** Before you start gluing, play around with the placement of your cut-out pieces on the canvas. This will help you visualize the final product and ensure you’re happy with the arrangement. Take a picture with your phone so you can remember your favorite layout.
4. **Trim and Refine:** Once you’re happy with the composition, trim any excess paper from your cut-out pieces. You want them to fit neatly on the canvas without overlapping too much (unless that’s the look you’re going for!).
Applying the Gift Bag Paper to the Canvas
This is where the magic happens!
1. **Apply a Layer of Mod Podge:** Using your foam brush or paintbrush, apply a thin, even layer of Mod Podge to the canvas where you want to place your first piece of gift bag paper. Don’t use too much, or it will get messy and take longer to dry.
2. **Position the Paper:** Carefully place the cut-out piece of gift bag paper onto the Mod Podge-covered area. Gently smooth it out with your fingers, working from the center outwards, to remove any air bubbles or wrinkles.
* Tip: Use a brayer (a small roller) for an even smoother finish.
3. **Repeat for Each Piece:** Continue applying Mod Podge and positioning your cut-out pieces of gift bag paper until the entire canvas is covered (or until you’ve achieved your desired design).
4. **Let it Dry:** Once you’ve finished applying all the paper, let the Mod Podge dry completely. This usually takes about 15-30 minutes, depending on the humidity and the thickness of the Mod Podge layer.
5. **Apply a Top Coat of Mod Podge:** After the first layer is dry, apply a thin, even top coat of Mod Podge over the entire canvas. This will seal the paper and protect it from damage.
6. **Let it Dry Again:** Let the top coat of Mod Podge dry completely.
Finishing Touches (Optional)
These steps are optional, but they can really elevate your finished artwork.
1. **Sand the Edges (Optional):** If you have any rough edges or overlapping paper, you can gently sand them down with fine-grit sandpaper. This will create a smoother, more professional look.
2. **Paint the Edges (Optional):** If you want to add a pop of color or create a more finished look, you can paint the edges of the canvas with acrylic paint. Choose a color that complements the design of your gift bag paper.
* Tip: Use painter’s tape to create a clean, crisp line along the edge of the canvas.
3. **Apply a Clear Acrylic Sealer (Optional):** To protect your finished artwork from dust, moisture, and UV damage, you can apply a clear acrylic sealer. This will also add a layer of durability and help your artwork last longer. Follow the instructions on the sealer can.
Creating a Gallery Wall
Now that you have a few pieces of gift bag wall art, it’s time to create a stunning gallery wall!
1. **Plan Your Layout:** Before you start hammering nails into the wall, experiment with different layouts on the floor. Arrange your canvases in various configurations until you find one that you love. Consider the size, shape, and color of each canvas when planning your layout.
2. **Measure and Mark:** Once you’ve decided on a layout, use a ruler and pencil to mark the placement of each canvas on the wall. Make sure to leave enough space between each piece for visual breathing room.
3. **Hang Your Artwork:** Use nails or picture-hanging hooks to hang your canvases on the wall. Make sure they are securely attached and level.
* Tip: Use a level to ensure that your canvases are hanging straight.
4. **Step Back and Admire:** Once you’ve hung all your artwork, step back and admire your handiwork! You’ve transformed ordinary gift bags into a beautiful and unique gallery wall that reflects your personal style.
Tips and Tricks for Success
* **Experiment with Different Techniques:** Don’t be afraid to try different techniques, such as layering, distressing, or adding embellishments.
* **Use a Variety of Gift Bags:** Mix and match different sizes, colors, and patterns of gift bags to create a more dynamic and interesting composition.
* **Consider the Theme of Your Room:** Choose gift bags that complement the existing décor of your room.
* **Don’t Be Afraid to Make Mistakes:** This is a DIY project, so don’t worry about perfection. Embrace the imperfections and have fun with it!
* **Get Creative with the Background:** Instead of using plain canvas, you can paint it with a solid color or create a textured background using stencils or other materials.
* **Personalize It:** Add personal touches to your artwork, such as handwritten quotes, family photos, or meaningful symbols.
* **Upcycle Other Materials:** Don’t limit yourself to gift bags! You can also use wrapping paper, tissue paper, or even old magazines to create your wall art.
* **Protect Your Work Surface:** Always use a cutting mat when using a craft knife to protect your work surface from scratches and cuts.
* **Ventilate Your Workspace:** When using Mod Podge or acrylic sealer, make sure to work in a well-ventilated area to avoid inhaling harmful fumes.
* **Clean Your Brushes:** Clean your brushes immediately after use with soap and water to prevent them from drying out and becoming unusable.
This project is all about having fun and expressing your creativity. So, gather your supplies, unleash your inner artist, and create some stunning gift bag wall art that you’ll be proud to display in your home! I hope you enjoy this DIY project as much as I do! Happy crafting!
Conclusion
So, there you have it! Transforming those beautiful, often discarded, gift bags into stunning wall art is not just a craft project; it’s a sustainable, budget-friendly, and deeply personal way to decorate your home. Forget generic store-bought prints; this DIY Gift Bag Wall Art project allows you to curate a gallery that truly reflects your style, memories, and the special moments celebrated with loved ones.
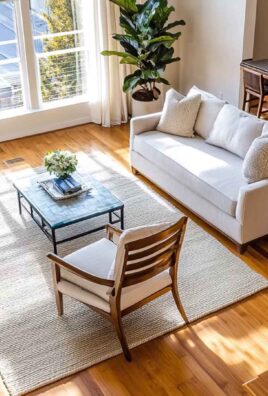
Why is this a must-try? Because it’s incredibly versatile. You’re not limited by size, color palette, or subject matter. The possibilities are as endless as the variety of gift bags you’ve accumulated over the years. Imagine a vibrant collage of floral patterns brightening up your kitchen, a sophisticated arrangement of geometric designs adding a touch of modern elegance to your living room, or a whimsical collection of character-themed bags bringing joy to a child’s bedroom.
Beyond the aesthetic appeal, this project offers a unique opportunity to repurpose and reduce waste. Instead of tossing those beautiful bags into the recycling bin (or worse, the trash), you’re giving them a new life as cherished pieces of art. It’s a small act of environmental consciousness that can make a big difference.
Looking for variations? Consider incorporating other materials into your artwork. Add pressed flowers, dried leaves, or even small mementos like ticket stubs or photographs to create mixed-media pieces with added texture and depth. Experiment with different framing techniques. Instead of traditional frames, try using shadow boxes to add dimension or mounting the artwork directly onto painted canvases for a more contemporary look. You could even decoupage the gift bag designs onto furniture or other home décor items for a cohesive and personalized aesthetic throughout your space.
Another fun variation is to create themed collections. For example, you could create a gallery wall dedicated to travel, using gift bags from different destinations or featuring images of landmarks and landscapes. Or, you could create a seasonal display, swapping out the artwork to reflect the changing seasons and holidays.
Don’t be afraid to get creative and experiment with different techniques and materials. The beauty of this project is that there are no rules. The only limit is your imagination.
We wholeheartedly encourage you to try this DIY Gift Bag Wall Art project. It’s a fun, rewarding, and surprisingly addictive way to transform your home décor. And most importantly, we want to hear about your experience! Share your creations with us on social media using #DIYGiftBagWallArt. We can’t wait to see what you come up with! Let us know what challenges you faced, what techniques you discovered, and what unique variations you created. Your feedback will help inspire others and contribute to a growing community of creative DIYers.
Remember, the best art is art that comes from the heart. And what could be more heartfelt than transforming cherished memories into beautiful and lasting works of art? So, gather your gift bags, unleash your creativity, and get ready to transform your walls into a gallery of personal expression.
Frequently Asked Questions (FAQ)
What kind of gift bags work best for this project?
Almost any kind of gift bag can be used, but those made from thicker, higher-quality paper or cardstock will generally produce the best results. Bags with vibrant colors, interesting patterns, or unique textures are ideal. Avoid bags that are heavily creased or damaged, as these may be more difficult to work with. Glossy bags can be used, but be aware that they may reflect light and create glare. Matte finish bags are often easier to photograph and display.
How do I prepare the gift bags for framing?
First, carefully flatten the gift bags and remove any handles or embellishments. If the bags are folded, gently iron them on a low setting to remove any creases. Be sure to place a cloth between the iron and the bag to prevent scorching. Next, decide which sections of the bag you want to use for your artwork. You can cut out specific images, patterns, or designs, or you can use the entire bag as a single canvas. Use a sharp pair of scissors or a craft knife to cut the bag to the desired size and shape.
What type of adhesive should I use to attach the gift bag to the backing?
A variety of adhesives can be used, depending on the type of backing you’re using. For cardboard or foam board, a spray adhesive or a strong glue stick will work well. For canvas, you may want to use a gel medium or a heavy-duty adhesive. Be sure to apply the adhesive evenly to prevent bubbles or wrinkles. Always test the adhesive on a small, inconspicuous area of the bag first to ensure that it doesn’t damage the paper or cause the colors to bleed.
What size frame should I use?
The size of the frame will depend on the size of your artwork. Measure the dimensions of your finished piece and choose a frame that is slightly larger. This will allow you to easily insert and remove the artwork. Consider the style of the frame as well. A simple, minimalist frame will complement most designs, while a more ornate frame can add a touch of elegance.
Can I use this technique to create other types of art?
Absolutely! This technique can be adapted to create a variety of other art projects. You can use the gift bag designs to decoupage furniture, create greeting cards, or even make jewelry. The possibilities are endless. Experiment with different materials and techniques to discover new and creative ways to repurpose your gift bags.
How do I protect my finished artwork?
To protect your finished artwork from dust, moisture, and fading, consider applying a sealant or varnish. Choose a sealant that is specifically designed for paper or mixed media. Apply the sealant in thin, even coats, allowing each coat to dry completely before applying the next. You can also protect your artwork by displaying it in a frame with UV-protective glass.
What if I don’t have any gift bags?
If you don’t have any gift bags on hand, you can easily find them at thrift stores, dollar stores, or online retailers. You can also ask friends and family to save their gift bags for you. Alternatively, you can use other types of paper, such as wrapping paper, scrapbook paper, or even magazine pages.
How do I prevent the gift bag paper from wrinkling when I glue it down?
Wrinkling can be a common issue when working with paper and glue. To minimize wrinkling, use a thin, even layer of adhesive. Avoid using too much glue, as this can saturate the paper and cause it to warp. Use a brayer or a rolling pin to smooth out the paper and remove any air bubbles. If you’re using a spray adhesive, apply it in a well-ventilated area and hold the can at a distance to prevent oversaturation.
Can I add embellishments to my DIY Gift Bag Wall Art?
Yes, absolutely! Embellishments can add texture, dimension, and visual interest to your artwork. Consider adding beads, sequins, buttons, ribbons, or other decorative elements. You can also use paint, markers, or colored pencils to add details and highlights.
How do I clean my DIY Gift Bag Wall Art?
To clean your DIY Gift Bag Wall Art, gently dust it with a soft cloth. Avoid using water or harsh cleaning chemicals, as these can damage the paper and the adhesive. If your artwork is framed, you can clean the glass with a glass cleaner.

Leave a Comment