

Things to Clean Often – are you tired of that nagging feeling that your home isn’t as fresh as it could be? We all know that feeling! It’s easy to fall into a routine and overlook those everyday items that silently accumulate grime and germs. But fear not, because this isn’t about adding hours to your cleaning schedule. It’s about smart, efficient habits that make a HUGE difference.
For centuries, cultures around the world have understood the importance of regular cleaning for both physical and mental well-being. From ancient Roman bathhouses to traditional Japanese homes, cleanliness has been linked to health, prosperity, and even spiritual purity. While our modern lives are vastly different, the underlying principle remains the same: a clean environment fosters a healthier and happier life.
This DIY guide isn’t about deep cleaning; it’s about the little things. The light switches your family touches a hundred times a day, the coffee maker that fuels your mornings, the doorknobs that greet every visitor. These are the unsung heroes (or villains!) of cleanliness. By incorporating these simple things to clean often into your routine, you’ll not only reduce the spread of germs but also create a more inviting and comfortable home. I’m going to share my favorite quick and easy hacks that will have your home feeling fresher in no time. Let’s get started!
DIY Cleaning Schedule: Conquer Clutter and Grime Like a Pro!
Okay, let’s face it, cleaning isn’t exactly anyone’s favorite pastime. But a clean home is a happy home, right? And the key to a consistently clean space isn’t spending entire weekends scrubbing – it’s about establishing a solid cleaning schedule and tackling small tasks regularly. I’m going to walk you through creating a cleaning schedule that works for *you*, focusing on the things that need the most attention.
Understanding Your Cleaning Needs
Before we dive into the nitty-gritty, let’s take a moment to assess your specific cleaning needs. Everyone’s different! Consider these factors:
* Household Size: More people equals more mess, plain and simple.
* Lifestyle: Do you cook at home often? Do you have pets? Are you a minimalist or a maximalist?
* Home Size: Obviously, a larger home requires more cleaning time.
* Personal Preferences: Some people are bothered by dust bunnies, while others are more concerned about a sparkling kitchen.
Once you have a good understanding of your needs, you can tailor your cleaning schedule accordingly.
Creating Your Cleaning Schedule: The Breakdown
Here’s a sample cleaning schedule that you can adapt to fit your lifestyle. I’ve broken it down into daily, weekly, monthly, and seasonal tasks. Remember, consistency is key!
Daily Tasks: The Quick Wins
These are the tasks that, if done daily, will prevent your home from descending into chaos.
* Make the Bed: Seriously, it takes two minutes and instantly makes your bedroom look tidier.
* Wipe Down Kitchen Counters and Sink: After each meal, give your counters and sink a quick wipe with a damp cloth and some dish soap.
* Wash Dishes or Load the Dishwasher: Don’t let dishes pile up! It’s much easier to tackle them daily.
* Sweep Kitchen Floor: Especially if you have pets or kids, a quick sweep will prevent crumbs and dirt from accumulating.
* Take Out the Trash (as needed): Don’t let the trash overflow!
* Quick Tidy Up: Spend 5-10 minutes putting things back where they belong. This prevents clutter from building up.
Weekly Tasks: Maintaining the Clean
These tasks require a bit more time and effort, but they’re essential for maintaining a clean and healthy home.
* Clean Bathrooms: This includes scrubbing the toilet, cleaning the shower/tub, wiping down the sink and mirror, and mopping the floor.
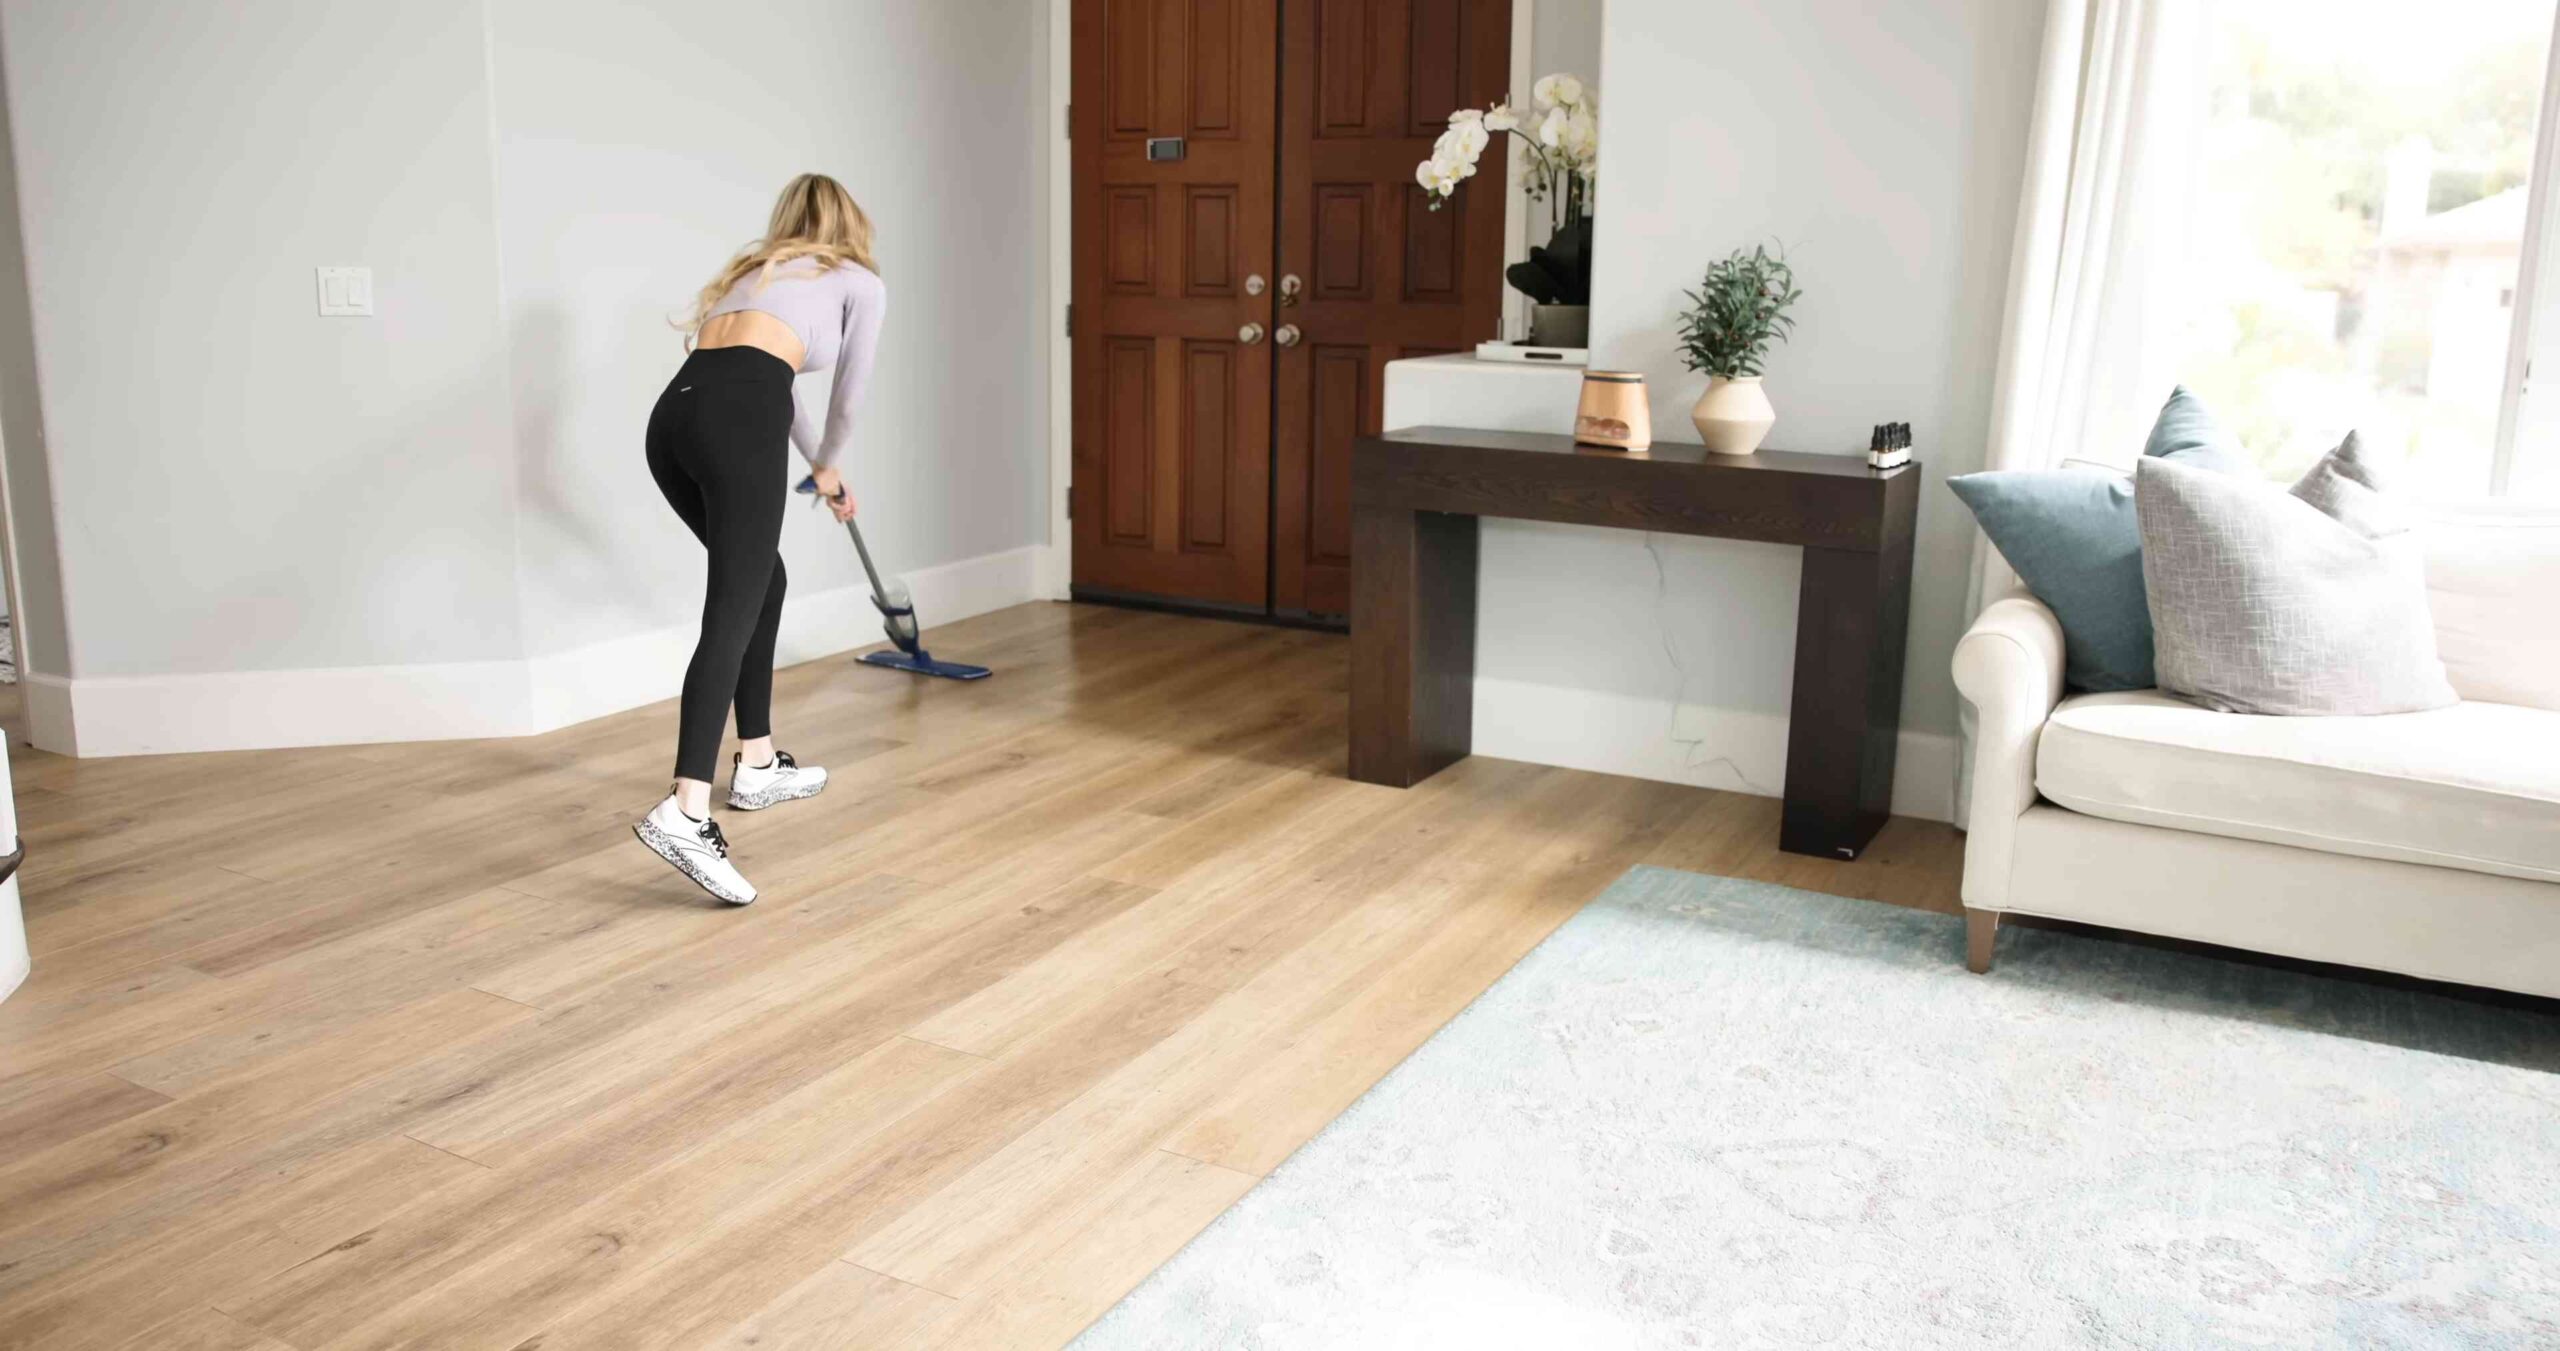
* Vacuum or Mop Floors: Depending on your flooring type, vacuum or mop all floors in your home.
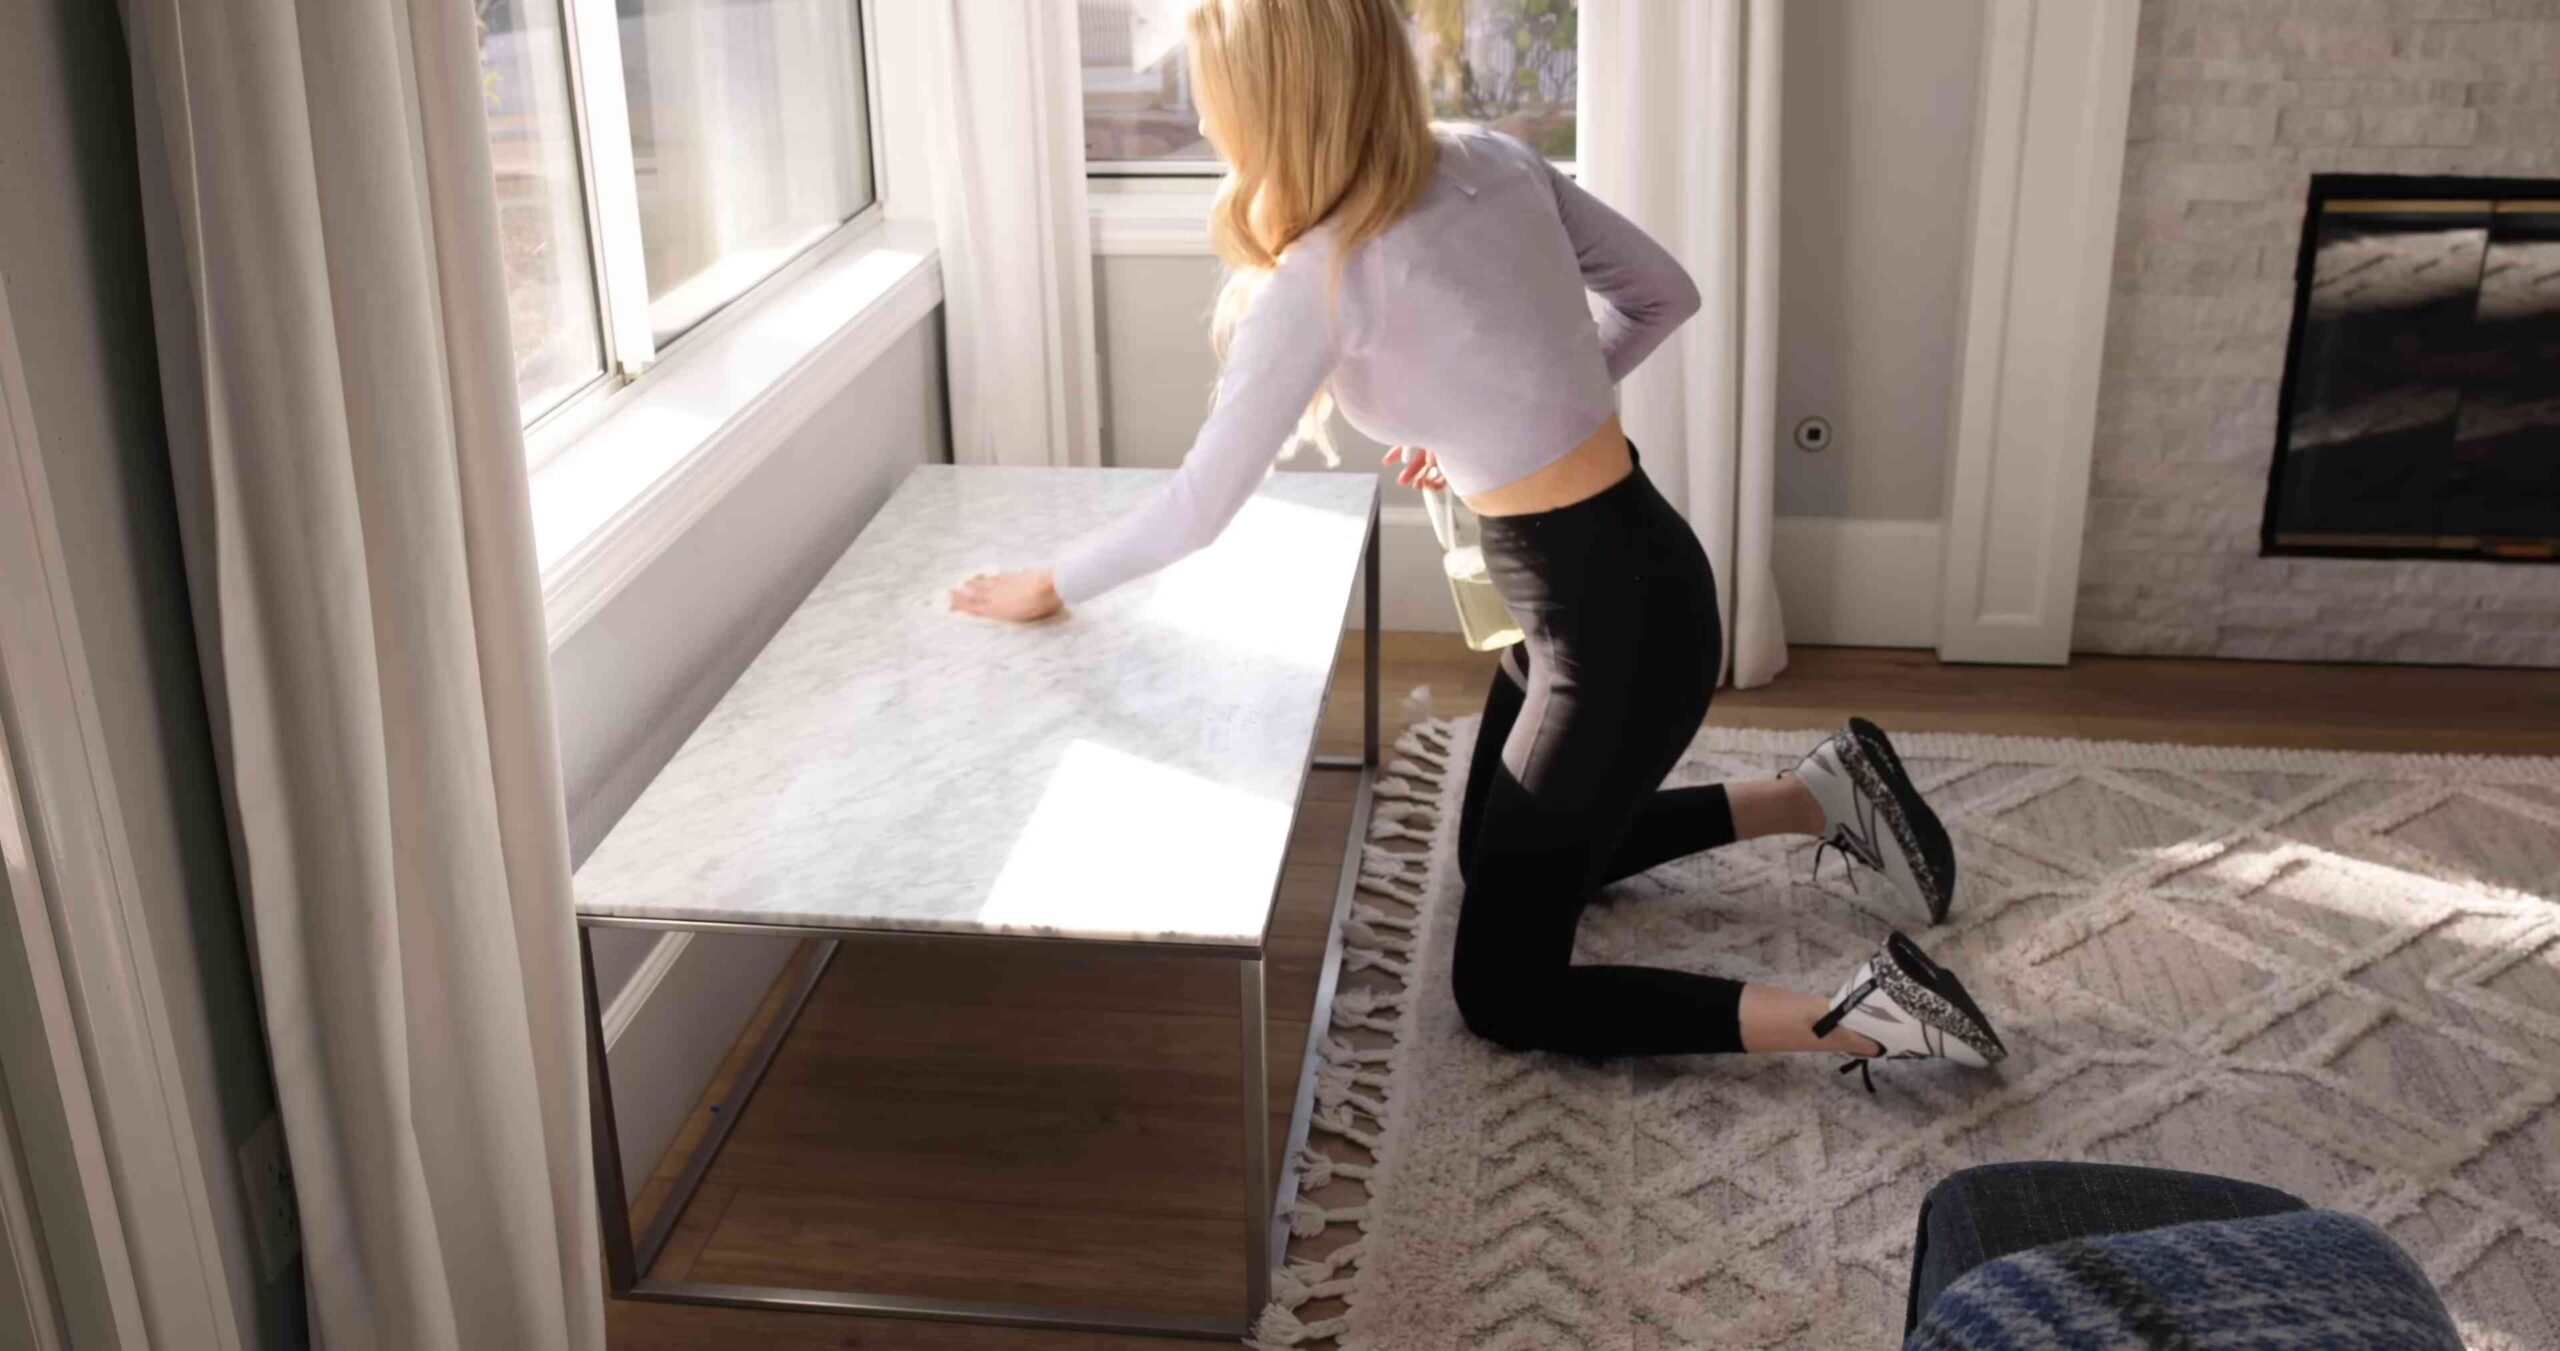
* Dust Furniture and Surfaces: Use a microfiber cloth to dust furniture, shelves, and other surfaces.
* Empty All Trash Cans: Replace the liners in all trash cans.
* Change Bed Linens: Fresh sheets are a must!
* Laundry: Wash, dry, and fold all laundry.
* Clean Kitchen Appliances (Microwave, Stovetop): Wipe down the microwave inside and out, and clean any spills on the stovetop.
* Check and Restock Supplies: Make sure you have enough cleaning supplies, toiletries, and other essentials.
Monthly Tasks: Deep Cleaning Essentials
These tasks are more time-consuming, but they’re important for preventing dirt and grime from building up over time.
* Clean Refrigerator: Remove all items from the refrigerator and wipe down the shelves and drawers. Discard any expired food.
* Clean Oven: Use the self-cleaning function or manually clean the oven with a baking soda paste.
* Clean Dishwasher: Run a cleaning cycle with a dishwasher cleaner or vinegar.
* Wash Shower Curtains or Liner: Throw them in the washing machine with a towel to prevent mildew.
* Clean Light Fixtures: Dust or wash light fixtures to improve brightness.
* Vacuum Upholstery: Use the upholstery attachment on your vacuum to clean sofas, chairs, and other upholstered furniture.
* Wash Windows and Mirrors: Use a glass cleaner to clean windows and mirrors for a streak-free shine.
* Dust Baseboards and Crown Molding: These areas often get overlooked, but they can accumulate a lot of dust.
* Clean Garbage Disposal: Freshen up your garbage disposal by running ice cubes and lemon peels through it.
Seasonal Tasks: The Big Projects
These tasks are the most time-consuming, but they’re essential for maintaining your home’s overall cleanliness and functionality. I usually tackle these during spring and fall.
* Deep Clean Carpets: Rent a carpet cleaner or hire a professional to deep clean your carpets.
* Clean Gutters: Remove leaves and debris from gutters to prevent water damage.
* Wash Windows Inside and Out: Give your windows a thorough cleaning inside and out.
* Clean Out Closets and Drawers: Declutter and organize your closets and drawers. Donate or discard any unwanted items.
* Wash or Dry Clean Curtains and Drapes: Remove dust and allergens from curtains and drapes.
* Inspect and Clean Appliances (Washer, Dryer): Check hoses and vents for any issues and clean lint traps.
* Power Wash Exterior Surfaces: Clean decks, patios, and siding with a power washer.
* Organize Garage or Storage Areas: Declutter and organize your garage or storage areas.
Step-by-Step Instructions for Key Cleaning Tasks
Now, let’s get into the specifics of some of the most important cleaning tasks.
1. Cleaning the Bathroom
This is a big one! Here’s how I tackle it:
1. Gather Your Supplies: You’ll need a toilet bowl cleaner, bathroom cleaner, glass cleaner, scrub brush, sponge, microfiber cloths, and gloves.
2. Spray Toilet Bowl Cleaner: Apply toilet bowl cleaner under the rim of the toilet bowl and let it sit for a few minutes.
3. Clean the Toilet: Scrub the toilet bowl with a toilet brush and flush. Wipe down the exterior of the toilet with a bathroom cleaner.
4. Clean the Shower/Tub: Spray the shower/tub with bathroom cleaner and let it sit for a few minutes. Scrub with a sponge or scrub brush. Rinse thoroughly.
5. Clean the Sink and Countertop: Spray the sink and countertop with bathroom cleaner and wipe clean with a microfiber cloth.
6. Clean the Mirror: Spray the mirror with glass cleaner and wipe clean with a microfiber cloth.
7. Mop the Floor: Sweep or vacuum the floor to remove any loose debris. Mop the floor with a bathroom cleaner.
2. Cleaning the Kitchen
The heart of the home needs some love!
1. Gather Your Supplies: You’ll need dish soap, all-purpose cleaner, glass cleaner, microfiber cloths, a sponge, and gloves.
2. Clear the Counters: Remove all items from the countertops.
3. Wipe Down Counters and Backsplash: Spray the counters and backsplash with all-purpose cleaner and wipe clean with a microfiber cloth.
4. Clean the Sink: Wash the sink with dish soap and water. Rinse thoroughly.
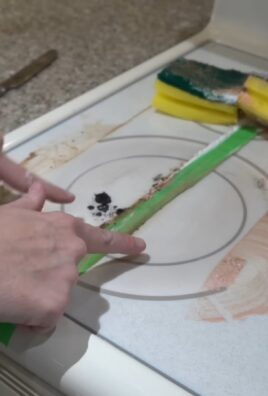
5. Clean the Stovetop: Remove any loose debris from the stovetop. Spray with all-purpose cleaner and wipe clean with a microfiber cloth. For stubborn stains, use a stovetop cleaner.
6. Clean the Microwave: Heat a bowl of water with lemon juice in the microwave for a few minutes. This will loosen any grime. Wipe down the interior of the microwave with a damp cloth.
7. Clean the Refrigerator: Remove all items from the refrigerator. Discard any expired food. Wipe down the shelves and drawers with all-purpose cleaner.
8. Sweep and Mop the Floor: Sweep the floor to remove any loose debris. Mop the floor with a kitchen cleaner.
3. Dusting Like a Pro
Dusting isn’t just about aesthetics; it’s about air quality too!
1. Gather Your Supplies: You’ll need a microfiber cloth, a duster with an extension pole (for high areas), and furniture polish (optional).
2. Start High: Begin by dusting high areas, such as ceiling fans, light fixtures, and shelves. This will prevent dust from falling onto already cleaned surfaces.
3. Dust Furniture: Use a microfiber cloth to dust furniture, including tables, chairs, and shelves. If desired, apply furniture polish to wood surfaces.
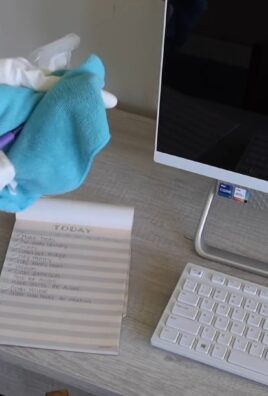
4. Dust Electronics: Use a dry microfiber cloth to dust electronics, such as TVs, computers, and stereos.
5. Dust Baseboards and Crown Molding: Use a duster or a microfiber cloth to dust baseboards and crown molding.
4. Vacuuming for Maximum Cleanliness
Vacuuming is more than just running the machine around!
1.
Conclusion
So, there you have it! Transforming your cleaning routine with these simple, yet incredibly effective DIY tricks for the “Things to Clean Often” is not just about maintaining a tidy home; it’s about creating a healthier, more enjoyable living space. We’ve explored how to tackle those frequently touched surfaces and often-overlooked areas with readily available ingredients and minimal effort.
Why is this a must-try? Because it’s efficient, cost-effective, and environmentally conscious. You’re reducing your reliance on harsh chemicals, saving money on expensive cleaning products, and contributing to a more sustainable lifestyle. Plus, the satisfaction of knowing you’re using natural, homemade solutions to keep your home sparkling is truly rewarding.
But the beauty of DIY lies in its adaptability. Feel free to experiment with variations to suit your specific needs and preferences. For instance, if you’re sensitive to vinegar, try using lemon juice as a substitute. For a more potent disinfectant, add a few drops of tea tree oil to your cleaning solutions. If you prefer a different scent, lavender, eucalyptus, or peppermint essential oils can be wonderful additions. Consider infusing your cleaning vinegar with citrus peels for a more pleasant fragrance and added cleaning power. You can also create specialized solutions for different surfaces. A paste of baking soda and water works wonders on stubborn stains in the kitchen, while a diluted solution of castile soap is gentle enough for delicate surfaces.
Don’t be afraid to get creative and tailor these DIY tricks to your unique home and lifestyle. The possibilities are endless!
We truly believe that incorporating these DIY cleaning methods into your routine will make a significant difference in the cleanliness and overall atmosphere of your home. It’s a small change that can have a big impact.
Now, it’s your turn! We encourage you to try these DIY tricks for cleaning the “Things to Clean Often” and see the results for yourself. We’re confident that you’ll be amazed at how easy and effective they are.
And most importantly, we want to hear about your experience! Share your tips, variations, and success stories in the comments below. Let’s create a community of DIY cleaning enthusiasts and inspire each other to create healthier, happier homes. What worked best for you? Did you discover any new variations? What challenges did you face, and how did you overcome them? Your feedback is invaluable and will help us refine these techniques and share them with even more people.
So, grab your supplies, roll up your sleeves, and get ready to transform your cleaning routine. We can’t wait to hear about your DIY adventures! Happy cleaning!
FAQ
What are the most important “Things to Clean Often” that I should focus on?
The most crucial “Things to Clean Often” include high-touch surfaces like doorknobs, light switches, countertops, faucet handles, toilet flush handles, and electronic devices (phones, tablets, keyboards). These areas are breeding grounds for germs and bacteria due to frequent contact. In the kitchen, focus on cleaning the sink, stovetop, microwave, and refrigerator handles regularly. In the bathroom, pay attention to the toilet seat, shower walls, and sink area. Don’t forget items like remote controls, keys, and even your purse or bag, which can accumulate germs throughout the day.
How often should I be cleaning these “Things to Clean Often”?
The frequency of cleaning depends on the usage and the number of people in your household. High-touch surfaces should ideally be cleaned daily, especially if someone in your home is sick. Kitchen and bathroom surfaces should be cleaned at least once a day, or more often if spills or messes occur. Electronic devices can be wiped down daily or every other day. A weekly deep clean of the entire house is also recommended to maintain a healthy and hygienic environment.
Can I use these DIY cleaning solutions on all surfaces?
While most of these DIY cleaning solutions are safe for a variety of surfaces, it’s always a good idea to test them on a small, inconspicuous area first. Avoid using vinegar or acidic solutions on natural stone surfaces like marble or granite, as they can etch and damage the stone. Baking soda can be abrasive, so use it with caution on delicate surfaces. Always read the manufacturer’s instructions for specific cleaning recommendations for your appliances and furniture. When in doubt, a mild solution of soap and water is generally a safe option.
What are some natural alternatives to bleach for disinfecting?
While bleach is a powerful disinfectant, it can be harsh and harmful. Natural alternatives include vinegar, hydrogen peroxide, and essential oils like tea tree, eucalyptus, and lavender. Vinegar is effective against many common household germs and bacteria. Hydrogen peroxide is a good disinfectant for surfaces like cutting boards and countertops. Essential oils have antimicrobial properties and can be added to cleaning solutions for an extra boost of disinfecting power. Remember to dilute these alternatives properly and test them on a small area before applying them to larger surfaces.
How can I make my DIY cleaning solutions smell better?
The scent of vinegar can be off-putting to some people. To make your DIY cleaning solutions smell better, you can infuse vinegar with citrus peels (lemon, orange, grapefruit) for a few weeks before using it. You can also add a few drops of your favorite essential oils to your cleaning solutions. Lavender, lemon, eucalyptus, peppermint, and tea tree oils are popular choices for their pleasant scents and antimicrobial properties. Be sure to use pure essential oils and add them sparingly, as some oils can be irritating to the skin or respiratory system.
Are these DIY cleaning solutions safe for children and pets?
While these DIY cleaning solutions are generally safer than commercial cleaning products, it’s still important to take precautions when children and pets are around. Keep all cleaning solutions out of reach of children and pets. Avoid using essential oils around pets, as some oils can be toxic to them. When cleaning, ensure that the area is well-ventilated to prevent inhalation of fumes. If you’re concerned about potential allergies or sensitivities, consult with your pediatrician or veterinarian before using these solutions.
How do I store my DIY cleaning solutions?
Store your DIY cleaning solutions in clean, labeled spray bottles or containers. Clearly label each container with the name of the solution and the date it was made. Store them in a cool, dark place away from direct sunlight and heat. Avoid storing them in containers that could be mistaken for food or beverages. Keep them out of reach of children and pets. Most DIY cleaning solutions have a shelf life of a few months, so it’s best to make them in small batches and use them up within a reasonable timeframe.
What are some tips for making cleaning more efficient?
To make cleaning more efficient, start by decluttering your home. A clutter-free space is easier to clean. Gather all your cleaning supplies in a caddy or basket so you can easily carry them from room to room. Work from top to bottom, dusting high surfaces before cleaning lower ones. Use microfiber cloths, which are more effective at trapping dirt and dust than traditional cloths. Set a timer and focus on cleaning for a specific amount of time each day. Involve other members of your household in the cleaning process. And most importantly, make cleaning a regular habit to prevent dirt and grime from building up.

Leave a Comment