

Clean fridge coils vacuum trick – sounds simple, right? Well, it is! But trust me, this little DIY hack can save you a ton of money and headaches in the long run. Think of your refrigerator as the unsung hero of your kitchen, tirelessly working to keep your food fresh. But like any hardworking appliance, it needs a little TLC to function at its best.
Refrigeration, in its basic form, has been around for centuries, from using ice houses to preserve food to the complex systems we have today. But one thing remains constant: the need to keep things cool! And that’s where those often-overlooked fridge coils come in. They’re responsible for releasing heat, and when they’re covered in dust and grime, your fridge has to work much harder, consuming more energy and potentially shortening its lifespan.
I know, I know, cleaning fridge coils isn’t exactly glamorous. But believe me, the benefits are worth the minimal effort. A clean set of coils means a more efficient refrigerator, which translates to lower electricity bills. Plus, you’ll be preventing potential breakdowns and extending the life of your appliance. So, grab your vacuum cleaner, and let’s dive into this super easy clean fridge coils vacuum trick that will keep your fridge running smoothly for years to come!
DIY Fridge Efficiency Booster: The Vacuum Coil Cleaning Hack
Okay, let’s talk fridge efficiency! You might not think about it much, but those coils on the back (or bottom) of your refrigerator are crucial for keeping your food cold and your energy bills low. When they get dusty and grimy, your fridge has to work harder, using more electricity and potentially shortening its lifespan. Luckily, cleaning them is a super easy DIY project that can make a real difference. I’m going to walk you through how to do it with a vacuum cleaner – it’s the simplest method I’ve found!
What You’ll Need
Before we dive in, let’s gather our supplies. This is a pretty low-tech operation, so you probably have everything you need already:
* A vacuum cleaner with a hose attachment. Ideally, you’ll want a brush attachment too, but if not, don’t worry, we can make do.
* A screwdriver (Phillips or flathead, depending on your fridge). This is only needed if you have a bottom-mounted coil fridge with a kickplate.
* A soft brush (like a paintbrush or even an old toothbrush). This is optional, but it can help loosen stubborn dust.
* A flashlight or headlamp. Trust me, you’ll want this for those hard-to-see areas.
* A damp cloth or paper towels. For wiping down any surrounding areas.
* Safety glasses or goggles (optional, but recommended). Dust can fly!
* Work gloves (optional). To keep your hands clean.
Safety First!
Before we even think about touching the fridge, let’s prioritize safety.
1. Unplug the Refrigerator: This is absolutely crucial! We’re dealing with electrical appliances, so unplugging it prevents any accidental shocks. Find the plug (usually behind the fridge or in a nearby outlet) and pull it out.
2. Wait a Few Minutes: Give the fridge a few minutes to fully power down before you start poking around.
Locating Your Fridge Coils
The location of your fridge coils will determine the exact steps you need to take. Most refrigerators have them in one of two places:
* On the Back: These are usually exposed and easy to access.
* At the Bottom: These are typically behind a kickplate or grille.
Let’s break down the cleaning process based on coil location.
Cleaning Coils on the Back of the Fridge
This is the most straightforward scenario.
1. Pull the Fridge Away from the Wall: Gently pull your refrigerator away from the wall. Be careful not to strain any hoses or cords. You only need enough space to comfortably access the back.
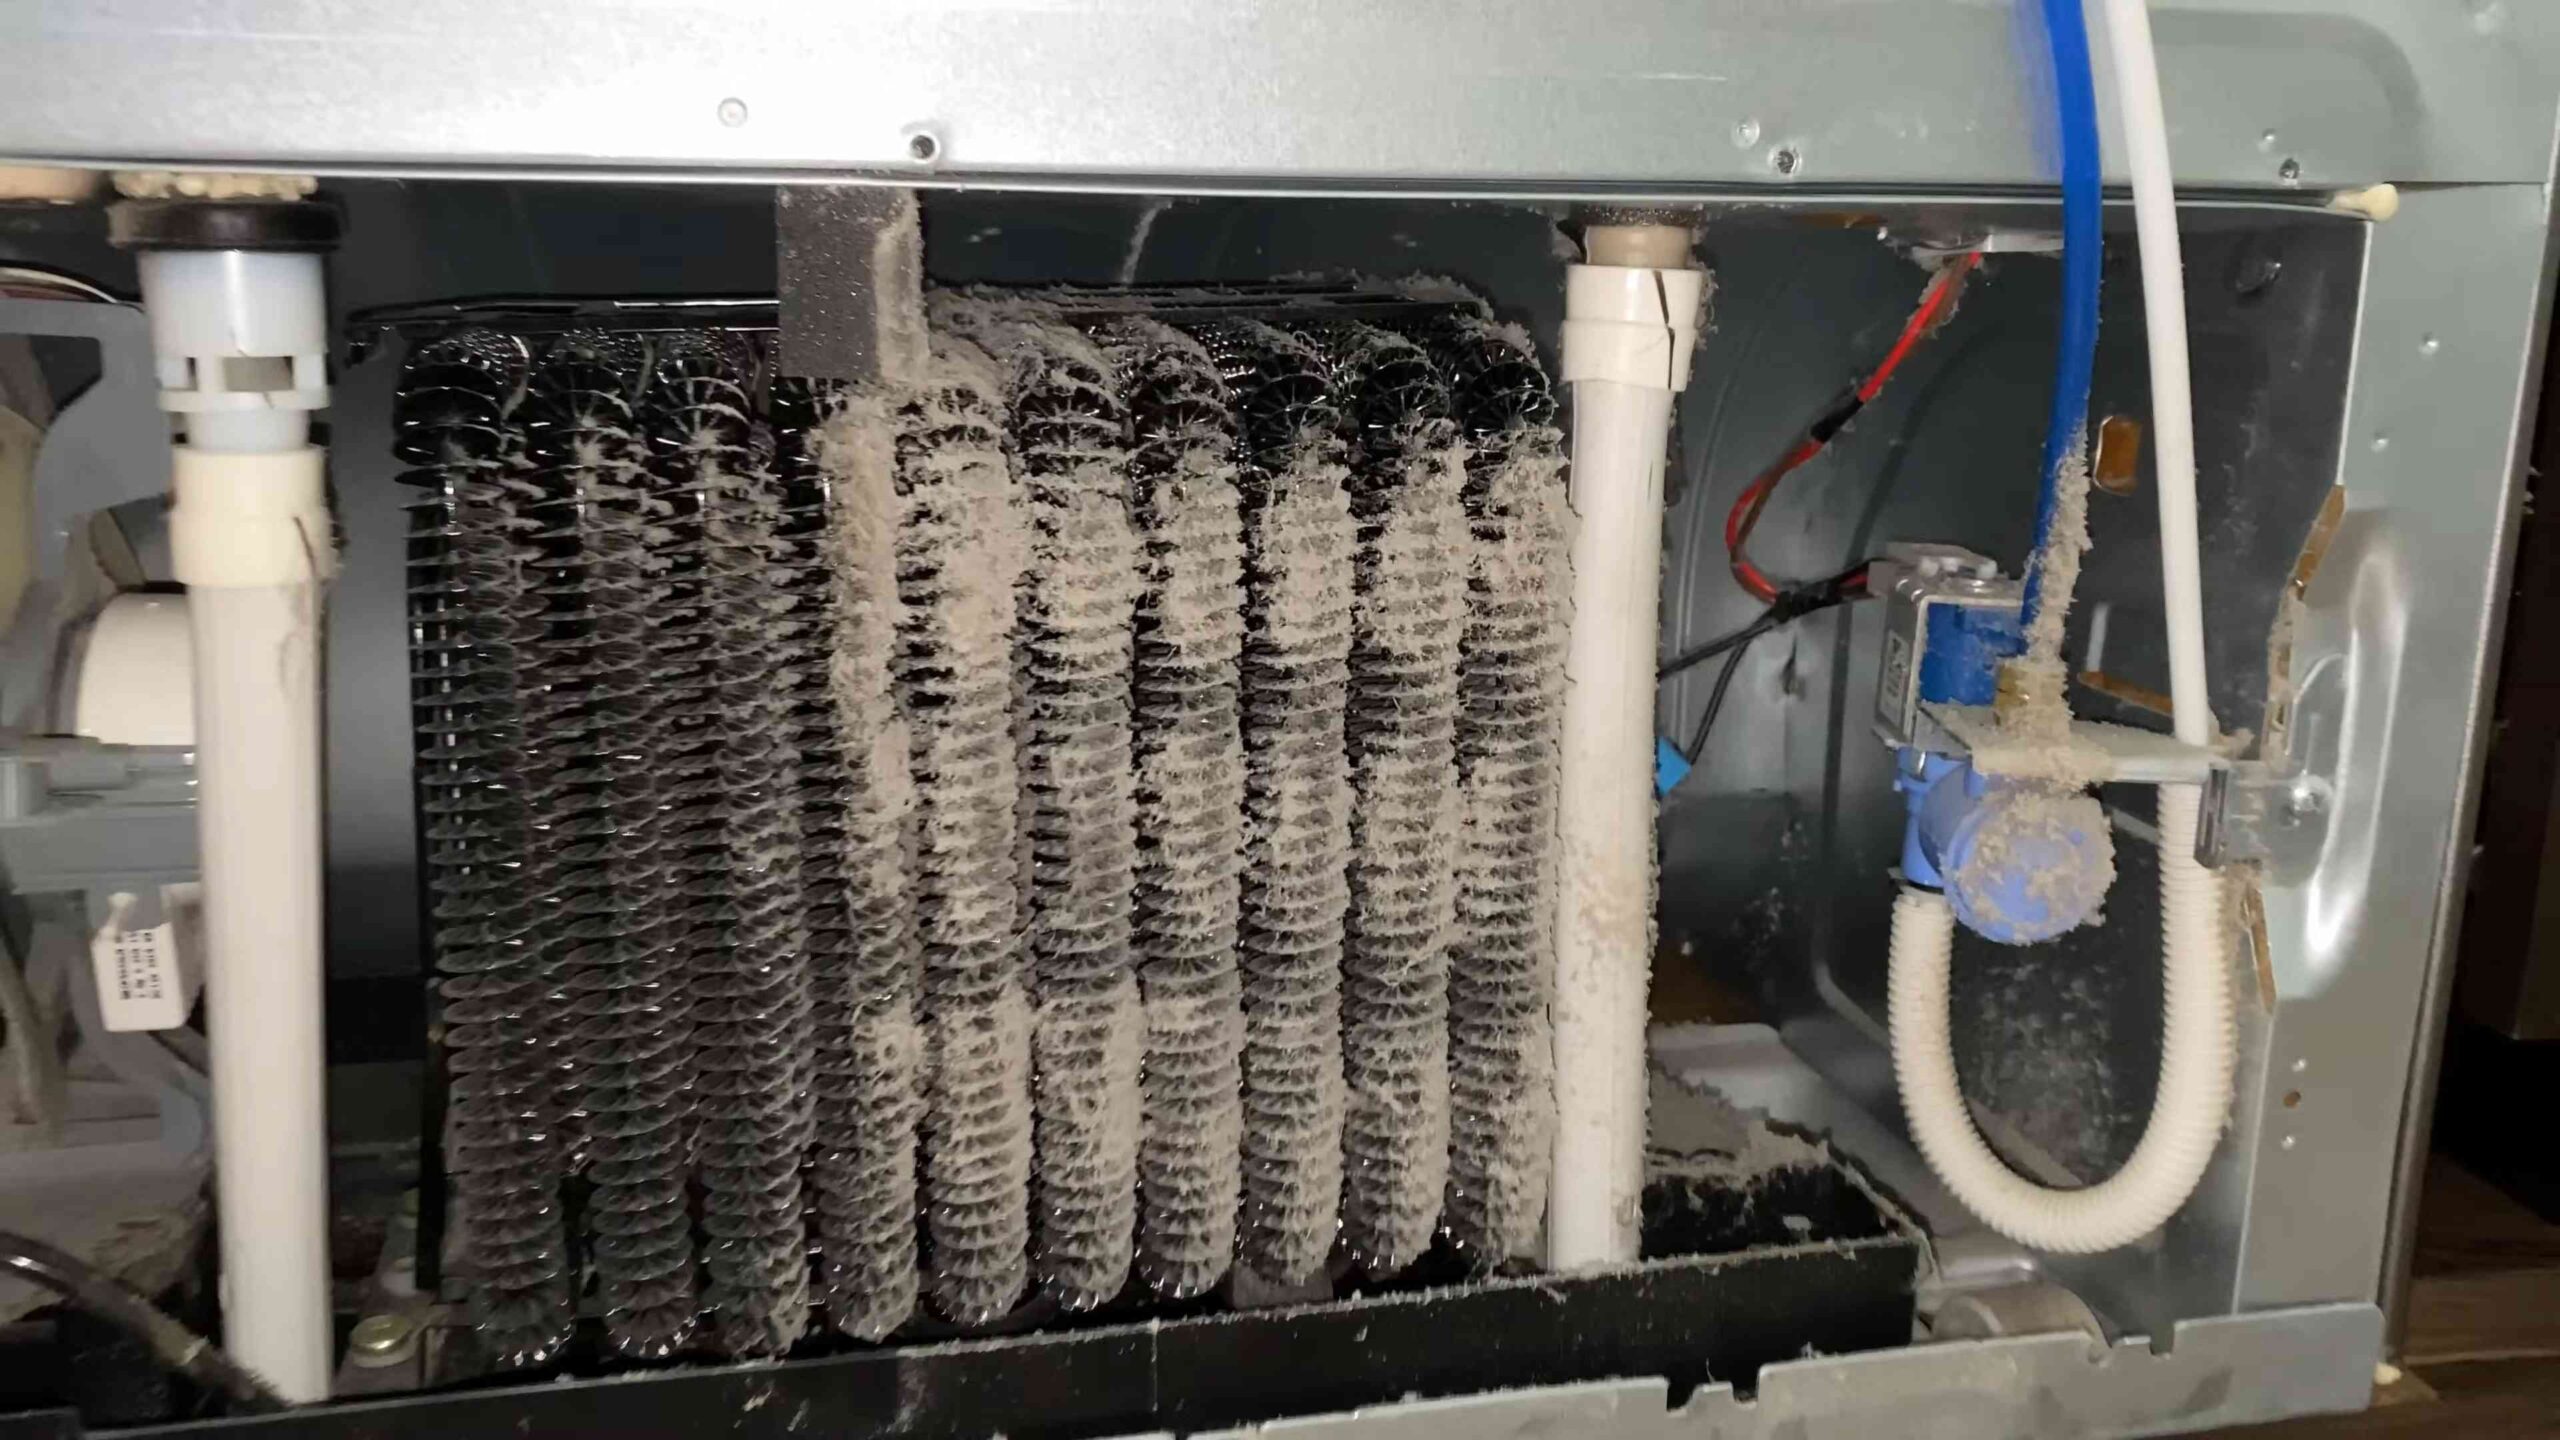
2. Inspect the Coils: Take a look at the coils. How dusty are they? Are there any cobwebs or other debris? This will give you an idea of how much cleaning you need to do.
3. Vacuum the Coils: Attach the hose attachment to your vacuum cleaner. If you have a brush attachment, even better! Starting at the top and working your way down, carefully vacuum the coils. Use slow, deliberate movements to ensure you’re picking up as much dust as possible. Pay special attention to any areas with heavy buildup.
4. Use a Brush (Optional): If you have a soft brush, use it to gently loosen any stubborn dust before vacuuming. This can be particularly helpful for dried-on grime.
5. Vacuum Again: After brushing, vacuum the coils again to remove the loosened dust.
6. Wipe Down Surrounding Areas: Use a damp cloth or paper towels to wipe down any surrounding areas, such as the back of the fridge and the wall behind it. This will help prevent dust from settling back on the coils.
7. Push the Fridge Back into Place: Carefully push the refrigerator back into its original position. Make sure you don’t pinch any hoses or cords.
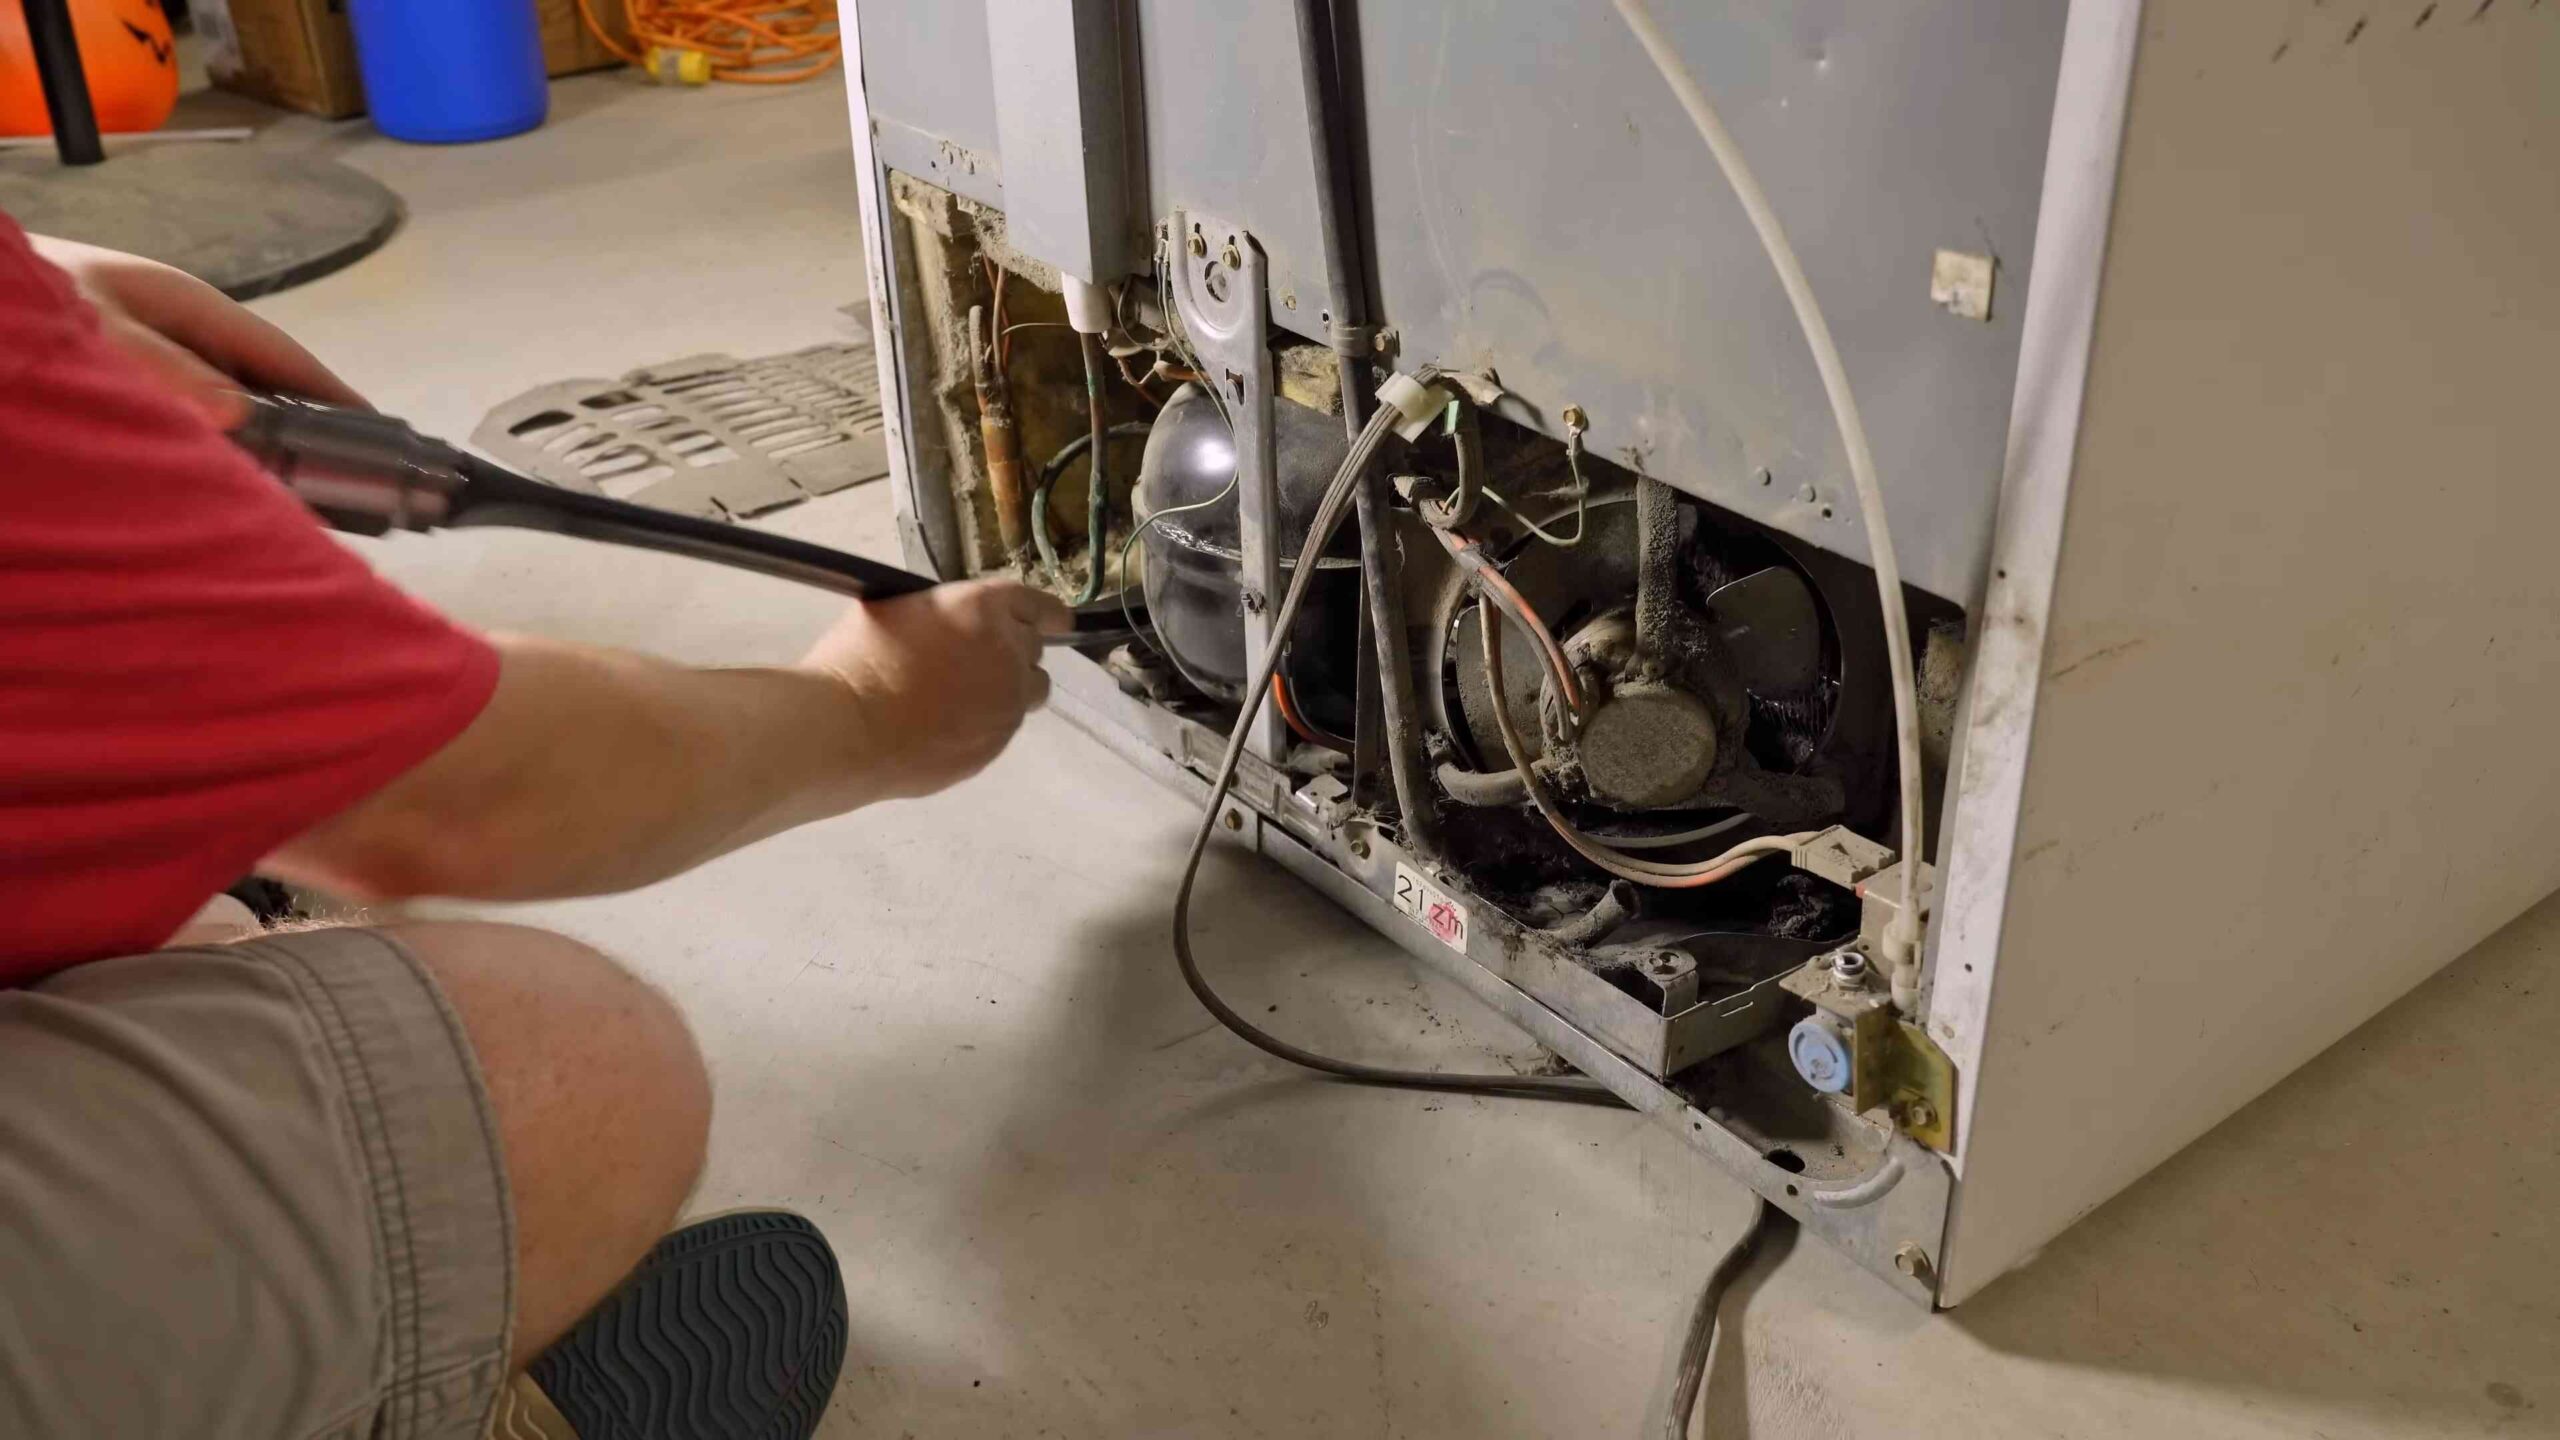
Cleaning Coils at the Bottom of the Fridge
This requires a little more effort, but it’s still totally doable.
1. Locate and Remove the Kickplate or Grille: Look for a kickplate or grille at the bottom front of your refrigerator. This is usually held in place by screws or clips. Use a screwdriver (if needed) to remove the screws or gently pry off the clips. Be careful not to break anything!
2. Inspect the Coils: Once the kickplate or grille is removed, you should be able to see the coils. Use your flashlight to get a good look. They’re probably pretty dusty!
3. Vacuum the Coils: Attach the hose attachment to your vacuum cleaner. Again, a brush attachment is ideal. Carefully vacuum the coils, paying close attention to any areas with heavy buildup. You might need to maneuver the hose around to reach all the nooks and crannies.
4. Use a Brush (Optional): If you have a soft brush, use it to gently loosen any stubborn dust before vacuuming. This can be especially helpful for dust bunnies that have accumulated over time.
5. Vacuum Again: After brushing, vacuum the coils again to remove the loosened dust.
6. Clean the Kickplate or Grille: While you have the kickplate or grille off, take the opportunity to clean it. You can vacuum it, wipe it down with a damp cloth, or even wash it with soap and water (just make sure it’s completely dry before you put it back on).
7. Reattach the Kickplate or Grille: Carefully reattach the kickplate or grille. Make sure it’s securely in place.
8. Wipe Down Surrounding Areas: Use a damp cloth or paper towels to wipe down any surrounding areas, such as the floor in front of the fridge.
Dealing with Stubborn Grime
Sometimes, vacuuming alone isn’t enough to remove all the dust and grime. Here are a few tips for dealing with stubborn buildup:
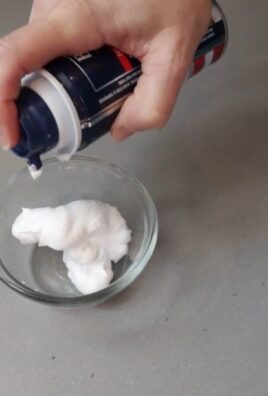
* Compressed Air: If you have a can of compressed air, you can use it to blow dust out of hard-to-reach areas. Be careful not to blow the dust into your eyes!
* Long-Handled Duster: A long-handled duster can be helpful for reaching coils that are located in tight spaces.
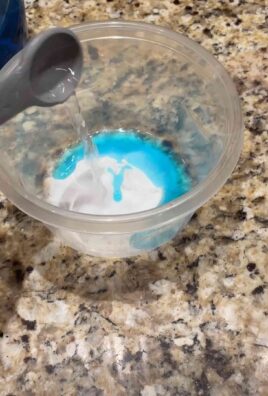
* Homemade Cleaning Solution: For really stubborn grime, you can try using a homemade cleaning solution. Mix equal parts water and white vinegar in a spray bottle. Lightly spray the coils with the solution and let it sit for a few minutes. Then, wipe them down with a damp cloth. Be sure to unplug the fridge before spraying any liquid near it!
* Coil Cleaning Brush: You can purchase a special coil cleaning brush online or at most appliance stores. These brushes are designed to reach between the coils and remove dust and debris.
Reconnecting and Monitoring
1. Plug the Refrigerator Back In: Once you’re finished cleaning, plug the refrigerator back in.
2. Listen to the Fridge: Pay attention to how the fridge sounds. It should be running more smoothly and quietly.
3. Monitor the Temperature: Check the temperature inside the refrigerator to make sure it’s cooling properly.
4. Repeat Regularly: I recommend cleaning your fridge coils every 6 months to a year. This will help keep your fridge running efficiently and extend its lifespan.
Troubleshooting
* Can’t Reach the Coils: If you’re having trouble reaching the coils, try using a flexible vacuum hose attachment or a long-handled duster.
* Coils are Frozen: If your coils are frozen, unplug the refrigerator and let it defrost completely before cleaning.
* Still Not Cooling Properly: If your refrigerator is still not cooling properly after cleaning the coils, there may be another issue. Consult a qualified appliance repair technician.
Why This Matters: The Benefits of Clean Coils
Cleaning your fridge coils isn’t just about being tidy; it’s about saving money and extending the life of your appliance. Here’s why it’s worth the effort:
* Improved Energy Efficiency: Clean coils allow your refrigerator to cool more efficiently, which means it uses less electricity. This can translate into significant savings on your energy bill.
* Longer Refrigerator Lifespan: When your refrigerator doesn’t have to work as hard to cool, it puts less strain on the components, which can help extend its lifespan.
* Better Food Preservation: A properly functioning refrigerator will maintain a more consistent temperature, which helps keep your food fresh for longer.
* Reduced Noise: A refrigerator with dirty coils often runs louder than one with clean coils. Cleaning the coils can help reduce noise.
So, there you have it! Cleaning your fridge coils is a simple DIY project that can have a big impact. It’s a small investment of time that can save you money, extend the life of your refrigerator, and help keep your food fresh. Grab your vacuum and get to it! You’ll be surprised at the difference it makes.
Conclusion
So, there you have it! This simple, yet incredibly effective, DIY trick to clean fridge coils with a vacuum is a game-changer for anyone looking to improve their refrigerator’s efficiency and longevity. We’ve walked you through the process, highlighting just how easy it is to implement, even for those who aren’t particularly handy.
Think about it: a few minutes of your time, a vacuum cleaner (which you likely already own), and potentially saving hundreds of dollars on energy bills and costly repairs. That’s a pretty compelling argument, isn’t it? Beyond the financial benefits, you’re also contributing to a more sustainable lifestyle by reducing your energy consumption and extending the life of your appliance.
But the advantages don’t stop there. A clean condenser coil means your fridge doesn’t have to work as hard to maintain the proper temperature. This translates to more consistent cooling, which in turn helps keep your food fresher for longer. No more wilted lettuce or prematurely spoiled milk!
Now, let’s talk about variations. While a standard vacuum cleaner with a brush attachment is perfectly adequate for most refrigerators, you might consider using a specialized coil cleaning brush for those hard-to-reach areas. These brushes are designed to navigate the tight spaces between the coils, ensuring a more thorough cleaning. Another option, if you have one, is a shop vacuum. These tend to have stronger suction, which can be helpful for removing stubborn dust and debris.
For those with pets, especially shedding breeds, you might find that your fridge coils accumulate dust and pet hair more quickly. In this case, consider cleaning the coils more frequently, perhaps every three to six months. You can also use a crevice tool attachment on your vacuum to get into the smaller spaces.
Remember to always unplug your refrigerator before you begin cleaning the coils. Safety first! And if you’re unsure about any part of the process, don’t hesitate to consult your refrigerator’s owner’s manual or contact a qualified appliance repair technician.
We’re confident that once you try this DIY trick, you’ll be amazed at the difference it makes. It’s a simple, cost-effective way to keep your refrigerator running smoothly and efficiently for years to come.
So, what are you waiting for? Grab your vacuum cleaner, unplug your fridge, and get ready to experience the benefits of clean condenser coils. We encourage you to try this DIY trick and share your experience with us in the comments below. Let us know if you noticed a difference in your refrigerator’s performance or energy consumption. We’re eager to hear your success stories and any tips or tricks you might have discovered along the way. Your feedback will help others learn and benefit from this simple yet powerful DIY solution. Don’t forget to share this article with your friends and family so they can also enjoy the benefits of a clean and efficient refrigerator!
Frequently Asked Questions (FAQ)
Why is it important to clean my fridge coils?
Cleaning your fridge coils is crucial for maintaining the efficiency and lifespan of your refrigerator. When the coils are covered in dust, dirt, and pet hair, the refrigerator has to work harder to dissipate heat. This increased workload leads to higher energy consumption, potentially resulting in higher electricity bills. Over time, the strain on the compressor can also lead to premature failure, requiring costly repairs or even replacement of the entire refrigerator. Regular cleaning ensures optimal performance, saves you money, and extends the life of your appliance.
How often should I clean my fridge coils?
The frequency of cleaning depends on several factors, including the environment in your home, whether you have pets, and the age of your refrigerator. As a general guideline, it’s recommended to clean your fridge coils every six months. However, if you have pets that shed a lot, or if your refrigerator is located in a dusty area, you may need to clean them more frequently, perhaps every three months. If you notice your refrigerator running more often than usual or if the back of the refrigerator feels excessively hot, it’s a good indication that the coils need cleaning.
What tools do I need to clean my fridge coils?
The primary tool you’ll need is a vacuum cleaner with a brush attachment. A crevice tool can also be helpful for reaching tight spaces. For a more thorough cleaning, you might consider using a specialized coil cleaning brush, which is designed to navigate the narrow gaps between the coils. A screwdriver may be necessary to remove the access panel at the bottom or back of the refrigerator, depending on the model. Always unplug the refrigerator before you begin cleaning.
Where are the fridge coils located?
The location of the fridge coils varies depending on the refrigerator model. In most refrigerators, the coils are located at the back of the unit, either exposed or behind an access panel. In some newer models, the coils may be located underneath the refrigerator, behind a kick plate. Consult your refrigerator’s owner’s manual for specific instructions on locating the coils on your particular model. If you’re unsure, you can usually find the manual online by searching for the model number of your refrigerator.
Can I use a regular brush instead of a coil cleaning brush?
While you can use a regular brush, a coil cleaning brush is specifically designed for the task. Coil cleaning brushes are typically long and narrow, with soft bristles that can easily reach between the coils without damaging them. A regular brush may be too bulky or have bristles that are too stiff, making it difficult to clean the coils effectively and potentially causing damage.
Is it safe to use water or cleaning solutions to clean the fridge coils?
It’s generally not recommended to use water or cleaning solutions to clean the fridge coils. Water can cause corrosion and electrical hazards, while cleaning solutions may leave behind residues that attract dust and dirt. The best approach is to use a vacuum cleaner with a brush attachment to remove dust and debris. If there are stubborn stains or grime, you can try gently wiping the coils with a dry cloth.
What if I can’t reach the fridge coils easily?
If you have difficulty reaching the fridge coils, try using a crevice tool attachment on your vacuum cleaner. This will allow you to reach into tight spaces and remove dust and debris. You can also try using a long-handled coil cleaning brush. If the coils are located behind an access panel, you may need to remove the panel to gain better access. Consult your refrigerator’s owner’s manual for instructions on removing the panel safely. If you’re still unable to reach the coils, consider contacting a qualified appliance repair technician for assistance.
Will cleaning the fridge coils really make a difference in my energy bill?
Yes, cleaning the fridge coils can make a noticeable difference in your energy bill. When the coils are dirty, the refrigerator has to work harder to cool the interior, which consumes more energy. By cleaning the coils, you reduce the workload on the refrigerator, allowing it to operate more efficiently and use less energy. The amount of savings will vary depending on the severity of the dirt buildup and the age of your refrigerator, but you can typically expect to see a reduction in your energy bill after cleaning the coils.
What are the signs that my fridge coils need cleaning?
Several signs indicate that your fridge coils need cleaning. These include:
* The refrigerator is running more often than usual.
* The back of the refrigerator feels excessively hot.
* Your energy bill has increased unexpectedly.
* Food is spoiling more quickly than usual.
* The refrigerator is making unusual noises.
If you notice any of these signs, it’s a good idea to check the fridge coils and clean them if necessary.
Can I damage my refrigerator by cleaning the coils myself?
While it’s generally safe to clean the fridge coils yourself, there are a few precautions you should take to avoid damaging your refrigerator. Always unplug the refrigerator before you begin cleaning. Be gentle when cleaning the coils, and avoid using excessive force or harsh chemicals. Use a soft brush attachment on your vacuum cleaner to avoid damaging the coils. If you’re unsure about any part of the process, consult your refrigerator’s owner’s manual or contact a qualified appliance repair technician.

Leave a Comment