

Remove lipstick stains fabric? Don’t panic! We’ve all been there – that dreaded moment when a swipe of vibrant color ends up where it absolutely shouldn’t. Whether it’s a rogue kiss, a clumsy reach in your purse, or a playful toddler with a tube of crimson, lipstick stains on fabric can feel like a fashion emergency. But fear not, fellow stain-fighters! This isn’t the end of your favorite blouse or that cherished cushion.
Throughout history, people have sought solutions for removing stains from their precious textiles. From ancient remedies using natural ingredients to modern chemical concoctions, the quest for spotless fabrics is a timeless pursuit. Lipstick, with its blend of oils, pigments, and waxes, presents a unique challenge. But with the right techniques, you can conquer even the most stubborn lipstick marks.
Why is knowing how to remove lipstick stains fabric so crucial? Because life is too short to let a little mishap ruin your day (or your wardrobe!). Instead of tossing that stained item or resigning yourself to a permanent blemish, you can learn simple, effective DIY tricks to restore your fabrics to their former glory. I’m here to guide you through easy-to-follow steps and share my favorite stain-busting secrets. Let’s get started and banish those lipstick stains for good!
DIY Lipstick Stain Removal: A Comprehensive Guide
Hey there! Lipstick stains – we’ve all been there, right? That rogue swipe across your favorite blouse, a misplaced kiss on a crisp white shirt… it’s a fashion emergency! But don’t panic and definitely don’t throw it away! I’m here to walk you through a few tried-and-true methods to banish those pesky lipstick stains from your fabrics. Let’s get started!
Understanding the Enemy: Lipstick Composition
Before we dive into the stain removal process, it’s helpful to understand what we’re dealing with. Lipstick isn’t just pigment; it’s a complex concoction of oils, waxes, pigments, and emollients. This combination is what gives it its creamy texture and long-lasting color, but it also makes it a bit of a challenge to remove. The oil and wax components are the main culprits, as they tend to cling to fabric fibers.
General Guidelines Before You Start
Before you launch into any of these methods, keep these general tips in mind:
* Act Fast: The sooner you treat the stain, the better your chances of removing it completely. Fresh stains are always easier to tackle than old, set-in ones.
* Blot, Don’t Rub: Rubbing will only spread the stain and push it deeper into the fabric fibers. Always blot gently with a clean cloth or paper towel.
* Test in an Inconspicuous Area: Before applying any cleaning solution to the stain, test it on a hidden area of the garment (like an inside seam or hem) to ensure it doesn’t damage or discolor the fabric.
* Read the Care Label: Always check the garment’s care label for specific cleaning instructions. If it says “Dry Clean Only,” it’s best to take it to a professional cleaner.
* Work from the Outside In: When applying cleaning solutions, work from the outside edges of the stain towards the center to prevent it from spreading.
* Be Patient: Stain removal can sometimes take multiple attempts. Don’t get discouraged if the stain doesn’t disappear immediately.
Method 1: Dish Soap and Water – The Gentle Approach
This is my go-to method for fresh lipstick stains, especially on delicate fabrics. It’s gentle yet effective, and you probably already have everything you need on hand.
Materials You’ll Need:
* Liquid dish soap (clear, non-bleach formula)
* Clean, white cloth or paper towel
* Water (cool or lukewarm)
* Spray bottle (optional)
Step-by-Step Instructions:
1. Blot the Stain: Gently blot the lipstick stain with a clean, white cloth or paper towel to remove any excess lipstick. Remember, blot, don’t rub!
2. Prepare the Solution: Mix a small amount of liquid dish soap (about a teaspoon) with a cup of cool or lukewarm water.
3. Apply the Solution: You can either dip a clean cloth into the soapy water and gently blot the stain, or pour the solution into a spray bottle and lightly spray the stained area.
4. Blot Again: Use a clean part of the cloth to blot the stain again, working from the outside in.
5. Rinse: Rinse the treated area with cool water to remove the soap residue.
6. Repeat if Necessary: If the stain is still visible, repeat steps 3-5 until it fades or disappears.
7. Launder: Once the stain is gone, launder the garment as usual, following the care label instructions.
Method 2: Rubbing Alcohol – For Stubborn Stains
Rubbing alcohol is a stronger solvent than dish soap, making it effective for removing more stubborn lipstick stains, especially those with a higher oil content. However, it’s important to use it with caution, as it can damage some fabrics.
Materials You’ll Need:
* Rubbing alcohol (isopropyl alcohol)
* Clean, white cloth or cotton balls
* Water
* Eye dropper (optional)
Step-by-Step Instructions:
1. Test in an Inconspicuous Area: Before applying rubbing alcohol to the stain, test it on a hidden area of the garment to ensure it doesn’t damage or discolor the fabric.
2. Apply Rubbing Alcohol: Dampen a clean, white cloth or cotton ball with rubbing alcohol. You can also use an eye dropper to apply the alcohol directly to the stain.
3. Blot the Stain: Gently blot the stain with the alcohol-dampened cloth or cotton ball, working from the outside in.
4. Change Cloth/Cotton Ball: As the cloth or cotton ball becomes saturated with lipstick, switch to a clean one to avoid spreading the stain.
5. Rinse: Rinse the treated area with cool water to remove the alcohol residue.
6. Launder: Launder the garment as usual, following the care label instructions.
Method 3: Hairspray – An Unexpected Ally
Believe it or not, hairspray can be surprisingly effective at removing lipstick stains, especially on synthetic fabrics. The alcohol and solvents in hairspray help to break down the oils and waxes in the lipstick.
Materials You’ll Need:
* Hairspray (aerosol type works best)
* Clean, white cloth or paper towel
* Water
Step-by-Step Instructions:
1. Spray the Stain: Hold the hairspray can about 6-8 inches away from the stain and spray it liberally.
2. Let it Sit: Allow the hairspray to sit on the stain for about 10-15 minutes. This gives the solvents time to break down the lipstick.
3. Blot the Stain: Gently blot the stain with a clean, white cloth or paper towel. You should see the lipstick transferring to the cloth.
4. Rinse: Rinse the treated area with cool water to remove the hairspray residue.
5. Launder: Launder the garment as usual, following the care label instructions.
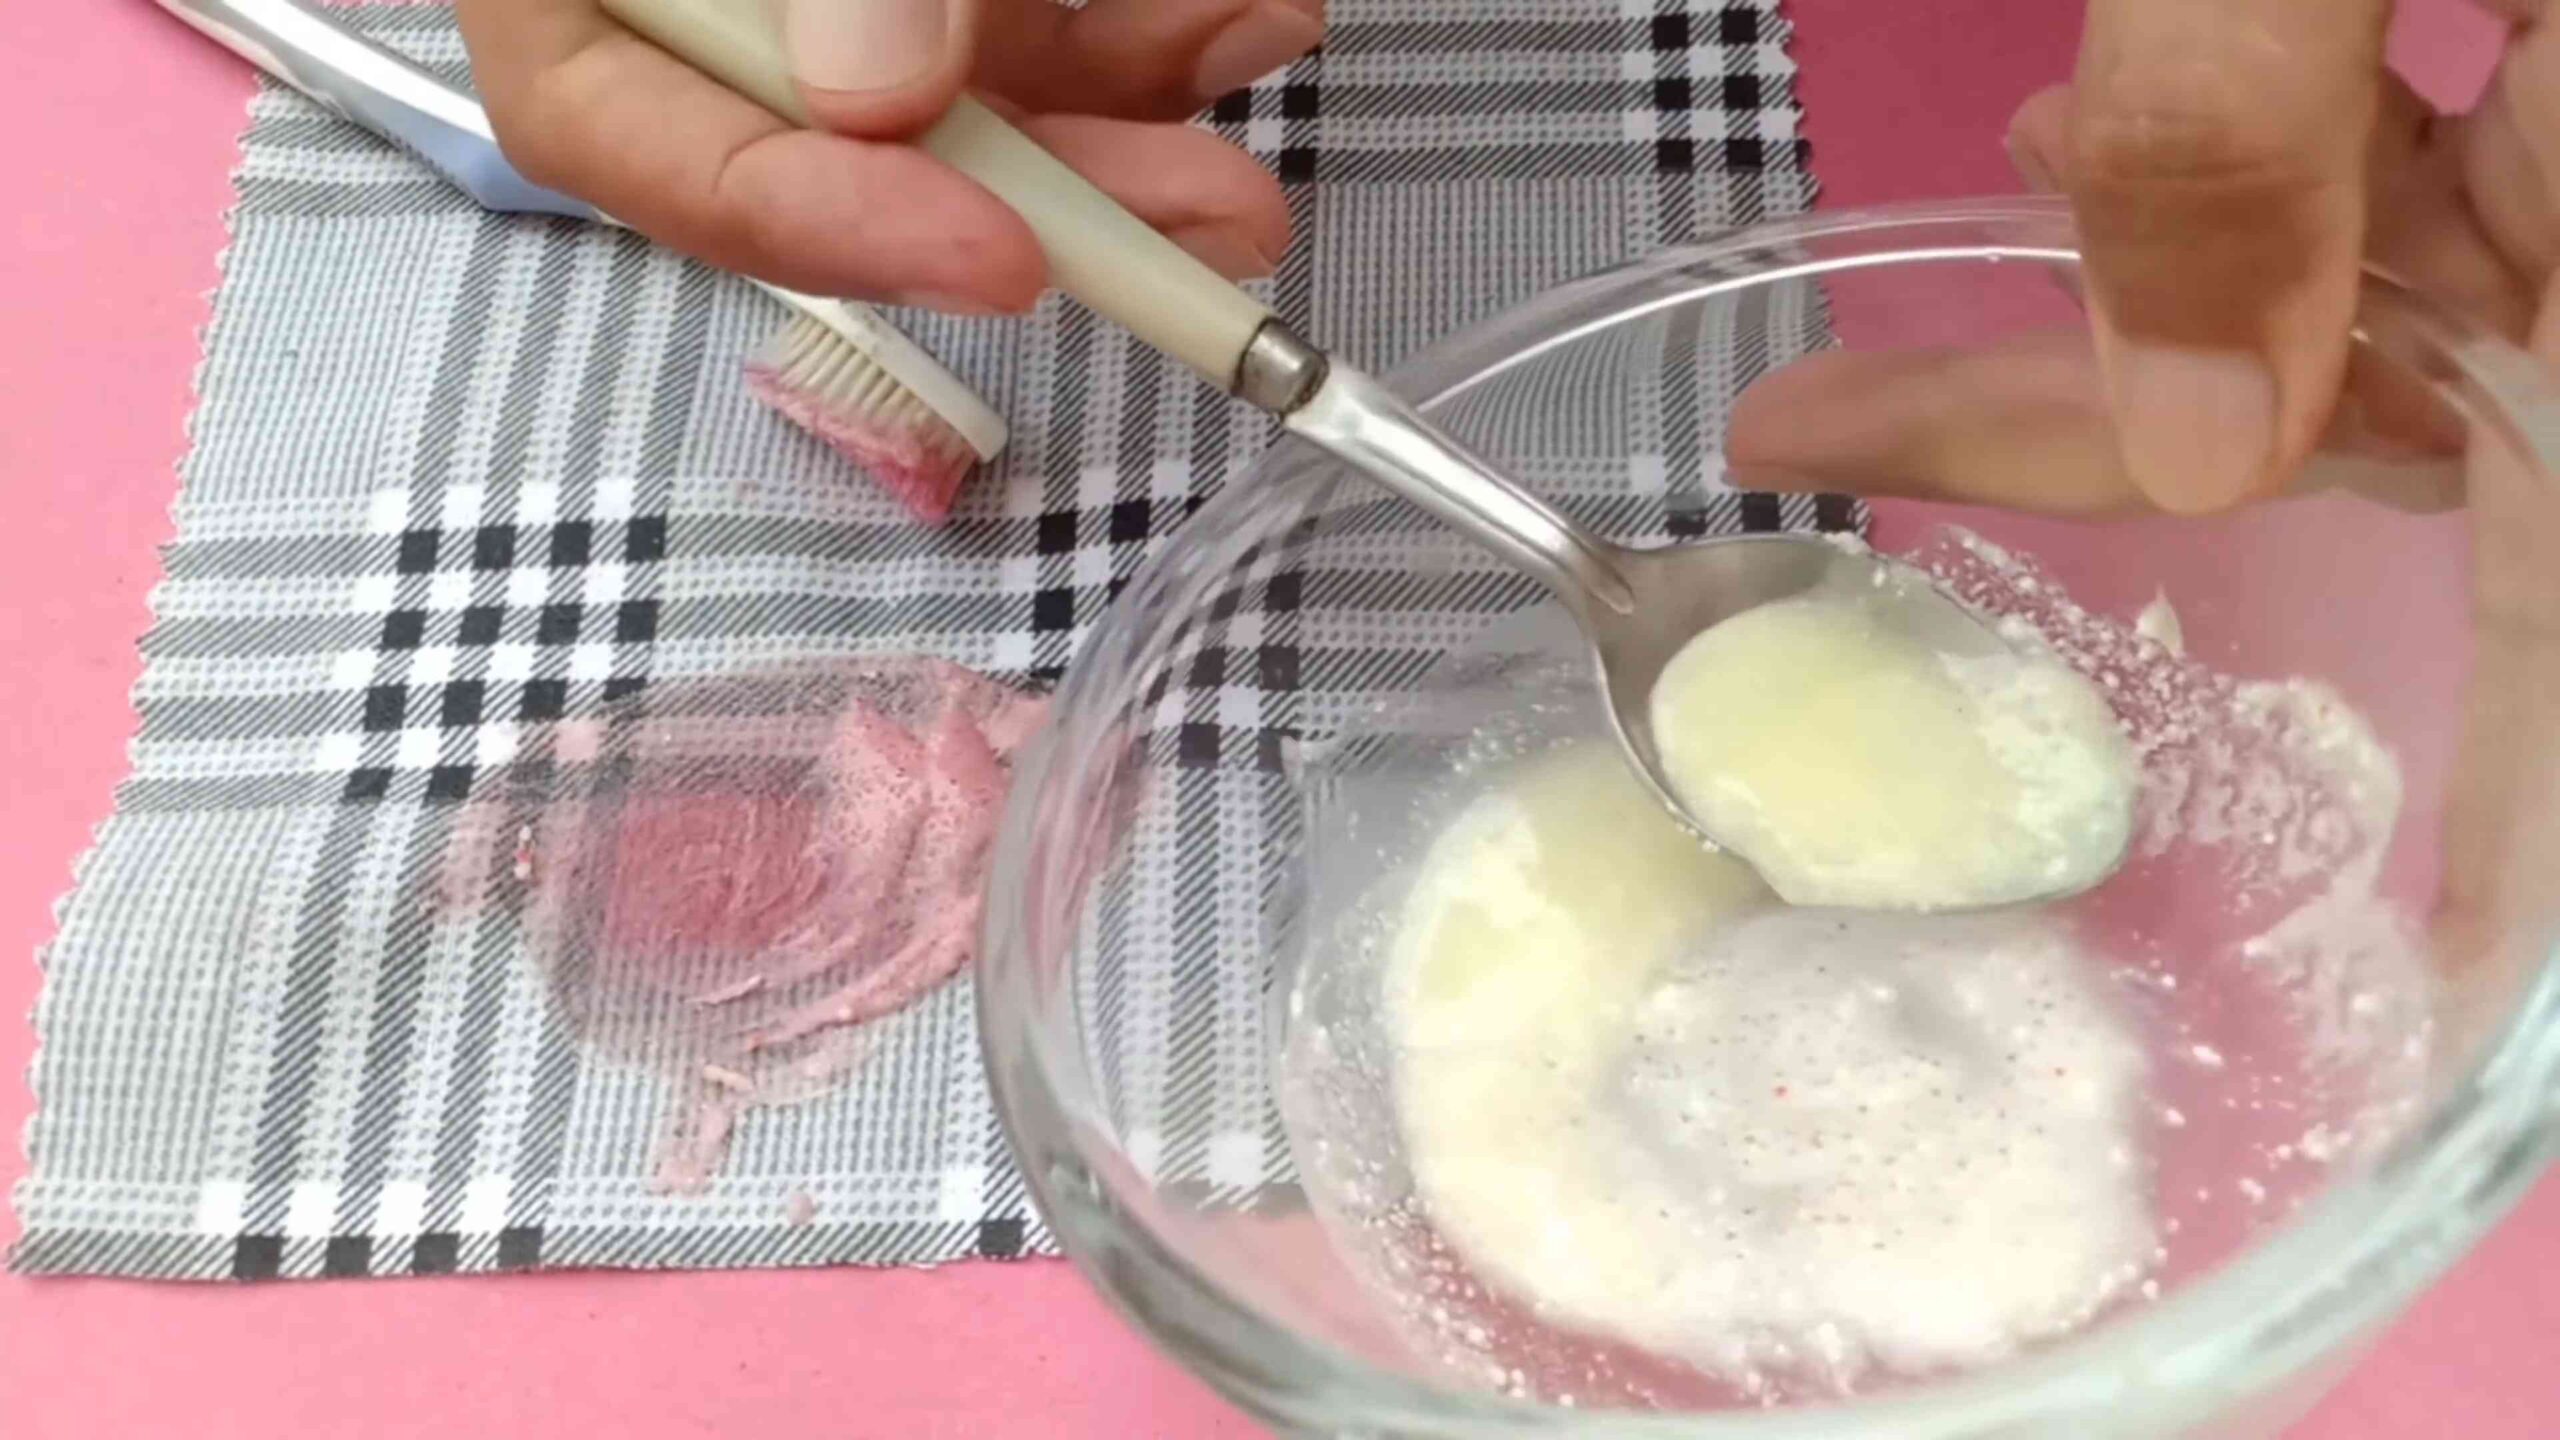
Method 4: Baking Soda Paste – For Tougher Stains
Baking soda is a mild abrasive that can help to lift stubborn stains from fabric. It’s also a natural deodorizer, which is a bonus!
Materials You’ll Need:
* Baking soda
* Water
* Clean, white cloth or soft brush (like an old toothbrush)
Step-by-Step Instructions:
1. Make a Paste: Mix baking soda with a small amount of water to form a thick paste.
2. Apply the Paste: Apply the paste to the lipstick stain, covering it completely.
3. Let it Dry: Allow the paste to dry completely. This may take several hours.
4. Brush Away: Once the paste is dry, brush it away with a clean, white cloth or soft brush.
5. Rinse: Rinse the treated area with cool water to remove any remaining baking soda residue.
6. Launder: Launder the garment as usual, following the care label instructions.
Method 5: Commercial Stain Removers – When All Else Fails
If you’ve tried the above methods and the stain is still lingering, it might be time to bring in the big guns: commercial stain removers. There are many stain removers on the market specifically designed to tackle tough stains like lipstick.
Materials You’ll Need:
* Commercial stain remover (choose one that’s safe for the fabric you’re treating)
* Clean, white cloth
Step-by-Step Instructions:
1. Read the Instructions: Carefully read and follow the instructions on the stain remover product label.
2. Test in an Inconspicuous Area: As with any cleaning solution, test the stain remover on a hidden area of the garment to ensure it doesn’t damage or discolor the fabric.
3. Apply the Stain Remover: Apply the stain remover to the lipstick stain, following the product instructions.
4. Blot the Stain: Gently blot the stain with a clean, white cloth.
5. Rinse: Rinse the treated area with cool water to remove the stain remover residue.
6. Launder: Launder the garment as usual, following the care label instructions.
Dealing with Specific Fabric Types
Different fabrics react differently to cleaning solutions. Here’s a quick guide to handling lipstick stains on some common fabric types:
* Cotton: Cotton is generally durable and can withstand most of the stain removal methods described above.
* Linen: Linen is similar to cotton but can be more prone to wrinkling. Use gentle methods and avoid harsh chemicals.
* Silk: Silk is a delicate fabric that requires special care. Avoid rubbing alcohol and harsh stain removers. Dish soap and water or a commercial stain remover specifically designed for silk are your
Conclusion
So, there you have it! Removing lipstick stains from fabric doesn’t have to be a daunting task relegated to expensive dry cleaning bills. This simple, effective DIY trick empowers you to tackle those pesky marks with items you likely already have in your home. We’ve walked you through the process, highlighting the key steps to ensure success and minimize the risk of damaging your favorite garments or upholstery.
Why is this DIY method a must-try? Because it’s not only cost-effective but also incredibly convenient. Imagine spilling lipstick on your blouse right before an important meeting. Instead of panicking and rushing to find a professional cleaner, you can quickly address the stain using this method, saving you time, money, and potential embarrassment. Furthermore, it’s a gentler approach compared to harsh chemicals, preserving the integrity of your fabrics and reducing your environmental impact.
But the beauty of this DIY solution lies in its adaptability. While we’ve focused on a specific method, feel free to experiment with variations based on the type of fabric and the severity of the stain. For instance, for delicate fabrics like silk or lace, you might want to use a gentler detergent or test the solution on an inconspicuous area first. If the stain is particularly stubborn, consider pre-treating it with a stain remover specifically designed for oily substances before proceeding with the steps outlined above. Another variation involves using rubbing alcohol (isopropyl alcohol) in place of dish soap for certain fabrics, but always test in an hidden area first to ensure colorfastness. Remember, patience is key! Don’t scrub too aggressively, as this can damage the fibers. Instead, blot gently and repeat the process as needed.
Ultimately, mastering this DIY trick for removing lipstick stains from fabric is a valuable skill that will save you time, money, and stress in the long run. It’s a testament to the power of simple solutions and a reminder that you don’t always need expensive products to achieve professional-quality results.
We wholeheartedly encourage you to try this method the next time you encounter a lipstick stain. Don’t be afraid to experiment and find what works best for you. And most importantly, we want to hear about your experiences! Share your tips, tricks, and success stories in the comments below. Your feedback will not only help other readers but also contribute to a community of resourceful individuals who are passionate about finding effective and affordable solutions to everyday problems. Let’s conquer those lipstick stains together!
Frequently Asked Questions (FAQs)
What types of fabric is this DIY method safe for?
This method is generally safe for most common fabrics, including cotton, polyester, linen, and denim. However, it’s always recommended to test the solution on an inconspicuous area of the fabric first, such as an inside seam or hem, to ensure colorfastness and prevent any potential damage. Delicate fabrics like silk, lace, and wool require extra care. For these materials, use a gentler detergent and avoid excessive rubbing. If you’re unsure, consult the fabric care label or seek professional cleaning advice.
What if the lipstick stain is old and dried?
Old, dried lipstick stains can be more challenging to remove. Before applying the DIY solution, try gently scraping off any excess dried lipstick with a dull knife or the edge of a credit card. Be careful not to damage the fabric. Then, pre-treat the stain by soaking it in a mixture of warm water and a mild detergent for about 30 minutes. This will help to loosen the stain and make it easier to remove. After soaking, proceed with the steps outlined in the main article. You may need to repeat the process several times for stubborn stains.
Can I use any type of dish soap?
While most dish soaps will work, it’s best to use a clear, non-bleach dish soap. Avoid dish soaps that contain dyes or fragrances, as these can potentially stain the fabric. A mild, gentle dish soap is ideal.
How long should I let the solution sit on the stain?
The amount of time the solution needs to sit on the stain depends on the severity of the stain and the type of fabric. Generally, allowing the solution to sit for 5-10 minutes is sufficient. However, for stubborn stains, you can let it sit for up to 30 minutes. Just be sure to check the fabric periodically to ensure that the solution is not causing any damage or discoloration.
What if the stain doesn’t come out completely after the first try?
Don’t be discouraged if the stain doesn’t come out completely after the first try. Lipstick stains can be persistent, especially if they are old or set in. Simply repeat the process as needed. You may also want to try a different variation of the method, such as using rubbing alcohol instead of dish soap (remember to test in an inconspicuous area first). Patience and persistence are key!
Will this method remove all types of lipstick?
This method is effective for removing most types of lipstick, including cream, matte, and satin finishes. However, some long-lasting or highly pigmented lipsticks may be more difficult to remove. In these cases, you may need to use a stronger stain remover or seek professional cleaning advice.
How can I prevent lipstick stains in the first place?
Prevention is always better than cure! To minimize the risk of lipstick stains, be mindful when applying lipstick and avoid touching your face or clothing. When eating or drinking, use a napkin to protect your clothes. You can also try using a lipstick sealant or setting spray to help prevent the lipstick from transferring.
Is it safe to put the fabric in the dryer after treating the stain?
No! Do not put the fabric in the dryer until you are absolutely sure that the stain is completely gone. The heat from the dryer can set the stain, making it even more difficult to remove. Instead, allow the fabric to air dry. If the stain is still visible after air drying, repeat the cleaning process.
What other DIY stain removal tricks do you recommend?
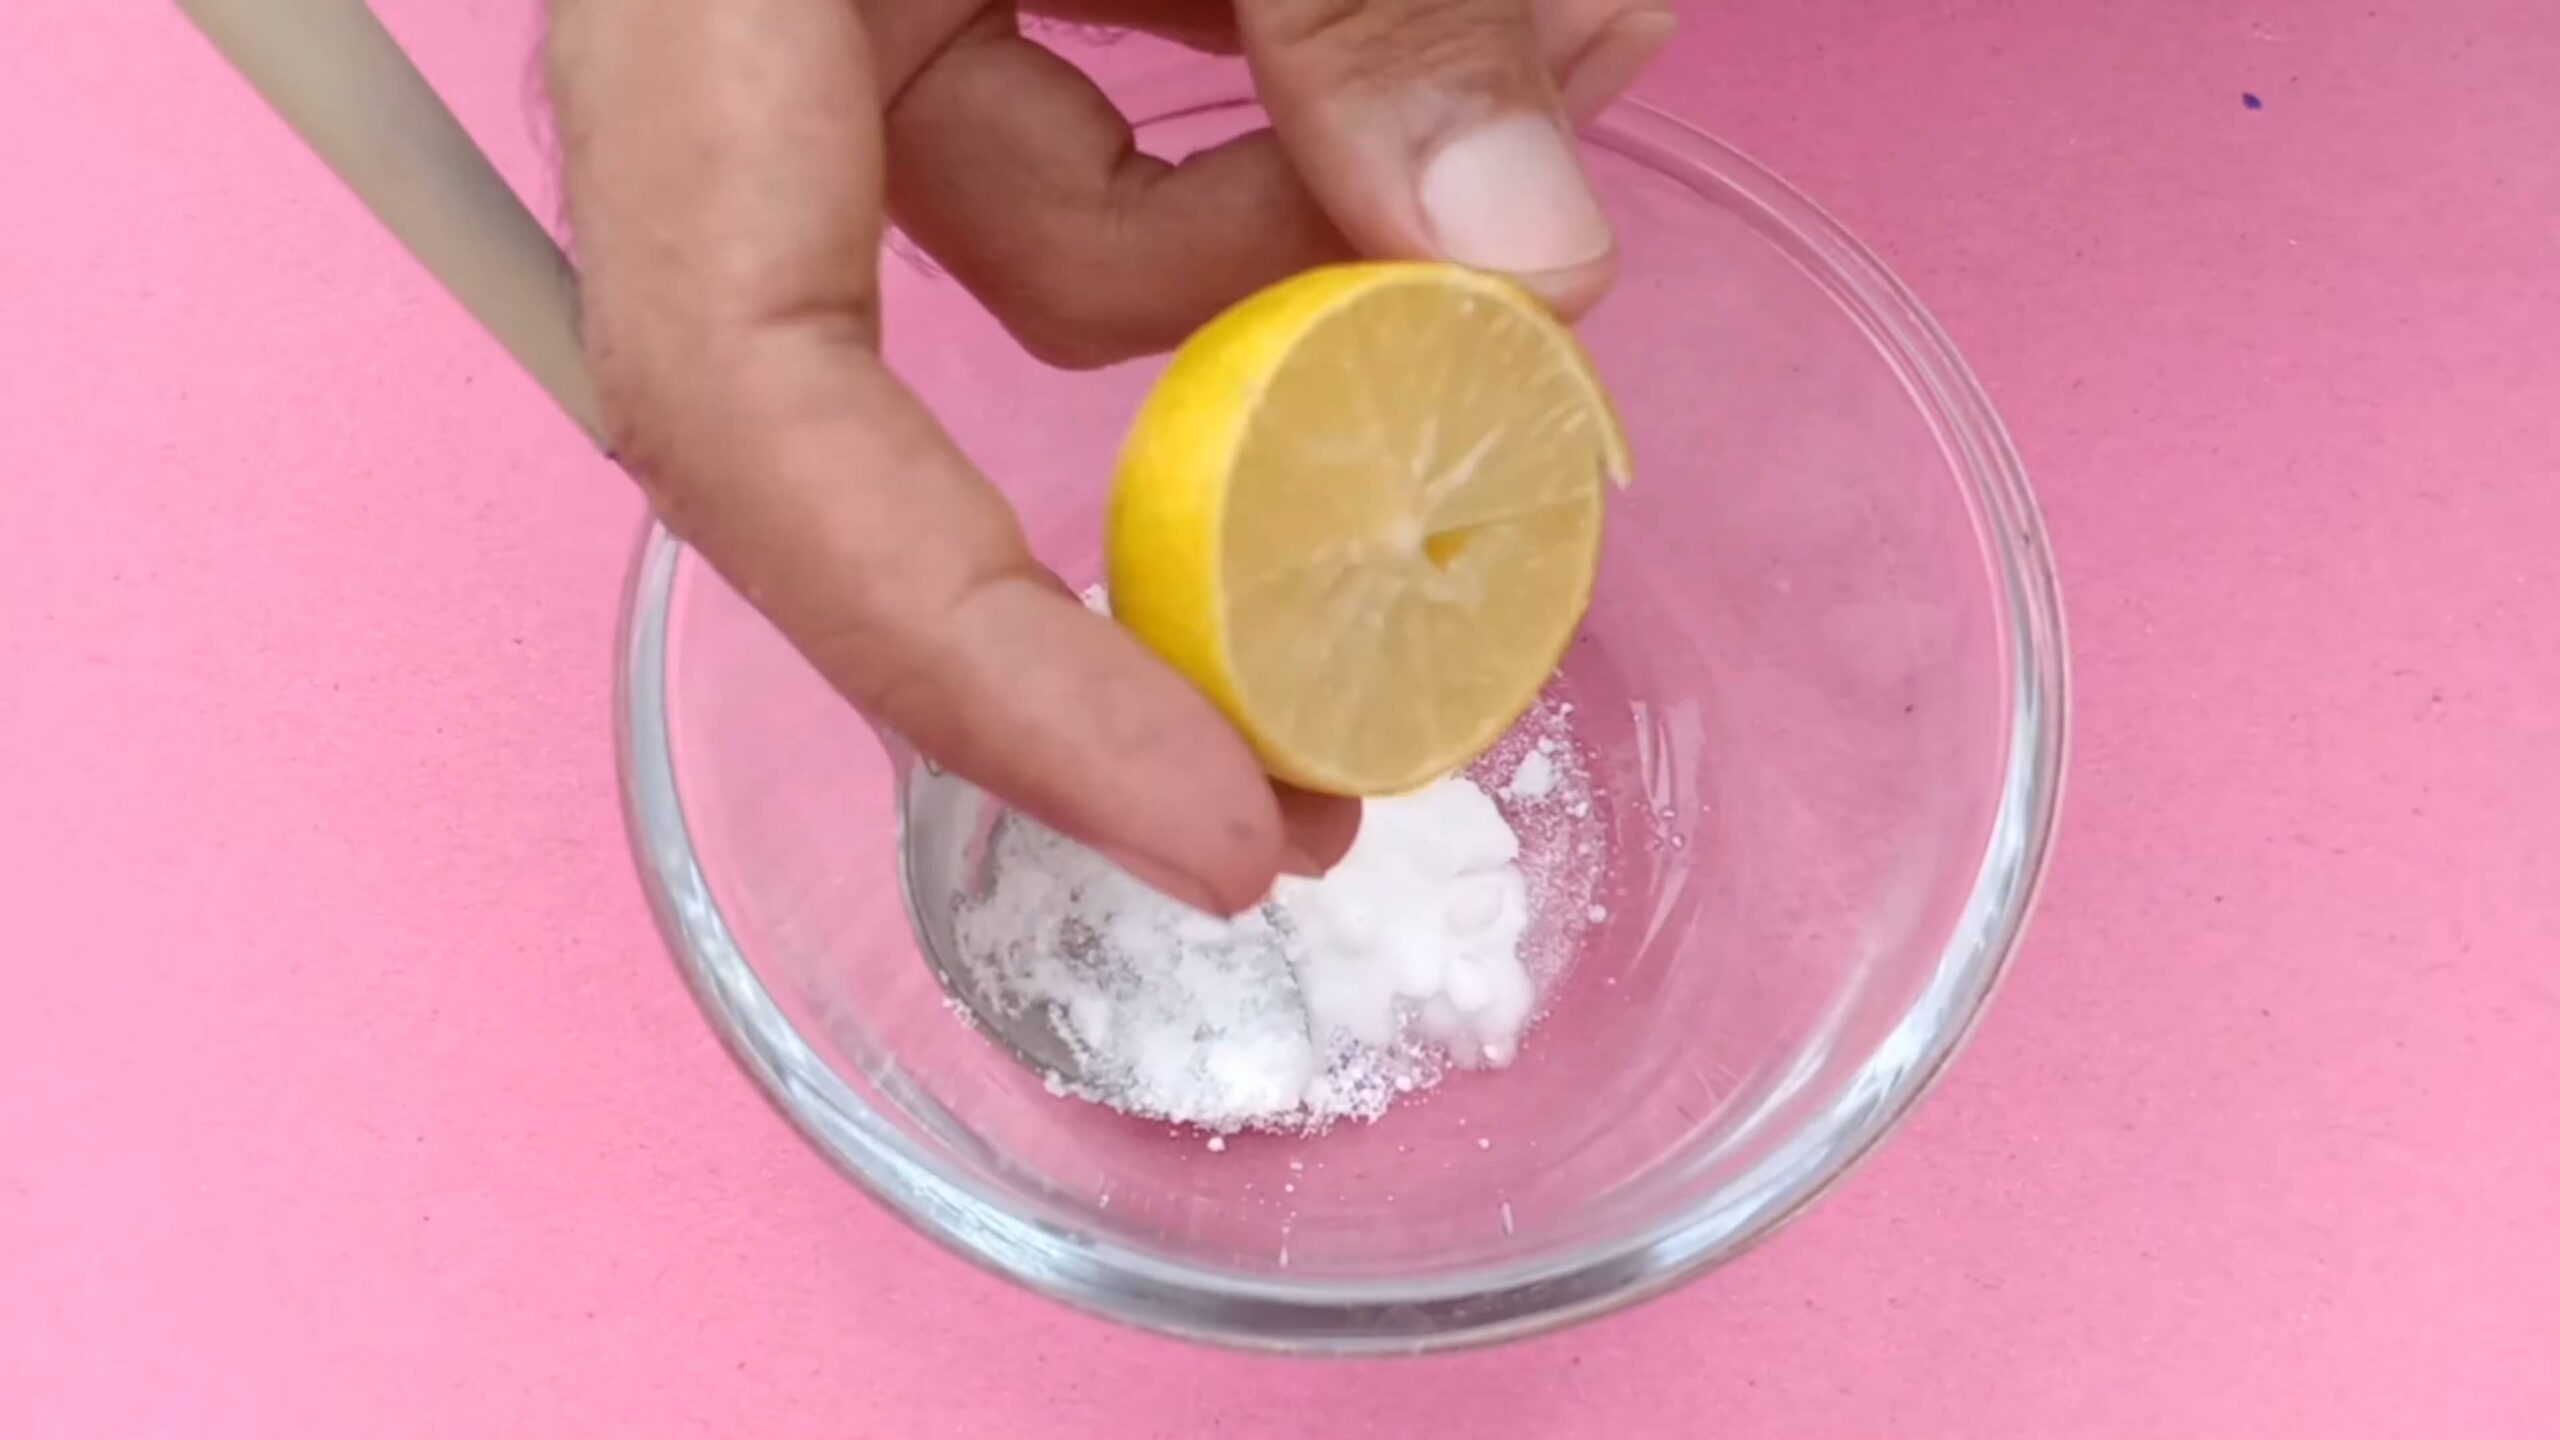
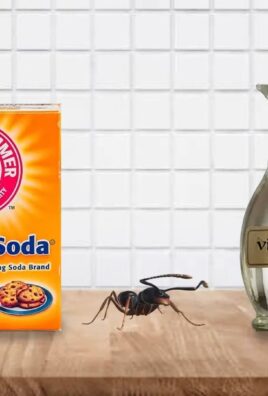
Besides this method for removing lipstick stains, there are many other effective DIY stain removal tricks you can try. For example, baking soda can be used to remove a variety of stains, including coffee, tea, and wine. Vinegar is another versatile cleaning agent that can be used to remove stains, deodorize fabrics, and brighten whites. Lemon juice is a natural bleaching agent that can be used to remove stains from light-colored fabrics. Always test any DIY stain removal method on an inconspicuous area of the fabric first to ensure that it doesn’t cause any damage or discoloration.
Where can I find more information about fabric care and stain removal?
There are many resources available online and in libraries that provide information about fabric care and stain removal. You can also consult with a professional dry cleaner or laundry service for advice on how to care for specific fabrics and remove stubborn stains. Remember, proper fabric care is essential for preserving the life and appearance of your clothes and upholstery.

Leave a Comment